260Z Project - 260Z GT-R

Ian

Club Member
I had both the Manifolds and elbows done from the start. So no way to compare before and after. 30% would be wishful though.

The lagging is the best, but they want £350+vat per manifold. Its a bit steep.


Yes, its a Halfords set, had it well over 10 years and its still great, like you say, it can do most things.
 

Ian

Club Member
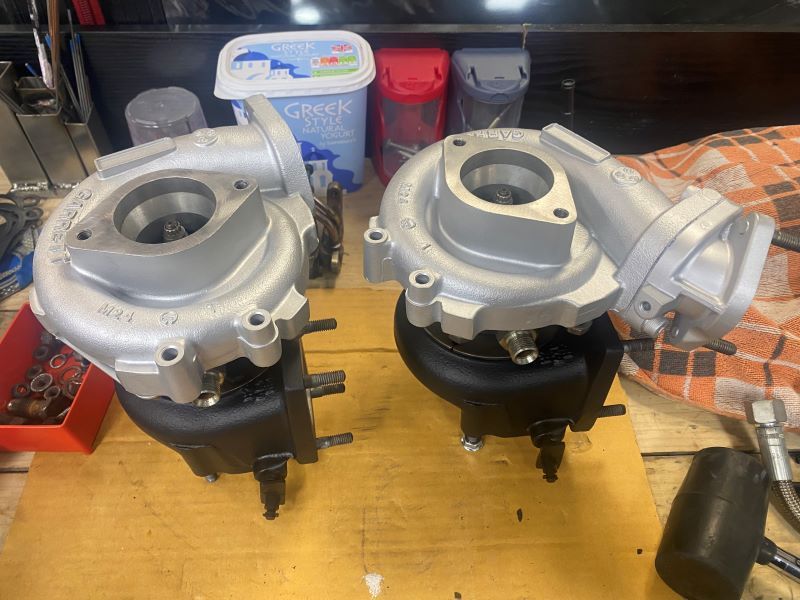
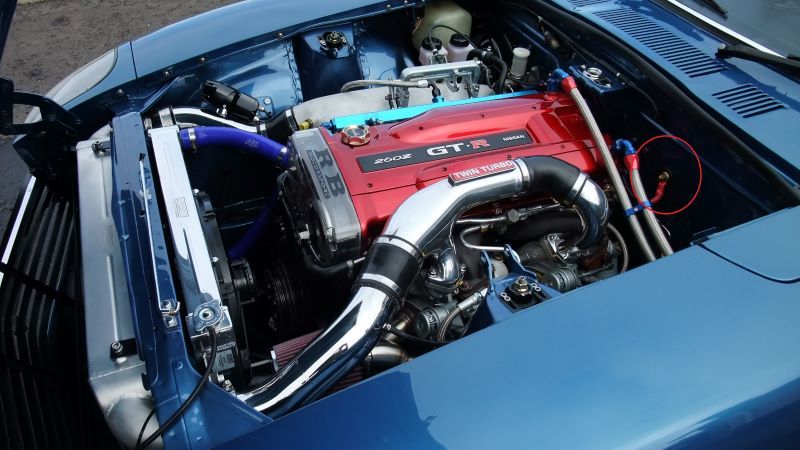
Started putting the turbos back together but ran out of time to finish before I had to go back to work for another rotation


IMG_9280_p6QQ9VVqh3RYy6g1bmX6bK.JPG


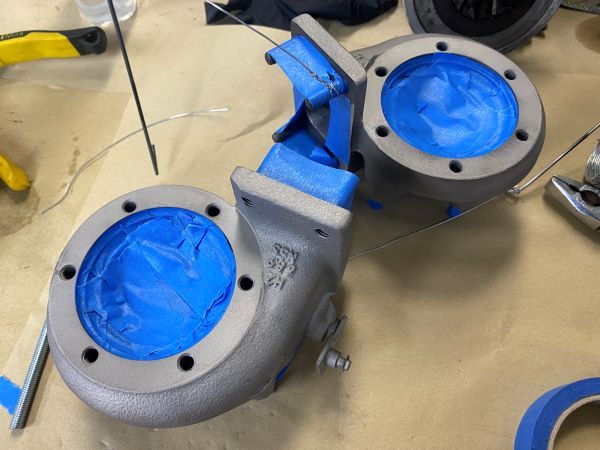
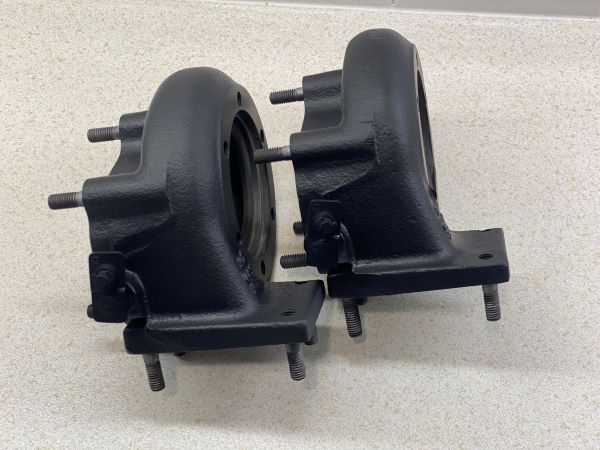
Ended up not sending the housings to Zircotec, its just too expensive, not worth it, they wanted £576 for their primary range, claimed 25% surface temp reduction and good for 900°c.

IMG_9250_1oafxAZ6ptQborYrEdxGxq.JPG


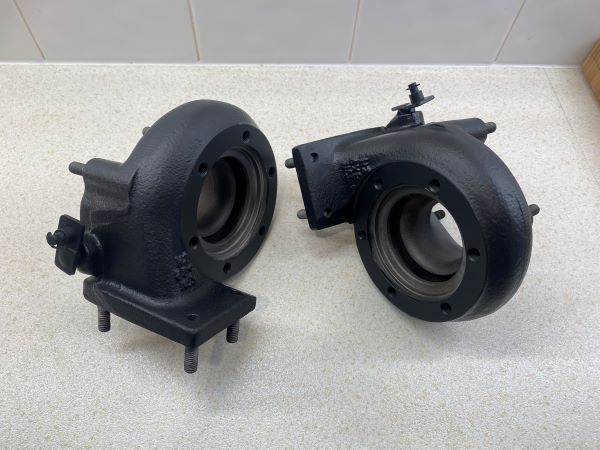
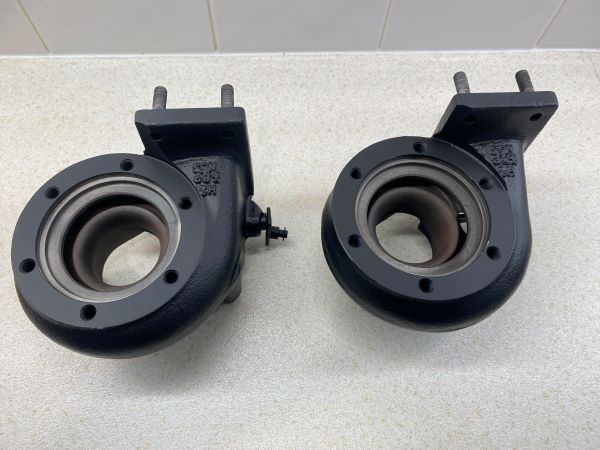
So I Cerakoted them instead, with the coating I used I'd expect at least a 15% surface temperature reduction if not more and its good for 1000°c.

IMG_9262.JPG


IMG_9272.JPG


IMG_9268.JPG


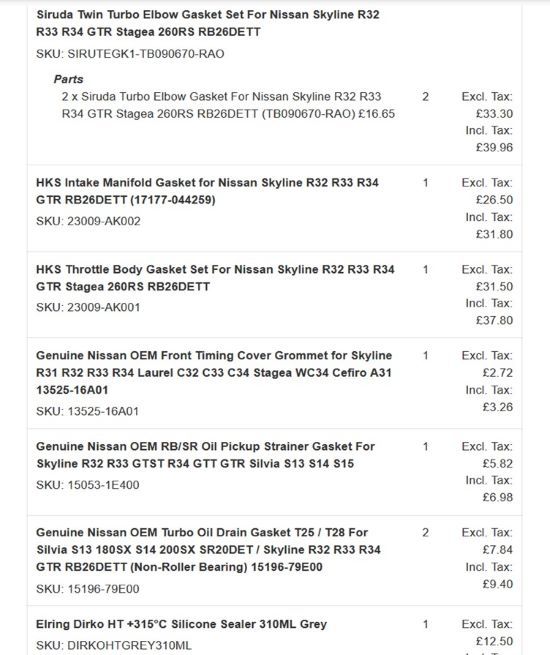
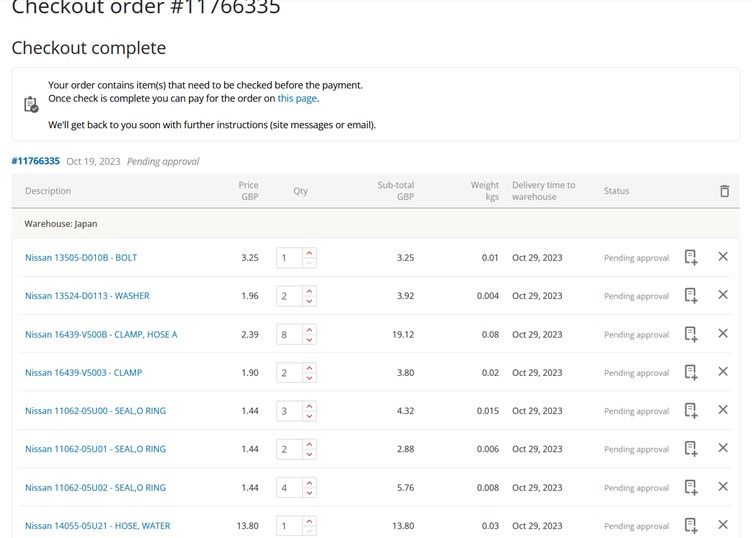
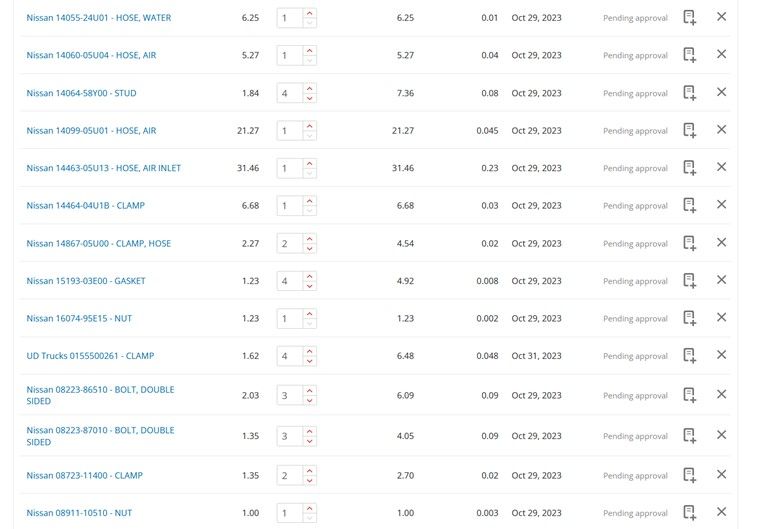
Put in some order for RB26 parts, some service stuff but mostly to replace worn or tired looking parts. RB Stuff is expensive unfortunately, but now is the time to do it.

Gasket_Order_7gFFyJG4uQRAvztQMVG3d2.jpg


Order_p1.jpg

order_p2_kLegYaM4ff3CJvtpTNLBps.jpg


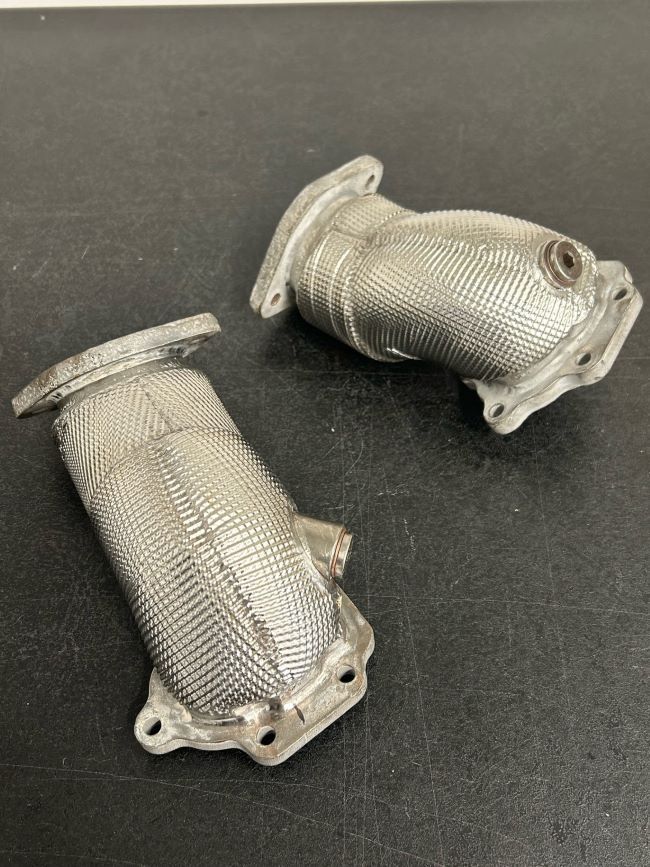
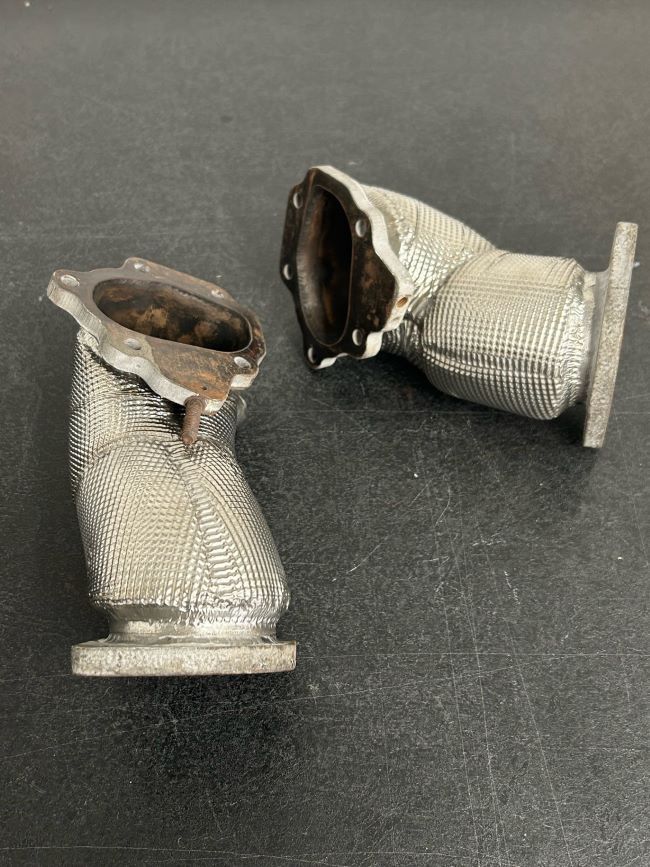
My turbo elbows arrived back from getting lagged by Thermo-Met

thumbnail_image0.jpg


thumbnail_image1.jpg


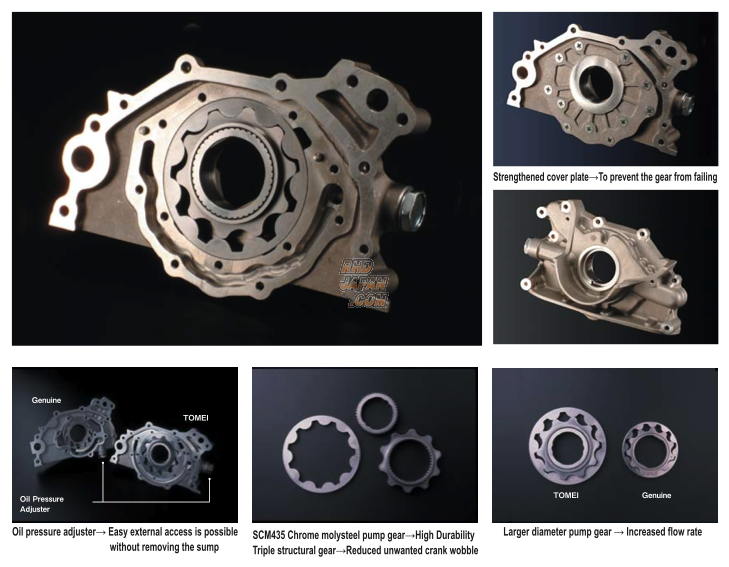
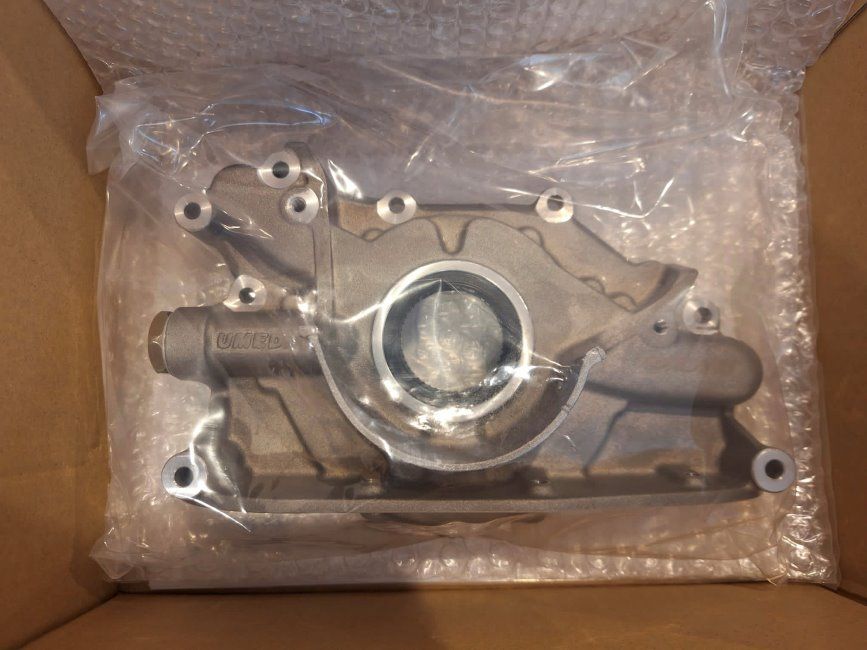
I'd really like to upgrade to a Tomei oil pump, The N1 pump flows fine for me, but the extra strength of the Tomei would be nice to have. And now is the time to do it since the engine is out and I'll be changing the timing belt. Its more than I would like to spend right now so we will see. The thing is with the good exchange rate from Japan at the moment I can have one for around £930 including shipping and duty. It used to be more like £1300.

MG23505_2.png


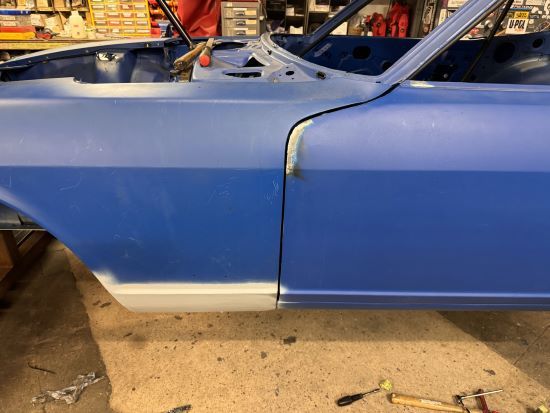
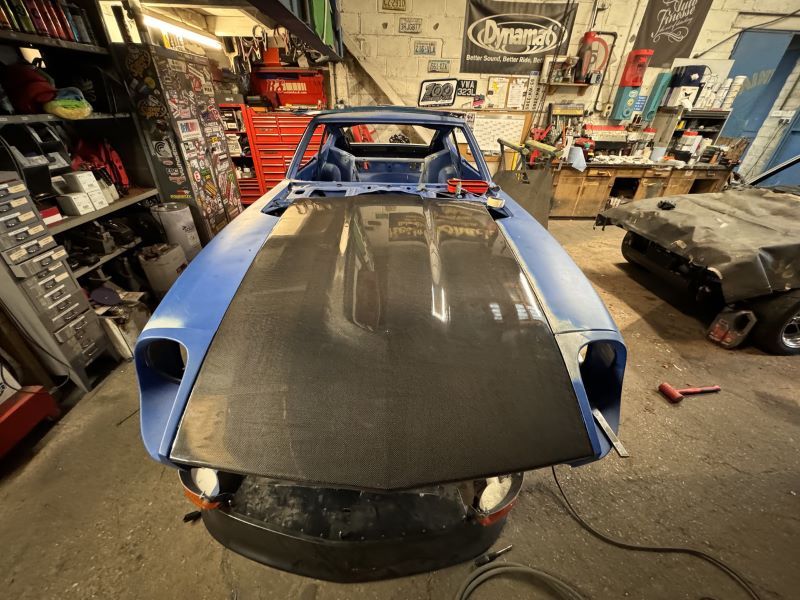
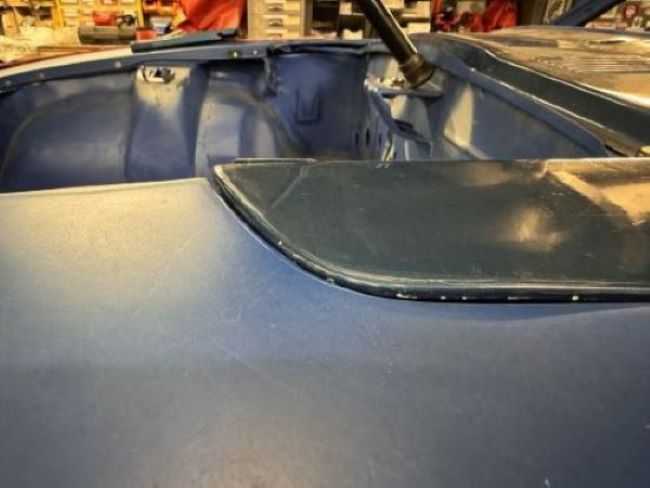
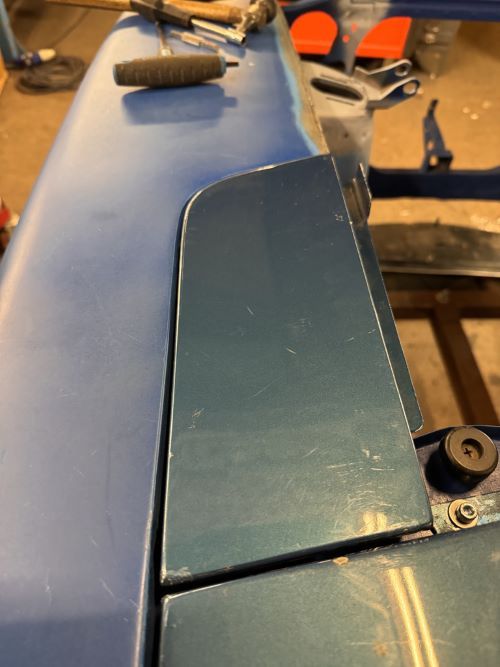
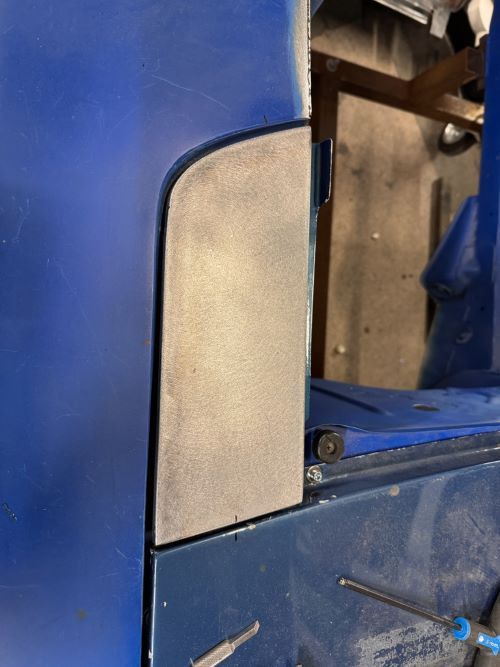
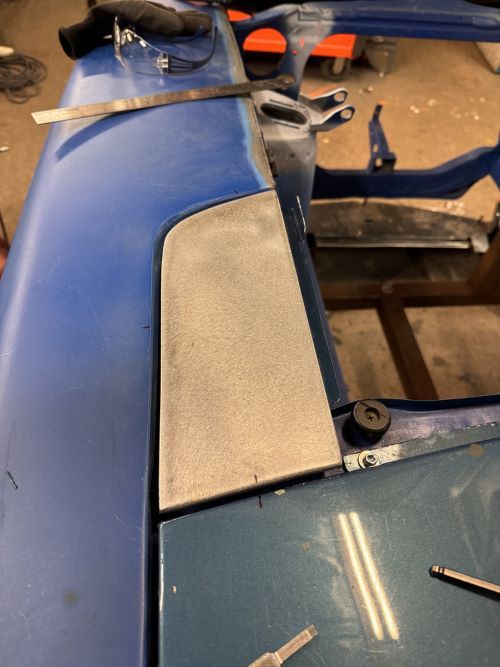
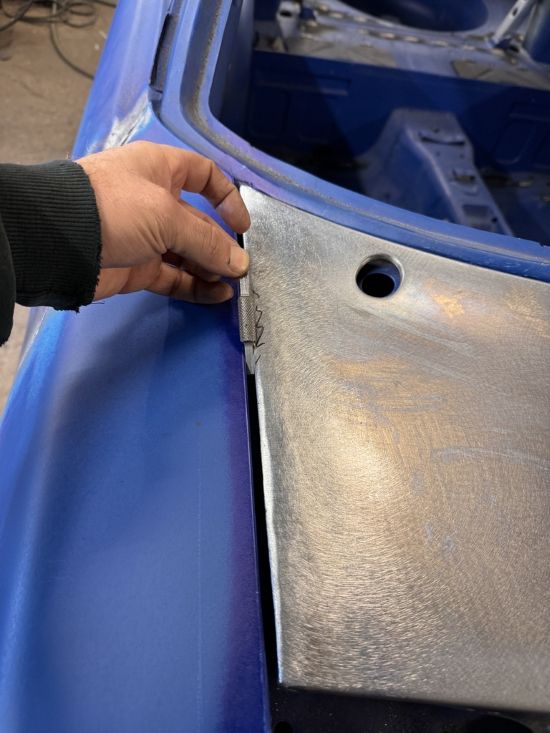
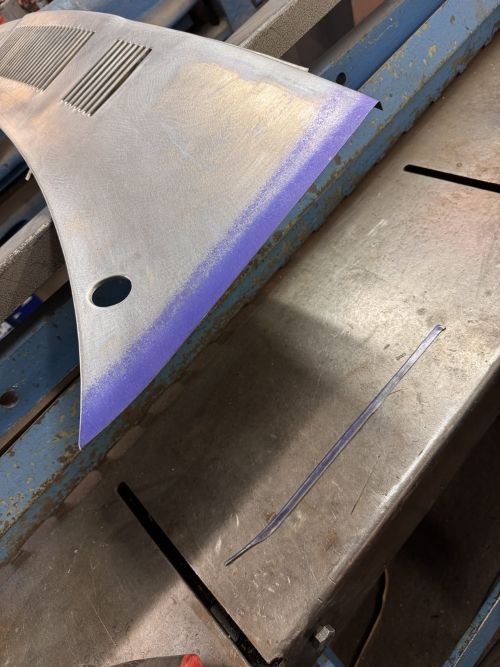
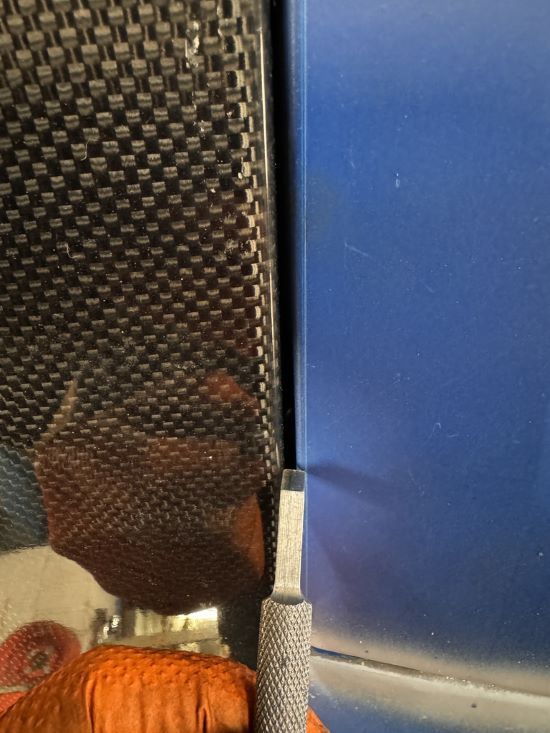
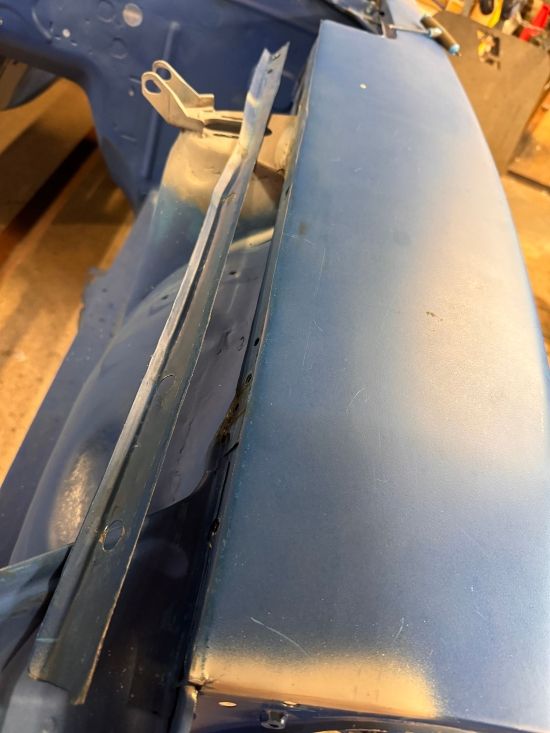
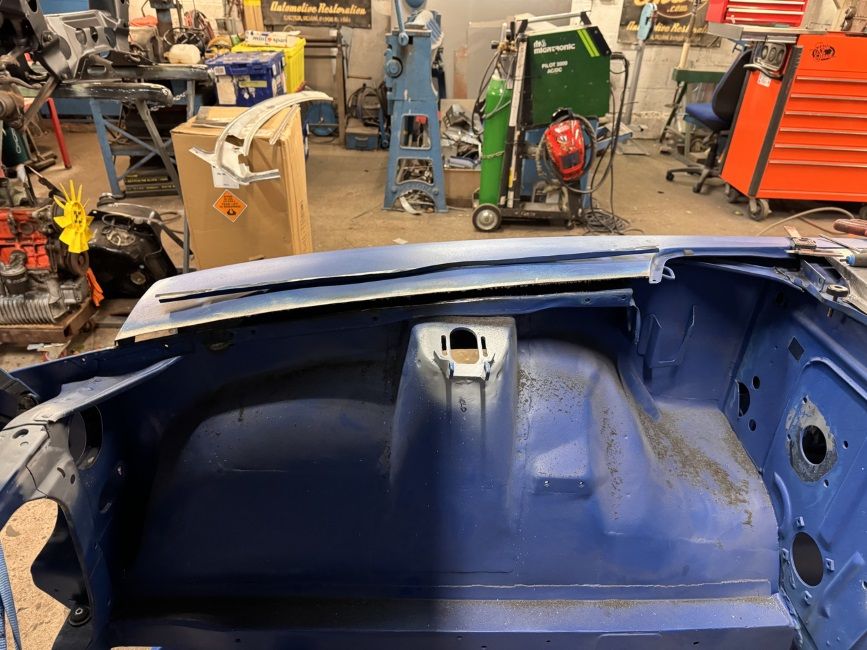
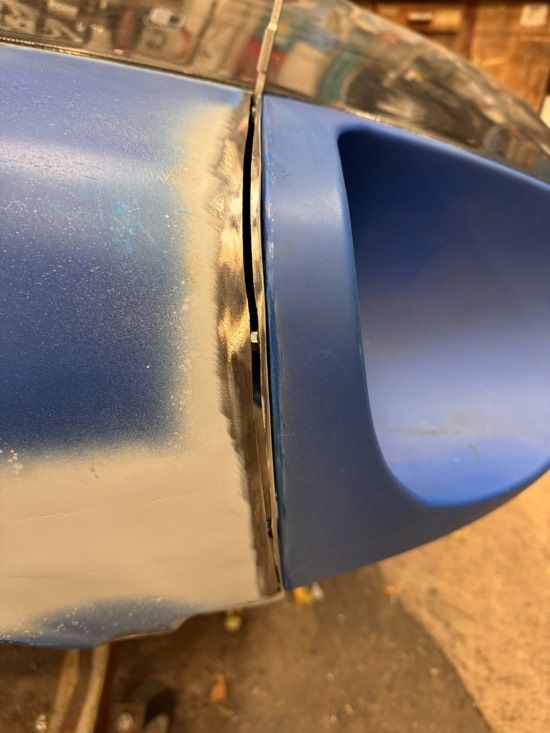
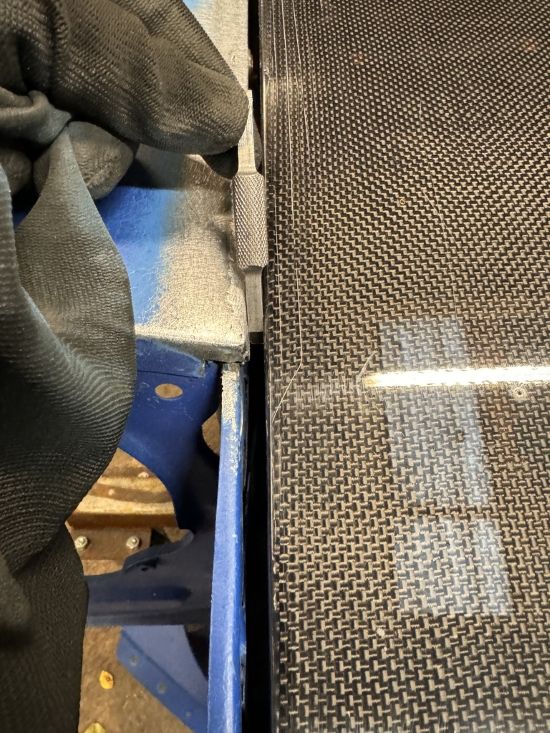
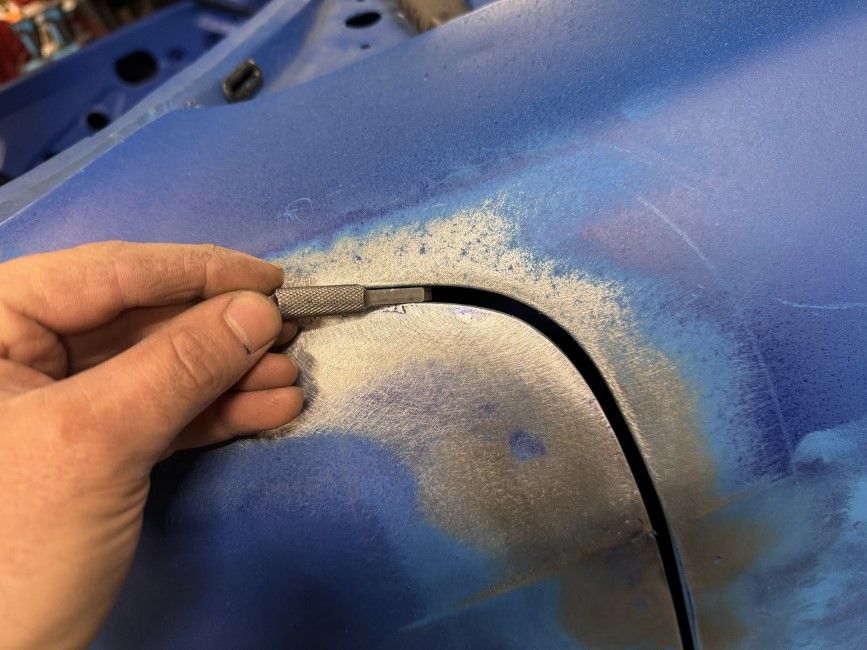
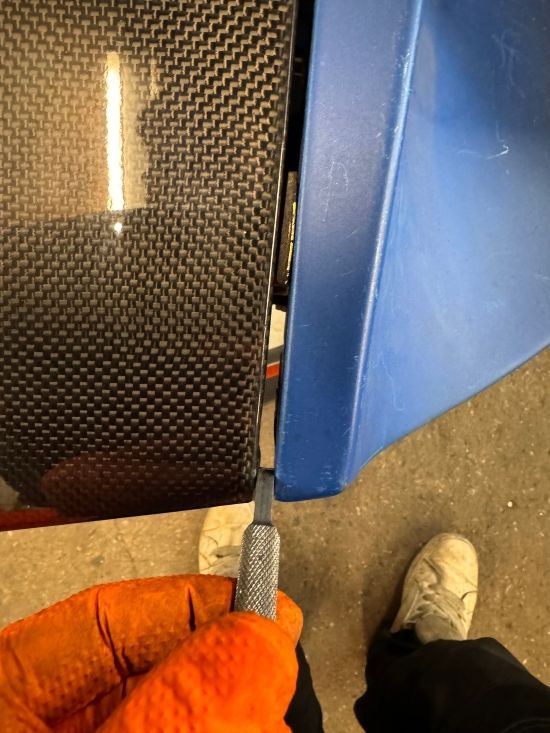
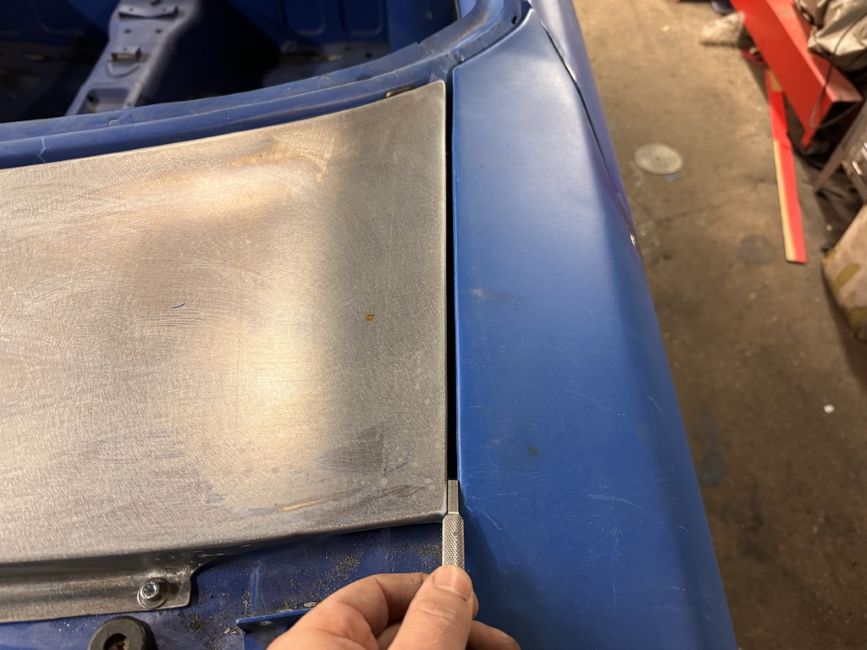
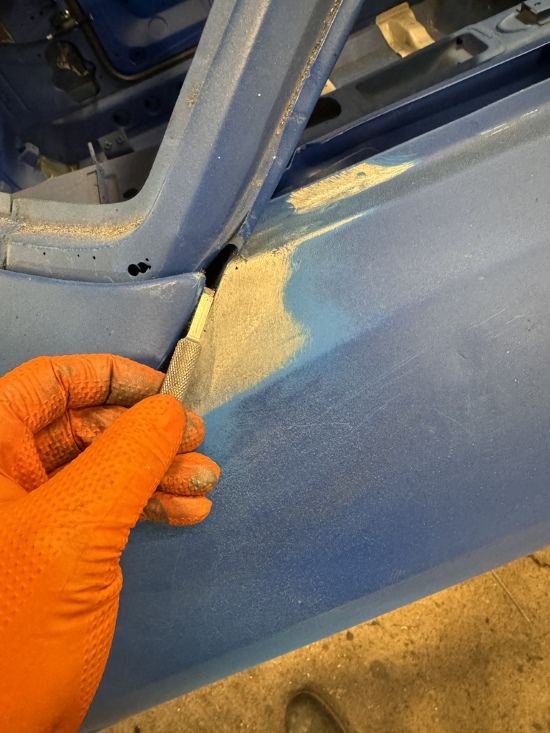
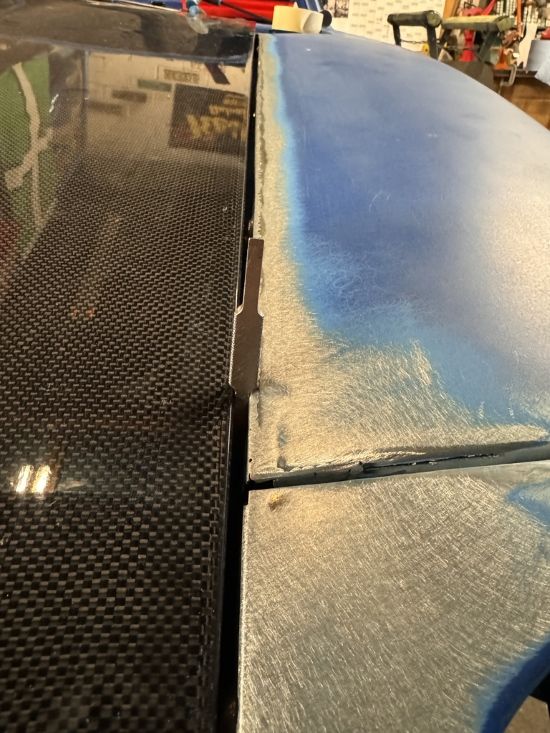
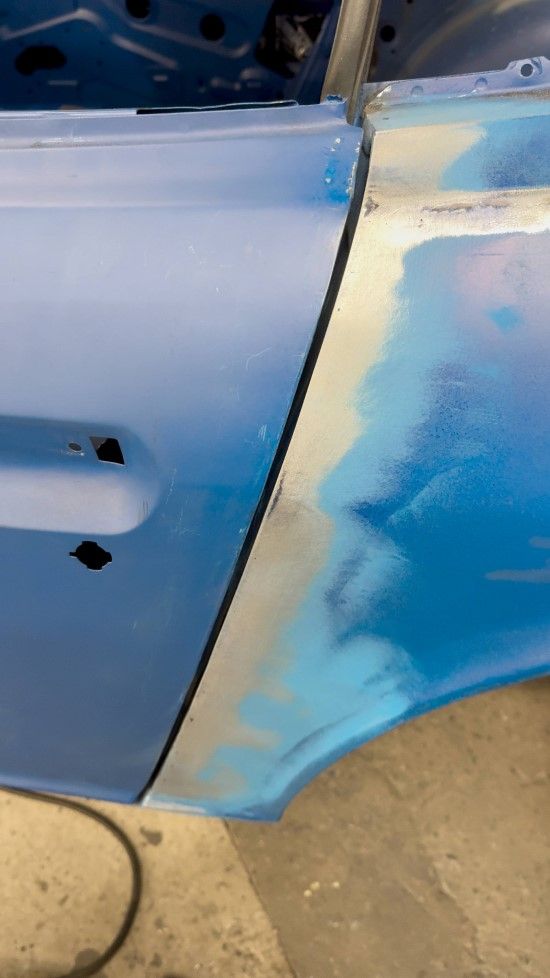
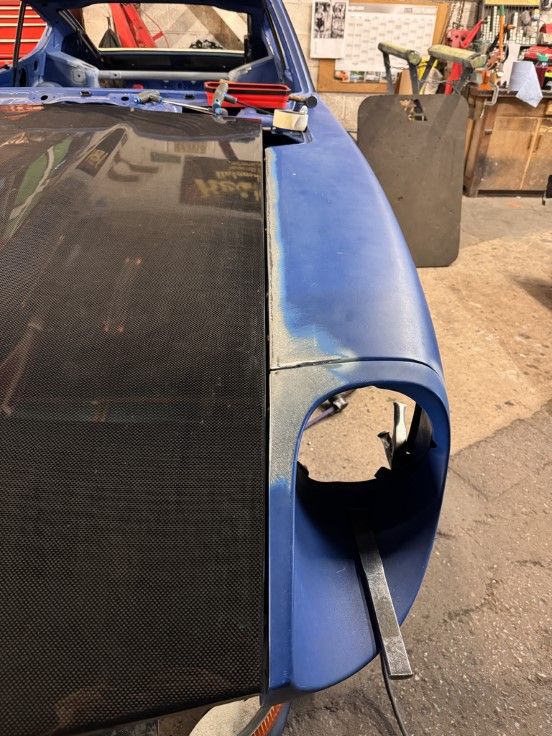
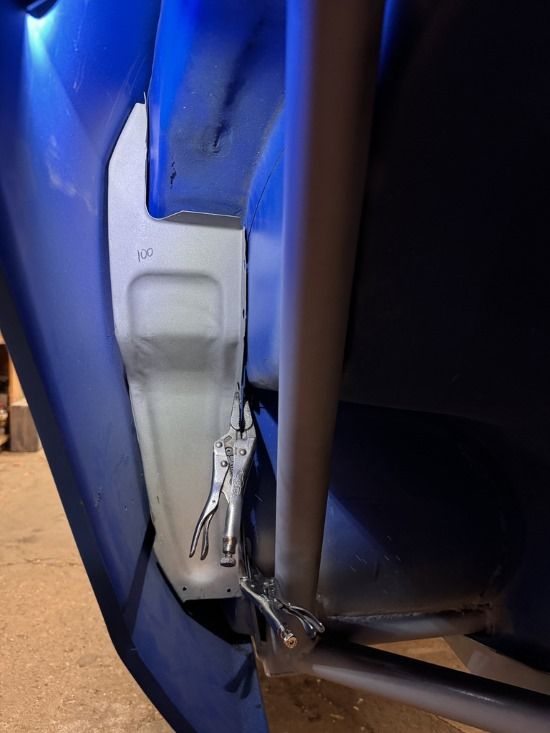
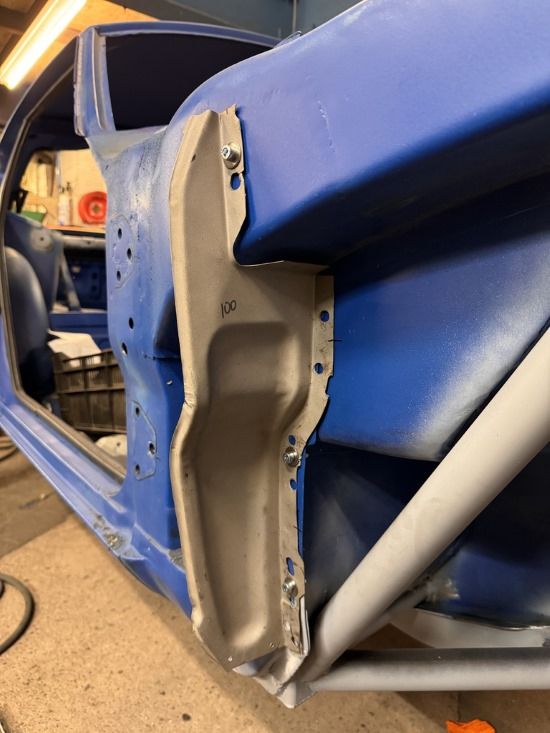
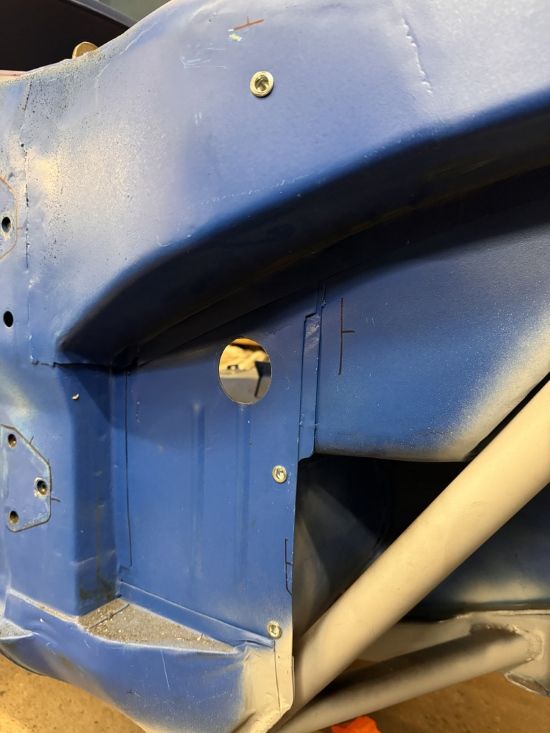
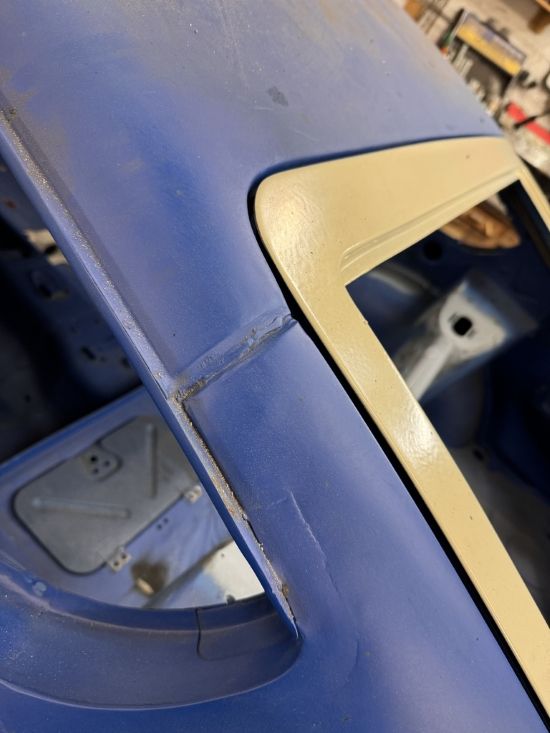
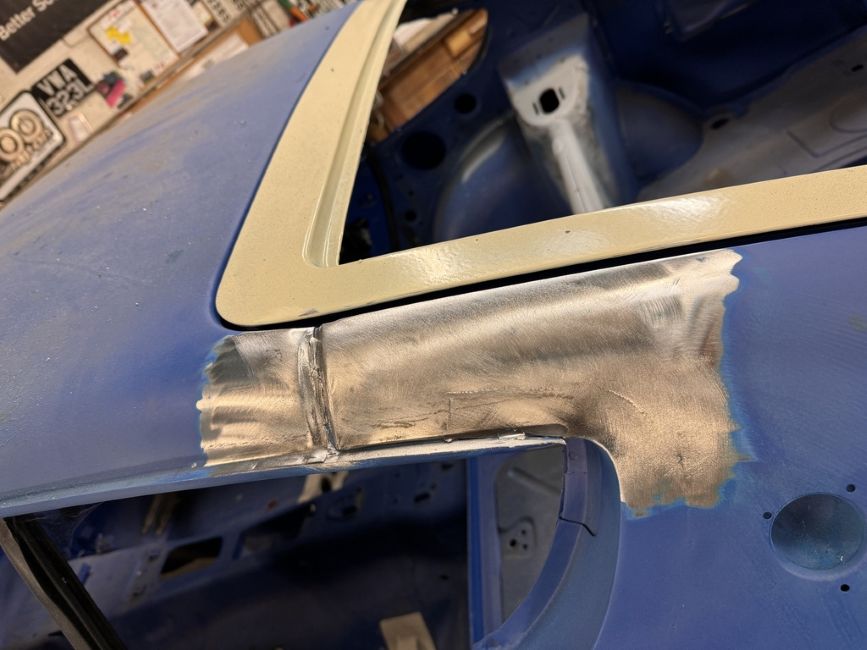
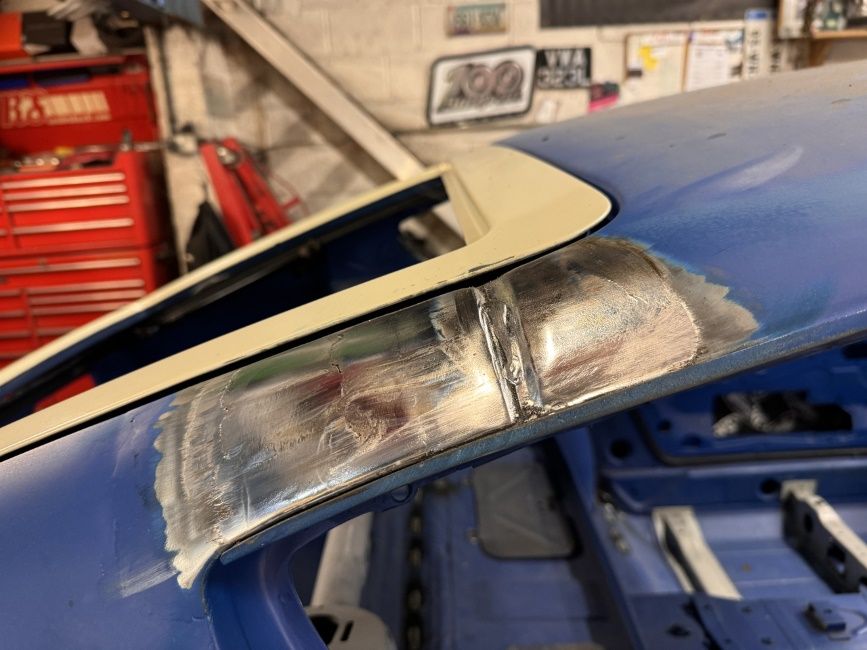
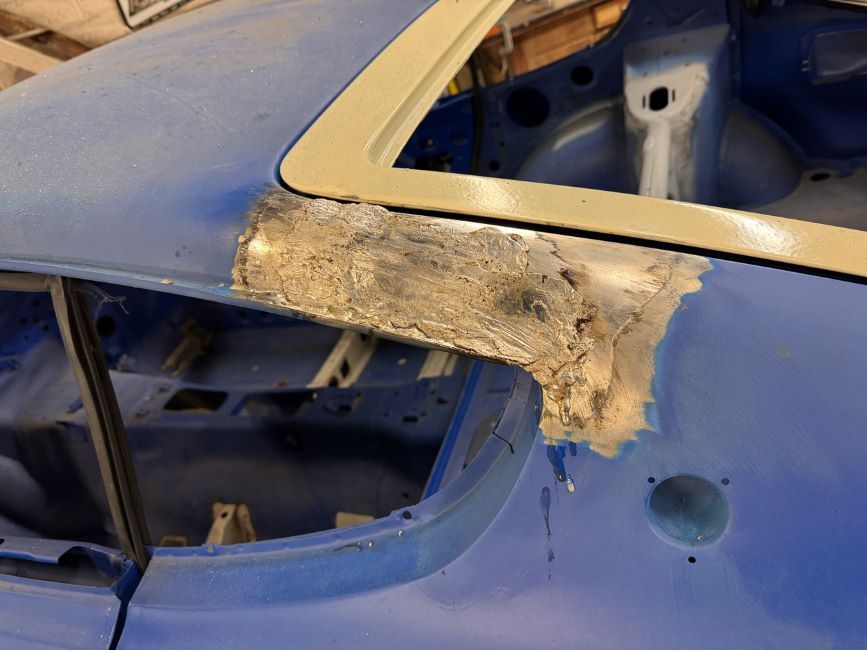
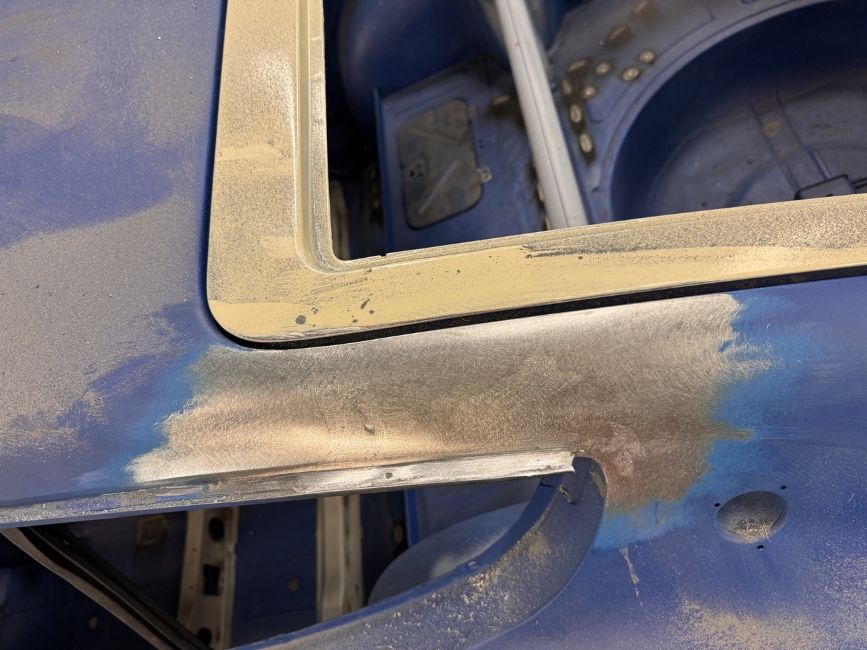
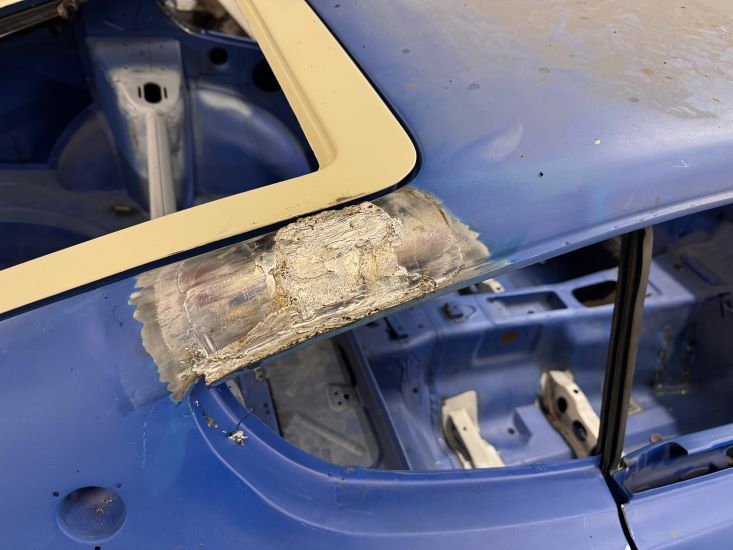
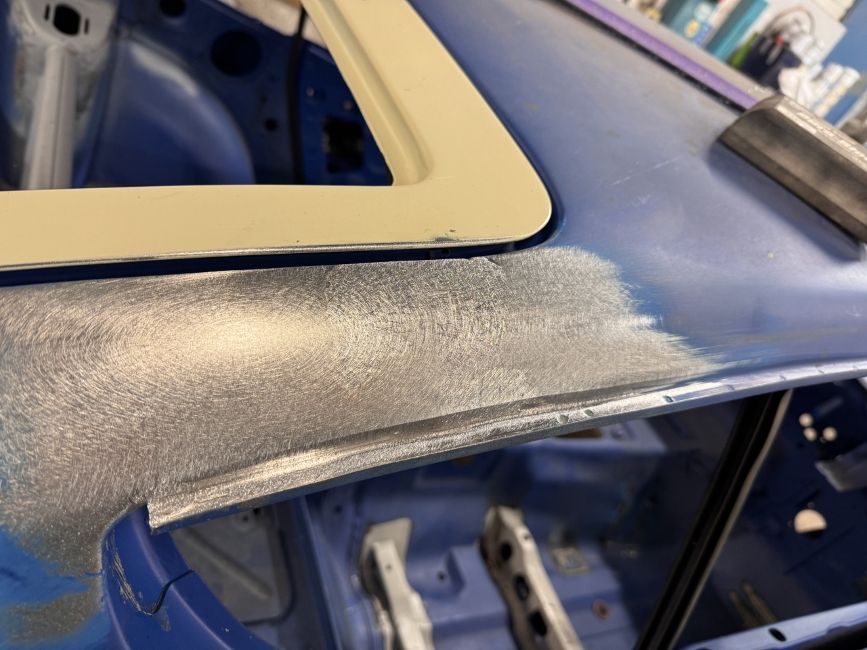
I'd said that metalwork was finished, but there will be little bits here and there for adjustments and panel gaps.

SjTorpfOdeFH7xrh1L1G.jpg


nrZM6iyg.jpg


mq3ZMY3wdqDkbn9xpLb5.jpg


UjgksoPixrzY4ZGgGQpo.jpg


BWPGTWBsMQ0yAWshJDL4.jpg


WgJN6KqQDF0N7VPubyuJ.jpg
 

Ian

Club Member
Still sorting Panel gaps at the moment.


Inspection Panels were not fitting great, they never have.

3XPipr1OK86rZASSJNaa.jpg


9dPR0FD5vylO6pKHqvQL.jpg


Getting re profiled for a good fit:

a31YUXeZuSaNyOwM2lpE.jpg


43kKB8a3qumISaDVPe3p.jpg


Anywhere where panels are spot welded together is liable for rusting. They will be epoxied and bonded back on to prevent this happening again, this has been done in a few areas around the car.

0srUrc57DVsYEAfQpzvM.jpg


eD2mmUrjkjL57Dg5CPZY.jpg


Fitting better now:

hHNNXugYeCLmt9ZeNBbZ.jpg


cskbEJjGDa8KkgTRZJ5F.jpg


Thought I would let Dave explain whats happening.


Bonnet tension rods were way too powerful for the super lightweight bonnet.


Inspection Panels


Panel Gaps


candy red

Club Member
Still sorting Panel gaps at the moment.


Inspection Panels were not fitting great, they never have.

3XPipr1OK86rZASSJNaa.jpg


9dPR0FD5vylO6pKHqvQL.jpg


Getting re profiled for a good fit:

a31YUXeZuSaNyOwM2lpE.jpg


43kKB8a3qumISaDVPe3p.jpg


Anywhere where panels are spot welded together is liable for rusting. They will be epoxied and bonded back on to prevent this happening again, this has been done in a few areas around the car.

0srUrc57DVsYEAfQpzvM.jpg


eD2mmUrjkjL57Dg5CPZY.jpg


Fitting better now:

hHNNXugYeCLmt9ZeNBbZ.jpg


cskbEJjGDa8KkgTRZJ5F.jpg


Thought I would let Dave explain whats happening.


Bonnet tension rods were way too powerful for the super lightweight bonnet.


Inspection Panels


Panel Gaps

Nice work going on there Ian good that there sending you videos showing you what’s going on 👍
 

Ian

Club Member
Dave has been great at keeping my in touch with the work the whole way through. I often get daily updates with photos.


I think I might be getting a bit too anal about this. Though I have always overthought things

Spent about 3 hours tonight going through all my photos trying to work out where I could move my battery through panel connector to somewhere more hidden. It took a while because there are very few options where it doesn't get in the way of something else. I did find a spot though, only just big enough. So it should be getting moved. I wanted to do this from the start, but couldn't work out where so gave up, but decided it had to be possible so gave it another bash.

DSCF8777.JPG


I've definitely wasted days thinking through all these little details, mostly how to hide and tuck things around the bay. Things that will go unnoticed on their own but together add up to make it something a bit more special.
 

Rob Gaskin

Treasurer
Staff member
Site Administrator
Fantastic work as usual but so expensive and all to remedy poor design/rustproofing, poor workmanship by the previous bodyworker, complications caused by diverting from standard and a perfectionist approach by owner and restorer.

So a one-off that I would be 'shit scared' to use or park anywhere. In some ways it's a bit like a Morgan in that the panels are made to fit the car.

I absolutely love this Thread and admire you so much Ian, thank you for sharing your 'journey' with us.

Re battery - when I was changing the electrics on my blue rally car I considered putting it behind the passenger seat in a box or in the passenger footwell - far forward with a footrest over it? In the end I left it where it was because I wasn't short of space and didn't want the hassle of removing the battery tray.
 
Last edited:

Ian

Club Member
Thanks Rob. Its been a real challenge, its nice to see at least this stage coming to an end shortly. Still a ton to do once its back in my garage.

Will see how I manage to use it, I'd love to use it properly, but its got so much of my finances in it that I need to treat it carefully. Its essentially priceless to me as it can't be replaced.


My small battery fits pretty well behind the passenger seat, and is good for a small amount of weight distribution. Plus it lets me have quick access to thew power breaker. So its really just about hiding the place where the power enters the bay.

P1010395.jpg


Gap looks so much better now.


Pondo

Club Member
I think that’s pretty standard with the carbon bonnets at least from what I’ve read while I was also considering one.

Lovely to have that attention to the detail though Ian, I think once you’re driving the car you will be very pleased with it all.
 

Pondo

Club Member
What about putting your bonnet hinge on a gas strut, Apex Engineered do one but you could make your existing one work I’m sure.
 

Attachments

  • IMG_4357.png
    IMG_4357.png
    329.7 KB · Views: 14

Ian

Club Member
I think that’s pretty standard with the carbon bonnets at least from what I’ve read while I was also considering one.
Yes, I was expecting this, though I didn't expect it to be this strong.


Lovely to have that attention to the detail though Ian, I think once you’re driving the car you will be very pleased with it all.
Yes, I'm sure I will, because I loved it before, and its only better now. Can't wait fir that time to come around.


What about putting your bonnet hinge on a gas strut, Apex Engineered do one but you could make your existing one work I’m sure.
This is already underway, just awaiting the arrival of my custom struts. Took a while to decide if I wanted them, would save weight without them and the stay would work just fine so do I really need them, probably not, but considering how often the bonnet will be opened I decided I would go for them.
 

Rob Gaskin

Treasurer
Staff member
Site Administrator
Would that gas strut have less pressure than the standard springs? Is it designed for lightweight bonnets?
 

Ian

Club Member
If I knew what force I required I would have requested it, but since I do not know I specced an adjustable set, so I can bleed off the pressure until its just right. Will come with 700n of force and can be reduced down to 50n, I expect I will only require around 60n.
 

Ian

Club Member
6v2uzd2Q.jpg


Work continues, was actually still some metalwork left to set the panel gaps. Some adjustment required to get them all even.

Does seem like it never ends.

CTzR3UAFDvgGc2yLPWqF.jpg


5qkHdoQMCyKoOkxSD2sx.jpg


DjUM3AKzW0MxMgDo9Kke.jpg


4


6DpAojwUQpf6BgUx1s6f.jpg


aw0flJ0A.jpg


DfWLWEba11qQYWyySv2l.jpg


ilkHkjsvRsjl3pKZfR4i.jpg


All good now:

8vUPymk1SOreZhfPIeu3.jpg


cBDx0Q1nrhQ7r2pGQuNE.jpg


JJp8pnLA.jpg


i2esN3xN3WSVg8fcDb7e.jpg


JjDhukY2JleORHq3QKGK.jpg


UjgksoPixrzY4ZGgGQpo_96CKSPoBJEbzSKudNvpZH5.jpg


Rear quarter needed a relief cut in order to let the panel move into place.

Panel_Gap.jpg


VNXHNAVJcdM70IZd9u9S.jpg


BWPGTWBsMQ0yAWshJDL4_rbep9jj28a2dokw11eYcCi.jpg
 

Ian

Club Member
PE6KacaDXFuI96yZzOld.jpg


Decided to mount the splash guards as bolt on items. this will allow me clean behind them without needing to remove the wing.

FuhjBAwDLTC381101rDv.jpg


lxrbr1UxJu1Iwst6Wnur.jpg


C Pillar joints needed lead loading

8d4aqdiHHTiJKSYLNj0T.jpg


Z9RneDCzXilfmcWGN1Nj.jpg


vKDSdRXtNOpIG8GEZ0vY.jpg


lpm5vebHYnCmCIBPdOwx.jpg


te0fkxzavhozWi5JlEOU.jpg


6kbsp4KINKvaC3AJORgS.jpg


l5mTCfAy0Qsi3gbkB6eD.jpg


I have a spare set of access panels, these will get louvered. Then I have options for both, I feel they may be useful for helping with heat, can fit them for track only if I decide I don't like the look 24/7.

DMPLPGwMLk62SmIjaWa8.jpg


Will soon be ready for sanding back the body and applying the final layer of epoxy primer, Will be using Novol range for everything.

WfU97dEg3QFD5lt9HBDl.jpg


Got some parts waiting for me upon my return home, including the Tomei oil pump.

BEMAE3748.JPG
 

Pondo

Club Member
Rear quarter needed a relief cut in order to let the panel move into place.

Panel_Gap.jpg
With this attention to detail and having a relief cut here it’s certainly worth thinking about window fitment and clearance between door and the quarter windows. On some cars this is already a tight spot and to have such lovely gaps but your door striking the window on closing would be a shame.
 
Top