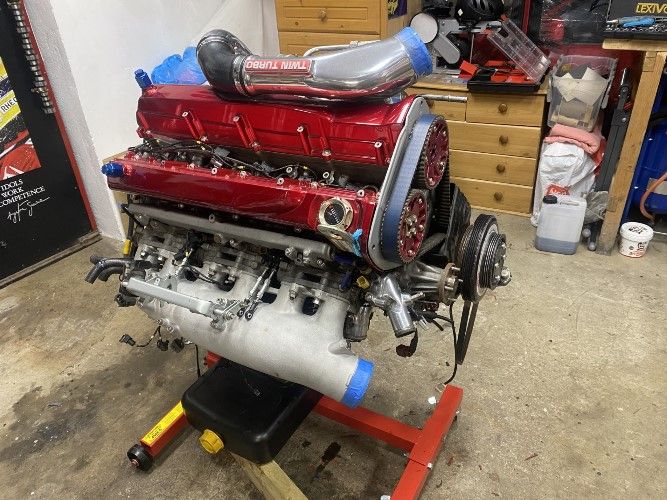
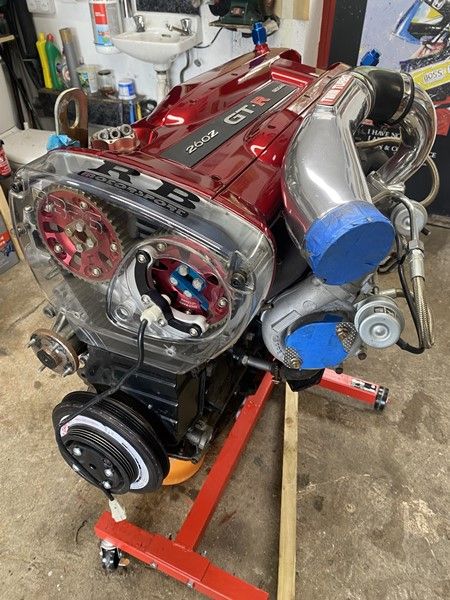
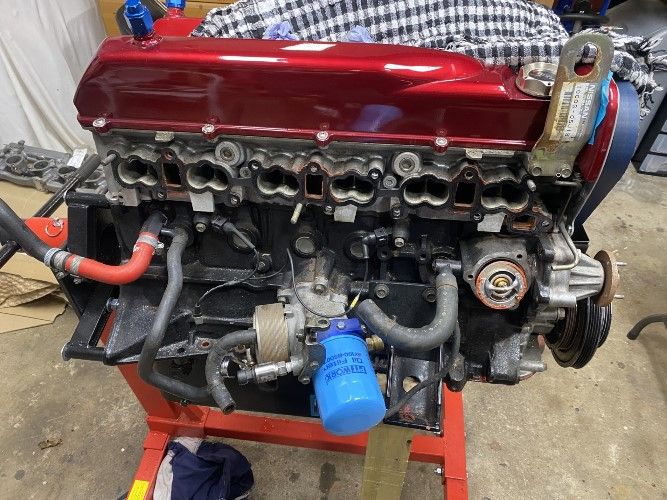
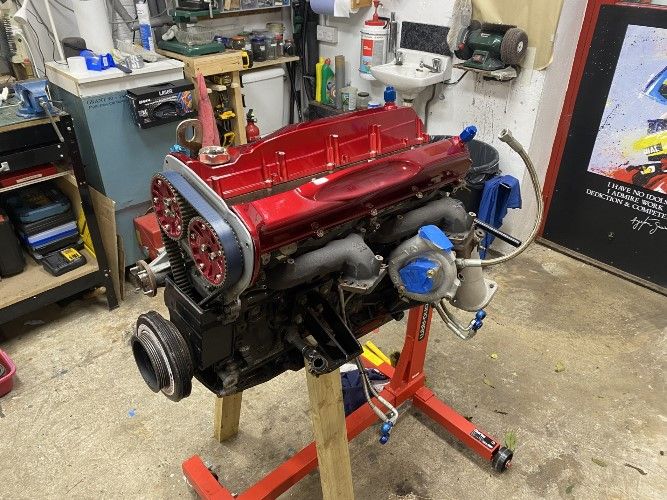
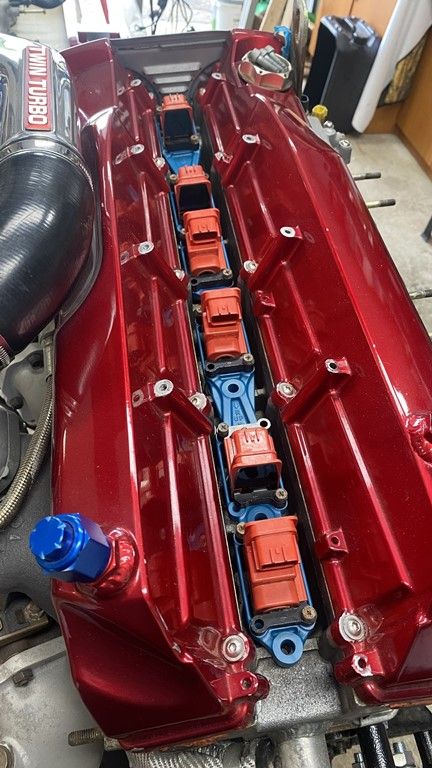
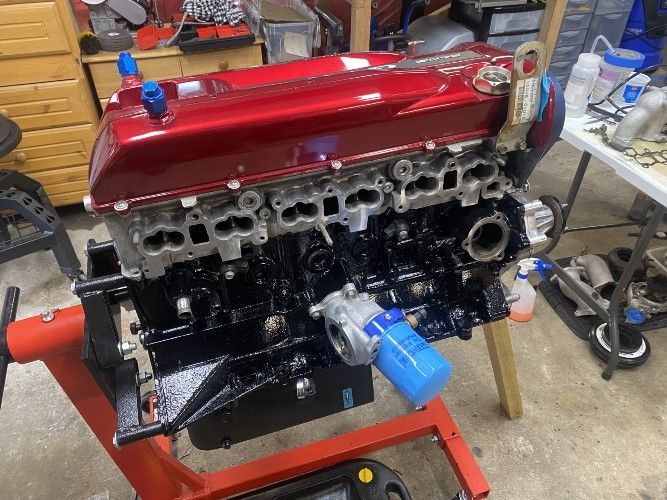
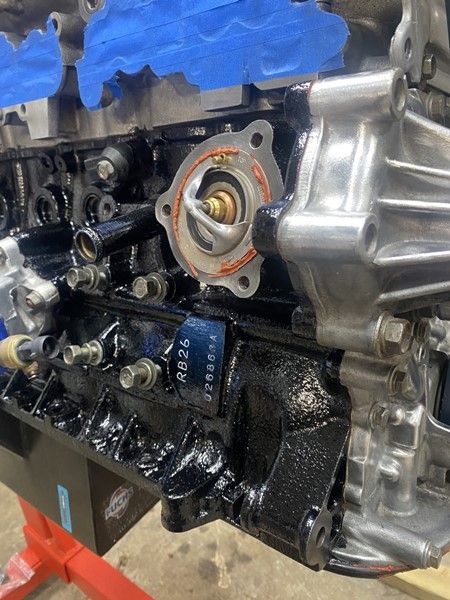
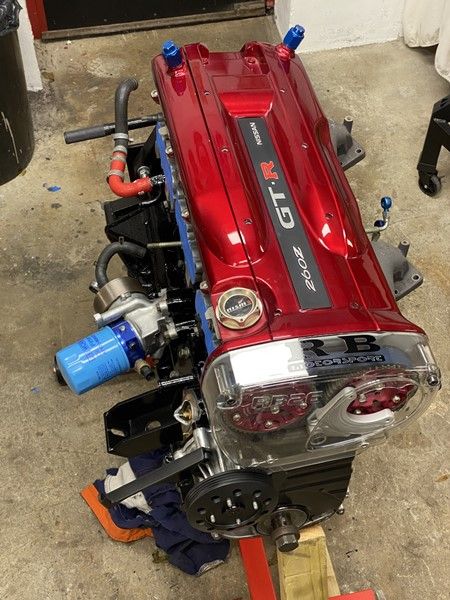
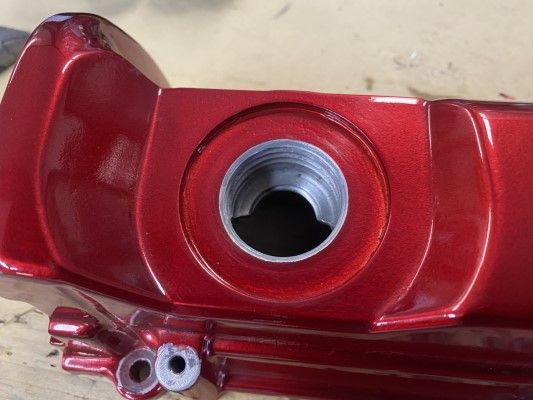
Had to remove the cam cover because when it was painted it was not masked off for the oil cap, not only does this looks bad, it was starting to break off and could get in the engine. So that needed fixed.
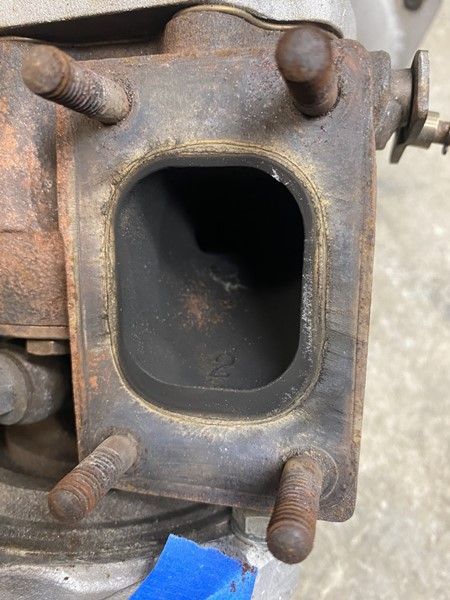
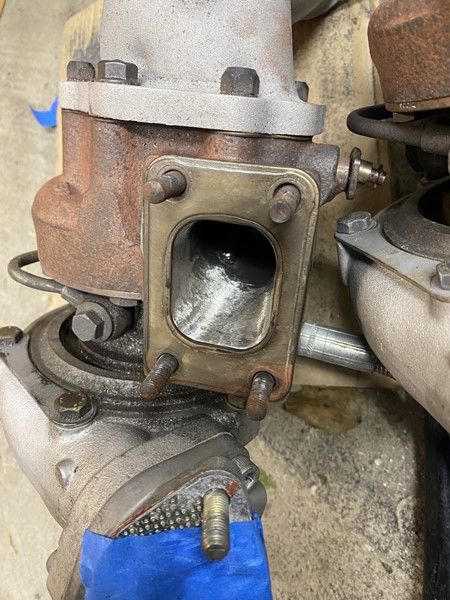
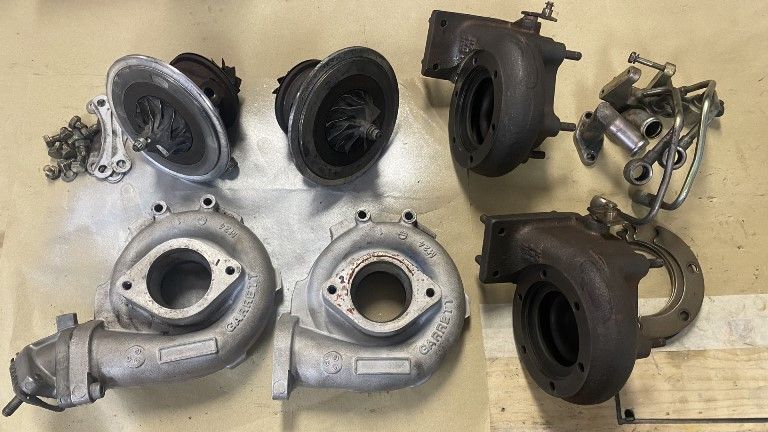
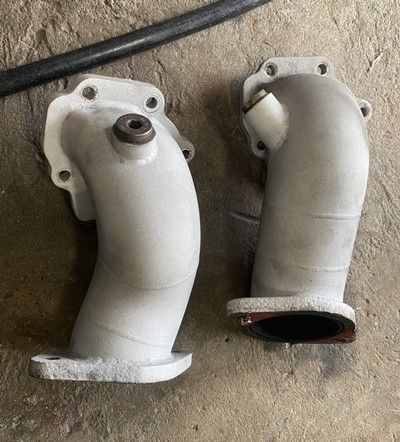
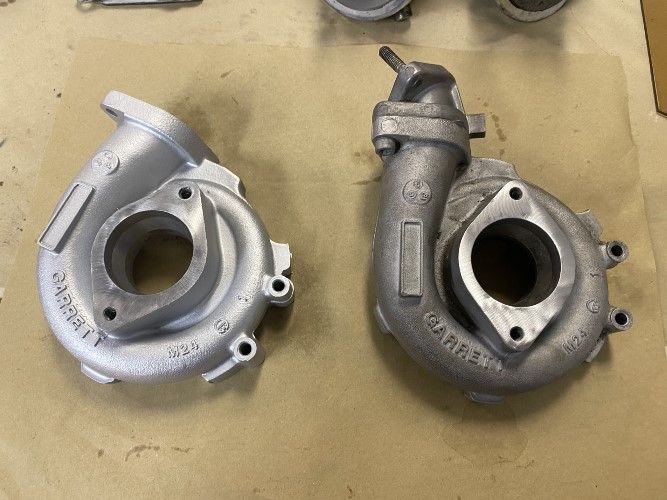
Disassembled the turbos. Turbine Housings will likely go to Zircotec
It held up well on the turbo elbows. Hopefully it provided the claimed 30% reduction in temps. But either way since the front one passes right next to the rear air intake and compressor housing its a good candidate for titanium lagging so they will be sent off to Thermo Met for this. Would like to do my manifolds as well, but its very expensive and given the Tomei ones are already hard to fit I don't know if I want any extra thickness.
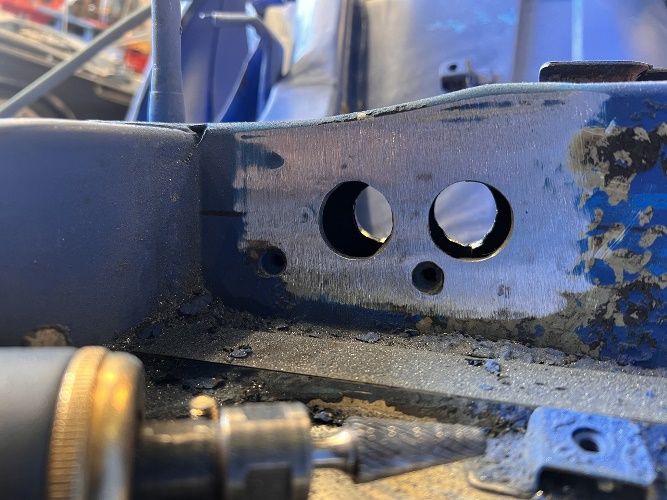
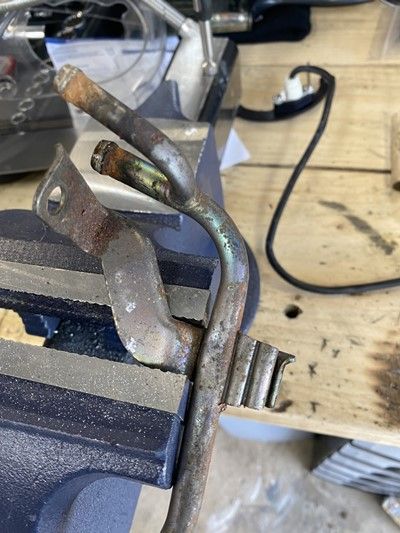
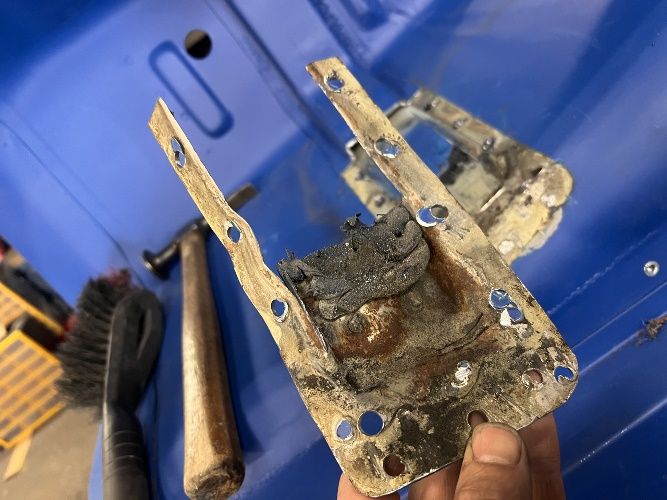
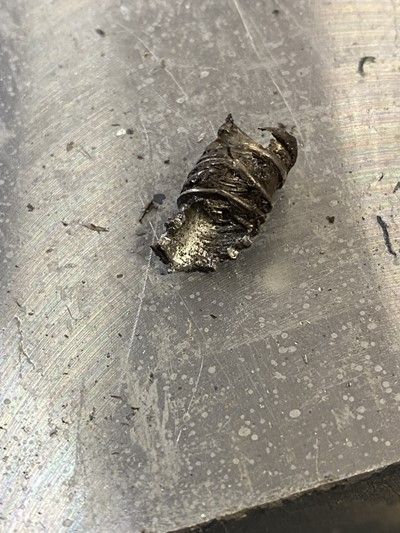
Note the broken bolt in the bottom of the one on the right.
That took a very long time to remove.
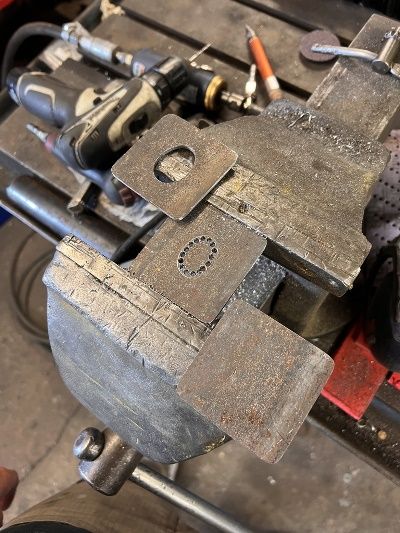
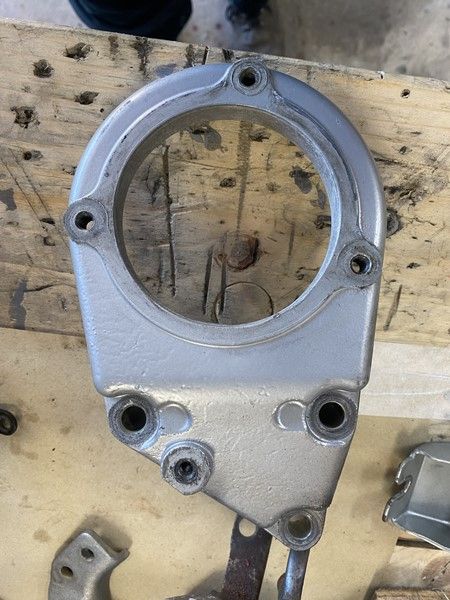
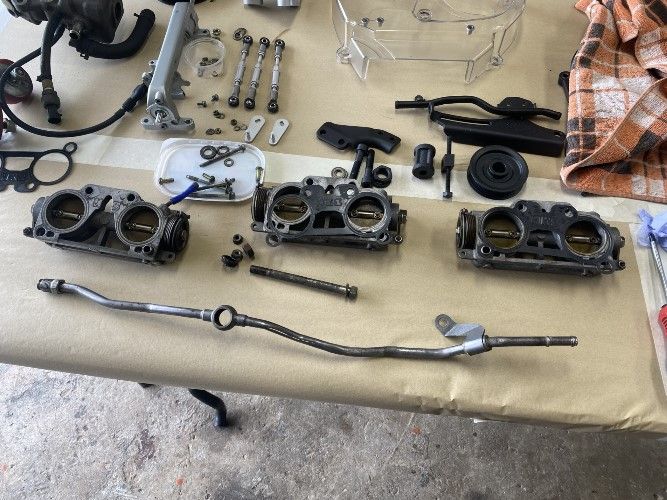
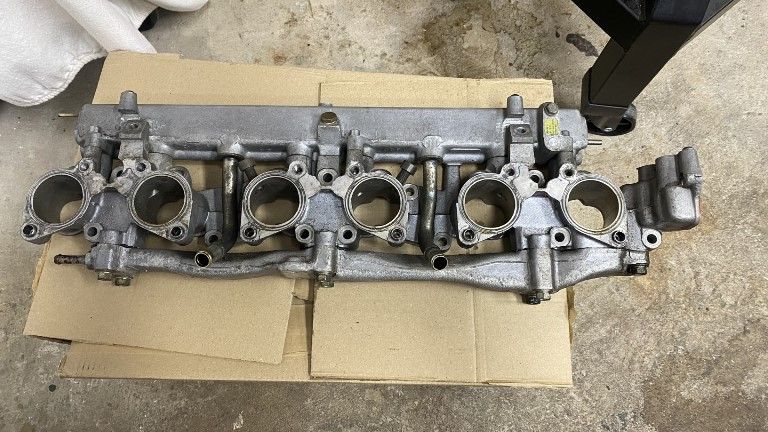
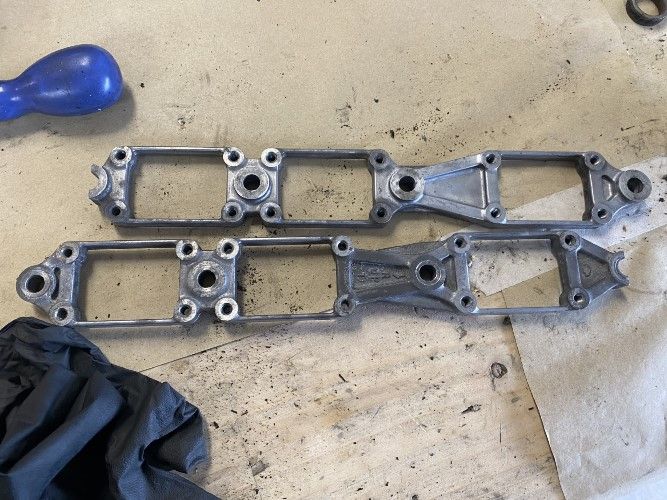
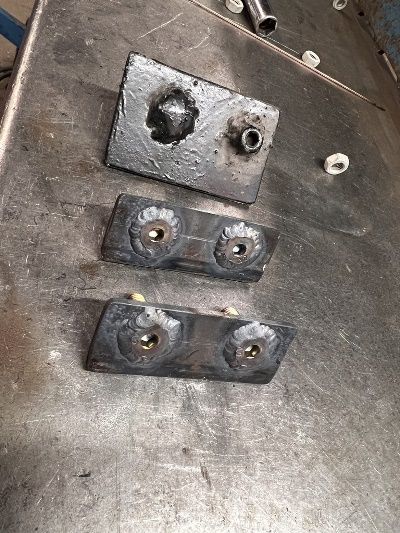
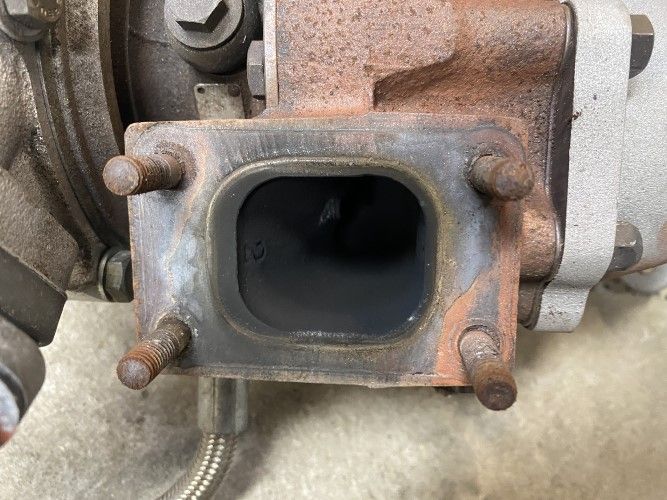
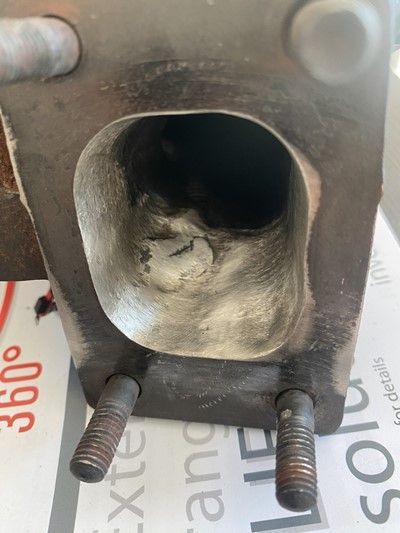
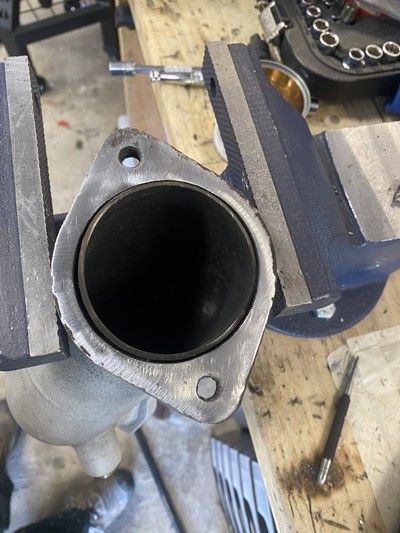
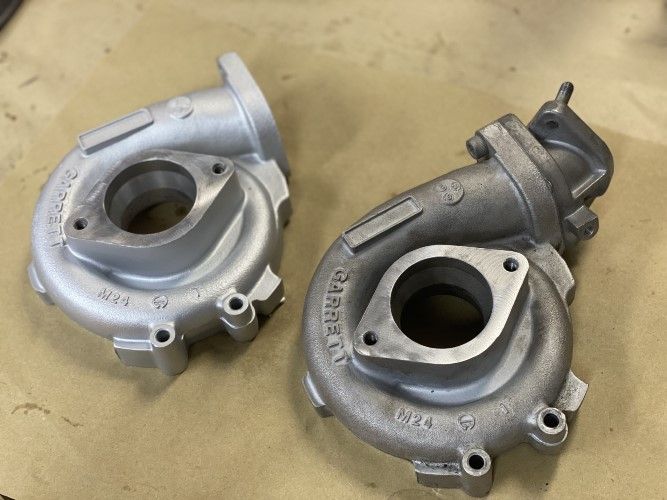
Flanges were not perfectly flat, so did some work on both of them.
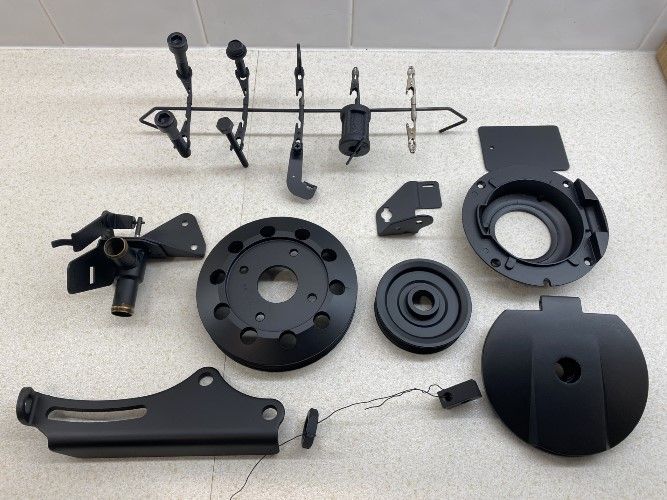
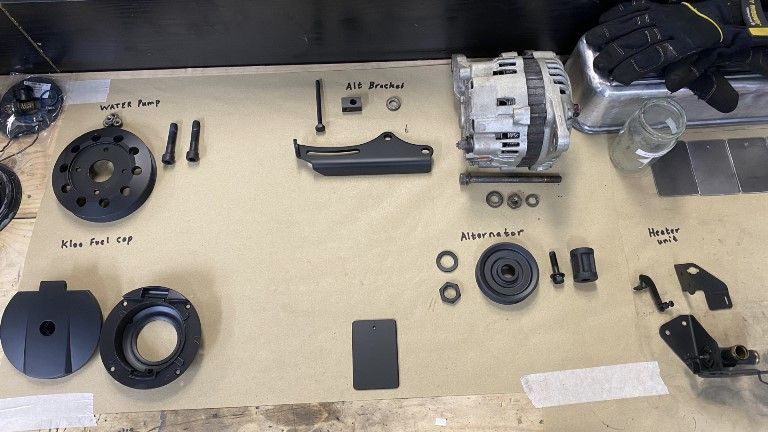
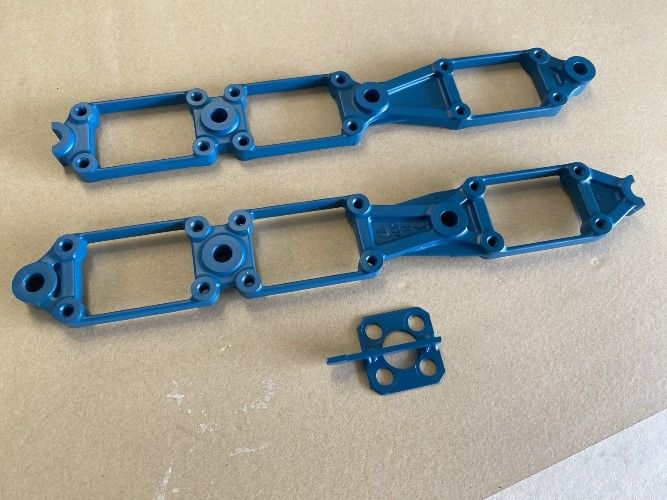
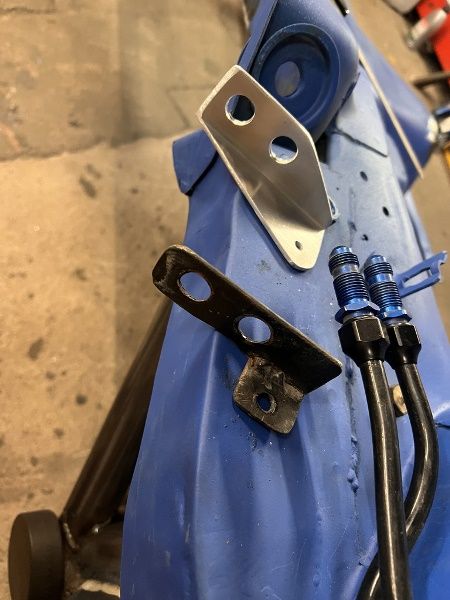
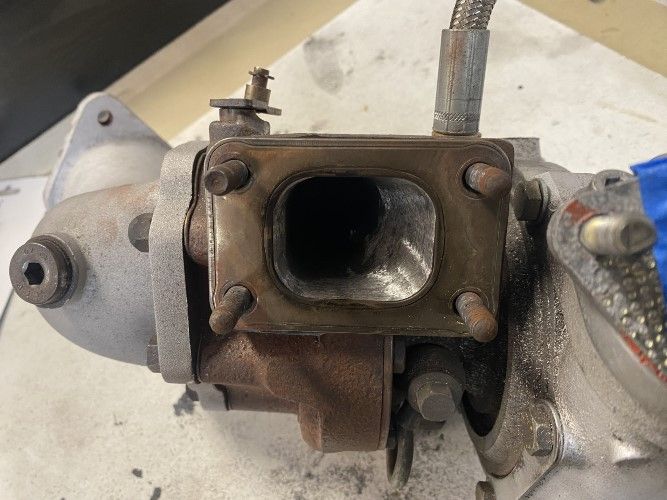
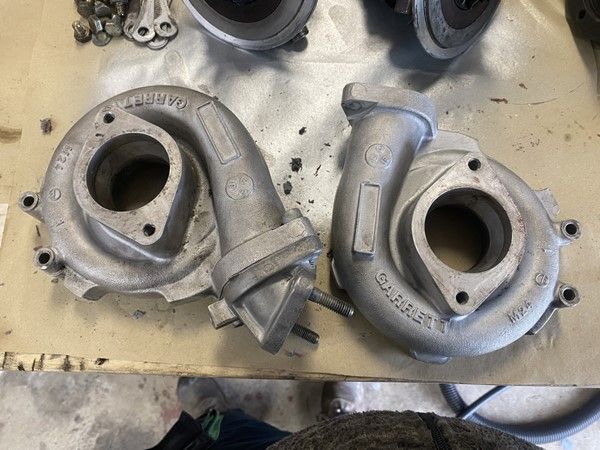
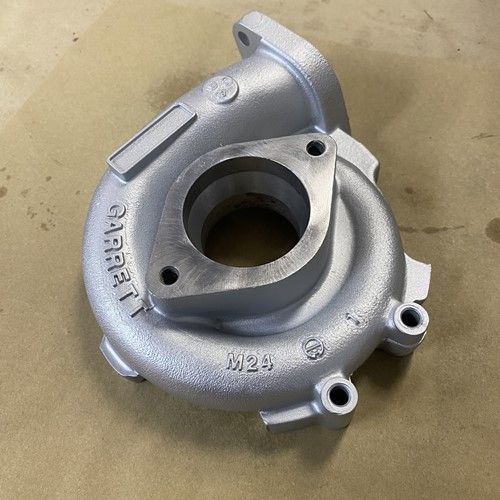
Was going to get these vapor blasted, but decided to cerakote them instead.
Before and After
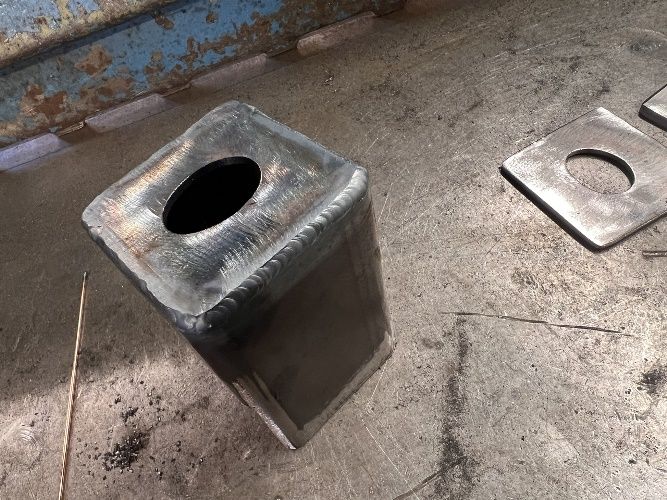
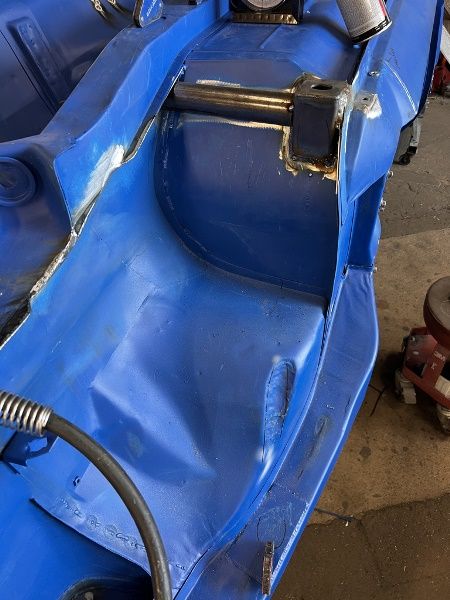
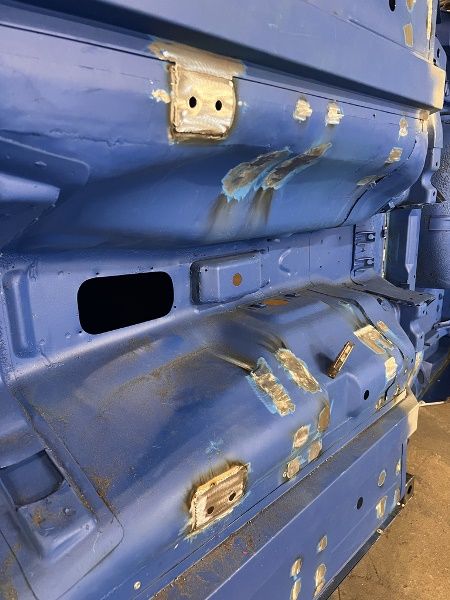
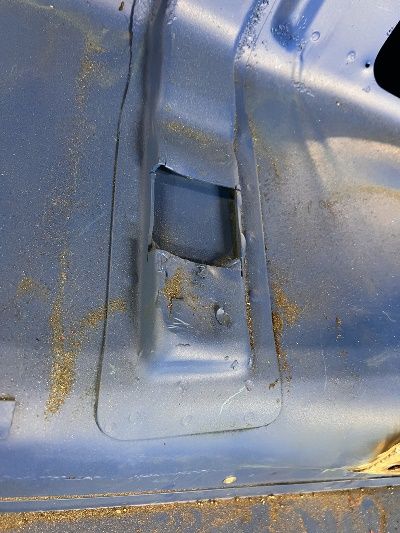
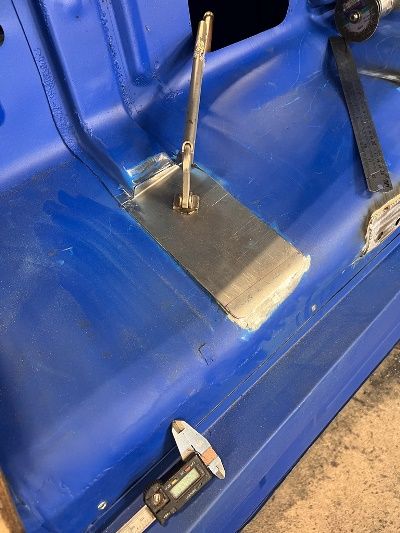
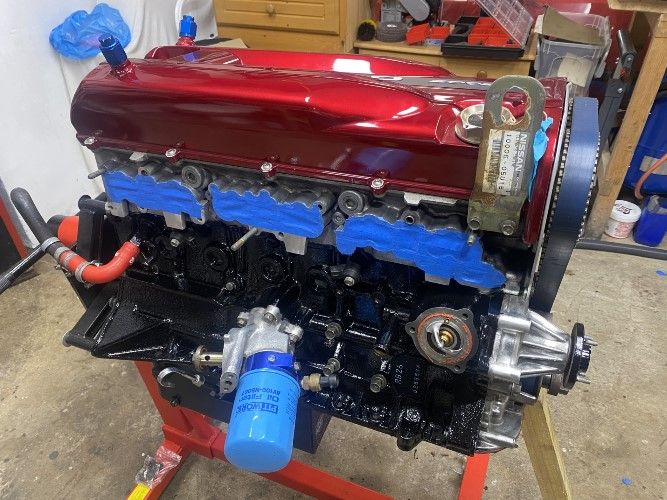
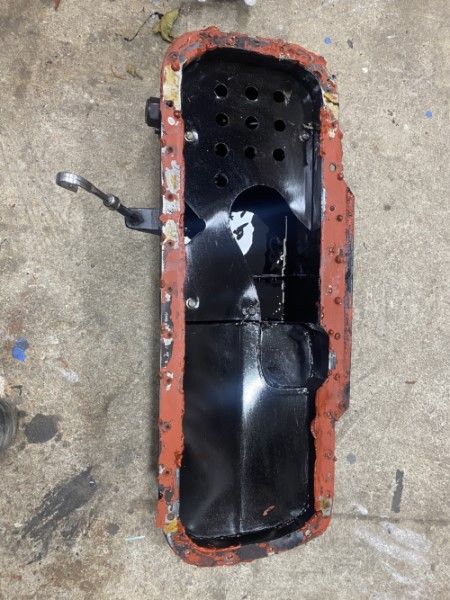
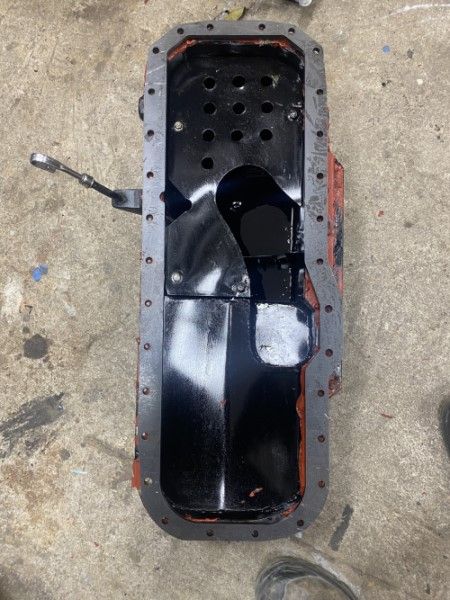
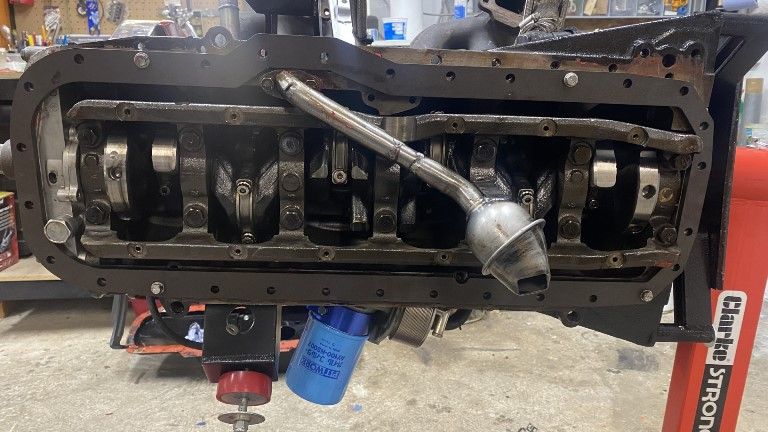
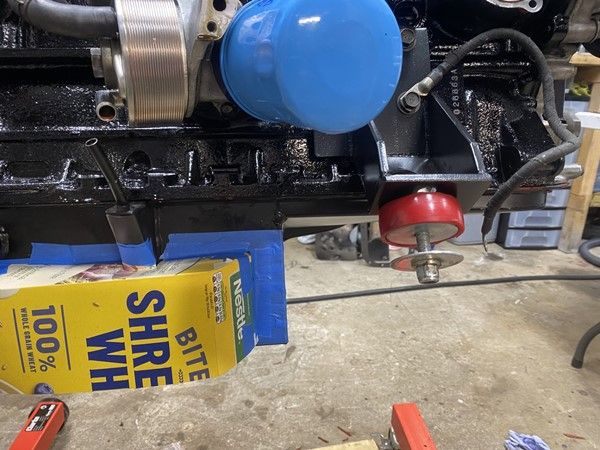
Sump off. Planning some improvements on design. So its actually going to be a brand new sump. I would modify this one, but its got a thin flange and its not perfectly level, so doesn't seal great so will start fresh with a much thicker flange. It would be fine as a road sump, but on track it needs improved, its too long behind the pickup but mainly on hard cornering to the right there is too much oil able to run away from the pickup.
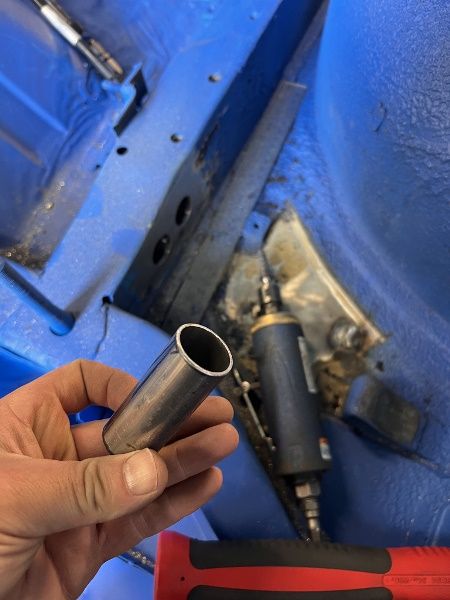
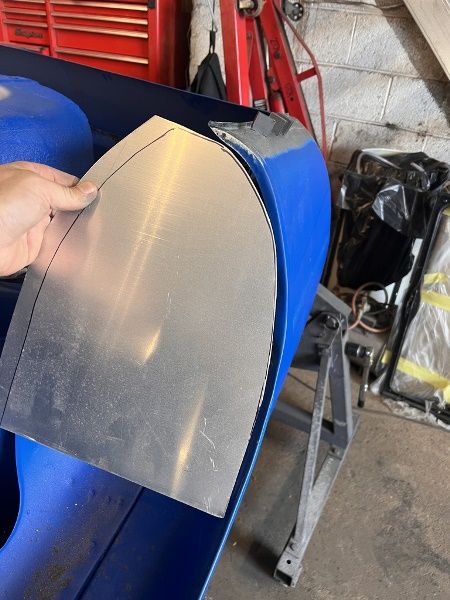
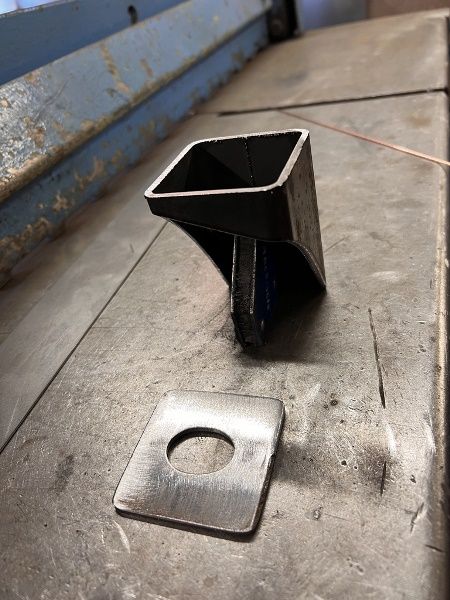
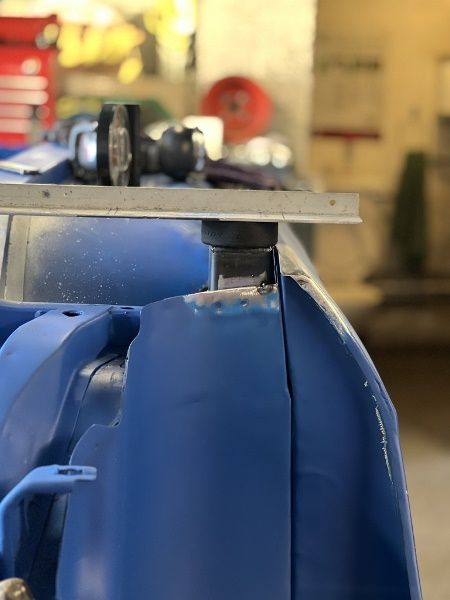
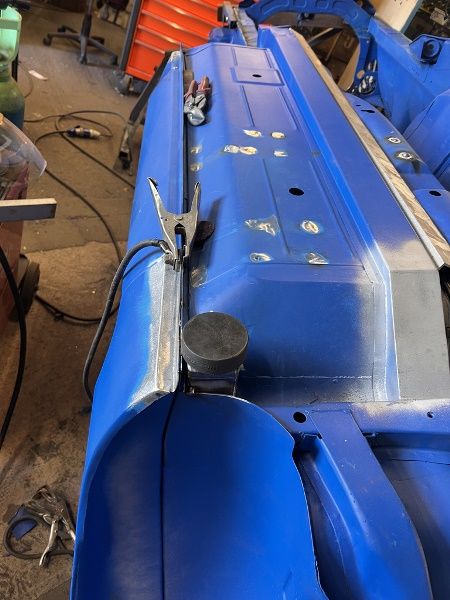
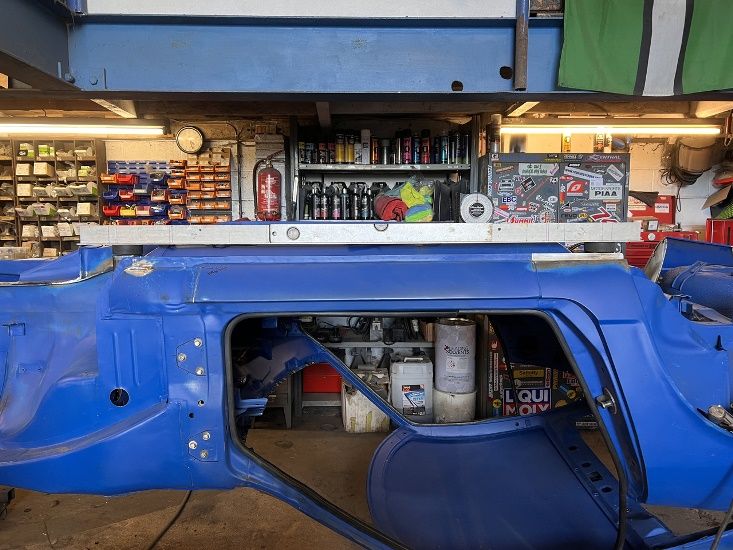
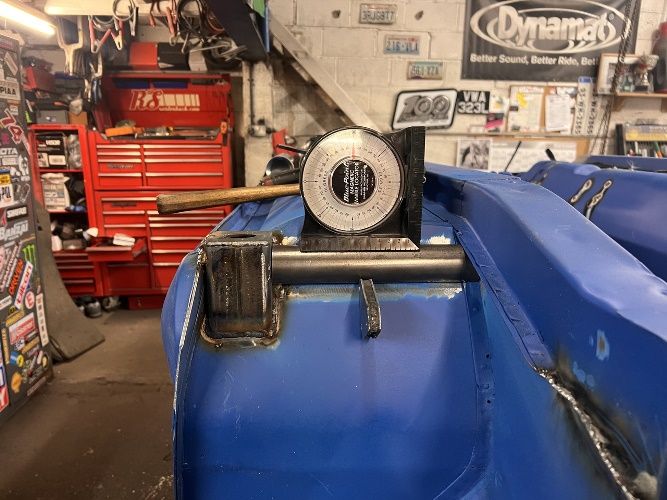
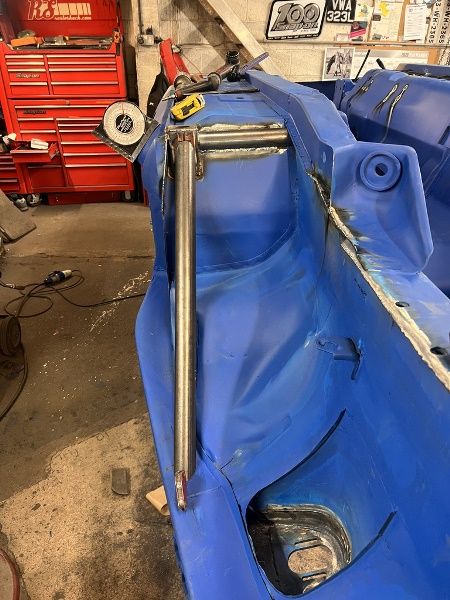
Checking new flange fitment.
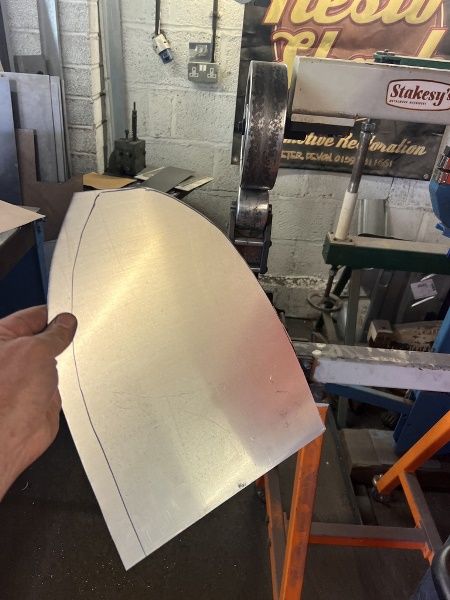
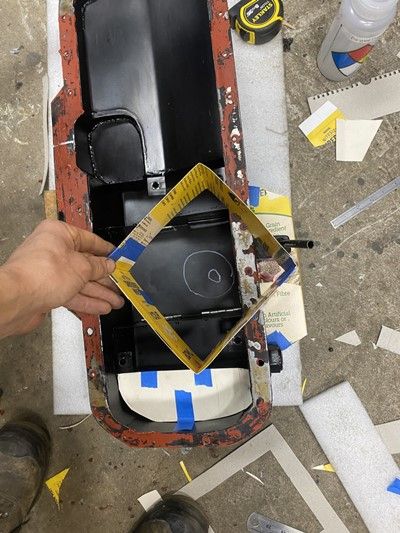
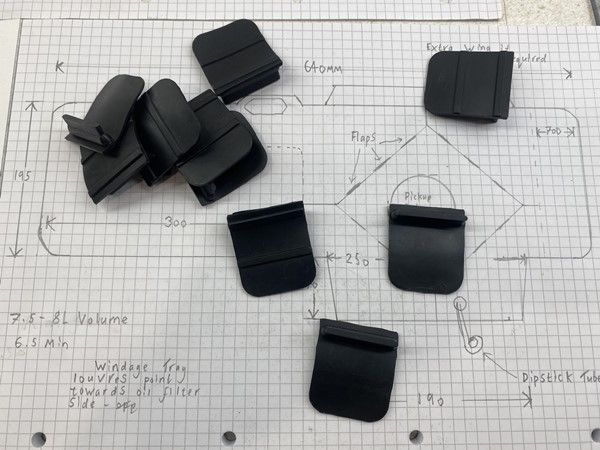
Time for some oldschool CAD (Thats cardboard aided design)
Basic plans drawn up.
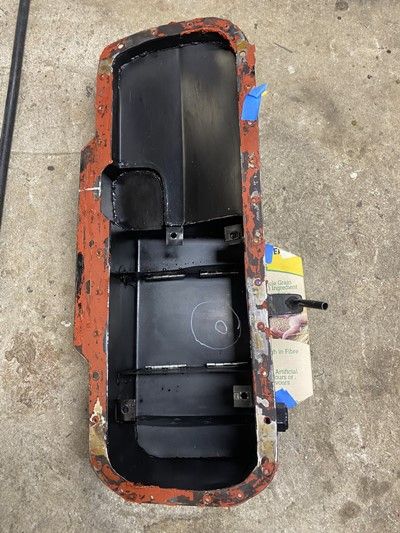
Plan is to reduce the length of the sump and make it square around the pickup by adding wings, one larger on the pickup aside and a smaller one on the other side only there if needed to increase capacity, aiming for 7.5-8L. There will be a square box around the pickup with 3 trap door flaps per side and plates running to the sides of the sump from each corner. Rear section will be only be 1/3 height but will have a small 30° lip overhang (with drains) to reduce the oil going up there on acceleration. There will be a louvered windage tray above all this. Other trap door plates can be added as required.
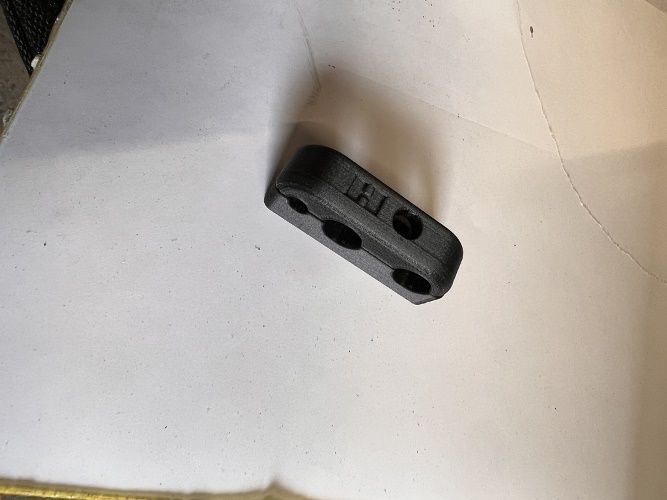
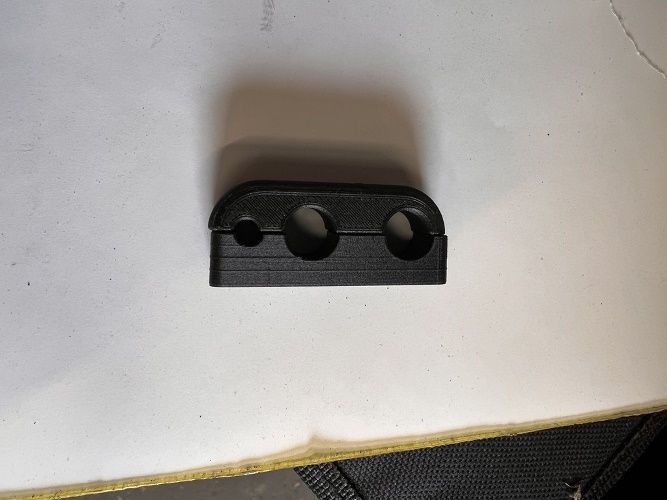
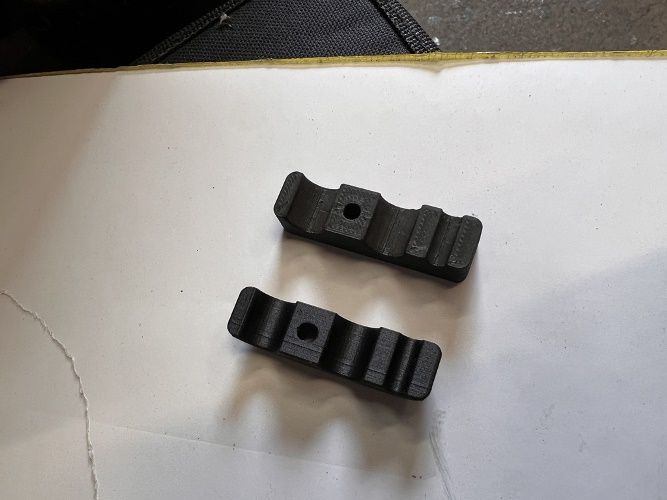
Will be using these trap door flaps.
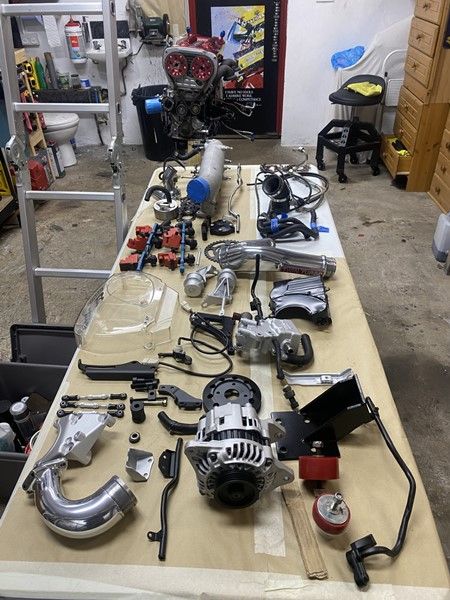
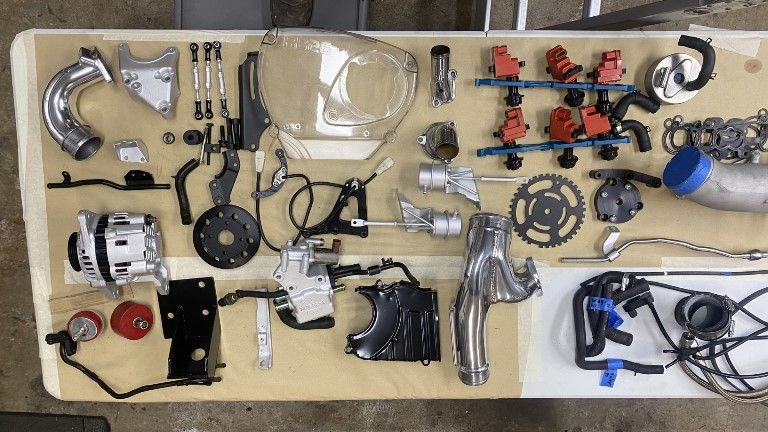
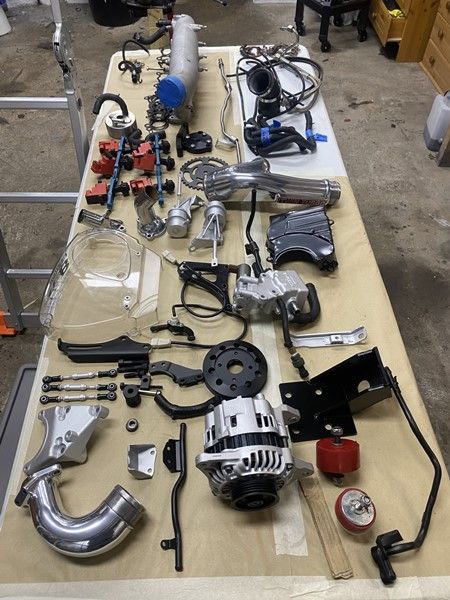
Not too much left I can do now. Waiting on some new parts to arrive, my turbo parts to be sent off and come back from coating and lagging and I have a whole load of gaskets and bolts to order, I am about to leave back to work so I shall get this sorted in the evenings so they are all ready for my return. I'd like to upgrade to Tomei oil pump and move the crank angle sensor, but together these add up to at least £1600 so we shall see.
Have doubts I can afford to have this on the road for summer. Still so much to pay for:
- 2-3 days aligning panels
- All bodywork to final paint including colour sanding
- Assembly of parts to make it a rolling shell
- Transport back home
- Oil Sump
- Lagging
- Coating
- New equal length downpipe
- All service items
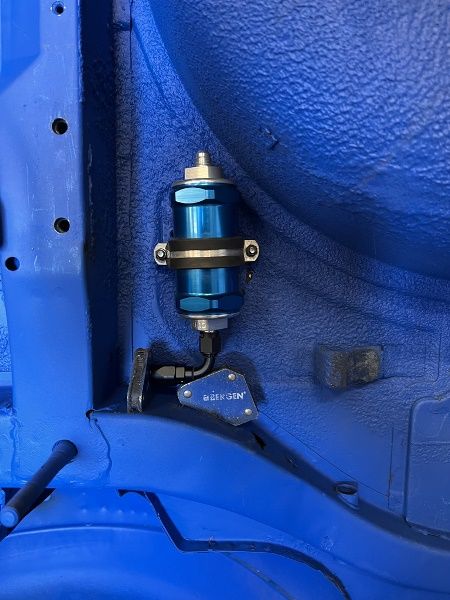
- Install of Accusump
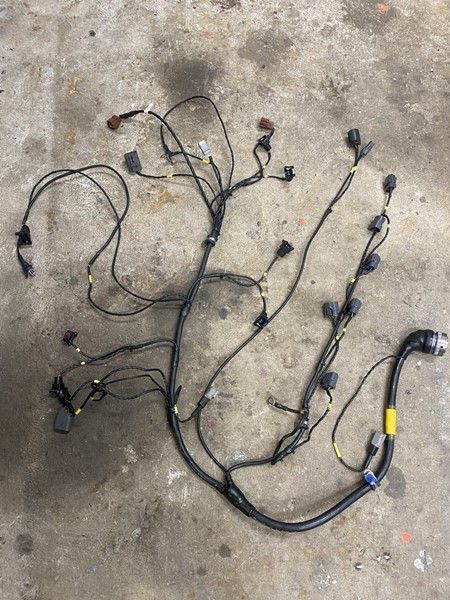
- Decent amount of re wiring work - interior and wire tuck for front chassis harness
- If possible crank sensor upgrade and oil pump upgrade
- Idealy a new set of custom wheels, but at least 2 replacements as minimum
- Trip to England for re mapping (Though plenty to tie this into, would love to make it to Goodwood FOS with the Nicholls Car.


 great project like no other there will only ever be one Ian


 Not much chance of finding a second hand HKS GT-SS as they are discontinued now and rare.
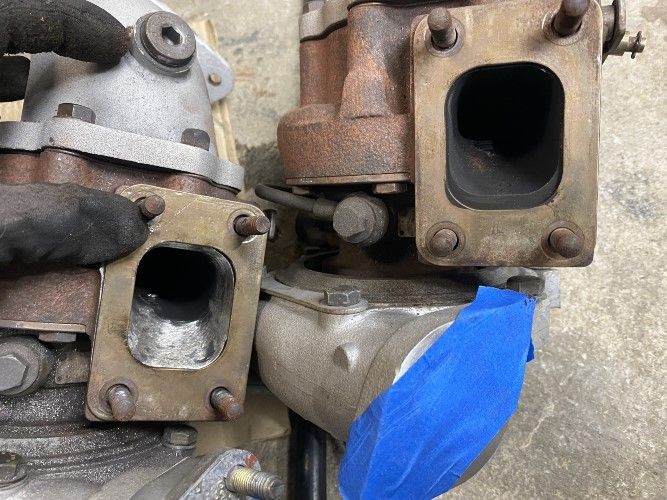


.JPG)
")