Taking the advice of Mike and Mike I removed the carbs and got them on the bench. In hindsight this was an excellent piece of advice as I wouldn't have been able to inspect at that level of detail with them still on the car (thanks guys!).
I guess it's obvious to say this and I'm sure people have seen a lot, lot worse but everything was a bit messy and tired looking. The car is nearly as old as me though and that charge could and is leveled at me quite often so I think that's probably par for the course...


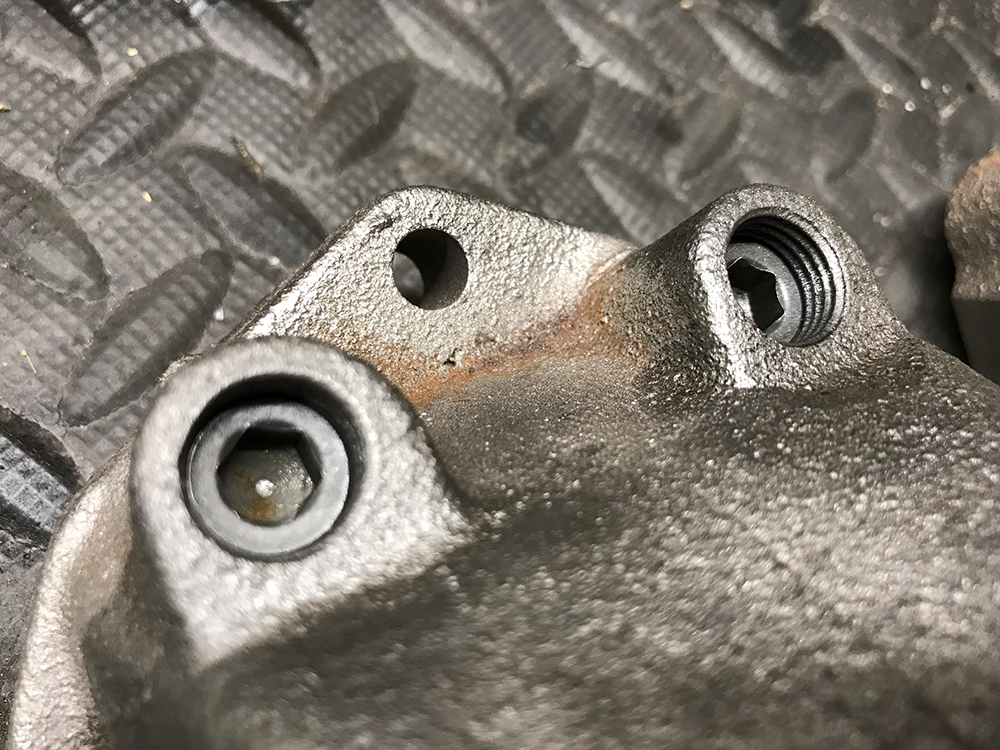
The insulator blocks were welded on and had to have some rubber mallet persuasion to get them off!
I'd reported that the jet on the front carb was sticking and not returning when choke was applied. This looks to be because of the inner torsion spring on the choke mechanism (see annotated photo below) and it seems to have lost its stiffness - in the hand it feels loose and doesn't contract or expand well when force is applied. On the carb if you compare the choke mechanisms in operation, the rear carb snaps back when force is applied but the front one hardly returns and this is without the load of the jet on it.

I'd also reported that the jet on the front carb didn't return even when no spring was attached but this seems to have been resolved by a real good clean and I didn't have to resort to friend grit sandpaper (thanks toopy for the suggestion!).
As a temporary workaround for this weak spring I have hooked up a spring from the choke linkage to the heat shield as shown in the photo below and it seems to work fairly well.

A few other things I noticed while cleaning the carbs was that the needle in the rear carb float chamber doesn't shut off very well at all - it has to rise quite a bit higher to cut off the fuel into the chamber (blowing into fuel lines to test that is seriously unpleasant
")
). I adjusted the floats as well as I could but I'm not convinced that the float levels are correct. I'm also not convinced that the pistons are traveling as freely as they should but I'll revisit this as I go along I'm sure.
Anyway, I got the carbs back on the car, wound the mixture screws down two turns from the top, backed off the idle screws to the top and turned them one and a half turns down, backed off the balance screw and started her up and... she tried to start and backfired through the inlet manifold! What??!! Of course, as the choke cables were not attached and I was holding the choke mechanism up with my hands this caused a sensitive flower such as myself to nearly poop! After reading around the general consensus was to look for vacuum leaks but as I couldn't get her started I torqued every bolt on everything on the inlet side to what it should be and added butterfly clips to any pipe that was in that area (I should have done this already). Anyway, this didn't improve things so I left it for a few days.
When I got back to the car I was feeling a bit fed up with diddling with the carbs so thought I'd adjust the valve lash as its been on my list and everyone says it's one of the first jobs you should do anyway. Obviously, I couldn't do this hot at the minute so just did it cold with the reduced clearances (0.008 inlet and 0.010 exhaust). I'd not done this before so it took my ages! Most of the exhaust clearances were too small and quite a few of the inlet were too large (yes, I was making sure I had the inlet and exhaust the right way around!) . Here's a gratuitous photo of the first few cylinders worth in case any of you experts out there can see something horrid looking:

With a fresh set of eyes I inspected everything on the ignition side of things and noticed that the HT leads had been mixed up! N00b mistake. I disconnected them all and put them all back carefully according to the diagram on P12 of "How to Rebuild your NISSAN/DATSUN OHC Engine". She fired up slightly but soon died again! What the Flip??!! I then noticed that the diagram of the distributor on P12 was numbered differently to the firing ordered listed on the same page. The distributor in that diagram is labelled incorrectly (though the firing order is correctly listed next to it). Sheesh. According to the Internet Overlords this is a known issue with that diagram. I couldn't see an Erratum published for this book though - come on California Bill, you can do better than that!
With HT leads on in the right order (d'oh!) she fired up but it doesn't sound quite right - as though the engine is not firing on all cylinders at all times - a bit rough. I let her run for a about 5 minutes or so and switched her off where she duly ran on for a few seconds. Hmmm. Timing maybe? I have a timing gun but I've never used one before so I'll see if I can figure it out this weekend...
While the engine was pretty hot I used the opportunity to do a quick compression test as I'd not done one before and I'd bought a compression tester so why not?! I'd also bought a remote starter to make things like this easier - I love it!
I took all the plugs out and made sure it was WOT and the numbers I got were:
Cylinder 1 - 160
Cylinder 2 - 150
Cylinder 3 - 152
Cylinder 4 - 152
Cylinder 5 - 152
Cylinder 6 - 155
I've got more faffing to do with the carbs I know - setting mixtures, balancing etc. so I'l try and do that this weekend or some time next week if time allows.