samuri-240
Well-Known Forum User
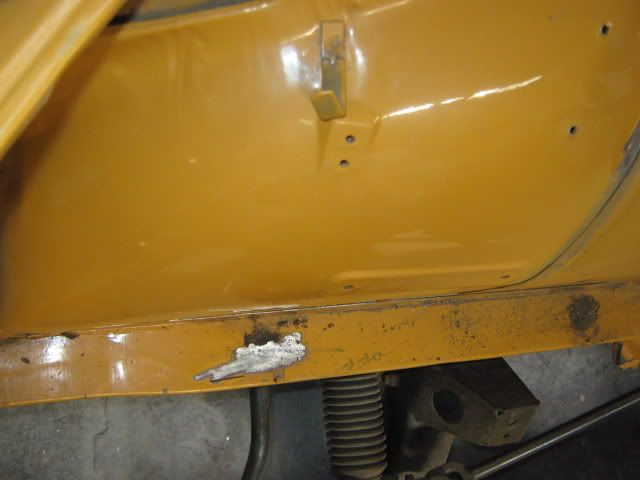
Do I win a prize?
Yep one wheel nut from Dave's old set of wheels.
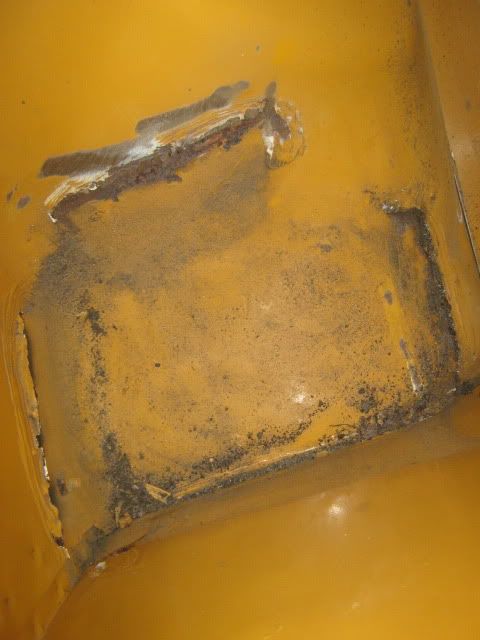
Do I win a prize?
Yep one wheel nut from Dave's old set of wheels.


Looks fantastic! Cant wait to see this installed. I look forward to ride when this is on the road!


Great Scott this car is AMAZING!
I think that this is en route to becoming one of the finest Z's on the planet. It is rare to see such craftmanship and the sheer attention to detail is mind boggling!
.


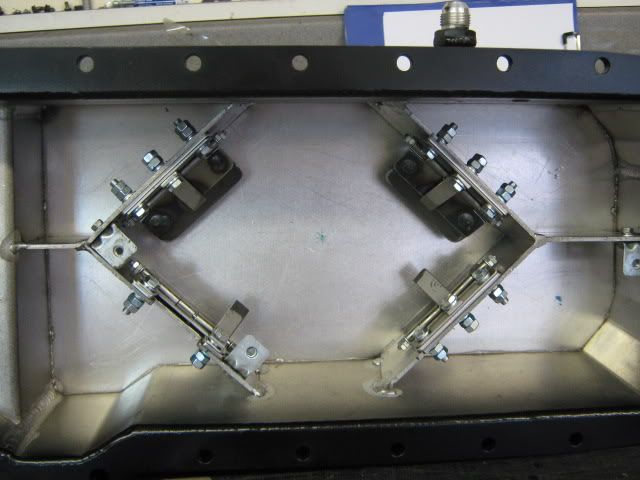
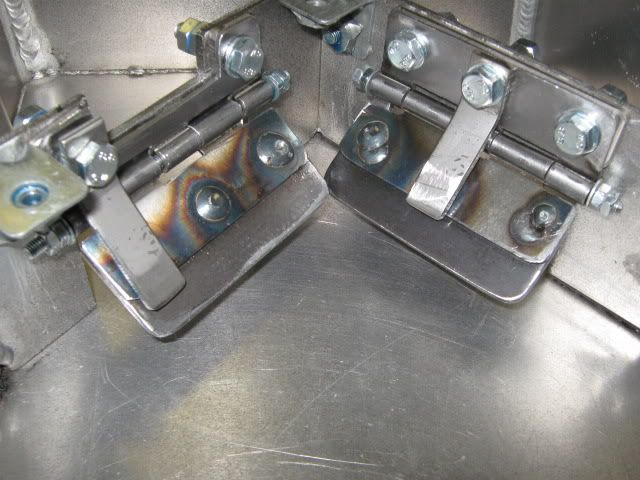
Dave Thought you where going for adjustable front lower arms.


