260Z Project - 260Z GT-R

Ian

Club Member
Thanks guys :)


Almost a pity that this fabulous 260 will be turned into a hybrid, but then I suppose I'm a Classic guy at heart :)
It is a pity in some ways, but to be honest, the L26 just doesn't feel sharp enough for the car, just always feels like it needs more power, especially lower down the rev range.


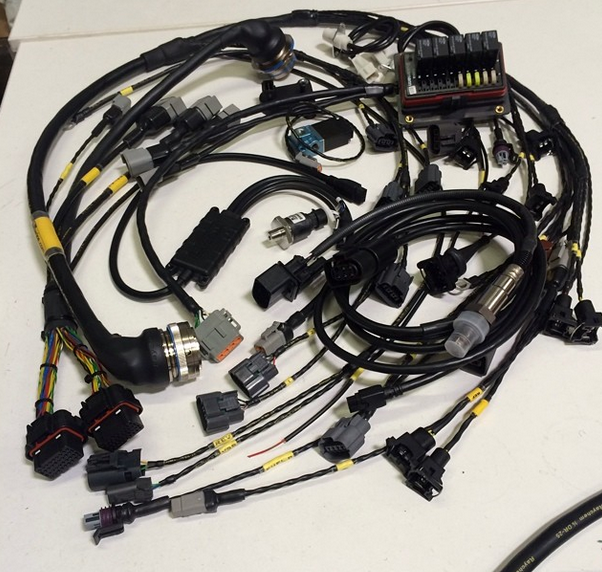
Would love a second 260Z someday with a fully built, high compression L31
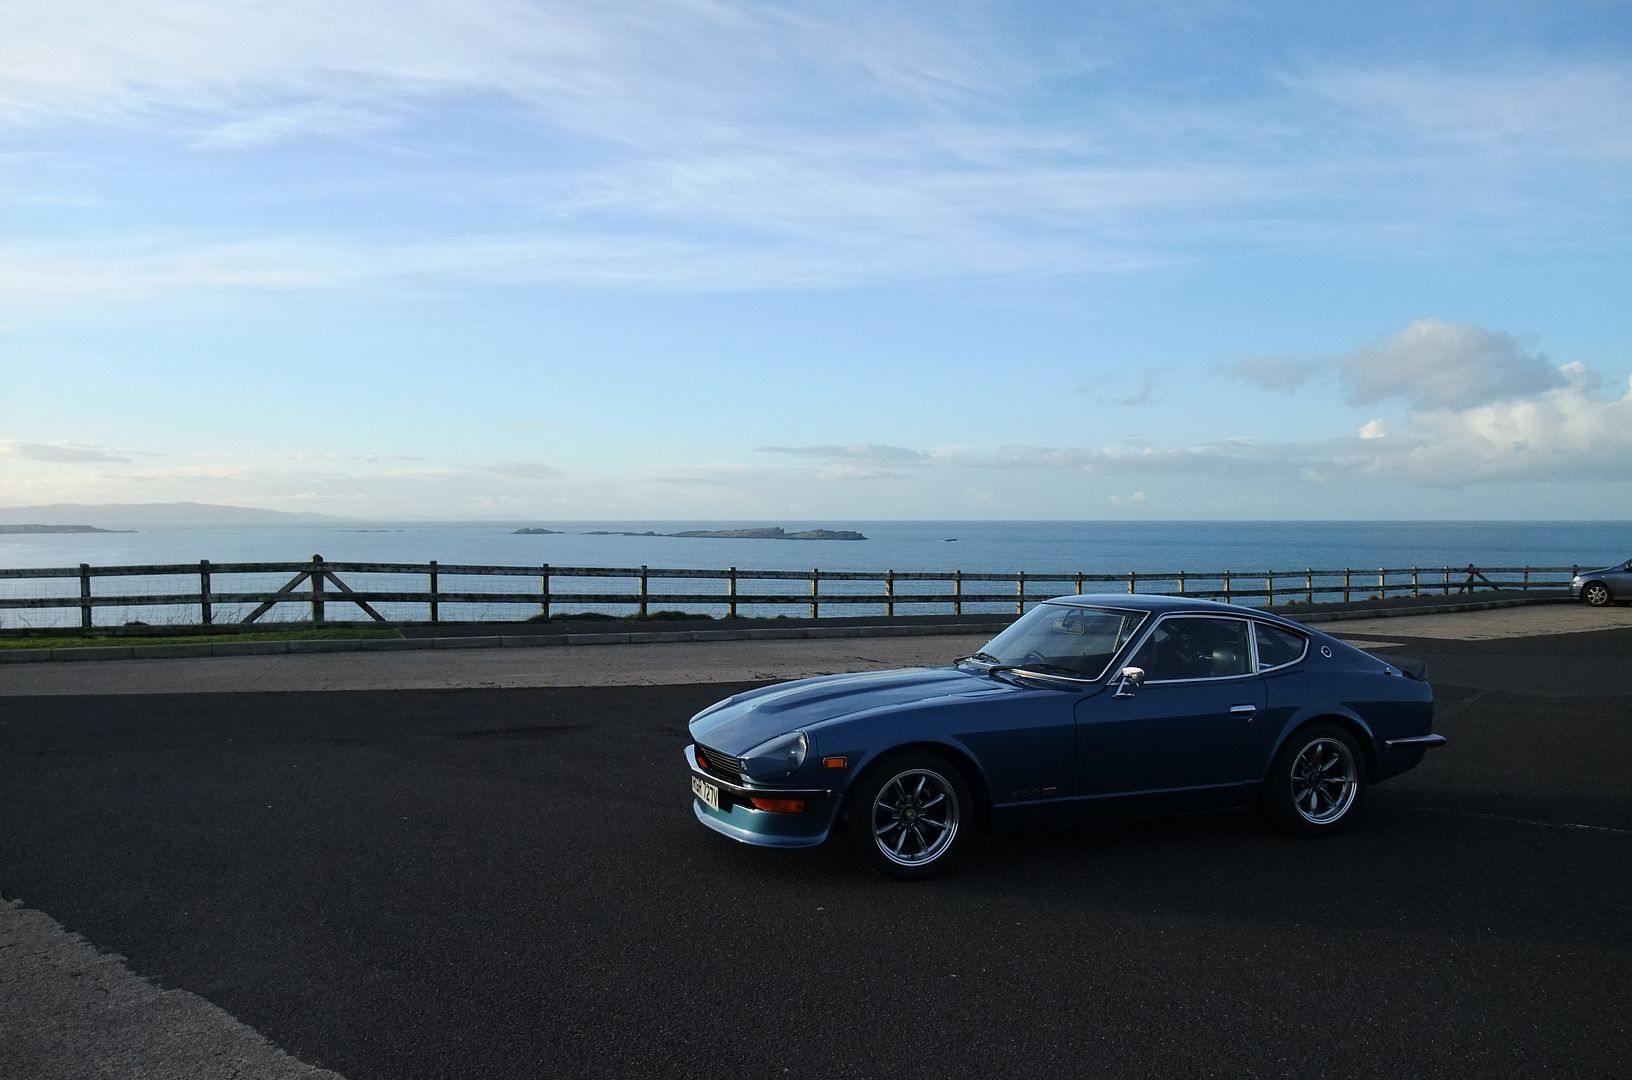
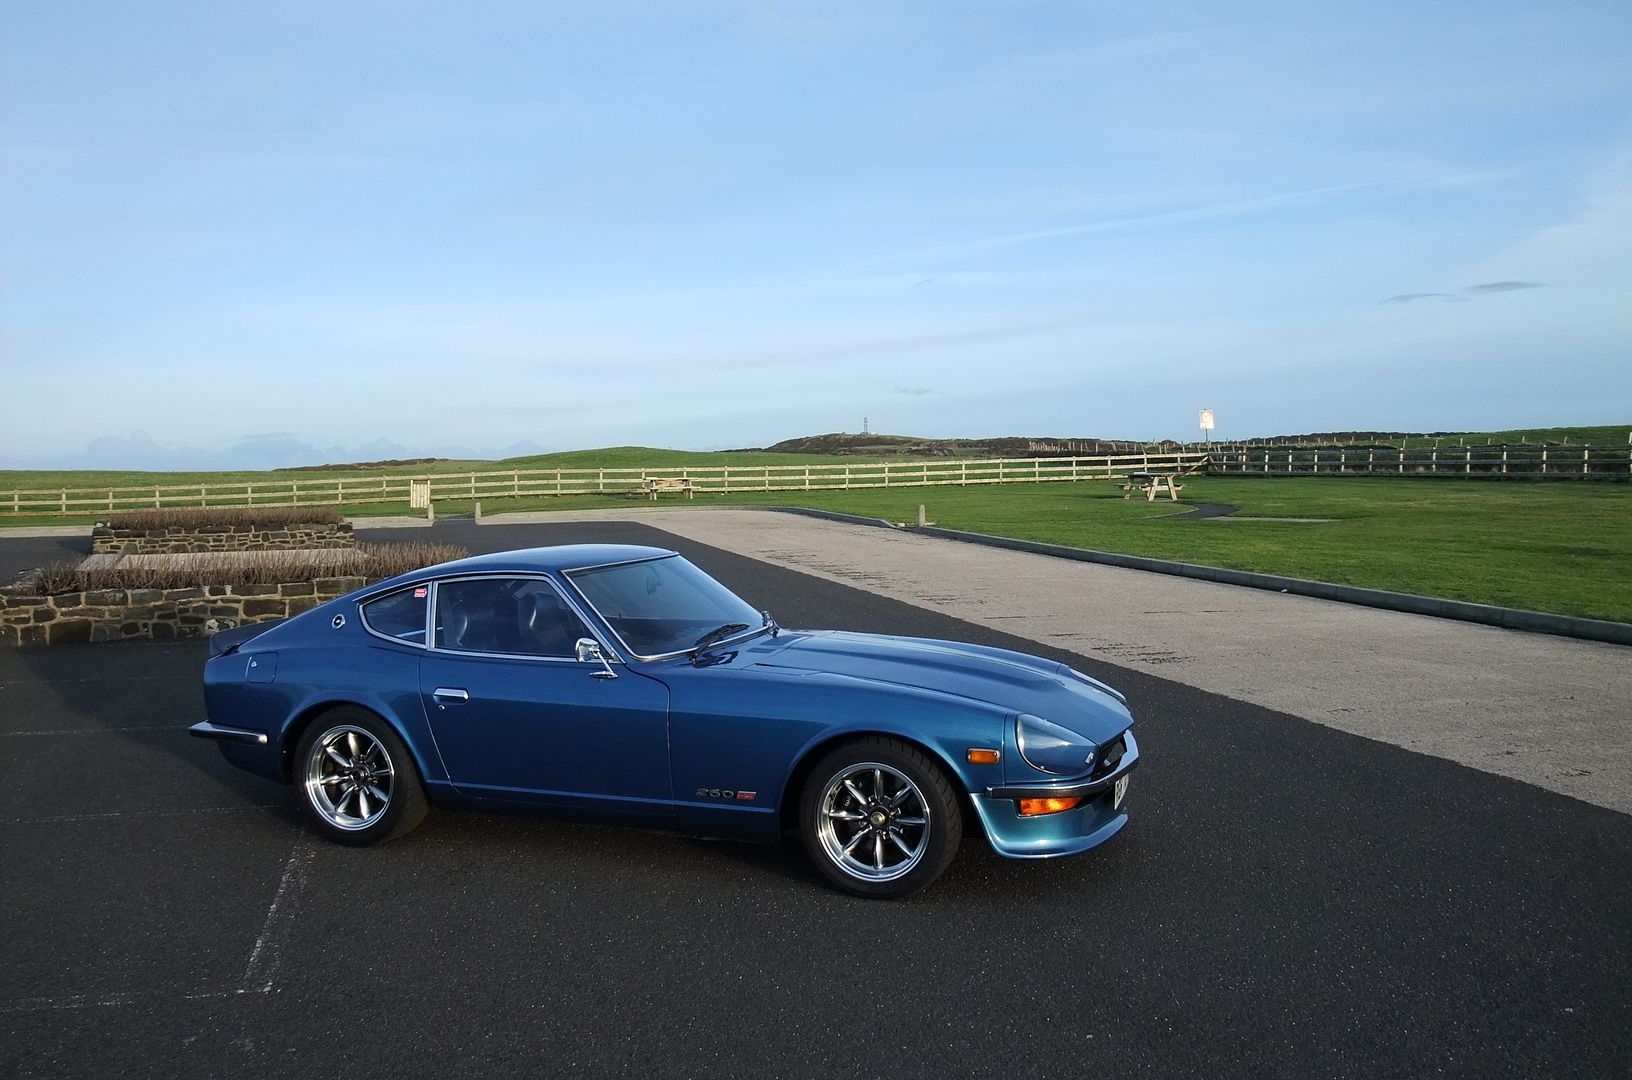
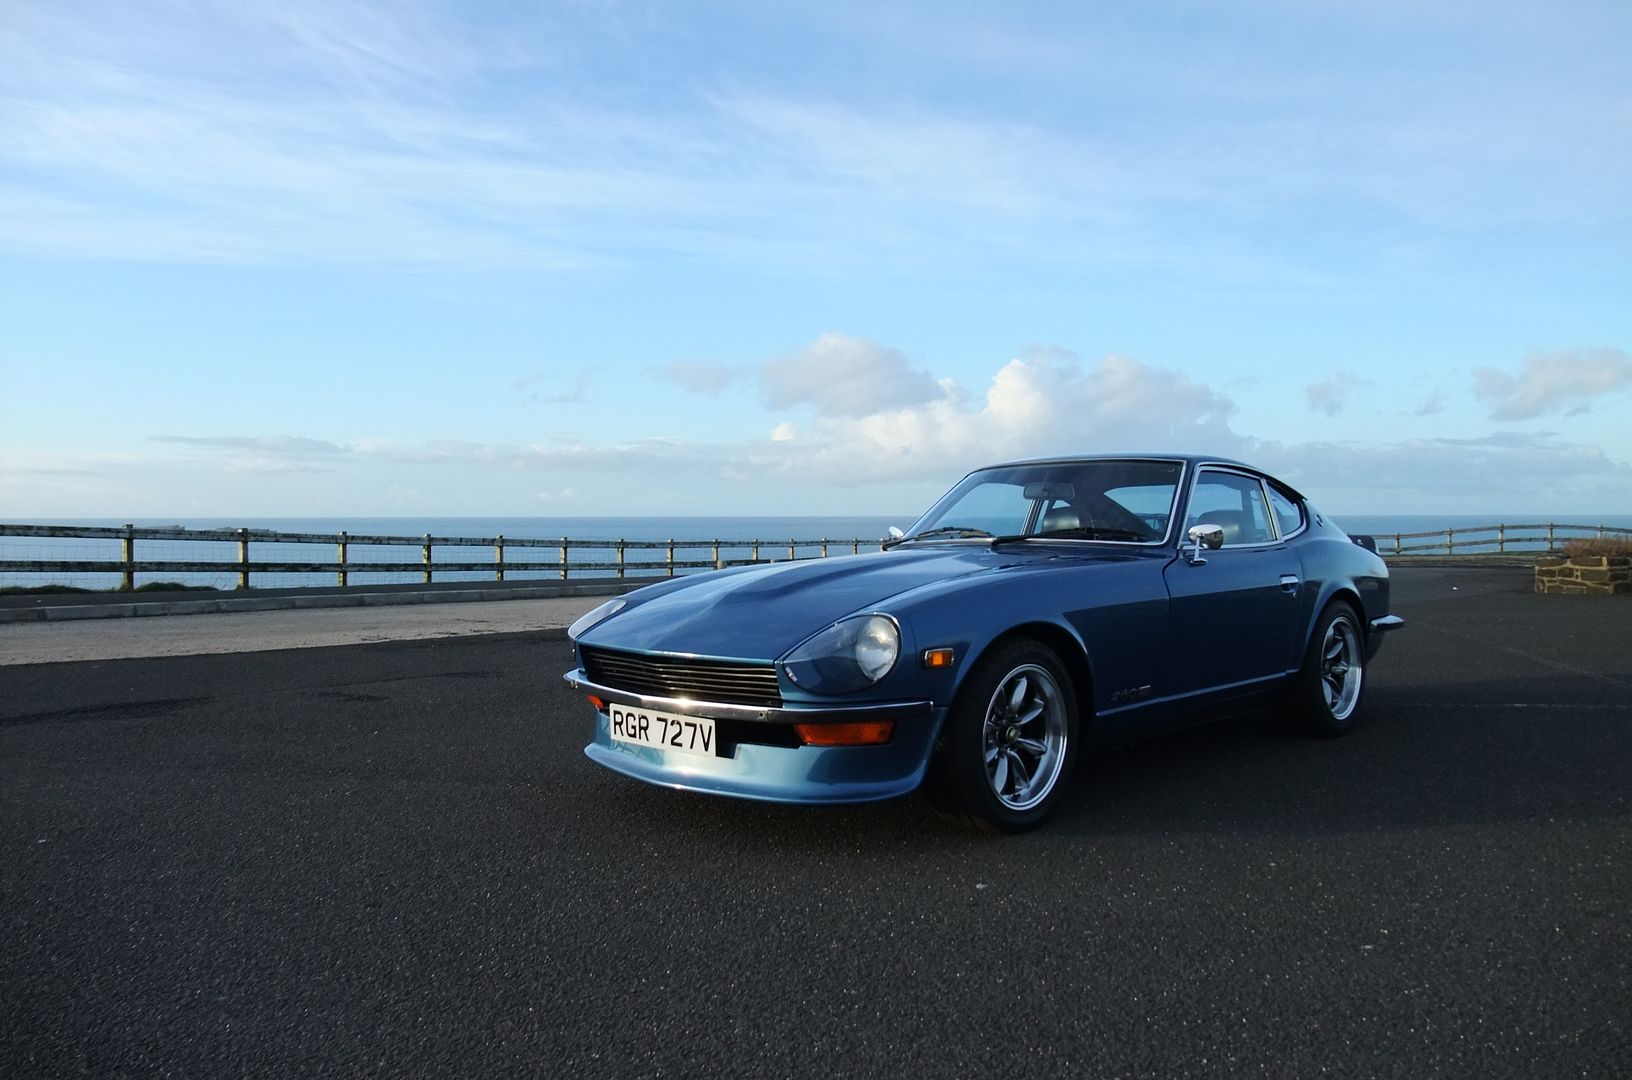
 

Ian

Club Member
Complicated things these RB26's


DSCF1073.jpg


Throttle bodies off for cleaning:

DSCF1093.jpg


Other side of block cleaned up and painted:

DSCF1097.jpg


DSCF1103.jpg


Looking much nicer now:

DSCF1118.jpg


Had the rocker covers off:

DSCF1122.jpg


DSCF1135.jpg


They have Mines Breathers already installed, I removed them to allow access:

DSCF1128.jpg


To remove the old breather outlet and get the new -10 AN fittings welded on:

DSCF1133.jpg


That patch plate will be ground smooth

DSCF1264.jpg


I moved the intake side breather forward a bit so it will clear my bonnet latch bracket and it will also allow the lines to pass by eah other neatly on the way to the catch can.

DSCF1260.jpg


Cleaning up the turbos:

DSCF1165.jpg


Cleaned and painted the hot sides, outlet pipes will be sent away with the manifolds to be ceramic coated:

DSCF1181.jpg


Took the cold side housings off so they could be soda blasted along with my intake plenum:

DSCF1173.jpg


50/50

1798675_593619960723573_634611336_n.jpg


P1020164.jpg


P1020165.jpg


P1020159.jpg


Got my parts back from the polisher:

P1020149.jpg


Engine covers are now away to be painted.

That's all the updates there will be for a while now.


DSCF1290.jpg


DSCF1284.jpg


DSCF1291.jpg
 

Ian

Club Member
Pat1 from HybridZ is going to make me a custom steel sump with baffles and trap doors and inlets for head and turbo drains. I'll remove the dipstick and block the hole but rather than putting the dipstick in the rear location I might get Pat to build it into the sump.
 

Ian

Club Member
Not much happening at the moment, my ECU setup did arrive though.


P1020174-Copy.jpg


Link G4+ Xtreme ECU with Internal knock control and OBDII Upgrades. 4 bar map sensor, Boost Solenoid, Fuel pressure sensor, IAT Sensor and a Missile select switch for switching between high and low boost settings. Only thing missing from my ECU setup is the wideband, which will be an Innovate LC-2.

Next to come will be my custom Mill spec wiring harness which will be getting made in the next couple of weeks, looking forward to this one, should be a really neat job and will make removing the engine any time really easy. I'll be sorting my custom sump shortly also, aswell as being the correct fit for my setup it will be extended capacity and have a good baffle setup with trap doors.
 

toopy

Club Member
Wow :D recently came across this thread, amazing work and attention to detail, car looked good to start with but now hubba hubba!

Anyway, considering all your mods the following question is pretty mundane but, what paints/spray have you used on the suspension and brake components? I like the fact you painted the unswept areas on the brake discs to keep them looking clean and tidy, hopefully for years to come :thumbs:

Cheers,

Anthony
 

Ian

Club Member
Thanks Guys :) :thumbs:


what paints/spray have you used on the suspension and brake components? I like the fact you painted the unswept areas on the brake discs to keep them looking clean and tidy, hopefully for years to come :thumbs:

Suspension is all done with standard paint that you would use on bodywork but with extra hardener (not sure exactly what as I prepped the parts but them left them to the bodyshop guy to be sprayed along with some other parts that he was doing black)

Brakes are done with Halfords VHT paint, I don't normally use Halfords products but there VHT paints are great, did the rear brake bells on my civic about 5 years ago and they are still like new today.

I hate rust on brake parts so its something I always do, its always something I notice at car shows, some cars are mint everywhere but have rusty brake parts, to me it just looks wrong.


My Custom sump is currently being made and will be finished soon and I've just finalised the blueprints for my radiator and intercooler with Pro Alloy so they will be starting on these soon.


Currently waiting on my Custom Mill Spec Wiring harness to arrive, should get here this week.

Tefzel mill spec Teflon coated wire loomed with high quality Raychem DR-25 heat shrink with adhesive lined junctions, mill spec Autosport bulkhead connector and brand new connectors/plugs all round. Concentric twisted wiring with service looped ends on the bulkhead connectors. I will be using R34 GTR coilpack setup to do away with the coilcover mounted ignition module and the injectors are high impedance so I don't need the Injector resistor pack, I replaced the factory CAS sensor with a hall sensor setup on the cam and the crank. Also in the photo are the custom fuse/relay box and the LS2 wideband setup.

CustommillspecharnessRB26into260Z.png


Will make removing engine really easy as it only takes 5 seconds to disconnect the engine harness, no nonsense with trying to feed all the wiring and connectors through the bulkhead.


:thumbs:
 

TomZupra

Well-Known Forum User
Using zip ties instead of lacing, non-38999 connectors and no nomex overbraid? I'd ask to see their IPC J-STD certification to make sure they are up to the task, that's not mil spec!

. . . . naa looks like they have done a good job. Should be a very neat setup
 

Ian

Club Member
Zip ties are fine for me, the parts with zip ties is on the inside of the car, the rest of the harness under the DR25 is bound with lacing. Not sure about the connectors but they are more than good enough for my needs. I have no need of nomex overbraid plus it wouldn't look nice, its a motorsport harness, I've not seen a motorsport harness with nomex overbraid other than in area where extra protection from abrasion is required.

I'm happy with it and its miles better than altering an old second hand GTR harness with old wiring and connectors.
 

Ian

Club Member
I'm now on holiday for 6 weeks so work has begun again on this.


First thing to do, sort out my parts:


DSCF1452.jpg


DSCF1455.jpg


Crank trigger setup:

DSCF1460.jpg


Fuelab Inline Fuel Filter

DSCF1463.jpg


Aeromotive Fuel Pressure Regulator

DSCF1464.jpg


Turbo water and oil lines

DSCF1466.jpg


Synapse Engineering Synchronic BOV

DSCF1467.jpg


Asnu 700cc Injectors:

DSCF1470.jpg


RB Motorsport R34 Ignition Coils:

DSCF1485.jpg


Custom Rear sump with baffles and trap door, big capacity, should hold around 6.5 litres of oil:

DSCF1473.jpg


DSCF1476.jpg


DSCF1478.jpg


Speedhut Gauges:

DSCF1483.jpg


DSCF1489.jpg


DSCF1491.jpg


DSCF1492.jpg


DSCF1493.jpg


DSCF1497.jpg


DSCF1501.jpg


DSCF1502.jpg


DSCF1505.jpg


More Parts should be arriving this week. Swap should be starting on the 15th.
 

AliK

Vehicle Dating Officer
Staff member
Club Member
That's a lot of parts !!! Hope you know where they all go!! ;)


Ali K
 

Wyn

Club Member
Some luvly bits of kit there Ian :cool:

Good luck in putting that little lot together lol :D :thumbs:
 

Ian

Club Member
Thanks.


I'm hoping it will all go together quite easily and without complication, but I know that rarely happens.
 

Ian

Club Member
Some Parts landed from Japan this week:

DSCF1534.jpg


Nismo Super Coppermix Clutch and Flywheel kit, Tomei Fuel Rail and OS Giken CLSD, pretty sure they sent me the wrong LSD though so I'm working on sorting that, yet more hassle.

DSCF1538.jpg


Installed my wiring harness bulkhead connection:

DSCF1545.jpg


DSCF1547.jpg


IMG-20140903-01005.jpg


Engine is looking good, had the rocker covers painted Kandy Apple Red with a gold Flake

DSCF1550.jpg


DSCF1553.jpg


Custom Intercooler and Radiator were finished up and arrive with me from Pro Alloy:

Radiator4.jpg


Intercooler4.jpg


Radiator5.jpg


Need to modify the diffuser plate to get it to fit, it will be tight though, wanted to use every last bit of surface area possible, just hope I didn't push too big.

DSCF1559.jpg


DSCF1562.jpg


DSCF1563.jpg


DSCF1561.jpg


DSCF1569.jpg
 
Nice collection of toolbox stickers there. Looks like an expensive build is well underway. Looks like you're doing your best to make a good job of it :)
 

Ian

Club Member
Nice collection of toolbox stickers there. Looks like an expensive build is well underway. Looks like you're doing your best to make a good job of it :)
Yeah, I've got a massive collection of stickers now.

Doing the best job I can of it on the budget I have, there things I'd do better if I had more dough.


Looking fantastic Ian. Can't wait to see it fire up!
Thanks, me neither.


I've always loved the look of the R34 GTR engine plaques, however they say Skyline, this is no good.


22502-2_6.jpg


My Solution:

EngineBadgeComplete.jpg


I think it finishes off the engine perfectly.
heart.gif


DSCF1578.jpg


DSCF1591.jpg


DSCF1590.jpg


DSCF1593.jpg
 
Top