280zx idler pulley bearing

Ped

Club Member
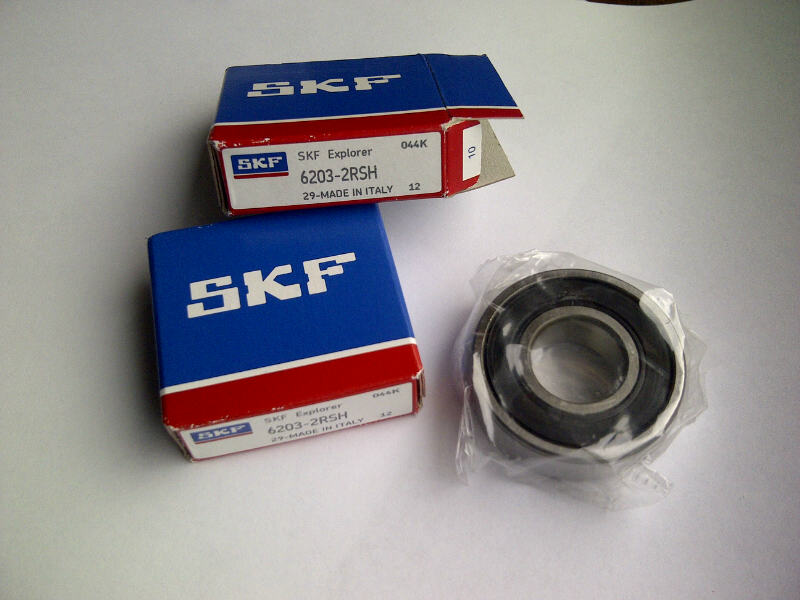
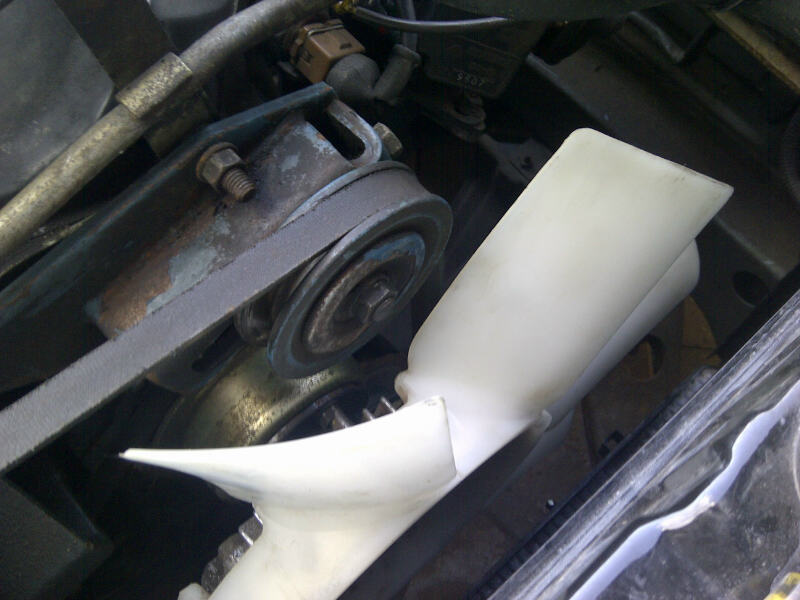
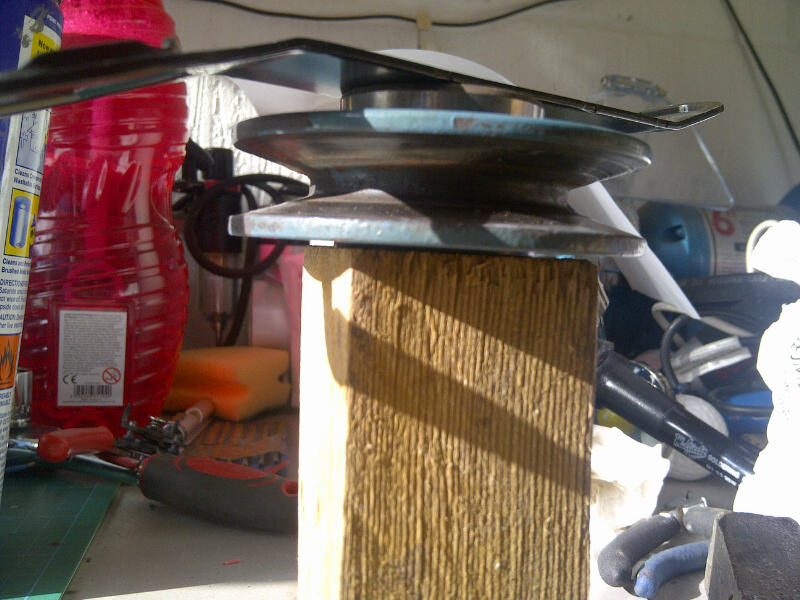
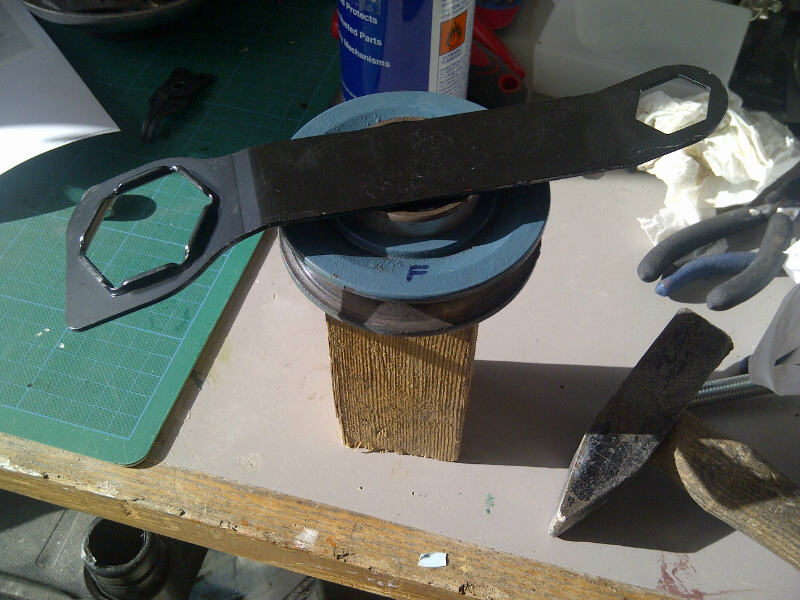
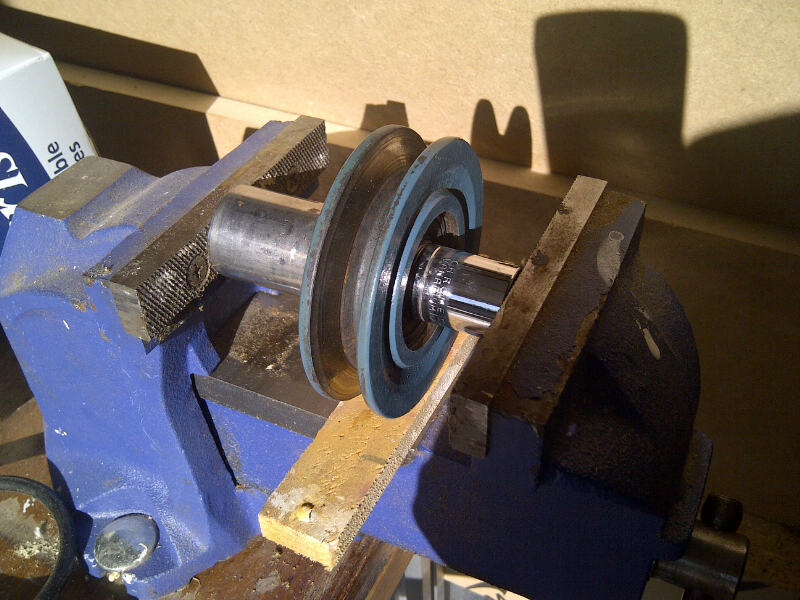
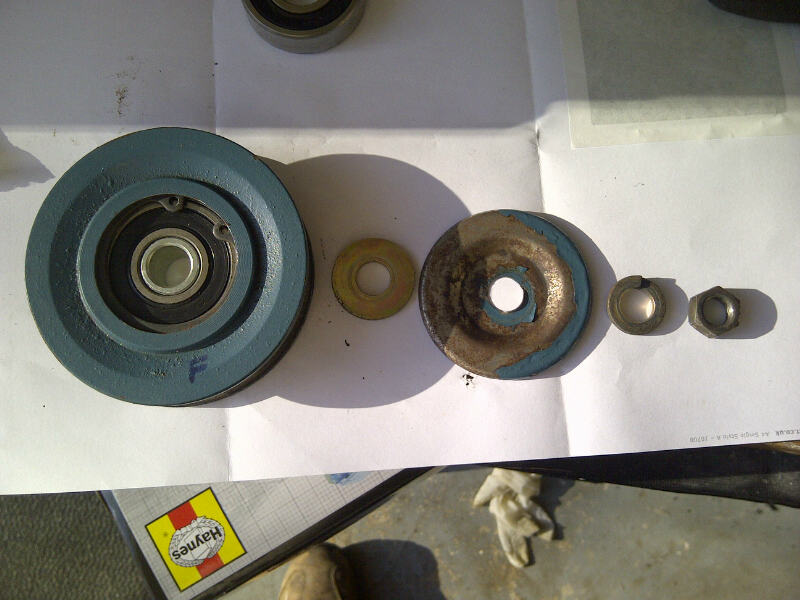
I need to replace the idler pulley bearing on my 280ZX (1980). I have had a good look online and it seems the aftermarket bearing suggested (via a US site) is a 6203-FF. When I have done a search for a supplier in the UK it does not come up with exactly the same code number. The one I think is the same is 6203-2RS see link below, it seems to fit the bill.

6203-2RS Sealed SKF Ball Bearing :: BearingBoys.co.uk

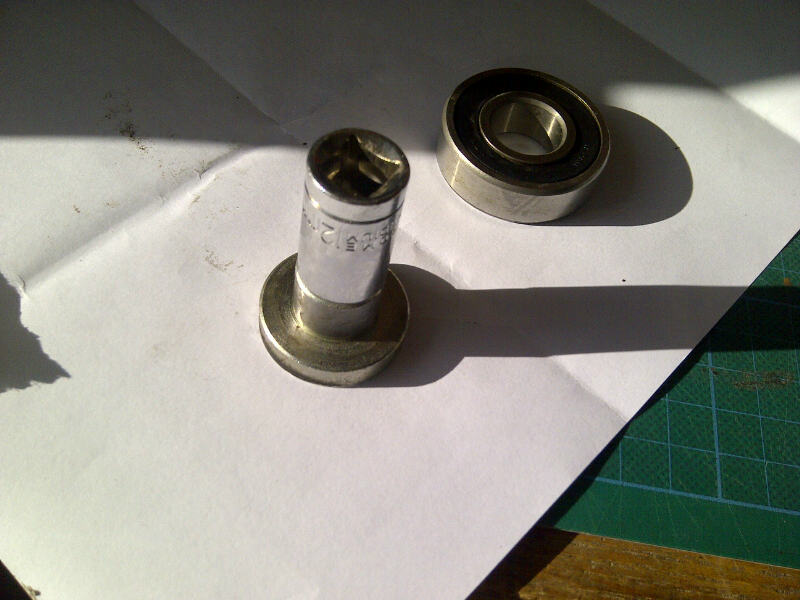
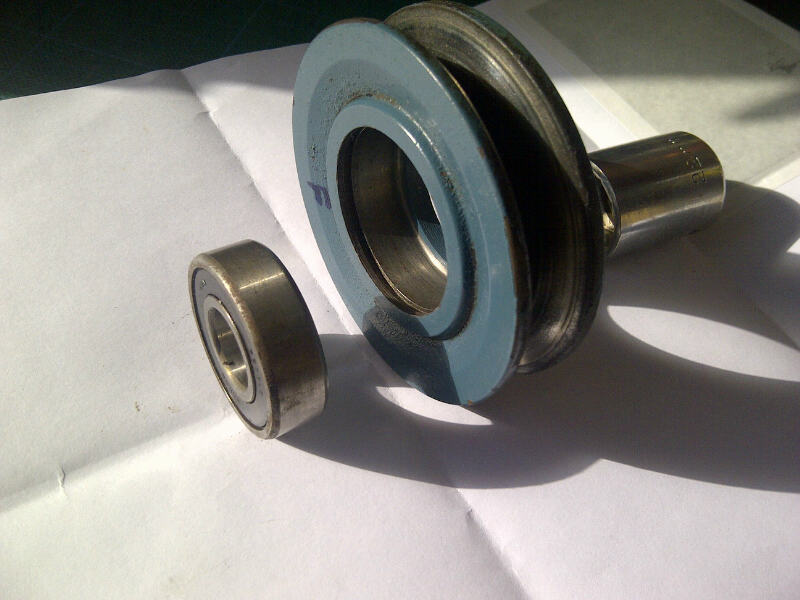
I don't want to take it apart until I am sure the replacement will fit, so have a couple of questions:

1. Are all the idler bearings for the 280zx the same size?
2. Has anyone bought an off the self replacement, do they have a reference number?

I will check with the bearing supplier when I order it to see what the difference is between the FF and 2RS suffixes.
 
Thanks the the bearing guide, very useful. The guy at the bearing suppliers said the FF suffix sounded like sealed both sides (but had not heard of it), he also said different manufacturers have different suffixes.
 
Bearing arrived today! Got 2 'just in case' they were cheap enough. Hope the old one comes out easily.

6203_bearing.jpg


idler-pulley.jpg
 
New bearing fitted

Got a bit of time this afternoon so fitted the new bearing. Here is how I did it, others may have a better way, some may be horrified, but it was easy only took about an hour. The hardest bit was taking the circlip out! The circlip pliers I had were too light weight and were twisting, so resorted to long nose pliers.

First I drifted out the centre spindle that the pulley gets tightened against, a 12mm socket fitted perfectly. It came out with a few light taps.

109.jpg


... then I drifted the old bearing out from the back, I just held the pulley in my hand hand hit a socket with a hammer directly onto the old bearing seal. There is a flange on the back that the bearing rests against, so there is nothing solid the hit against. Again it came out no bother. NB: I had given it a soak in WD40 first, but it was not corroded at all. Note: I have marked the front of the pulley with an 'F'.

104.jpg


I then drifted the new one in using the old bearing stacked on top of the new and a flat bar and hammer. Note that the support underneath is onto the centre rim of the pulley. I did not want to bend the edges of the pulley, but looking at it now there was little chance of that. The pulley is solid!

106.jpg


105.jpg


I then pressed in the centre spindle in a vice using a couple of sockets. It went in fine. Note: the smaller socket is sitting on the inner steel edge of the bearing only.

110.jpg


Circlip back in, then back on the motor! There does not seem to be a torque setting listed for this, so put it on 'medium firmly' whatever that equated to in your head...

111.jpg


Just for the record the old bearing which I guess was original was marked NTN and was a 6203LB. Still have not got to the bottom of the different suffixes, so it may be the one I have fitted is not exactly the same spec. The seal may be slightly different. Will just keep an eye on it, but is sounds a hell of a lot healthier than the old one, which was almost dry inside.

All in all I was not looking forward to this job as I imagined huge amounts pressure would be required and I would end up needing a bearing press to fit it, but in the end it was about as difficult as putting on a hat.

:smash:
 
Back
Top