What did you do to your Z this week?

Timbo

Club Member
Cleaned again (obviously) and old noisy bearing alternator swapped out for an uprated 50 amp jobbie from Rockauto (Thanks for the pointer @AliK ) and all running smoothly.
Dropped off at Hoffman’s today to have a Fidanza lightened flywheel and mildly uprated clutch installed along with some brass bushes for the gear selector to stop it feeling like a soup spoon.
Not doing the clutch work myself as despite my enthusiasm to tinker, it is superseded only by my enthusiasm to have it back on the road quickly so I can drive him again, so fingers crossed HKP is home tomorrow.
B8CF51FF-CBC9-4EB8-B7A7-7784450459E1.jpeg
 

atomman

Club Member
This came up just down the road and after a very cheeky offer it was mine,
IMG_20200511_201131.jpg IMG_20200511_202912.jpg

A very quick mock up the head bolts line up , but that's just the start of things to come
 

atomman

Club Member
Yep RB20DET head , I have a spare L24 engine so thought I would have a look,

An old thread came up on here the other day and gave me some ideas

I'm off work for another 3 weeks so no machine's but can mock it up get some ideas of how to drive the twin cams, oil feed/drain etc

I will start a thread

not all hero’s wear capes
 

Bazzateer

Club Member
Ordered a cheap pair of hi-lo horns from eBay and fitted them this afternoon. The car came with mismatched horns, one flat (possibly original) and one plastic bodied snail type. The new pair sound much better, louder and a better tone.
Upon testing the snail horn wasn't working at all which probably explains why a working pair is such an improvement. ☺
Tried to upload before and after videos of the noise but apparently my videos are the wrong file extension.
 

uk66fastback

Club Member
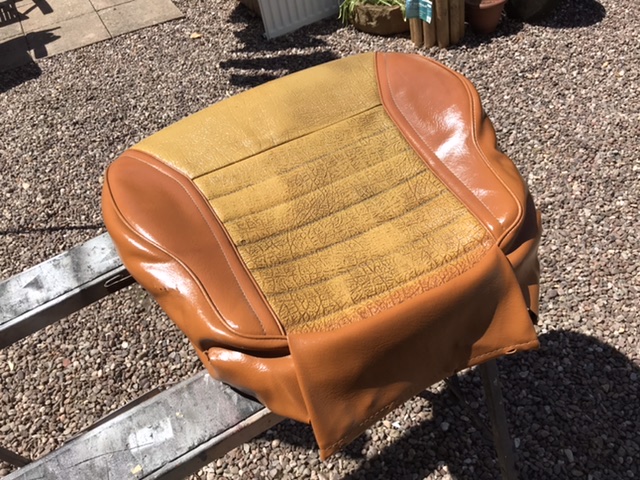
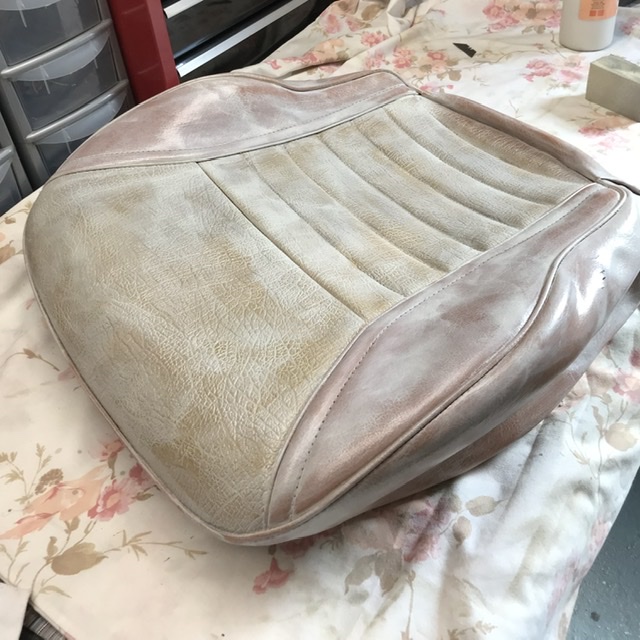
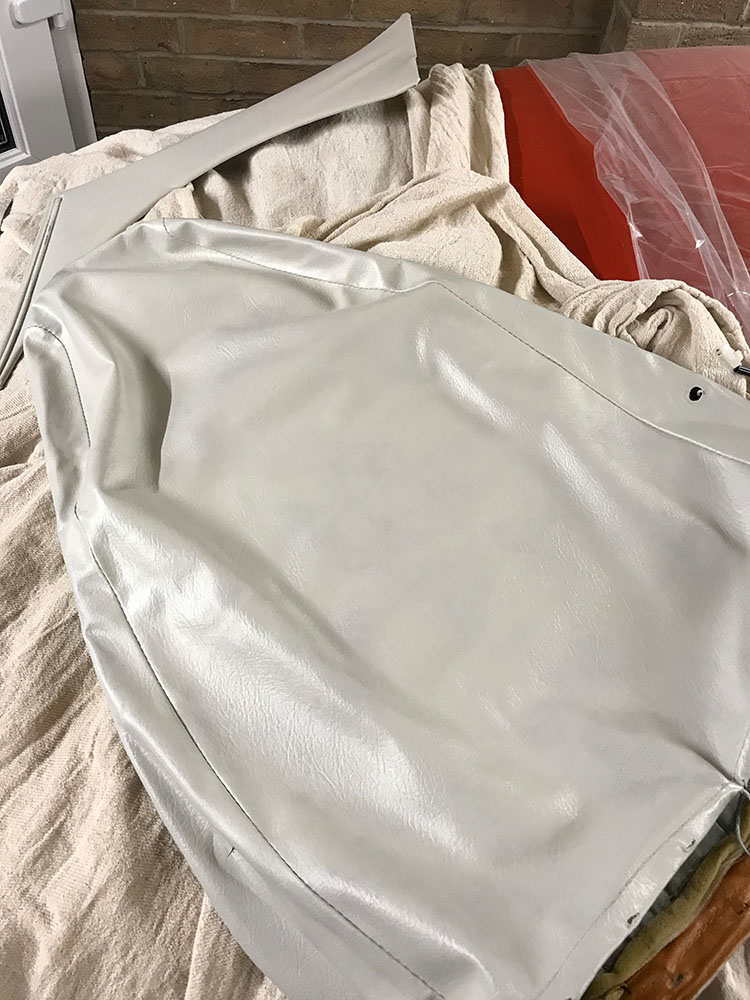
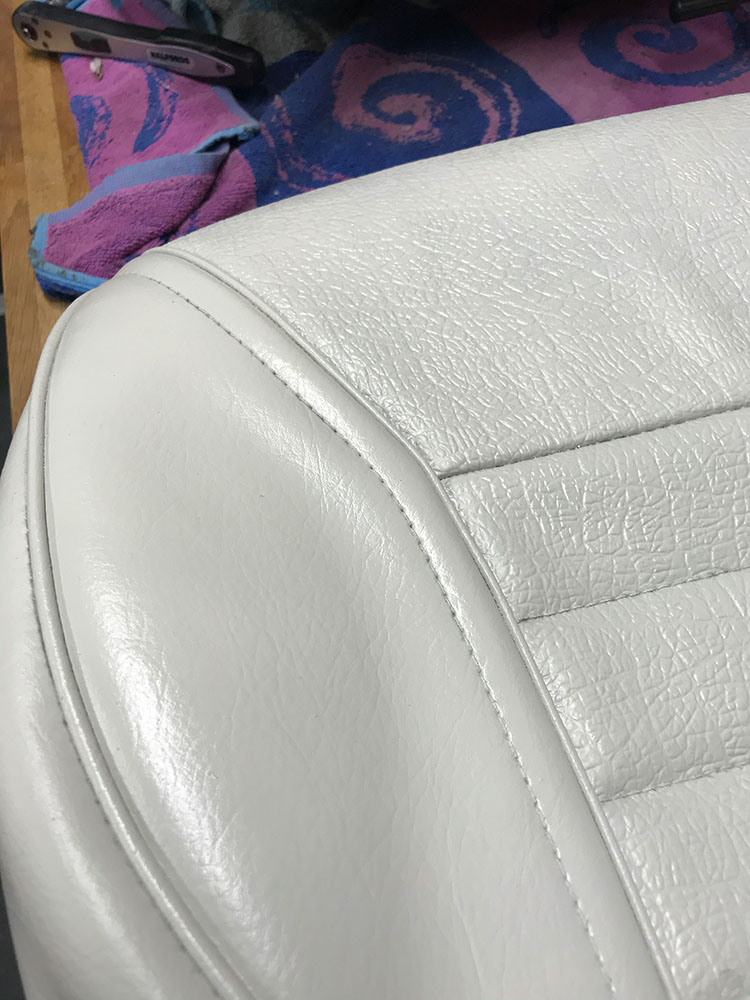
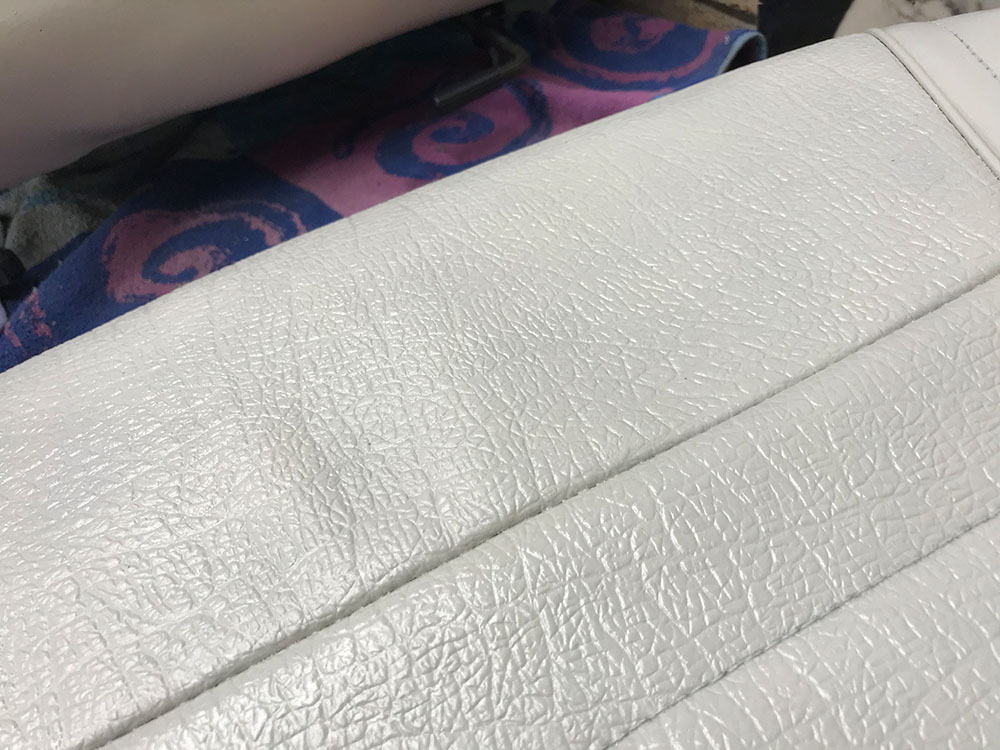
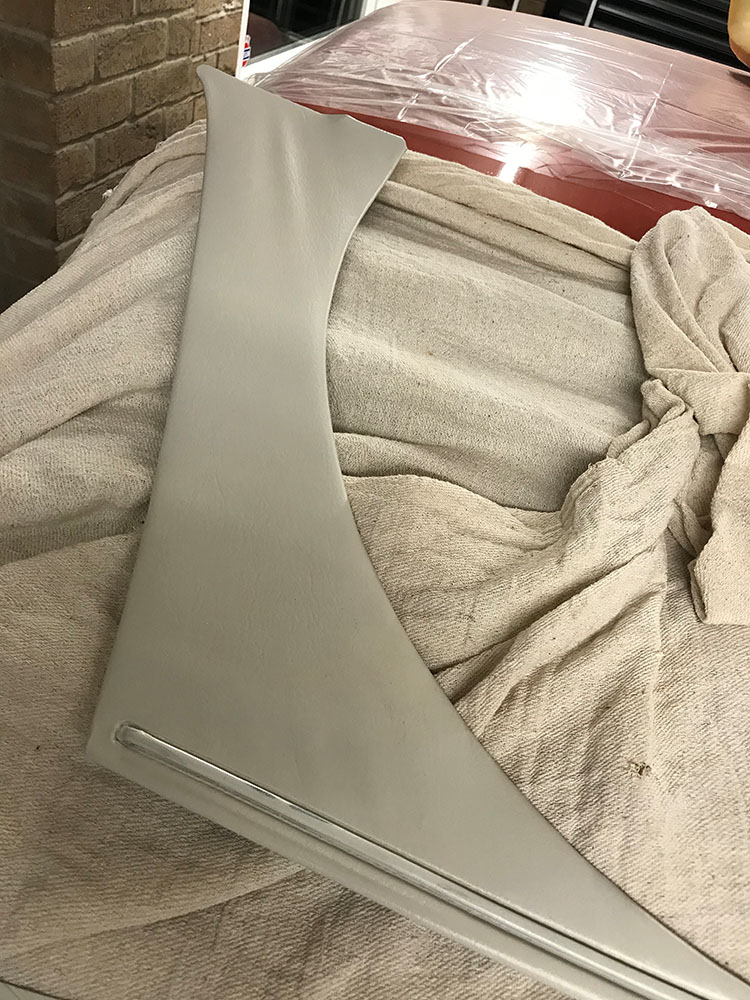
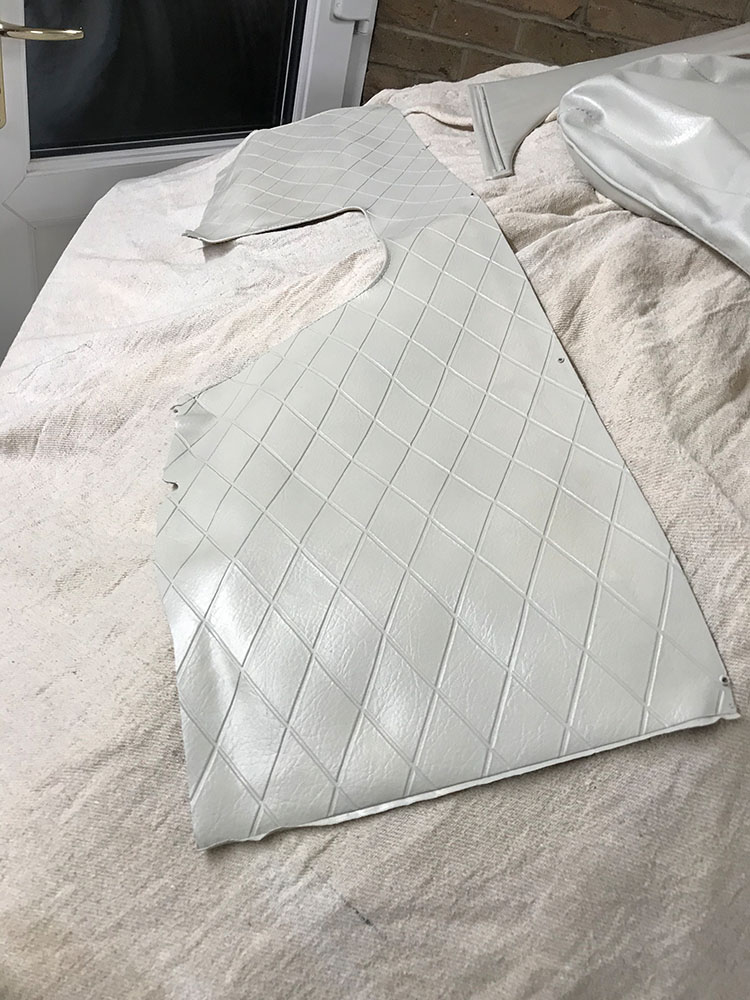
Finally, after about 2/3 years I’m back doing my interior. I’ve redone one seat already - it’s been under some old sheets - so I fished out the butterscotch original grain cover Sean kindly sent me a few years ago and set to work recolouring it ... will continue tomorrow.

LuhfcKms.jpg


GuwmaFfc.jpg

YJX79nBA.jpg
...
 
Last edited:

Huw

Club Member
Been playing with diffs, doing a Quaife conversion. Need to do the final set up but now stuck waiting for a shim to arrive :(

View attachment 37851

Shims finally released from customs and delivered this weekend, charged for the pleasure of waiting almost 4 weeks for them.

Diff finished, Backlash spot on, bearing preload spot on and wear pattern spot on. Bet the bloody thing will whine like a dog. Will fit it next week(ish) and find out.

29EC900D-90F0-499C-9663-48C664D985E6.jpeg
 

MCBladeRun

Club Member
Received some rear clusters from Minksport and then set about removing the existing ones.

I got carried away and somehow my cowl and rear chrome bumper fell off with some encouragement. Honestly I was interested in seeing the hidden areas and what it looks like without the bumper.

DSC_0031.JPG
Underside of my removed cowl
DSC_0030.JPG
My datsun's coin purse
DSC_0028.JPG
Removed bumper and rear cluster surround panel. If you zoom in, you can see lots of patched up holes (I think) also, I am unsure why the indentation is off centre?
DSC_0029.JPG
A corner dent
DSC_0026.JPG
There's an earth tag with no black wire, and I couldn't find a detached loose black wire in the loom? Is this the place where an earth connection is made above the fuel tank? Might explain the low voltage I have
Screenshot_20200518-223412.png
Yes I think it might be missing..
 
  • Like
Reactions: Huw

richiep

Club Member
Everything on the rear valance is correct - the indented pressing should be off centre like that and the “patched up holes” are all factory welds (assuming you are talking about the raised ones in and around the indent and over near the right hand bumper bracket mounting point). Pity it’s been whacked like that. :(
 

dotMorse

Club Member
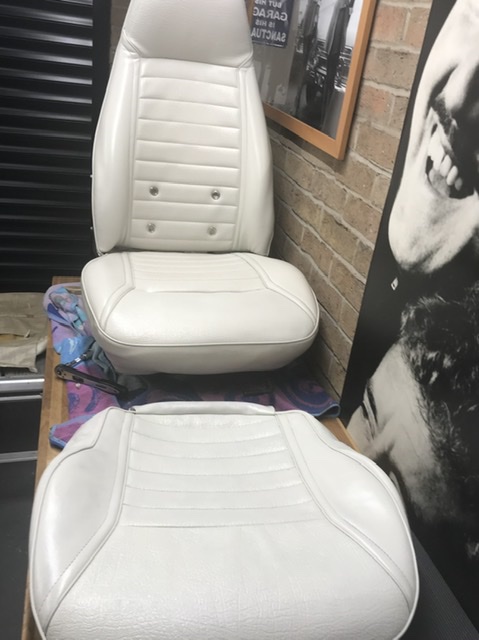
More interior work on the recolouring ...

The more coats you give it, the better ...

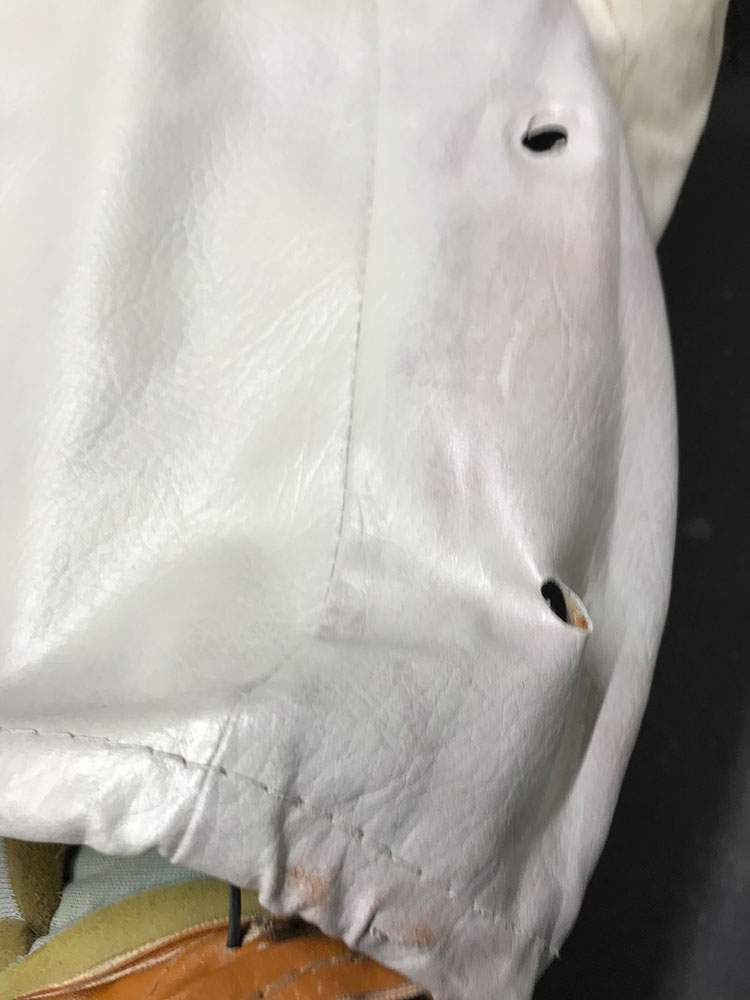
Other vinyl panels are looking okay as well ...

What are you using for the stain? My panels could do with a dealer black and wondering if you can do the same process to restore the black finish?
 

uk66fastback

Club Member
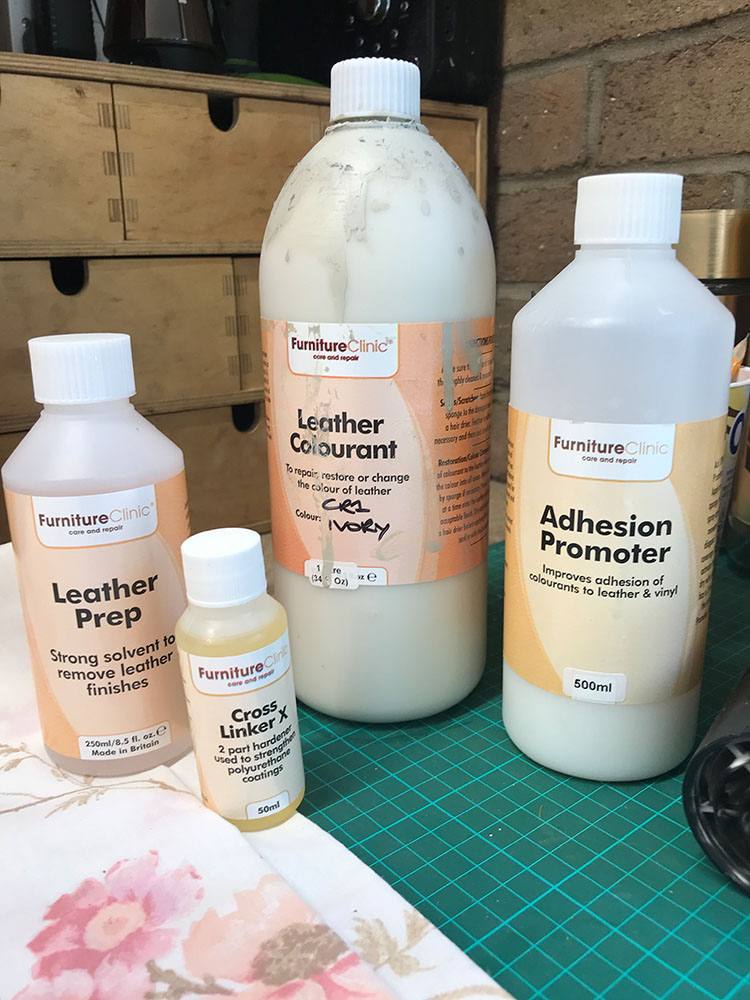
I'm using Furniture Clinic stuff - all on their website. The kit is essentially for leather but works on vinyl too. It's all down to how well you prepare the surface of the vinyl as the colour doesn't 'stain' like it would on leather. They have adhesion promoters and suchlike to make the colour 'stick' to the vinyl. Then when the surface is prepared it's a case of laboriously repeating the job of dabbing the colouring on with a sponge, then drying with a hairdryer and building up the colour. Not so difficult with the seat I have finished which was the 'white interior' as original - in reality an ivory - the colour I have from FC - but more work on the butterscotch cover I am recolouring to match (my original was split in several places with some holes also making repair impossible).

More pics to follow. What I like is the fact that if your diamond interior is serviceable, you can reuse it and it looks as good as new. As we all know from experience, it's all in the prep, whether it's paint, recolouring etc.
 
Top