Fairlineguy
Club Member
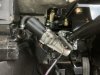
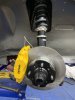
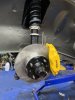
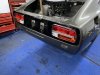
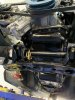
Yep used heat resistant caliper paint then a lacquerIs that a heat resistant paint on the callipers or do they not need it?
Yep used heat resistant caliper paint then a lacquerIs that a heat resistant paint on the callipers or do they not need it?
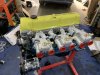
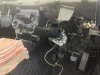
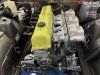
I got my paint shop guy to paint it for me.What's the technique you use to do those cam covers with the contrasting lettering and the products please?
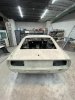
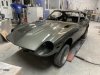
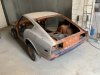
007?That looks very nice, not too dark, what colour code is it?
Well it’s not orange .
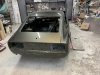
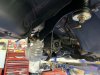
Very pleased with finish

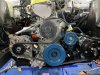
Yep sure is (It’s Found its self a new home ).Can’t wait to break it in and get it back on the dyno with the throttle bodiesIs this the posh engine with Kameari pistons?