'The Wasp' Project Thread

Mrs HollowPoint

Well-Known Forum User
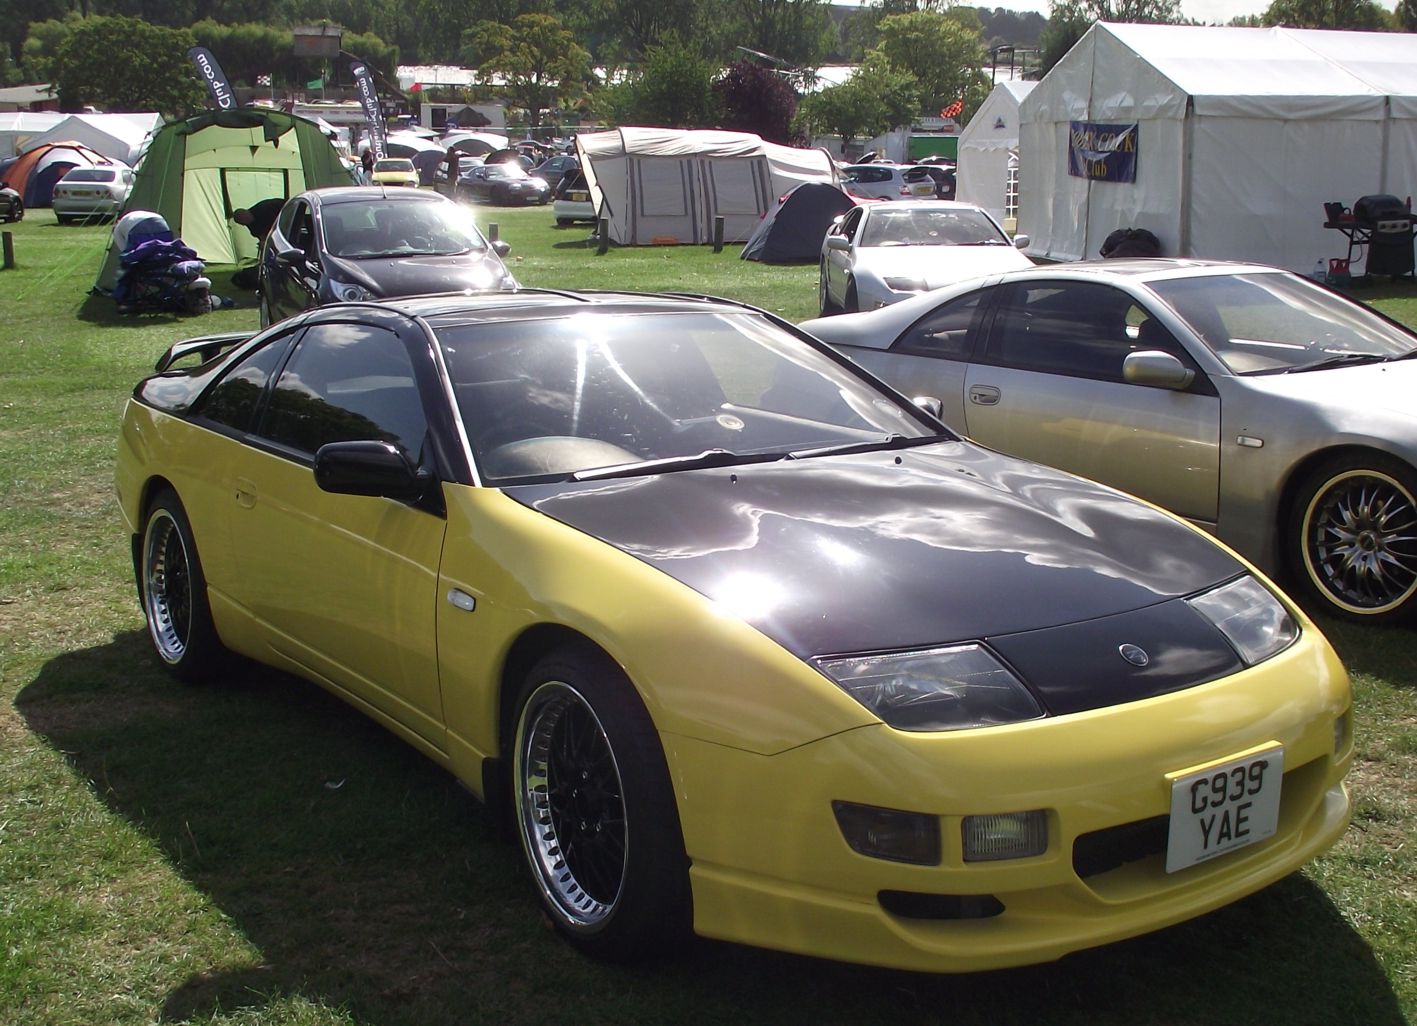
My 1989 300ZX bought in June 2011

It's Black and Yellow and the bugs most attracted to it are Wasps .... so calling it the Wasp. It's quite fitting really since everything you try to do to a Zed, it stings you.

So, I have had this car a few months now so have already gone through a few problems that are not on this site. Time to rectify that I think.

To get it, we drove up from Doncaster to Glasgow in two zeds, and come back with three and a manual gear box for it chopped out of a wrecker. It was a fun day, and since then it's had it's problems, work done and a few projects started.

ZedOutlaw.jpg


Jobs done
Manual Conversion
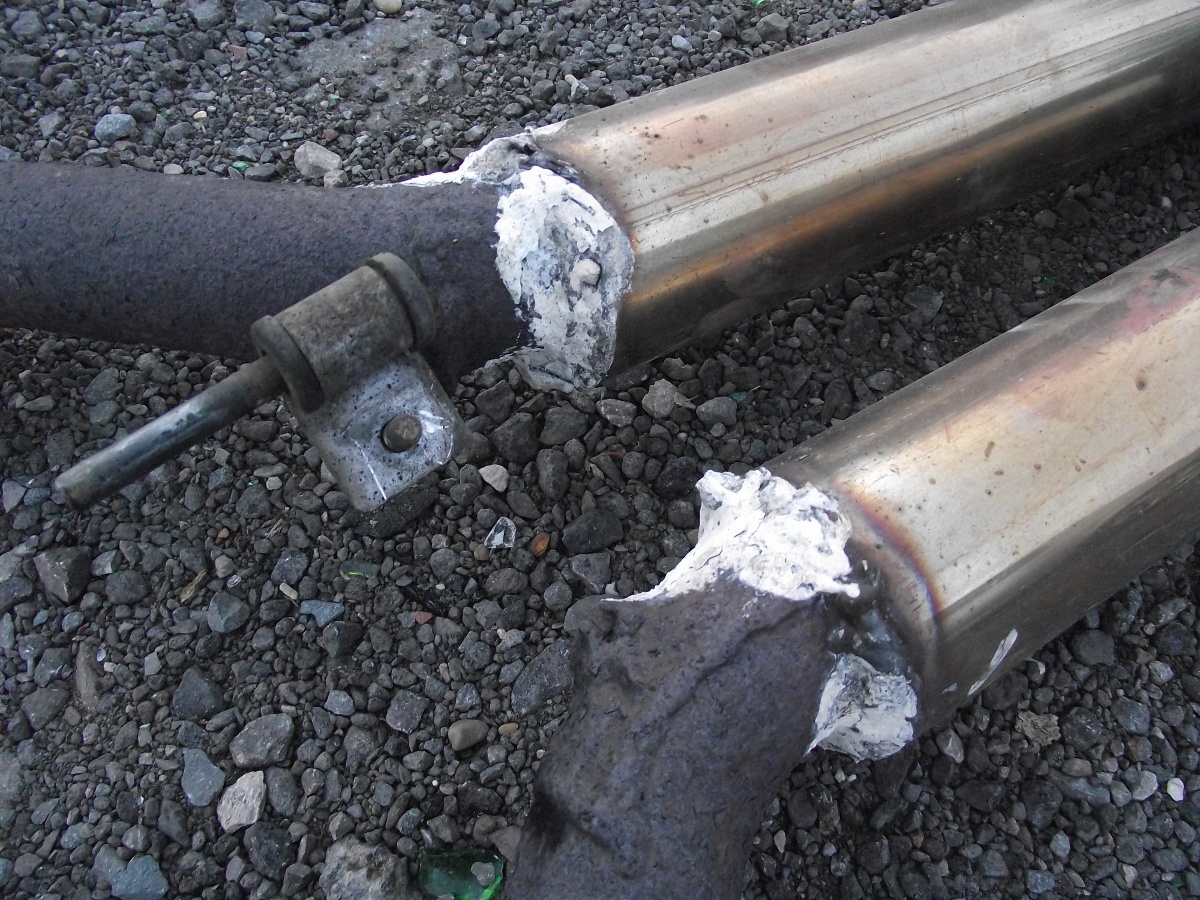
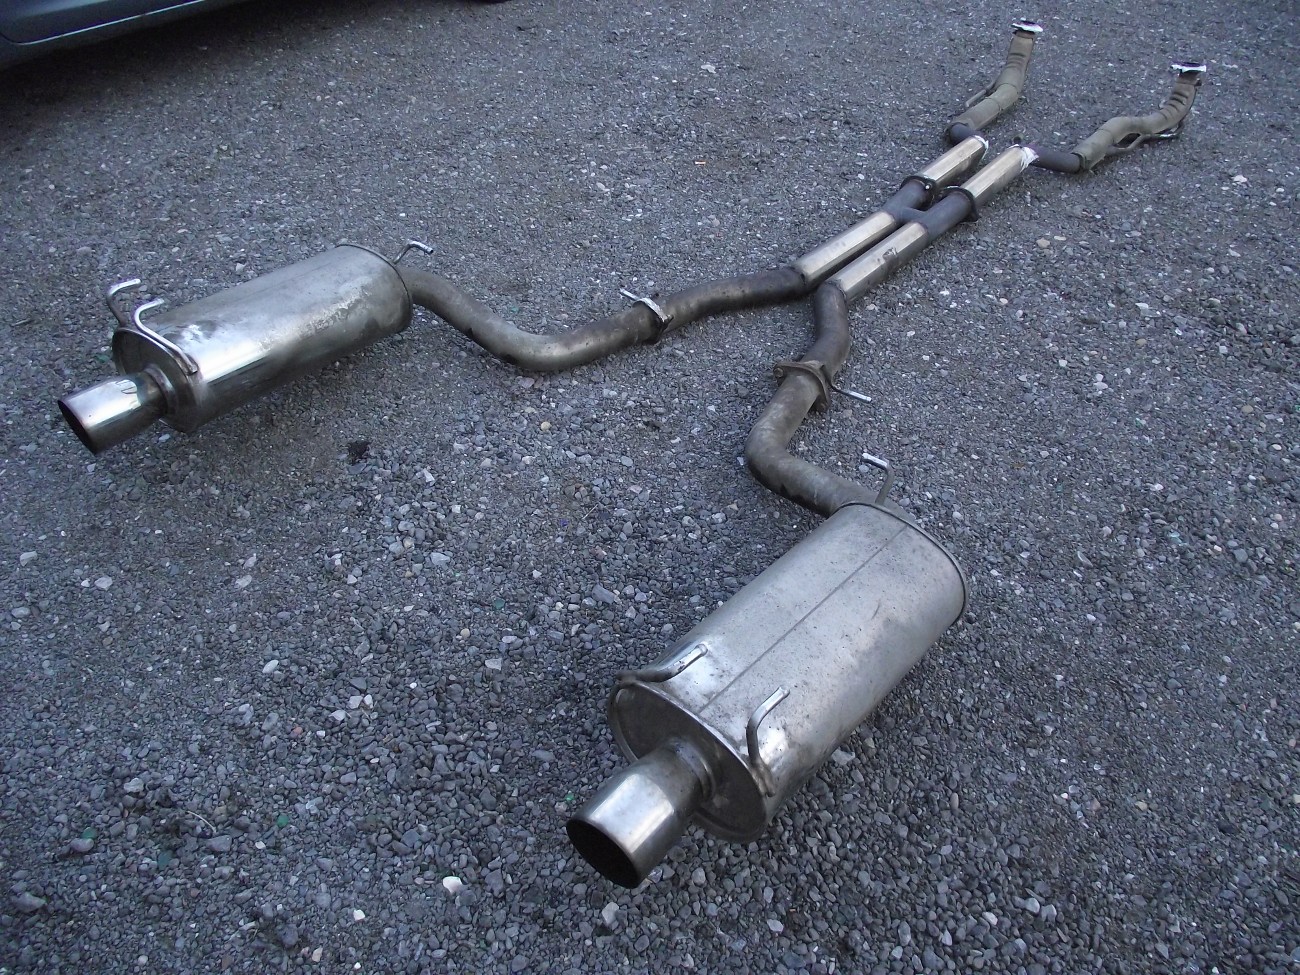
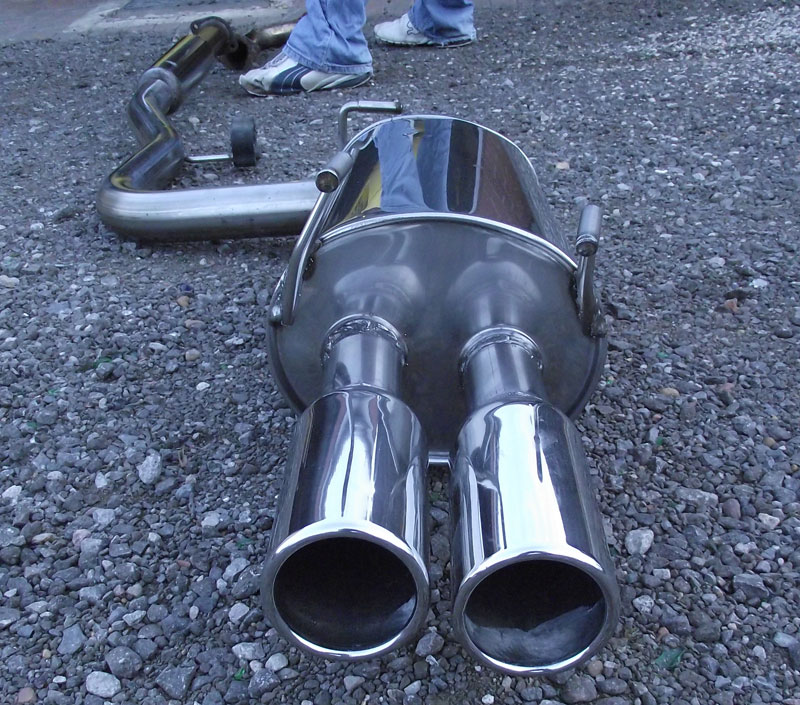
New Mongoose exhaust system
Chrome tax disc holder
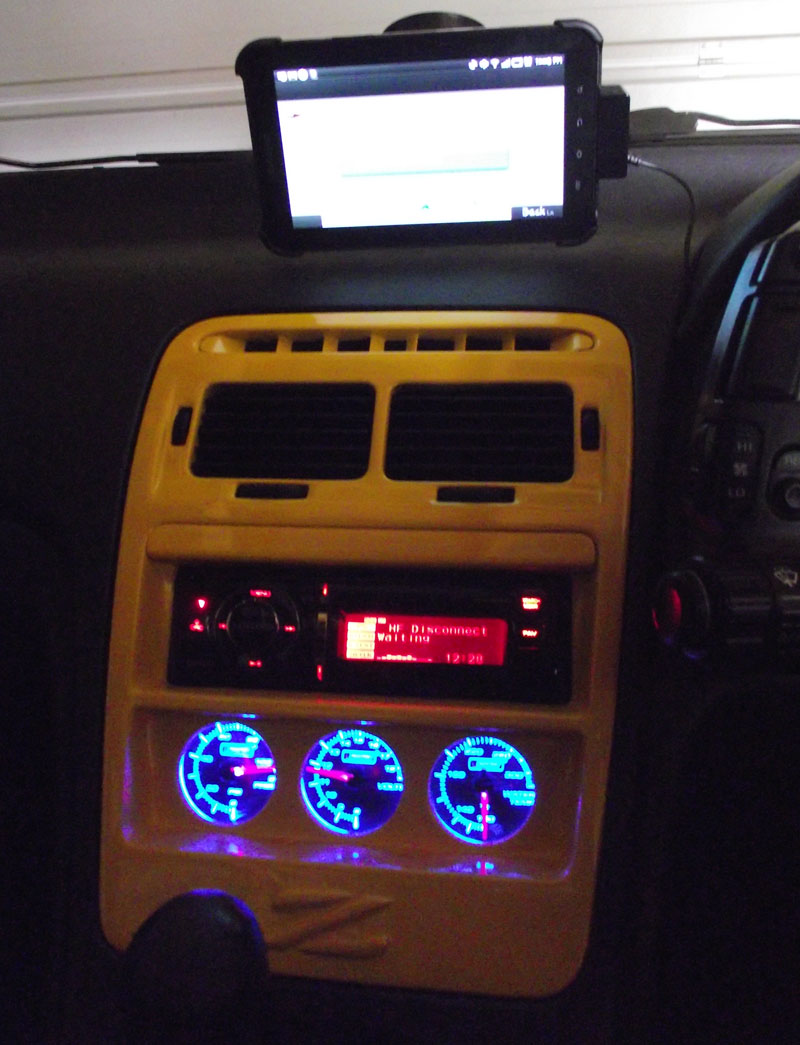
New Kenwood stereo
Galaxy Tab installed
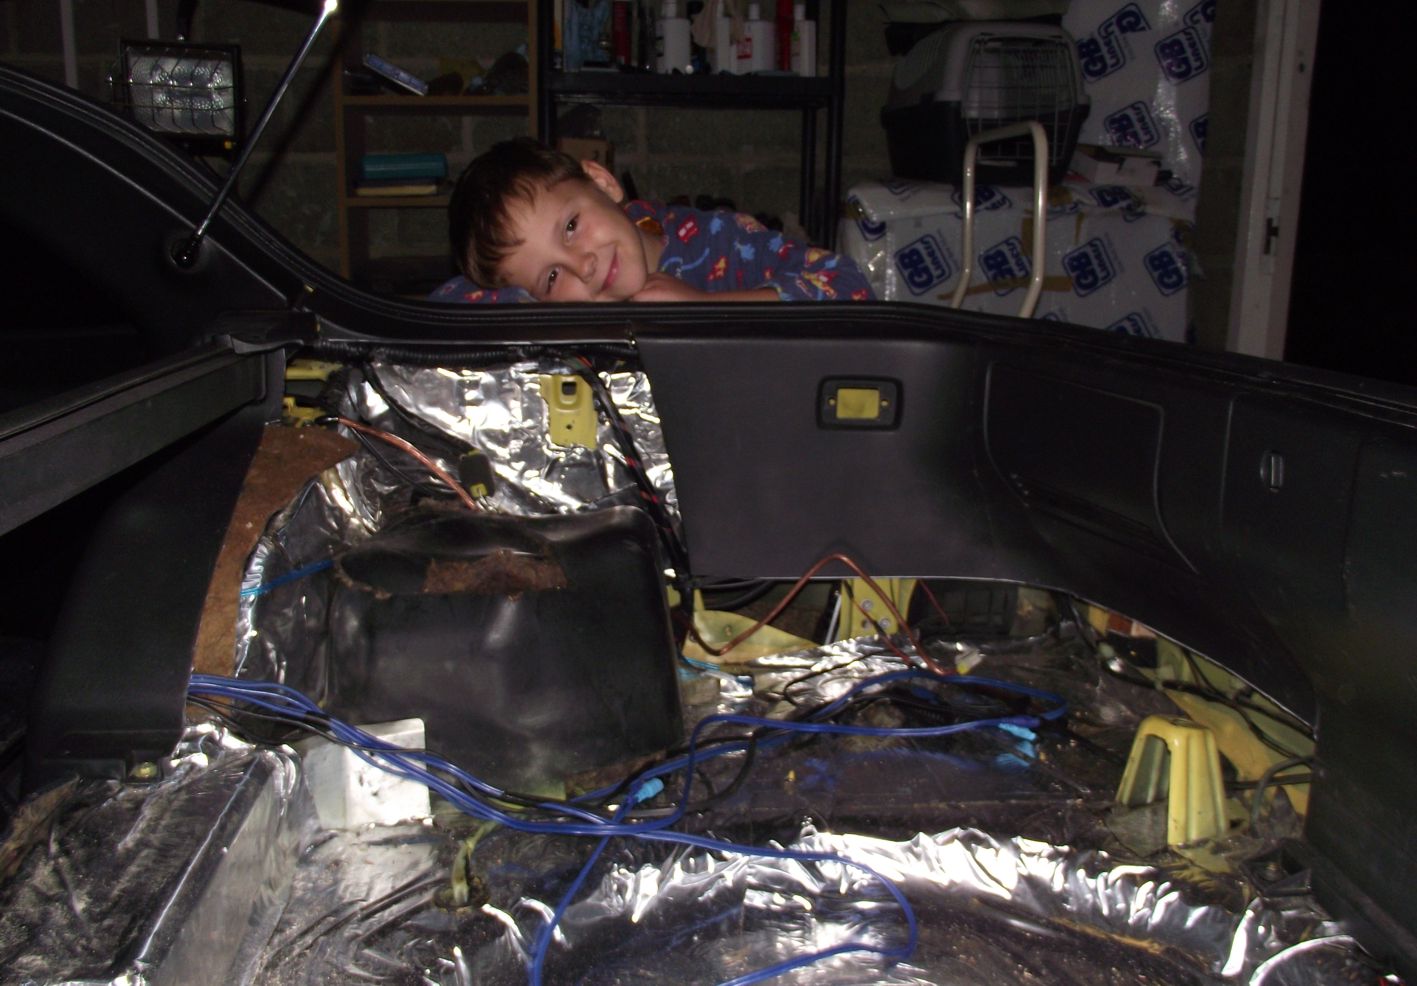
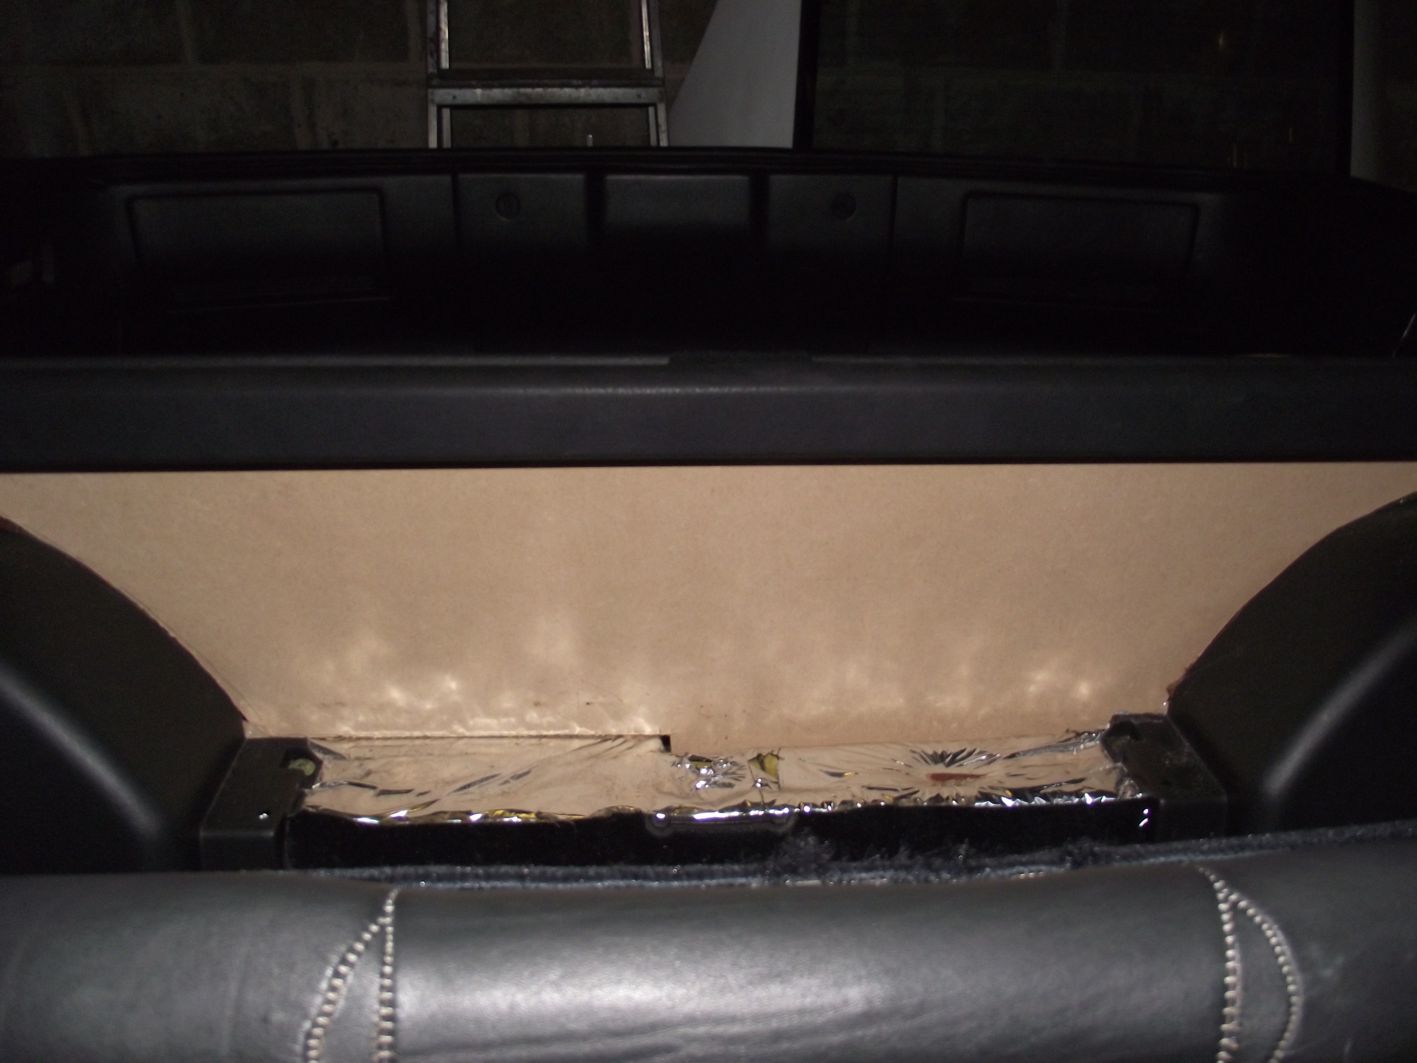
Sound Deadening
Amp wiring
Underlighting
New hub centric spacers/bolts etc
Fan shroud removed
New fan clutch
Hard pipe kit Jubilee clips
Cam belt etc
Customised and sprayed centre console
... and probably a few things I've forgot.

To complete
Vented bonnet - All sanded down ready to modify
Side-skirts - Also sat in the shed sanded down
More modifications and painting around the dash, vents etc
Mines ECU - Got one in negotiation
Fibreglass front speaker area
Foot well and other interior lighting
Crystal bumper indicators
Clearer tail lights
Rear strut brace
Re trim the dash board and cure the lifting dash problem
Complete polished plenum
Respray the whole car in a decent brighter yellow and a metallic black on the top
Fully intend to spend plenty on some nice liquid art
Viscose fan replacement - got it sanded down, ready to paint

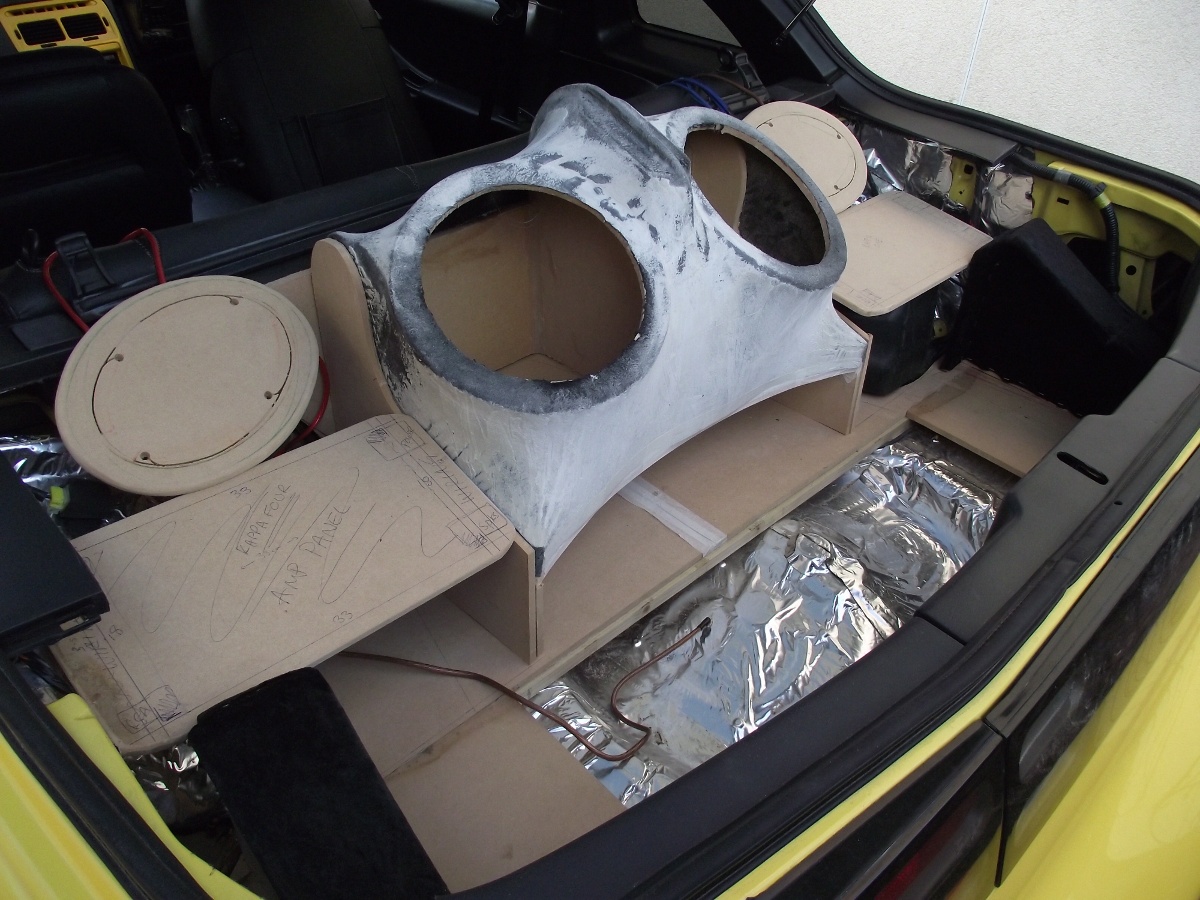
A very demanding boot install... will explain later - work has started.

I'll follow up with some pics and details of the work so far.
 

Mrs HollowPoint

Well-Known Forum User
The Manual Conversion

Thanks to Mikey Bean, this car only had 3 days total as an automatic in my possession. He's a star!

Here's where the gearbox came from...

The-Mad-Zed-Breaker.jpeg


One-Way-To-Do-It.jpeg


I'm also pretty sure this is where my bonnet, boot and some of the trim came from as well.
 

Mrs HollowPoint

Well-Known Forum User
Wheel problems

When I bought it the previous owner said that one of the front skyline brake discs was warped, so the long drive down from Glasgow had a fair bit of vibration on the way. It turned out that the calliper hadn’t been put on properly so had lots of play in it.
Much later, we discovered the front wheels were hanging on by 3 mostly mangled threads per bolt so we bought new hub centric spacers, proper length bolts and nuts. This had the car off the road for over a week.


Engine bay necessities

We had to double the amount of Jubilee clips to what they should be on the hard pipe kit.
Generally, the engine bay looks quite pretty, but there was a lot of 'stick-on tat' in there that I've been gradually removing.
Someone has started polishing the plenum so I'll just have to go finish that job some day, and the blue hose on the hard pipe kit will be replaced to all match.
The fan shroud is now gone and a new replacement fan is sanded down ready to paint.
Apart from the necessary servicing, this part hasn’t seen too much action yet.

engine.jpg
 

Mrs HollowPoint

Well-Known Forum User
New Exhaust

We had to laugh at the most bodged exhaust system I've ever seen, and REPLACE it with a full Mongoose system.

I wasnt too impressed to see big round twin exits on the car because before I went to pick it up, it had quad exits on the photos. Still, the back boxes are in good nik and still looked quite nice (For sale!!).

One day, I'm driving along and the car starts sounding more like a scooby. Exhast putty had dislodged itself and got stuff in the system - That was the last straw!


Look at the state of this!

Gunk.jpg


full-exhaust.jpg


mongoosepolished.jpg

And yes...thanks to Mikey Bean again ...
Ahhh this is better...
quadexit.jpg
 

Mrs HollowPoint

Well-Known Forum User
Sound Deadening

Ripped out the entire contents of the car to place sound deadening.

This is just to remind myself of how small and useless looking the boot originally was

originalboot.JPG


I decided some of this was never going to see the boot again
bootbitseverywhere.JPG


emptycar.JPG


Now it's all silver
scruffshotwwiresin.jpg
 

Mrs HollowPoint

Well-Known Forum User
Customised Center Console

I first bought a decent head unit and reduced the bodged wiring behind the center console by 90%

I then took out said center console, remove the clock, fiberglass it to neaten up melted plastic, make the stereo fascia surround fit, and fibreglass a 'z' on it. Sprayed in bright pearl yellow.

scusejohnsmithsad.jpg


All set for a night of sanding

allset.jpg


Primered and the 'Z' taking shape.

zprogress-int.jpg


Sprayed up and ready to fit
outofcar.jpg


I Installed a holder and charger for the Samsung Galaxy Tab. Now combined with the bluetooth and parrot built into the Kenwood head unit, I can use the phone, watch movies, have my navigation sound etc through the stereo.

With the Galaxy tab all set up

DSCF0853.jpg

All I want now is all the gauges to actually work!
DSCF0852-best.jpg


I will probably take all this back out again, strip it down and customise it some more at some point, but it will do for now because I don't like boring interiors.
 

Mrs HollowPoint

Well-Known Forum User
The demanding Boot Install

This has been driving me pretty crazy being not the easiest of boots to work with.
Must be because I'm female, because I want everything.

I need to keep the car relatively practical so the rear seats have to stay in for 2 kids and a dog lol.

This is going to take a while!


I'm getting excited now. I'm no genius with wood work at all but .... The TARGAS ARE IN!!!

mwahah-theyfit.JPG
 

Mrs HollowPoint

Well-Known Forum User
Installing the chrome tax disc holder.*

Well the road tax costs so blinkin much for the year it deserves to be made as safe and secure as possible. Typically with trying to do ANYTHING, even the simplest thing on this car turns out to be a lot of effing and blinding. So, after using a dentist drill bit to remove the on Allen screw some joker at the factory screwed in too tight... one chrome tax disc holder in the window.


Back to the boot install.

If you look back at the original boot, the floor was quite high so I cut out a lot of the unnecessaries.... modelled by my 6yr old here...
cutplastic.jpg


Well, as I said, I wanted hidy holes to keep erm... 'stuff'
Heres one between the rear seating and the boot..

hideyspace.jpg


And, now the targas are suspended in mid air, I took a piccy of the close fit, and an idea of the amount of room I have to work with.

loadsofICEroom.JPG


It's pretty crude stages at the moment but I can see a plan starting to come together.

... I need some cheap stretchy cloth, anyone got any tips?
 
Last edited by a moderator:
M

madmarco

Welcome to the Zclub!
Nice example you have there, the yellow and black looks good. Like what you've done with the center console. If you want strechy material on a budget you cant beat a bit of leatherette and foam from the local fabric shop.
 

Mrs HollowPoint

Well-Known Forum User
Welcome to the Zclub!
Nice example you have there, the yellow and black looks good. Like what you've done with the center console. If you want strechy material on a budget you cant beat a bit of leatherette and foam from the local fabric shop.

Cheers :) The trim on the car is pretty good, the leather seats are in excellent condition. I will probably splash out a bit to retrim the dashboard with alcantara or Belgian cloth though (no reflection/shiny surface... rather a soft finish instead there).

On the fabric, I was thinking cruder than that... like some rubbish to slap resin all over :)
eg. would thin lycra work?, or something heavier (more likely)... I don't know habberdashery that well so if anyones experienced on the keywords best to look for, that would be great.

I havent done a fibreglass boot install before, let alone sectioned and painted so this is a first for me. I've done plenty of small mods, bodywork repair and detailled fibreglass, but nothing like this. The Celica boot build went well but was a straight wood build.

The black and yellow ... it got me to buy the car so will stick with it ... desperately wants painting properly though. I wonder if I used the brighter yellow paint like the interior, it may start looking like JCB? :unsure:
 
Last edited by a moderator:

Mrs HollowPoint

Well-Known Forum User
Well I havent got that far this weekend. Spent yesterday clearing out the garage, then Hollowpoint has his engine in bits today!

I have got a step further with cutting the speaker mounts. Not an easy job with a jigsaw and the only ruler being the back of a saw, but hey, it's progress.

This is for a couple 10" subs, and the oversized 6x9's I already have. I should get them placed in the boot where I want them by the weekend, then the real fun starts to happen.

mountingdiscs.JPG
 

Mrs HollowPoint

Well-Known Forum User
Ive been bust for the last few days.
First priority was to make sure the targa tops fits properly so theyve been in and out of the boot constantly!

Ive spent a long time taking measurements to get my sub box as close to the reccomended volume as possible. Ive chosen some nice rockford fosgate 10". I know the rest will be infinity, but I just dont like the look of infintiy subs and you dont seem to get as much value for money. Rockford Fosgate® - P3D410

I seem to have forgotten to take enough pictures along the way, ah well.

I've run out of filler for the moment, so I guess I will be getting on with constructing the 6x9 / amp areas. I'll take another pic soon to show you the general plan.

And heres an idea of the mountain of space I'm going to have left:
tonsofroomleft.JPG
 
Last edited by a moderator:
Top