Steve's 260z 2+2

Nexussteve

Well-Known Forum User
You seem like you know what your in for, so best of luck with it :thumbs:

I certainly did, and I have no doubt in my mind that there's more to do!
Seems like shot-blasting is the way to go!

I'd rather know I'm sitting on a solid car I can enjoy for years than a rot-box!
 

andrew muir

Club Member
Shotblasting is great but the rebuild will be extensive.
It also can't get into cavities.
I found the worst rust to be where there were previous attempts of repair, and basically the top half was rust free, the sill areas are complicated and if there is any rust inside it can remain hidden.
I started with a small hole in the rear and ended up replacing whole sill including the vertical piece in the middle and part of rear floor section!!:eek:
I would try prodding a bit more first!!:smash:
 

Nexussteve

Well-Known Forum User
Shotblasting is great but the rebuild will be extensive.
It also can't get into cavities.
I found the worst rust to be where there were previous attempts of repair, and basically the top half was rust free, the sill areas are complicated and if there is any rust inside it can remain hidden.
I started with a small hole in the rear and ended up replacing whole sill including the vertical piece in the middle and part of rear floor section!!:eek:
I would try prodding a bit more first!!:smash:
Prodding about is fine, but surely removing the extent of the damage would be better in the long run? :unsure:
 

Nexussteve

Well-Known Forum User
Ok, so it's time for an update:

I've welded in new floor pans in the passenger footwells, driver's footwell and I've donored a wheel well from a Primera P11 (Kinda keeping it Datsun/Nissan) to replace the rotten original one. The biggest rust problem I have now (which after much prodding reared it's ugly head) is on the inner wing. (see pics)

20140822_173059_zps8c5d3cc1.jpg

20140822_173119_zpsdcc1bd1b.jpg


I would just cut this out and replace without hesitation, however, because of the placement of the bracket on the otherside and the captive nuts, I'm not 100% sure on how to go about this. Any advice? I can't see a replacement panel being easy to find!!

Also, any better way to get the water run off out somewhere else and not cause the same problem? Will drilling a few holes further back help?
 

andrew muir

Club Member
Mine had rotted in exactly the same place, the box sections fill up and the water runs down but can't get out!!:(
I got a good panelbeater to fabricate the whole section including the last 18inches of box section,both sides.:thumbs:
I have pics on a previous thread.
I put in larger holes in the end to let water drain out easier.
 

grolls

Well-Known Forum User
Naa, get the rot out once and for all. Do it right once. see mine;

http://zclub.net/gallery/showgallery.php?cat=523


That was a lot of work Toopy!

My original plan was to shotblast the whole thing and red oxide it, but I was told (By a very good restorer friend of mine) that I should proly just sand down the original paint rather than open up a whole can of worms!
I'd like to get this car on the road ASAP, but at the same time, I wouldn't want it rusting from the inside out!

Any advice for the rust? Best way to remove etc? I've been flap-disc-ing the rust back to bare metal, but there's got to be a better way? (sorry the pics aren't better - had dust flying around the workshop!)
 

grolls

Well-Known Forum User
Where you bin Grolls,you still got that old Datsun then. get it done once

Yea still got it.... under wraps. Restoring house.... wont ruin the mans thread. drop me a pm with your number ya long haired hippy :D
 

Nexussteve

Well-Known Forum User
6 steps forward, 7 back!

This car pretty much sums up my life in general! Just when I think it's going smoothly, I come across more sh*t to deal with! :banghead:

Here's a quick summary:

Under battery tray:
20141024_184004_zpsc3ad6ebe.jpg

Repair in progress:
20141101_211024_zps2103f4e4.jpg

Stitch-welded the shell (Probably OTT, but wanted to make sure!)
20141002_174937_zpsca3995e8.jpg

20140905_172200_zpsd4cc5311.jpg

Most of the interior painted now (and dusty) Nearly ready for sound-deadening:
20141214_172125_zpsad7c4097.jpg


I've left the worst til last. Dug about in this today to find this mess!
Thought it was just rust around the filler...
20150102_154122_zps3ad0a135.jpg

20150102_153758_zps330478ba.jpg

Started repairing...
20150116_161401_zpsc5e21044.jpg

Prodded around some more, only to find this:
20150102_154057_zps8e6606be.jpg

20150102_153934_zps218c3a4e.jpg

So opened bottom skin...
20150116_154412_zpsa8b49e56.jpg

And this came out :(
20150116_154516_zps37c0f5b0.jpg

Outer skin of same section:
20150116_162352_zps4cd79405.jpg


So with the combination of a rusty arch and sill section, I now think it's going to save me so much more time if I just replace the whole rear quarter. Trouble is, I've heard how hard these are to get for the 2+2!
So, as I like to always give things a go:

Anyone got one??? :eek:
 

andrew muir

Club Member
Arghhh!!! I feel your pain, the mosre you look the more you find yours definately seems a bit worse than mine was.
I was extremely lucky to get a couple of genuine rear quarters, I think someone had one for sale here about 6 months ago. They are really hard to get I am afraid!! :(
They are a ****** to fit though I did one side at a time and the car was supported correctly so as not to distort chassis. I had a top car restorer do it for me.;)

Not sure but looks like a bit of blasting would be the only way to get rid of all of that.
You may get lucky and most of the rust is just superficial.:thumbs:
 

Nexussteve

Well-Known Forum User
Luck is definately something I'm running out of!
Maybe I used it all up finding the car! :p

I'll try my best to source a quarter panel, otherwise I've get a hell of a lot of welding to do! :(
 

Nexussteve

Well-Known Forum User
Just a quick update:

This is the last of it. The complex shape of the arch was a bit of a challenge!
20150227_174512_zpsa8rpdxdi.jpg


But I think I did pretty well considering I have no specialist equipment!
20150312_104033_zpsw30eesxp.jpg


The sill all welded up and replaced:
20150514_161840_zpsv1q3by8p.jpg


Most of the rust is now repaired and filled on the car. I'm just waiting for a friend to lend me his rotisserie, then I can sort out any problems underneath. After that, it's about ready for paint!

In the meantime, I've acquired myself a shot-blasting cabinet, so I'm going to strip back and paint all the suspension parts while I wait!

20160304_125611_zpsepdrdhvj.jpg

20160304_125555_zpslsxilmwt.jpg
 

Nexussteve

Well-Known Forum User
Ok, so I've been a really busy boy of late!
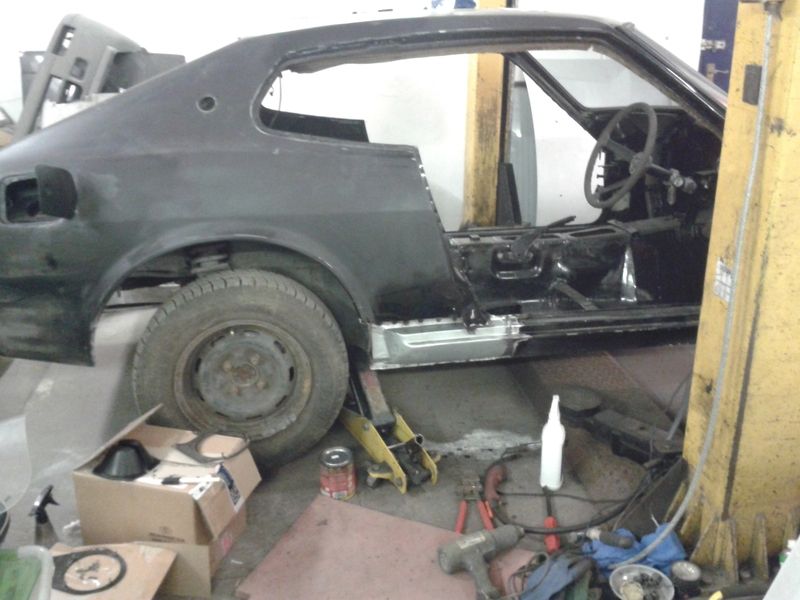
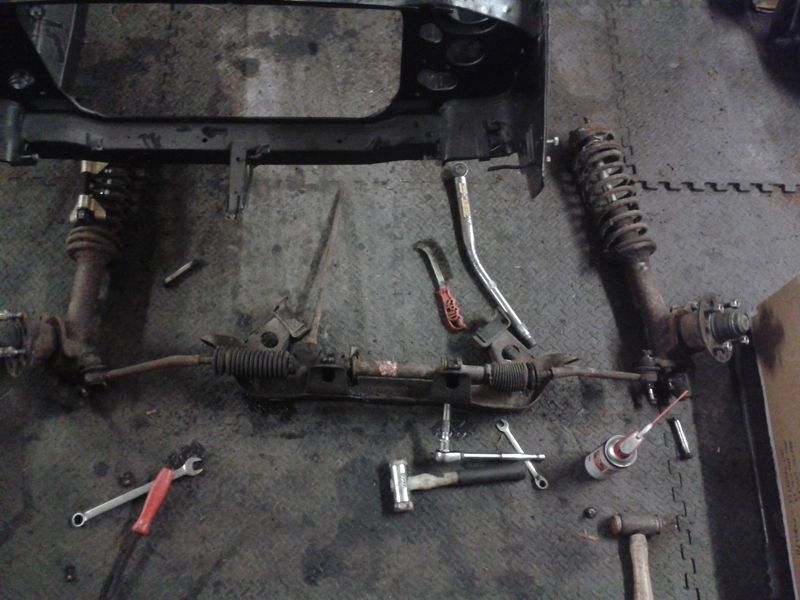
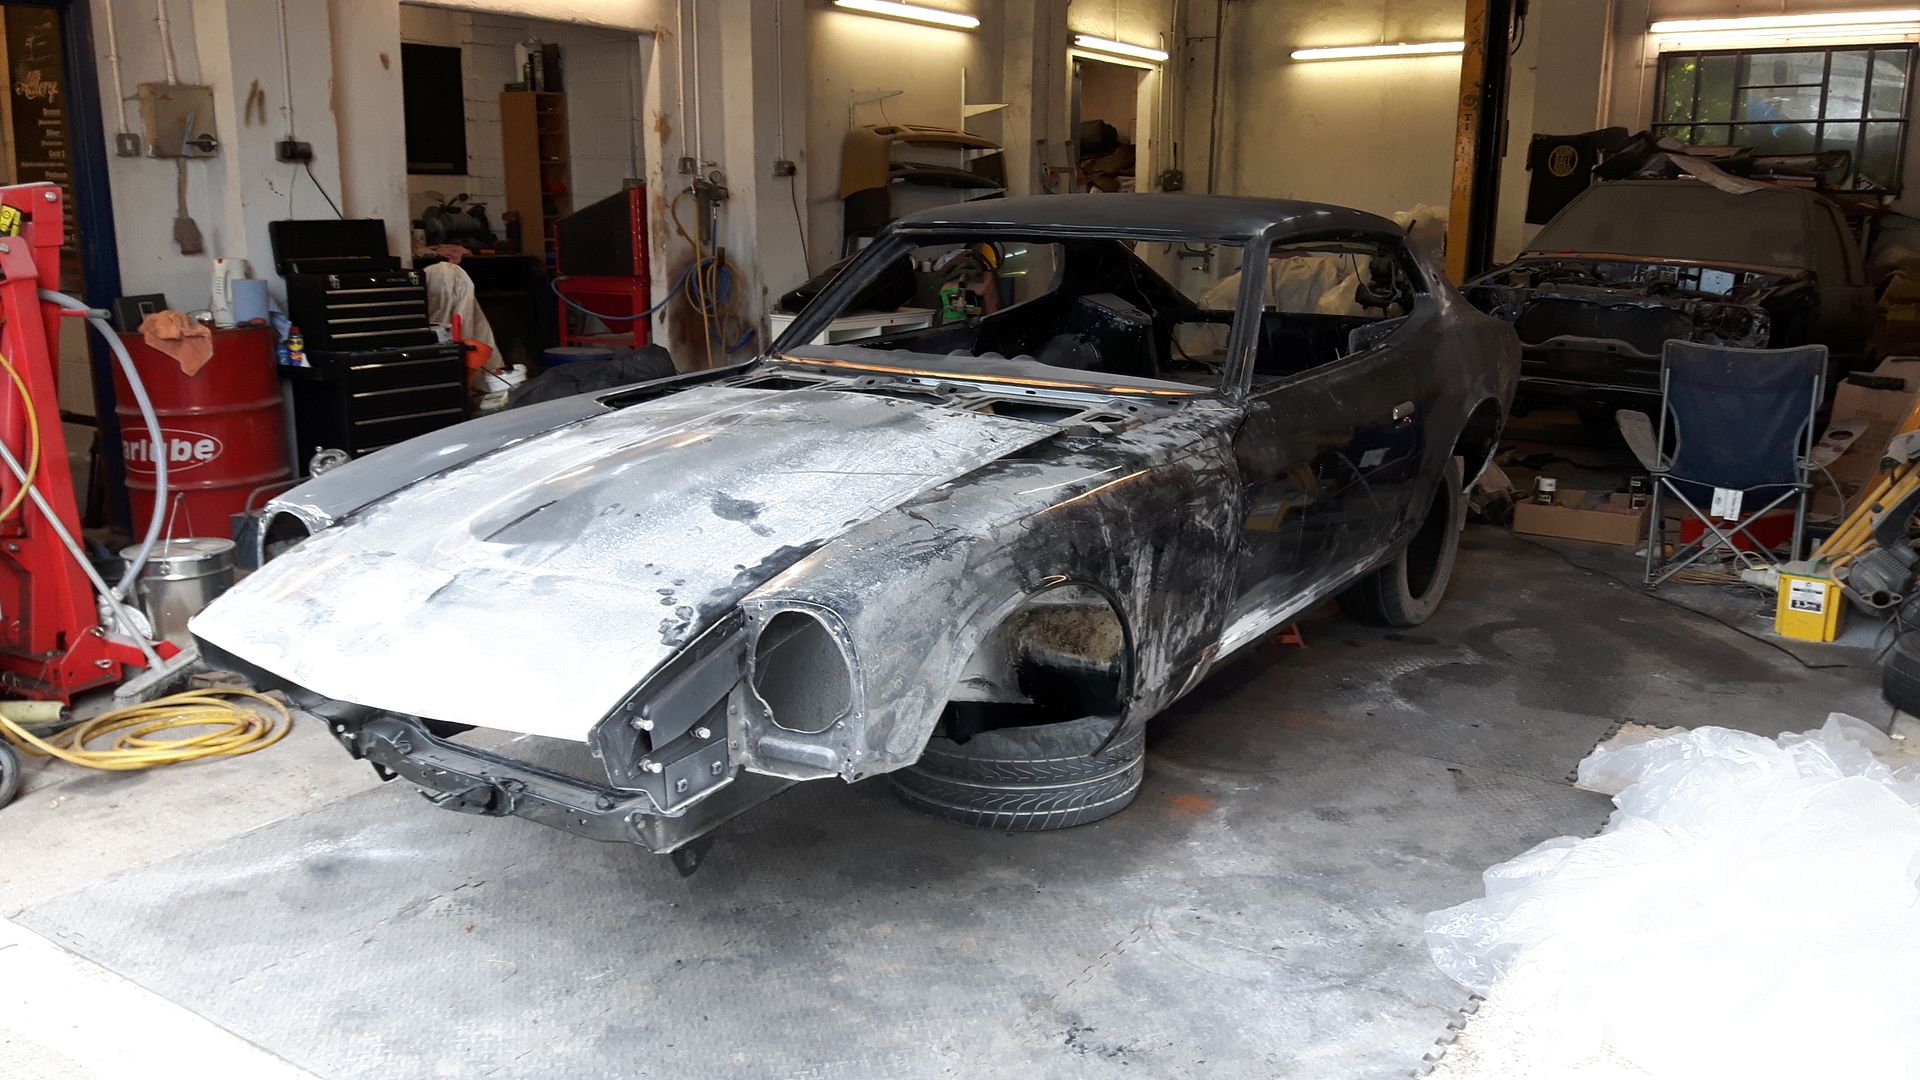
I stripped the car down of all suspension/steering components and put it on axle stands.
Most of the suspension played the game and came off with relative ease - the rear suspension arms however, were an absolute nightmare!! Had to cut through the spindle pin on one to free it (as I read up this is a common problem resolved by this) but haven't cut the second one yet. Starting to think it might be easier to get new/uprated arms and coilovers someway down the line.
20160205_191228_zpsp38ckn2b.jpg


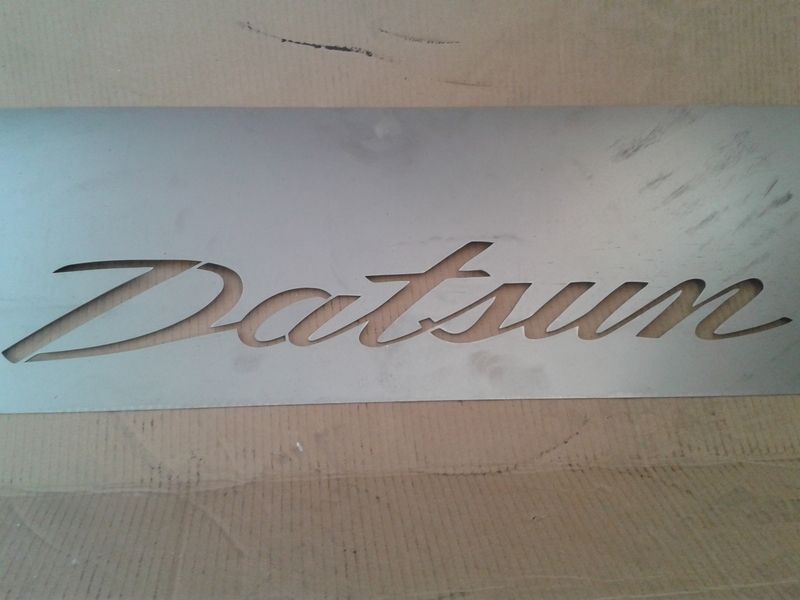
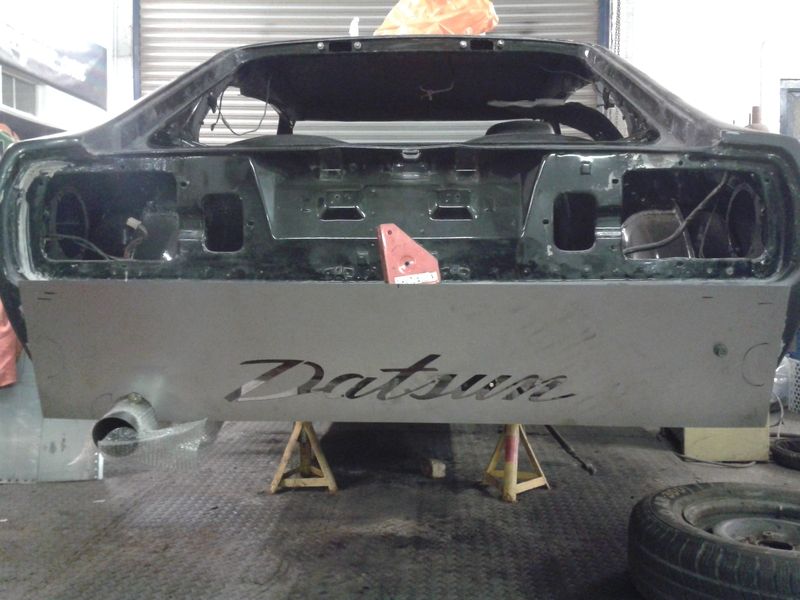
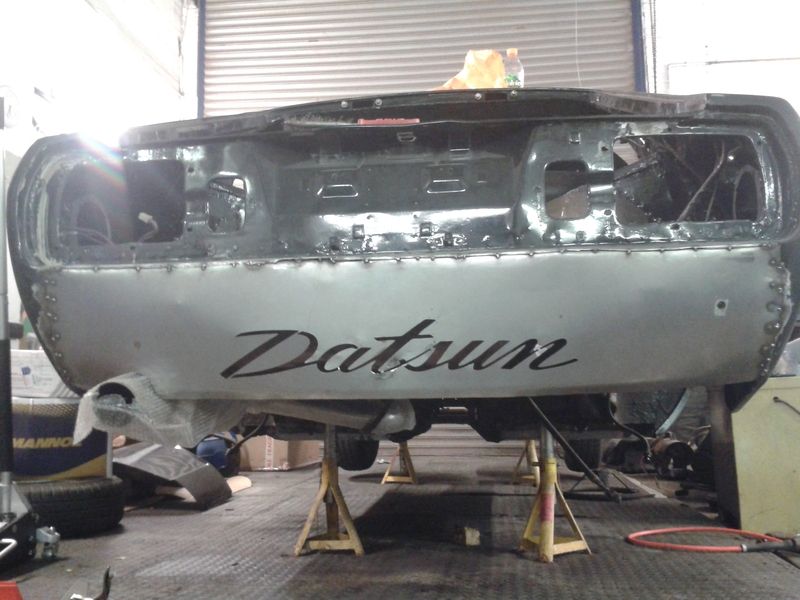
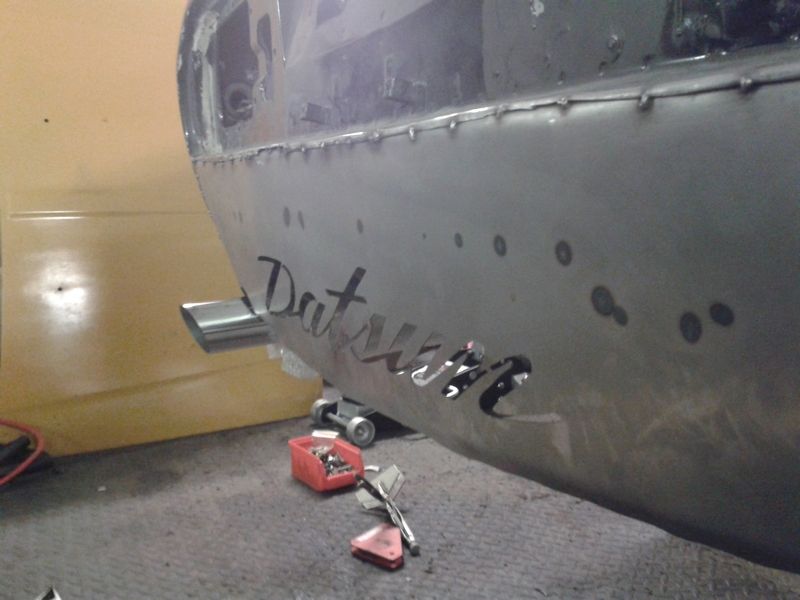
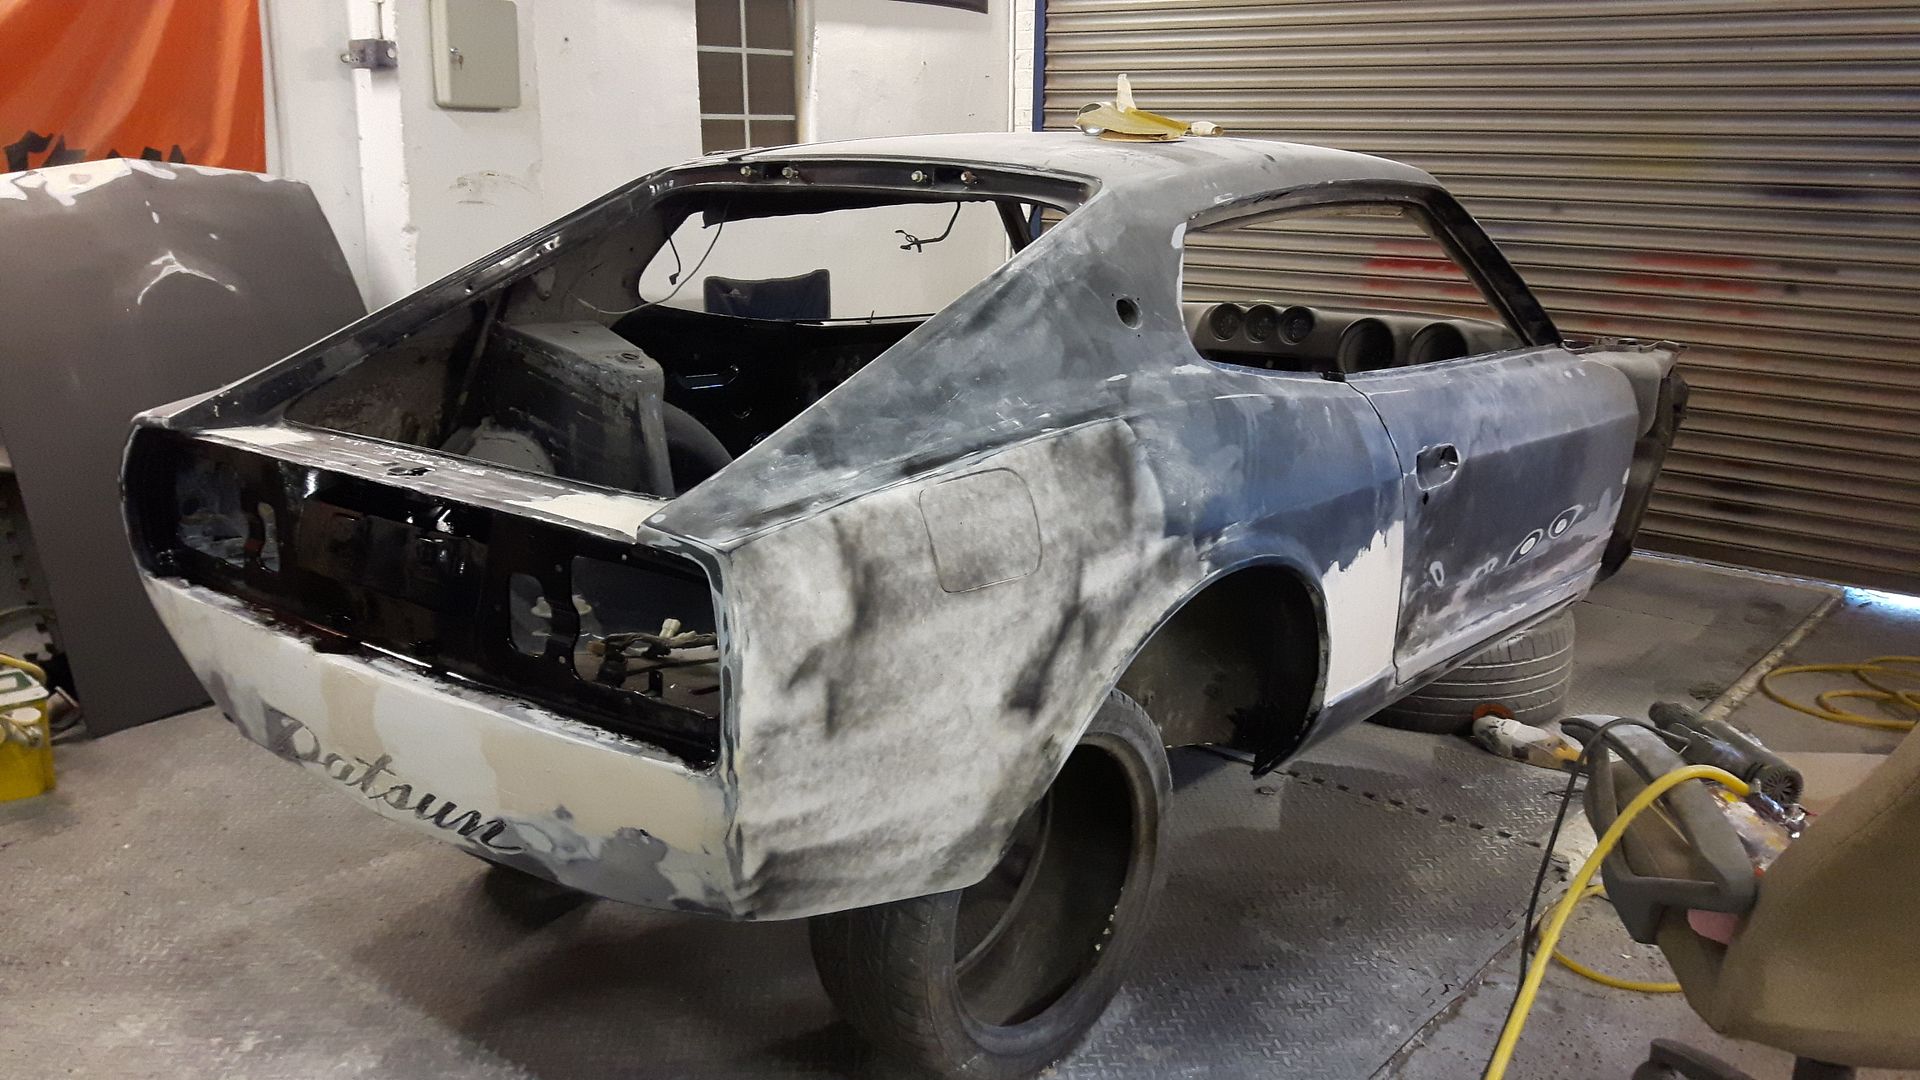
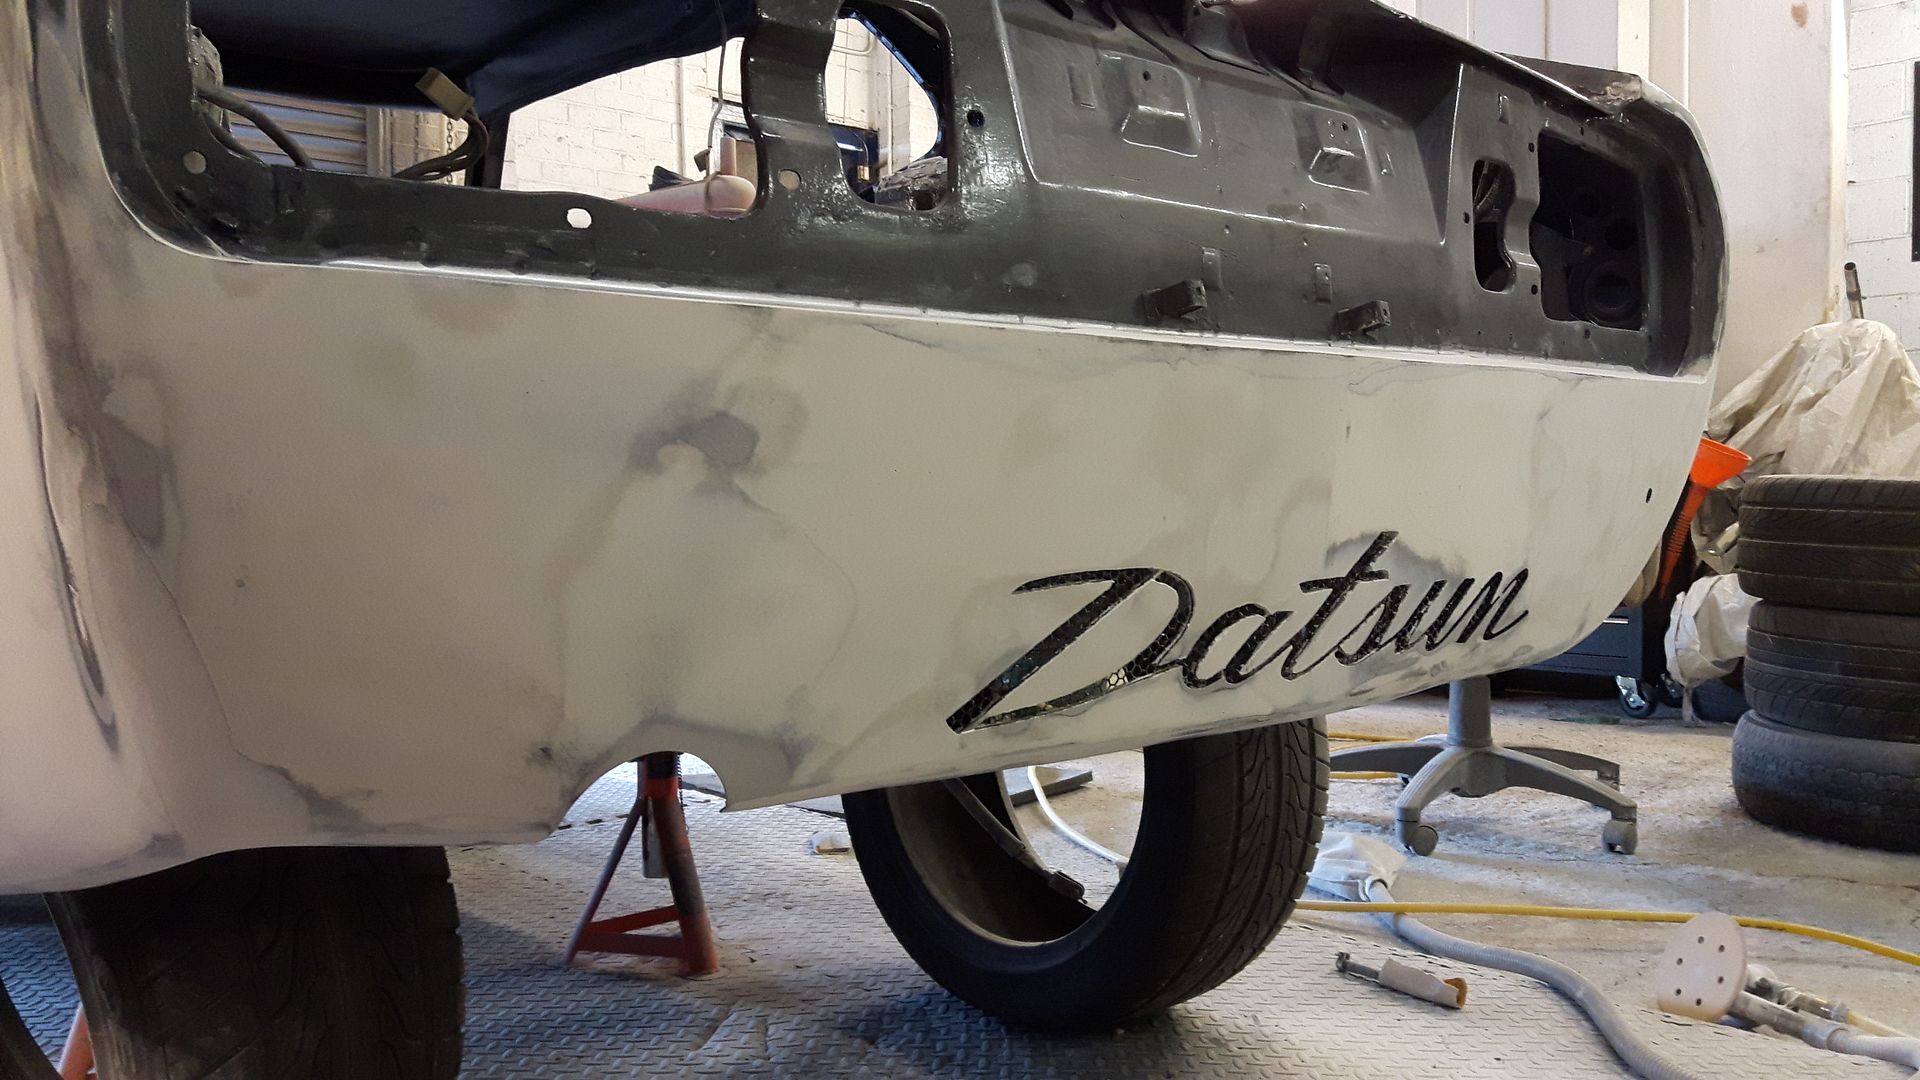
Started work on my custom rear valance. This may not be to everyone's taste, but I don't care! :)
20160119_142727_zpswcqi4mem.jpg

20160128_202810_zpsug6ounqc.jpg

20160131_191632_zpsxllo5una.jpg

20160131_194526_zpsnddrij8w.jpg


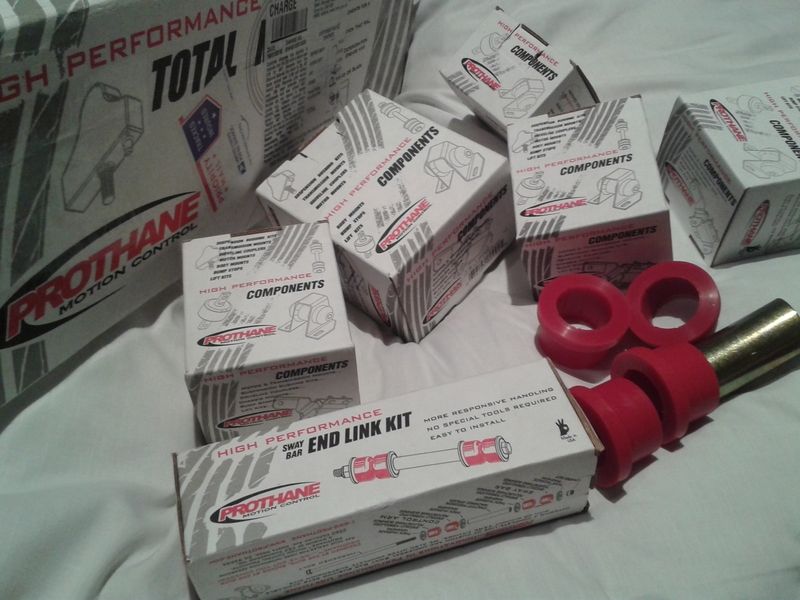
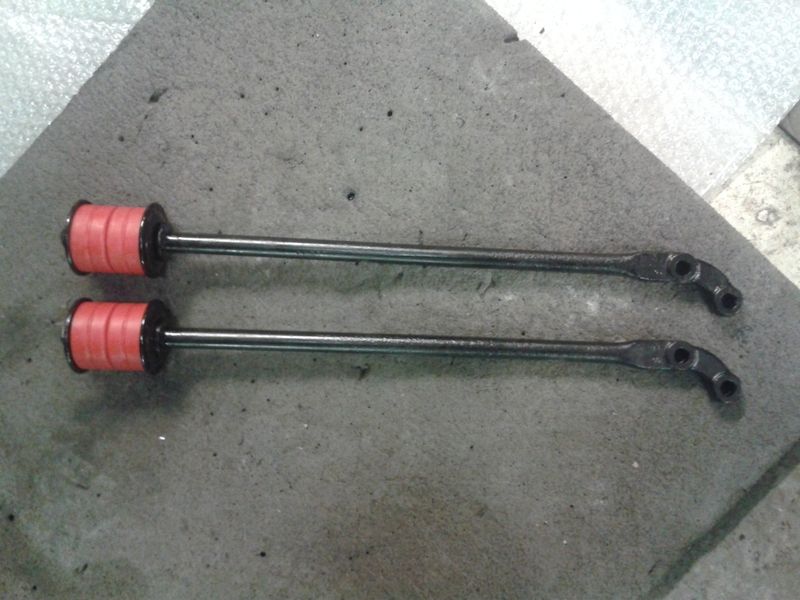
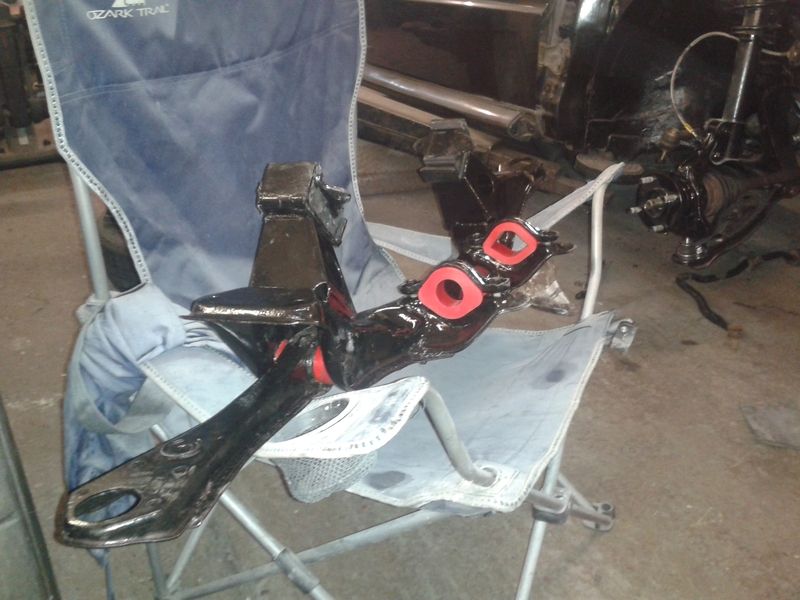
As I've been shot-blasting, cleaning up and painting all the old suspension parts, I've started to apply the Prothane bushes I purchased a while back as I go along:
20160404_165022_zps7oevh6bw.jpg

20160126_145119_zpslbeoshj1.jpg

20160320_121647_zpsgliq5gy3.jpg

20160419_152953_zpsbovoly9p.jpg


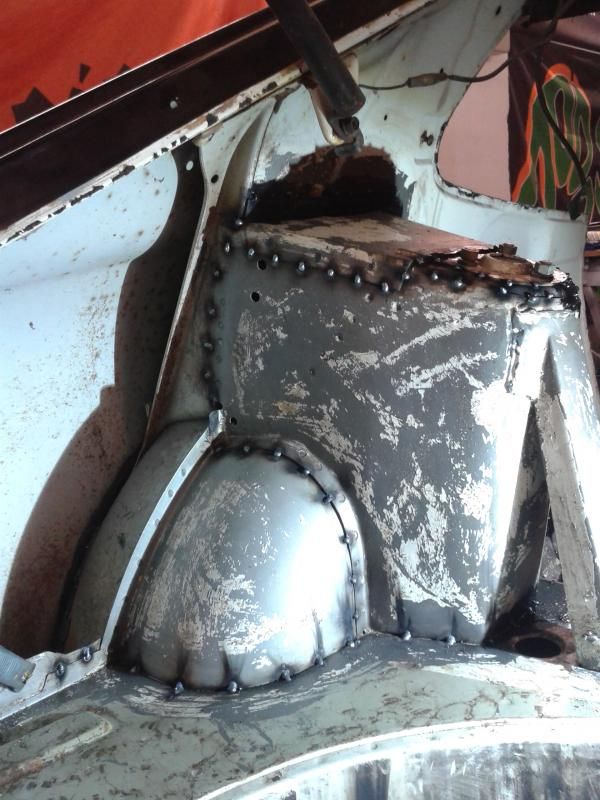
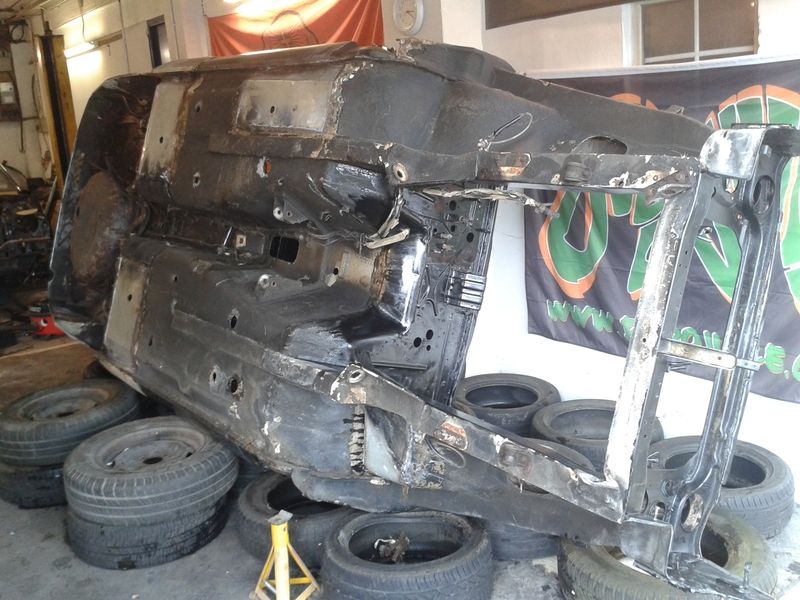
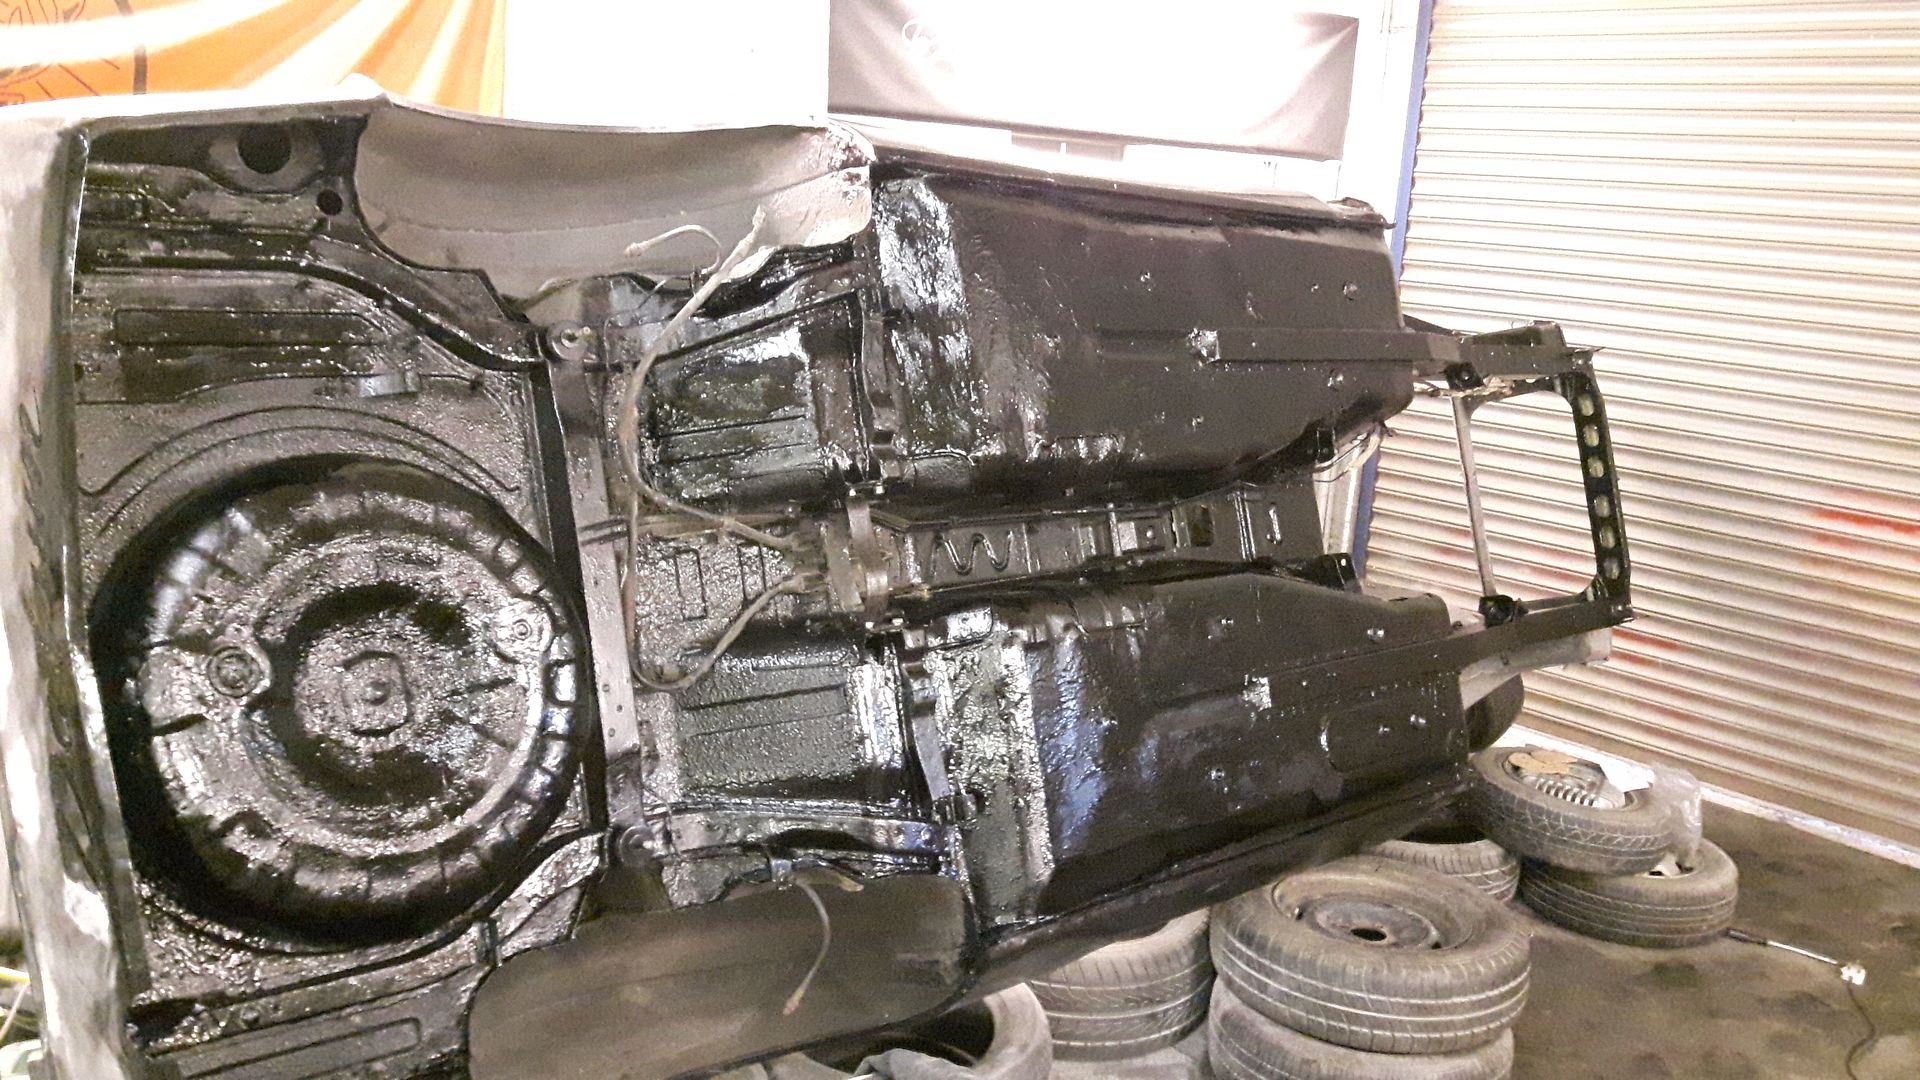
Then, it was time for the scary part - doing the underside!
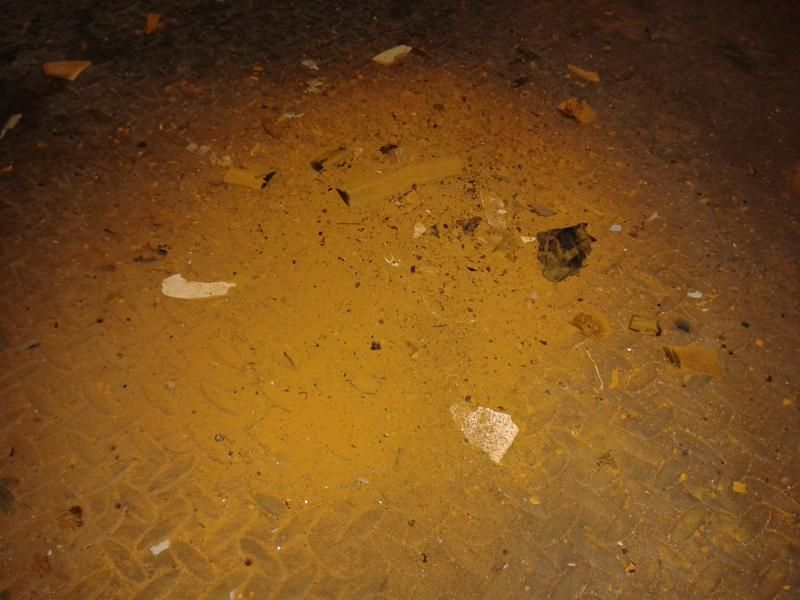
20-odd tyres later, I flipped her on her side and very gently set her into position!
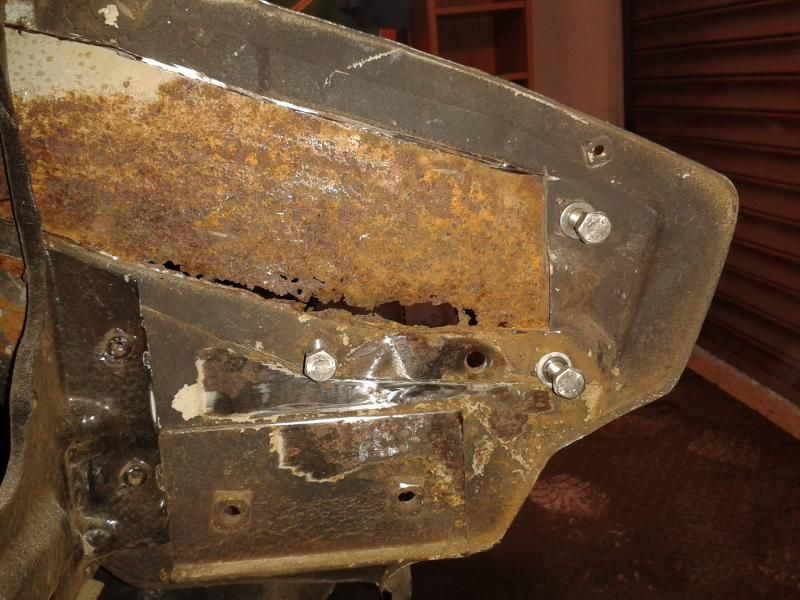
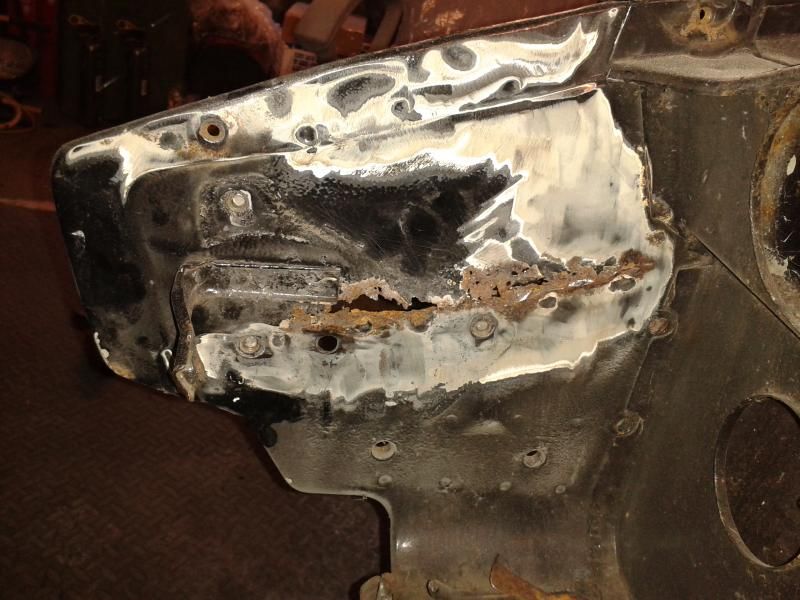
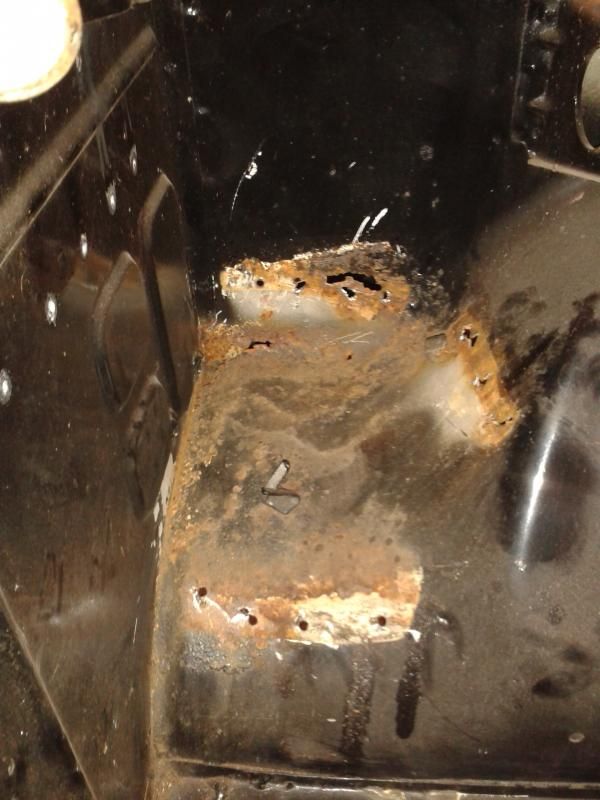
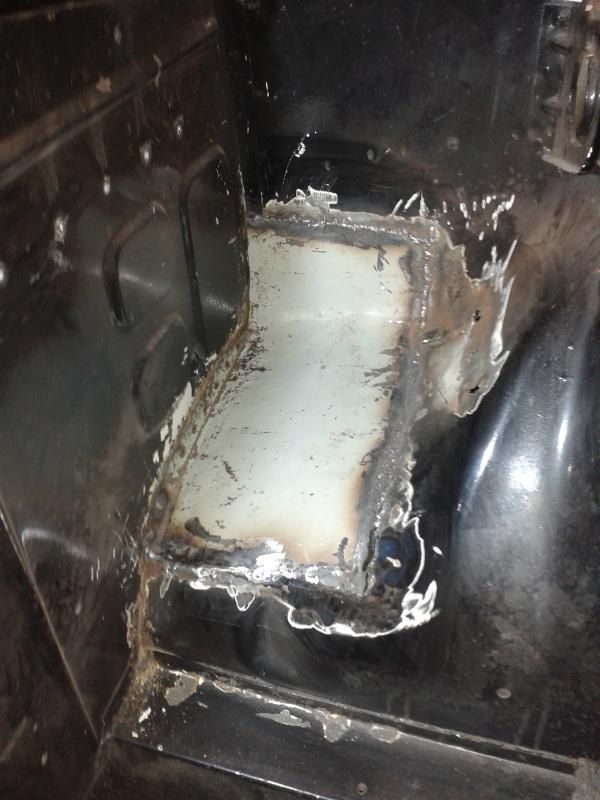
(Please excuse the repairs)
20160426_141009_zps8ynhxmot.jpg

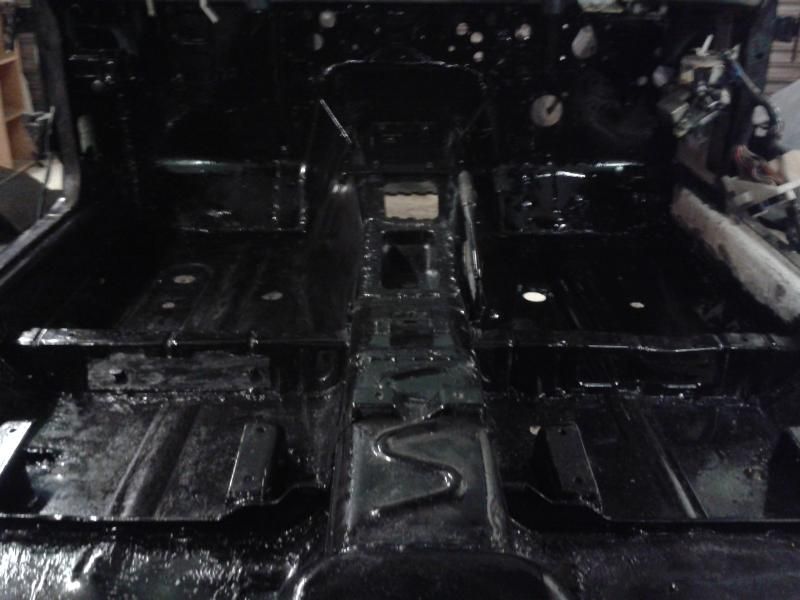
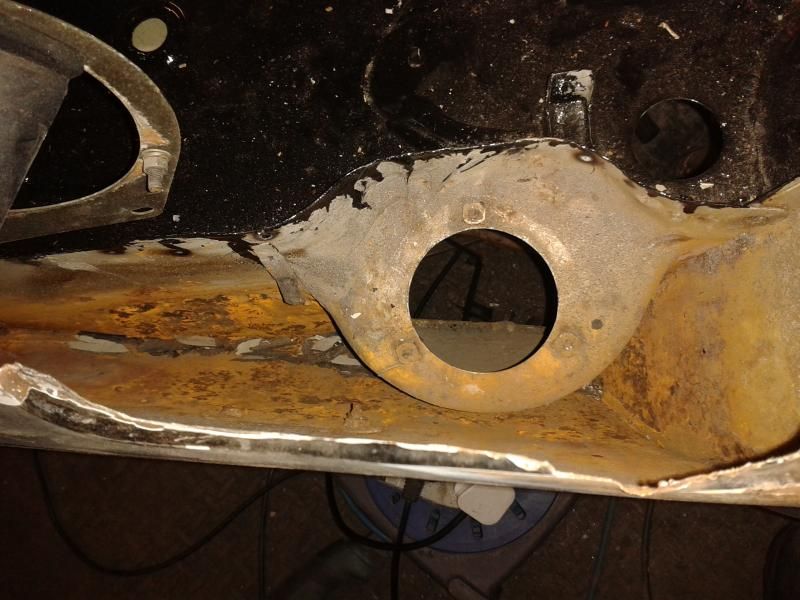
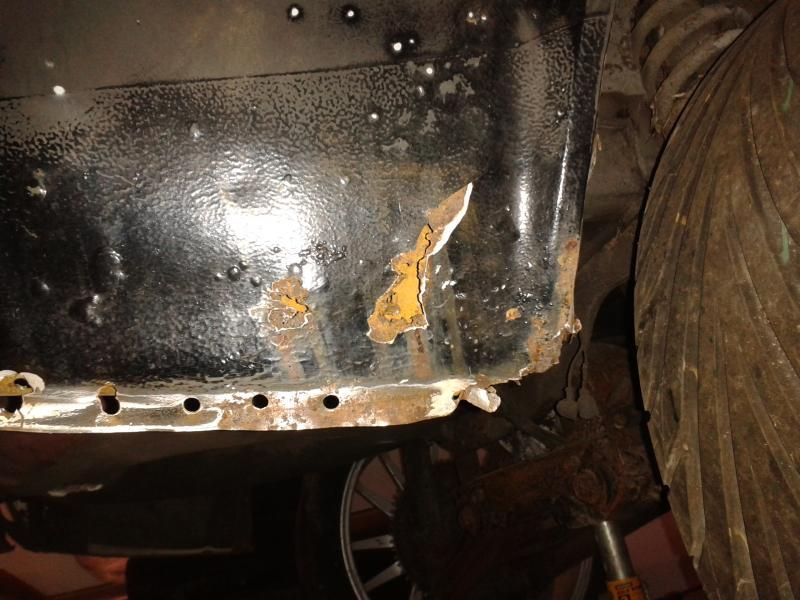
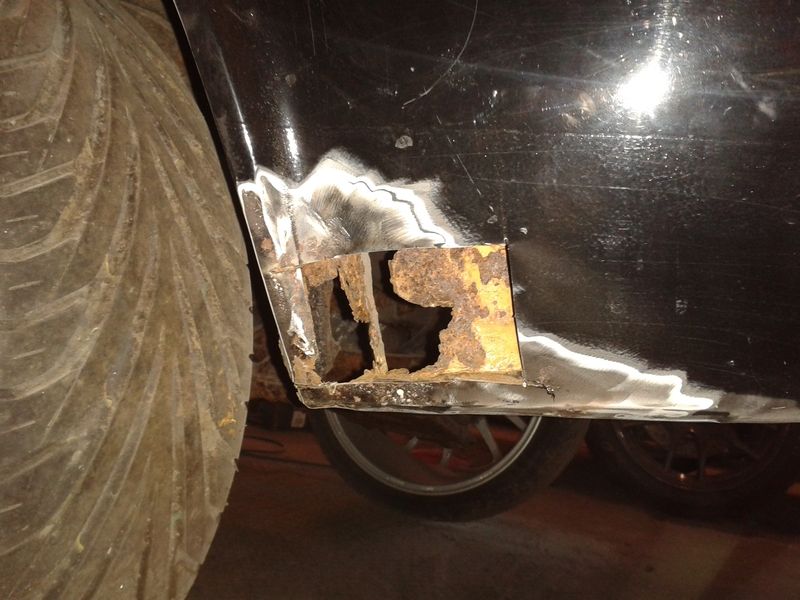
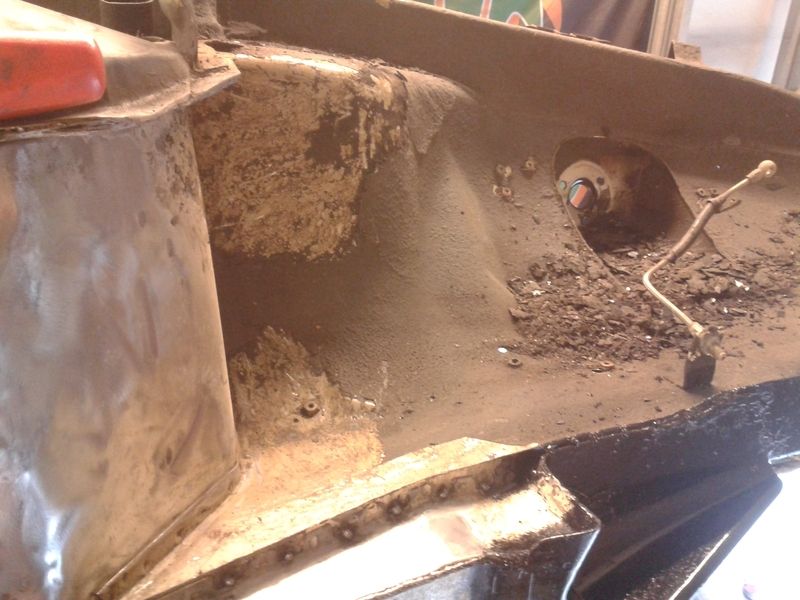
Time to chip off all the old underseal and make sure she'd solid underneath. Can't take anymore chances!
20160506_154739_zpsi4axtduk.jpg


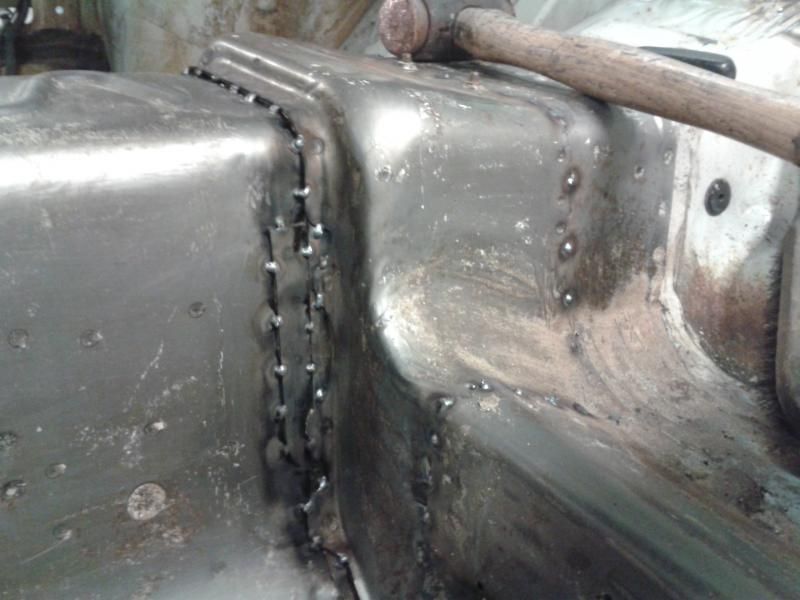
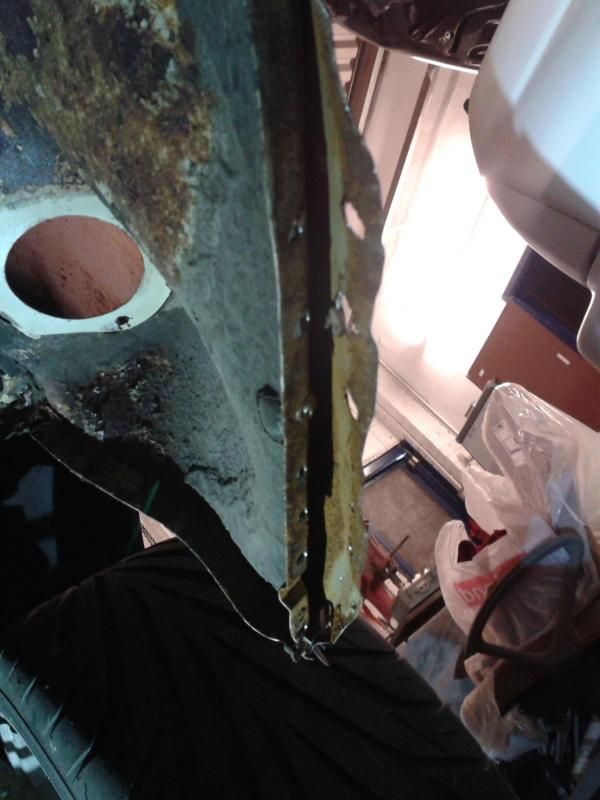
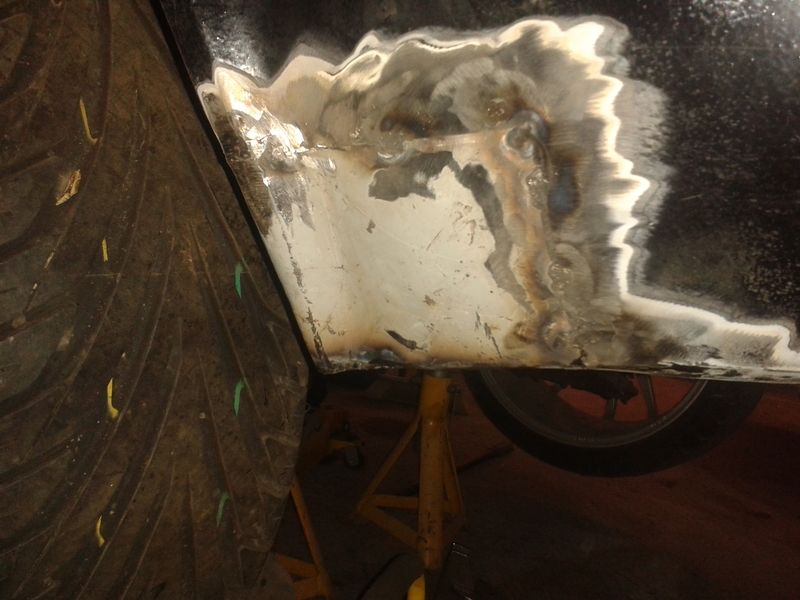
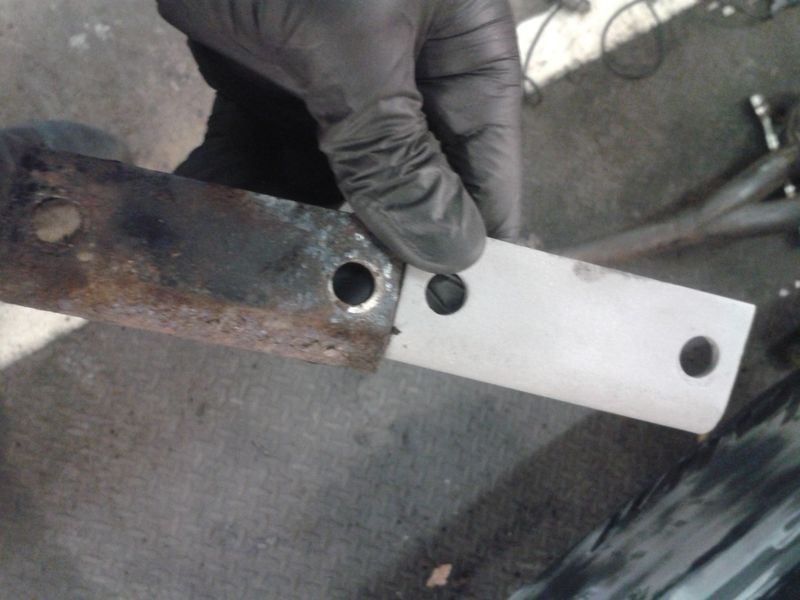
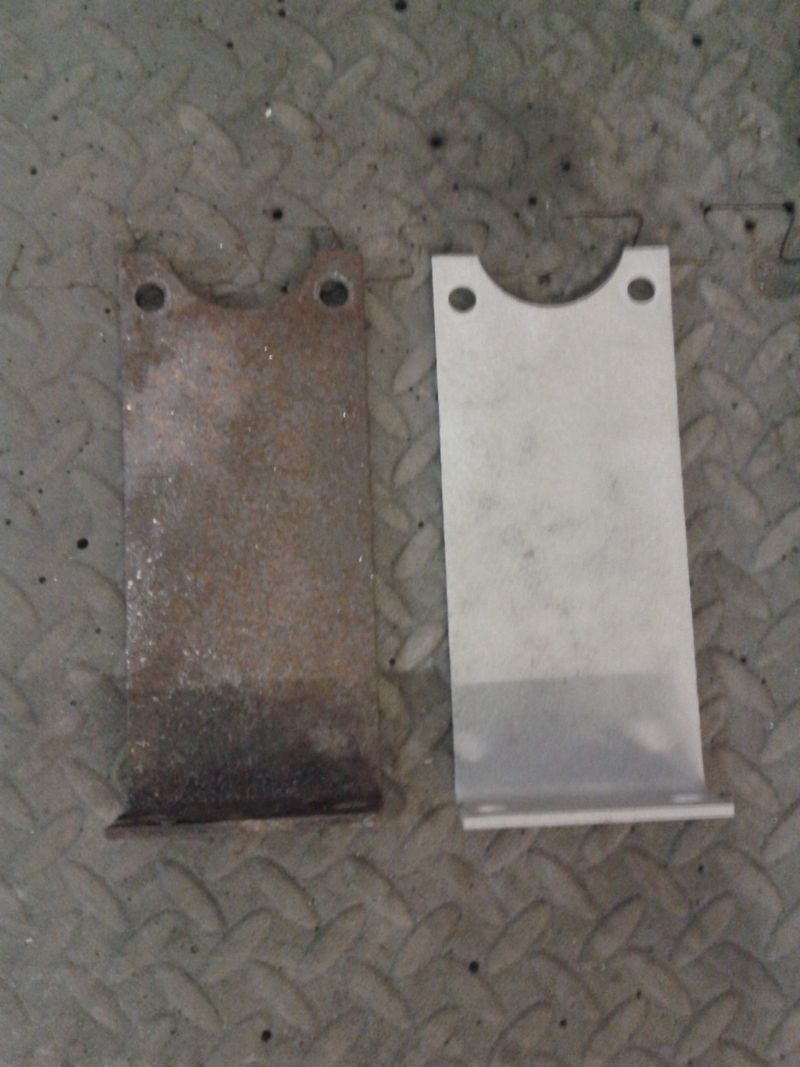
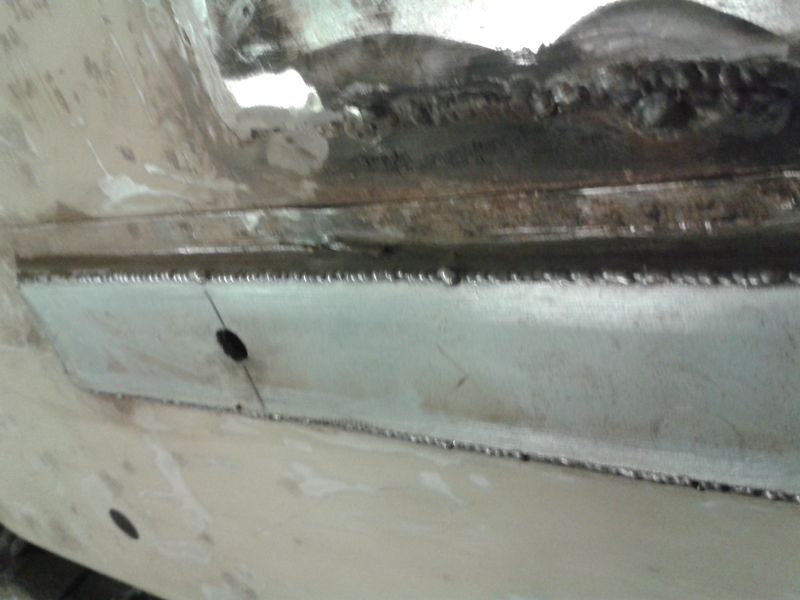
I've also reinforced the chassis rails slightly by adding some 2mm galvo plate
20160429_093637_zpstdjktgvv.jpg


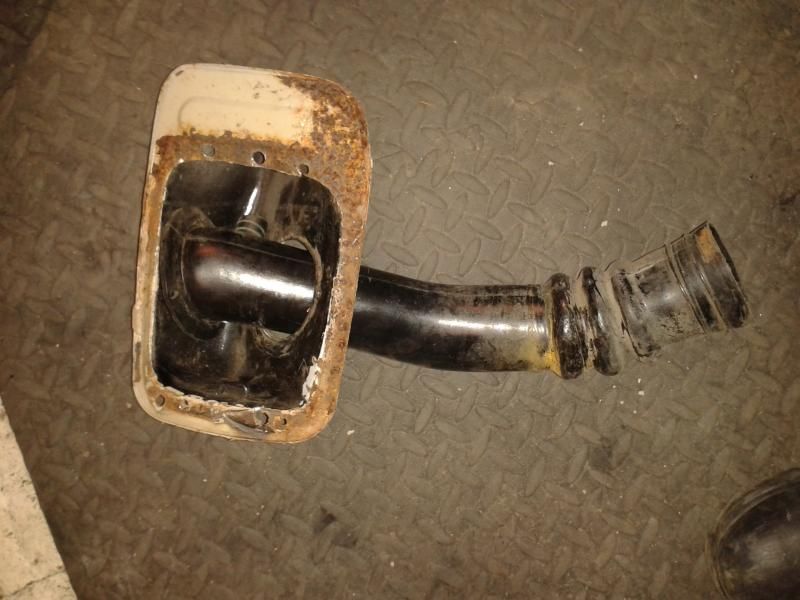
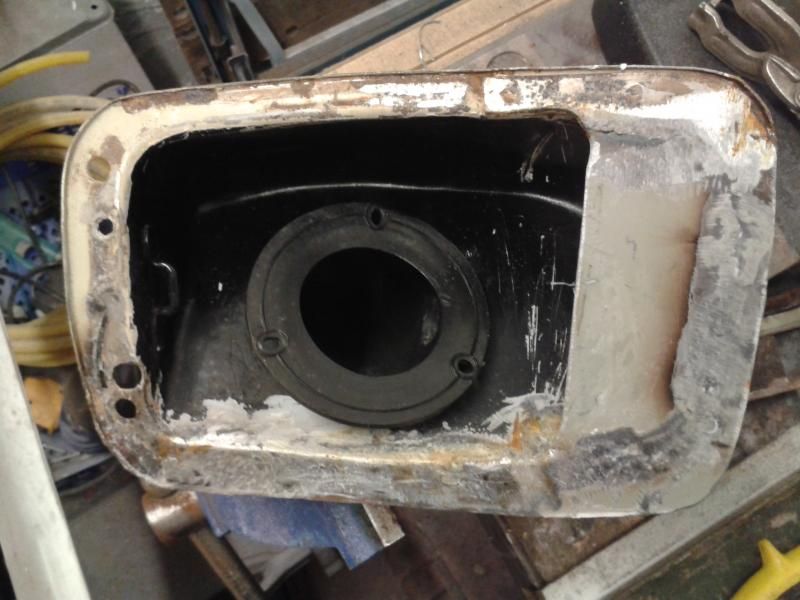
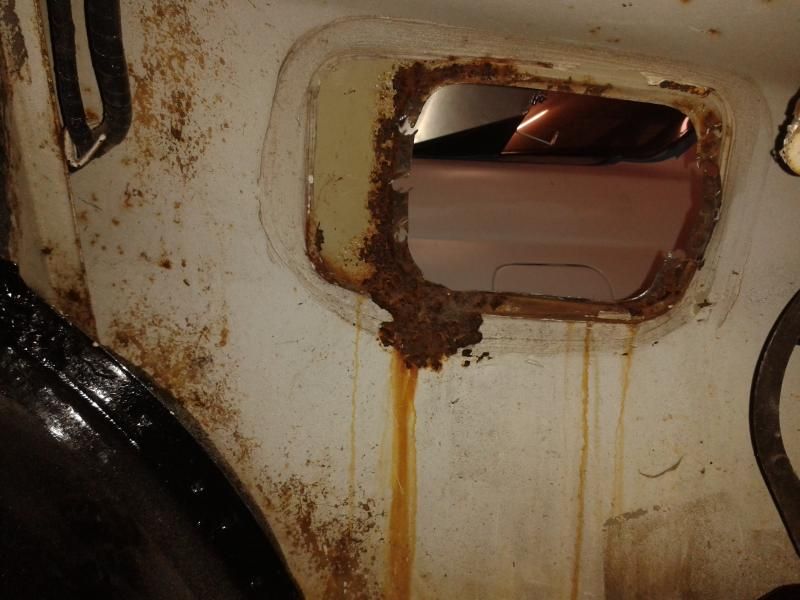
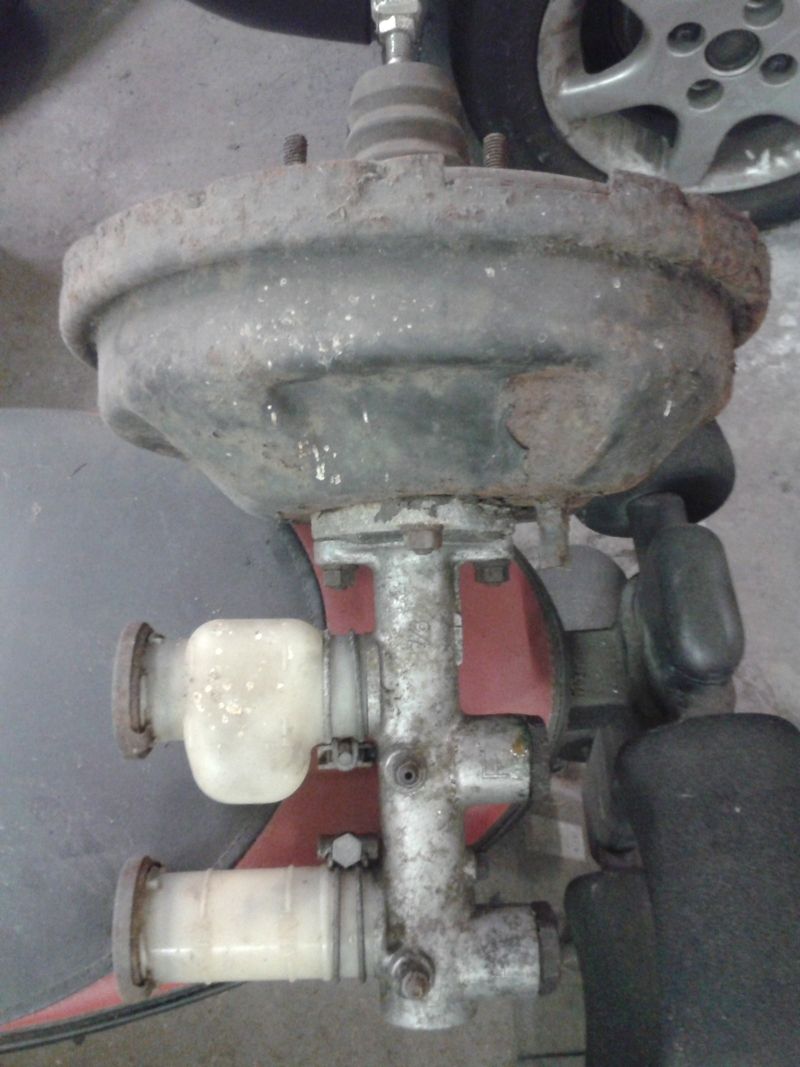
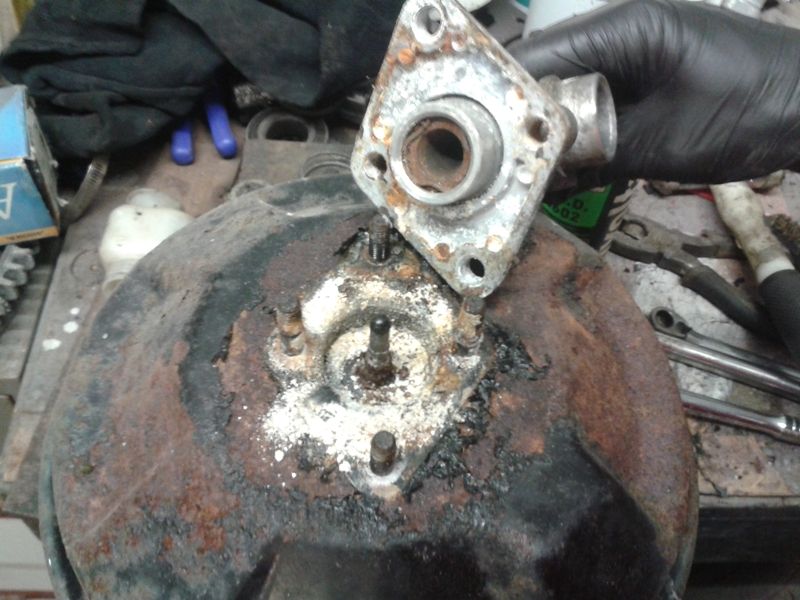
Next job is to sort out my brake servo. It's looking pretty grim!!
20160509_145540_zpsopmi5dzg.jpg

20160509_153059_zpshuidhdag.jpg


So much work to do still!!!
 

Nexussteve

Well-Known Forum User
Right! So, it's all painted and undersealed now! Glad that part is over! Then I flipped it back up the right way and found I had a couple of small dents where it had been on it's side, but I'm just happy they were only minor!!
20160613_183638_zpsatslqjys.jpg

Then it was onto the dreaded bodywork! This stuff is my weak point! But, I stuck by my guns and I've started giving it a go! If you don't do it, you'll never learn, right?
20160701_184926_zpsmosmnaf8.jpg

20160619_175607_zpstibbuuua.jpg

20160714_173201_zpsbjtahdvl.jpg

Well, it was a good idea while it lasted! I am so sick of sanding and filling, it's not even funny!! Think I may get someone to prep it for me, then spray it myself! There's so many complex curves in the areas of repair, that I simply don't have the skills (Or clearly patience!) to do it! I gave it a good go though!
 
Top