Intorducing 'Gaijin'

gaijin

Well-Known Forum User
If your interested, this is the ATTESSA E-TS ECU and its wiring diagram.

Without understanding this, the chance of using the famous GTRs 4WD capacity and the data tables that are stored in this ECU (seperate from the engines ECU) will not happen.

Whats marked up in green is ok and managed by including these parts from the GTR (eg. G Force sensor) or from the 240z (eg. brake light signal).

Others to work out would be, range of throttle position in volts, and the engine speed signal.

Pluggin a meter into a R32 ECU (either E-TS or Engine) would have these values known.
Unsure if the engine speed signal would be sine or square wave at this stage.
Perhaps someone would let me gently poke a sensor probe into the input/output of either ECU from a R32?


Glenn Martin ?>
:)

ATTESSAE-TS.jpg


The ABS portion of the E-TS ECU would be ignored, as these are outputs only (assumption).
I could utilise this portion later If I wanted to add more weight and complexity to the car.
 

gaijin

Well-Known Forum User
Ive attempted to give the panel beater 2 weeks to complete the car from his end, to get some paint applied.


floor squaring off around trans tunnel,

IMG_1212.jpg


IMG_1214.jpg


What about a handbrake?

Holy

IMG_1211.jpg


new frame, r33 gtr h.brake from parts bin,

IMG_1215.jpg


in its home, looks snug, not too proud. Will chop up standard console to make this fit.

IMG_1217.jpg


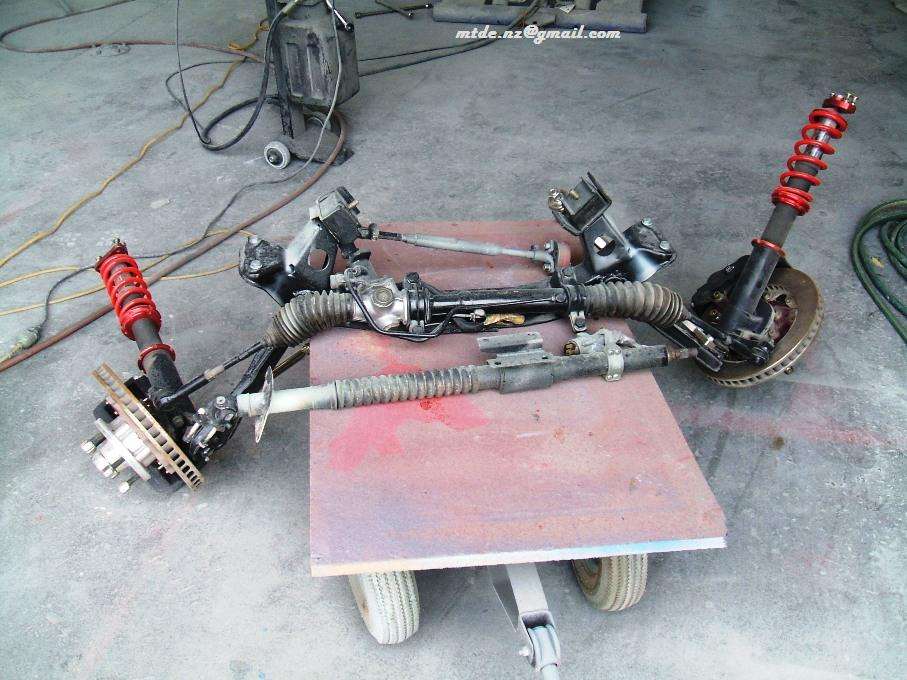
Make this exhaust clearance work better, and much bigger, to allow lots of heat sheilding, maybe a 4" exhaust in the future.

IMG_1229.jpg


Rear bumper aint that straight, maybe look to support this wafer thin item

IMG_1213.jpg


Engine bay getting there,

IMG_1222.jpg


IMG_1221.jpg


IMG_1220.jpg


Mirrors looking the part

IMG_1225.jpg


IMG_1226.jpg


IMG_1227.jpg


The ugly,

IMG_1218.jpg


IMG_1219.jpg


IMG_1223.jpg


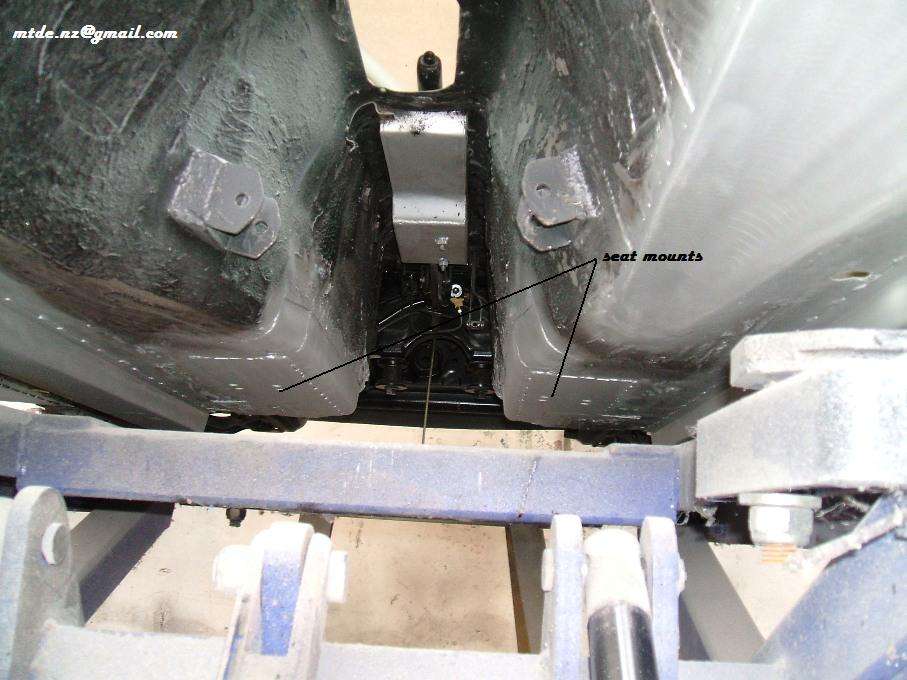
Remedy for this 'probably' the remainder of the fugly, will be the last bigger job of panel work, some much thicker steel box section from the front castor arms to the rear exisiting subframe.

This will allow;

- The floors to get way more support from this,
- Some flat floor to be attached aka undertray-ing,

- Give support to the driveshaft tail hoop (in case too much traction/power makes something snap) and also the seat mounts support. Phew.
 

gaijin

Well-Known Forum User
Wow, things are looking good.
Scott is the young chap working on the car currently, and he is doing a great job.

Its more fabrication now, not exactly smash repair.

The list of work still needed to be done has been agressively dealt to over several days.

Keep it up Scott.


Aluminium Mirror backing plates so they dont disappear first squeeze of the pedal.
You can wind up the spring tension to keep them holding on tighter.

DSCF0819.jpg


Exhaust cut out looks spot on. Plenty of room for heat sheilding, perhaps a bigger exhaust later if needed.
Some intrusion into the passenger cabin space, thats fine.

DSCF0799.jpg

DSCF0808.jpg

DSCF0809.jpg


Handbrake mount welded in.
Underside connection needs attention, was setup for the existing setup. Shorten the cable and modify the mount will sort this.

DSCF0802.jpg

DSCF0820.jpg


Little bits n peices sorted out, fill holes, cover old mistakes etc. Filled the bolt holes to the old bolt in cage that I bought of Mike, I still have this chromed half cage at home if anyone wants it. Dont want much for it. Its certed and looked great in the car.

DSCF0803.jpg

DSCF0804.jpg

DSCF0806.jpg

DSCF0807.jpg


Ruddy beutiful floor supports kind of more like frame rails from firewall to the existing rear diff mount. 1.6mm steel folded from sheet.
The frame protrudes into the cabin by maybe 5mm, and lower under the car by 30mm more then the old bits, which were more sad than that that vampire Robert Patinson.

DSCF0812.jpg

DSCF0813.jpg

DSCF0797.jpg

DSCF0800.jpg

DSCF0801.jpg

DSCF0805.jpg

DSCF0814.jpg


Nothing better than this in the boot, RB26 block and a bottle of NOS.

Block $50 on auction site, a dummy block for fitting purposes, since it has some rather viscious damage to bores on several cylinders.

DSCF0796.jpg


Chuck the GTR box onto the dummy block and we have our fitting kit ready to go in.
At this stage I will fit this kit in, but continue to complete the car in RWD format first. Probably.

DSCF0816.jpg

DSCF0817.jpg

DSCF0818.jpg


BUT firstly,

Im dubious of the front frame rails being any good, actually, they are rubbish. One area under around the front crossmember is crushed somewhat. Better sort this now. To be made from 1.6mm sheet steel. We can make sure they will be level each side, making the cross member, suspension pickup[ point nice and level.

DSCF0811.jpg


old rubbish coming out of the car; the magazine is for the vampire mad misses. I still dont get it, really.

DSCF0810.jpg


Im feeling the love here, this is almost ready for colour.

DSCF0815.jpg


Im hoping to get the car out from here in about 10 days or less, with current progress, this looks likely.
Its only been here for coming up a couple of YEARS............. :shock:

Most likely watchers will die of old age before these wheels ever turn


I scored my mirrors direct out of Japan using japan yahoo auction, shipped internally, then to me here. Cheapest option for me. Nice units.


Car finish date, no idea, really I dont. Too many variables, income, contracts, home life, health, luck, fate etc etc.
 

Mr Ex

Inactive
A lot of work has gone into it just like our datsun dave's car. It'll be worth it when it's finished.:bow:
 

Bantambunny

Well-Known Forum User
Wow, as per usual! :D

Great update again buddy, i love finding something new on this thread when i pop on.

I think at this rate you'll beat me to getting yours on the road!

Keep up the good work :)
 

Russ

Club Member
Seconded, although I also get the "I've really gotta pull my finger out" feeling each time, damn! :)
 

gaijin

Well-Known Forum User
Right,

we may be looking good here to keep to almost a two week wrap up.

It hits the sandblaster Monday, Painter Tuesday.
No paint colour chosen still. Ill drag the misses down, she is good with colour combos.


440CCA , 5.5kg battery. Grunty n light. But no good for playing the stereo outside the milkbar while doing some bird watching.
It is mounted behind the passenger seat, Motorsport NZ requires 4x8mm bolts. Will be strapped with some foam and a cover of some sort.

DSCF0856-1.jpg


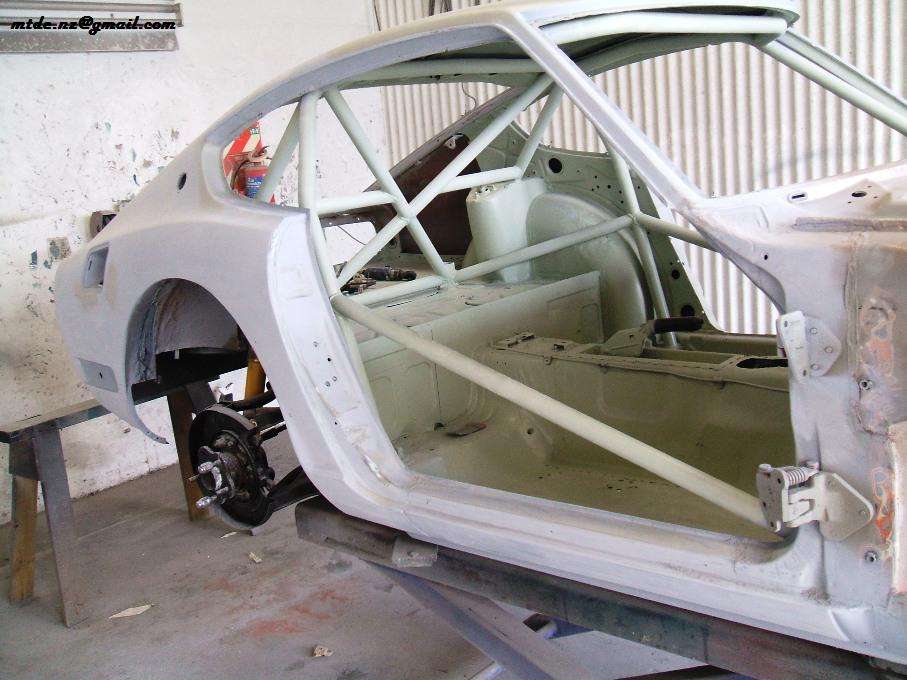
Roll cage to firewall holes filled using these hoops, cut with a slot, fitted and welded.

DSCF0864-1.jpg

DSCF0861-1.jpg


Make the bonnet catch shorter to fit the rough bonnet mount to keep the thing upright.
On this note, Mike I better get your gas strut unit back, this will work fine, while even my kids could lift it in place.

DSCF0860-1.jpg


Main chassis rails were not really rusty inside, but were slightly crumpled, thinwalled steel, and detract from a moderate quailty package.
These may be 1.2mm steel thickness, rather weak.

DSCF0859-1.jpg


Cut n removed, new sections in place, levelled to be straight each side, mounts for cross member the same, sway bar mount swapped from the existing rails, since they were modified and were strong and suitable for use.

These have been replaced each side, from the radiator support back to the replaced rails around the castor arm pickups.

For the people in the know, these rails will suit a RWD setup, not a 4WD one. Let it be heard, this car will be completed as version 1, RWD. To start.

Steel is 1.6mm, with additional gusset plates welded on thereafter, way stronger stuff.

DSCF0849.jpg


DSCF0850.jpg


DSCF0853-1.jpg


Some good comparisons old/n/new chassis rails.

DSCF0857-1.jpg


Under front gaurds should be heated and scrapped of old tar stuff and ready for sandblast smooth ready for paint.

DSCF0851.jpg


Ready for lift off

Showed Dr Greg Taylor the recent updates, he seems impressed. He manages/funds the Kiwi Team Nurburgring every year, knows a thing or two about race cars. He has also helped me with car storage (for many years filling his barn full of precious Datsun cr*p), advice etc. He does reconstruction surgery, breat augmentation and general tidying up of body parts if your interested, or needing a bit of this help. Not one to need this help, give him a bell if you do.

Dr Taylor - The Dad inlaw


Pity that his son Alistair needs some driving advice after righting off the Audi RS4 then setting fire to the thing at the 'ring

da ring burner


DSCF0854-1.jpg


DSCF0855-1.jpg


Tired and ready for the pub now, checking out the Hawkes Bay this weekend, a great place.
 

gaijin

Well-Known Forum User
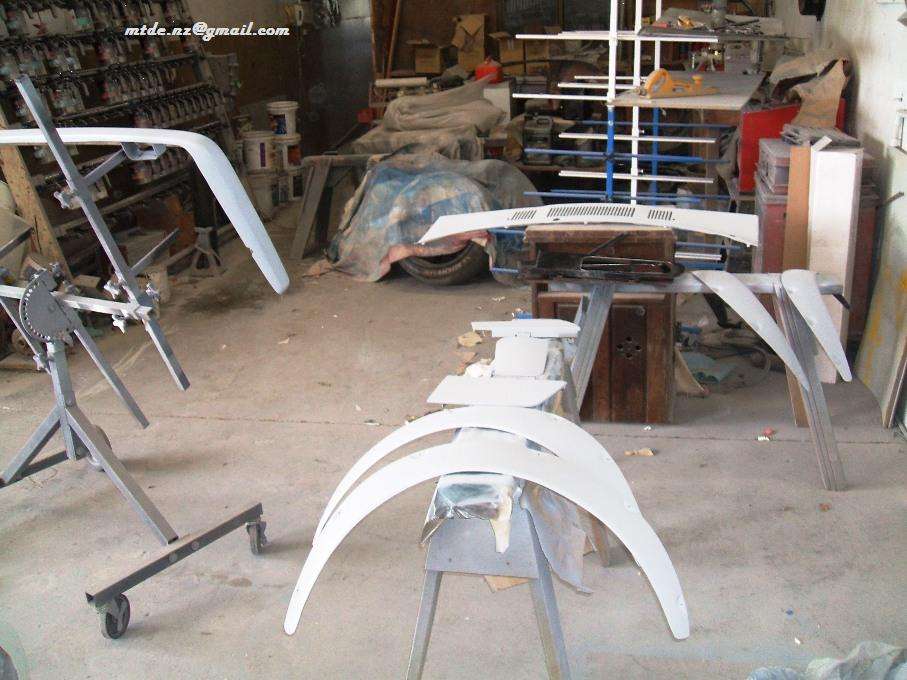
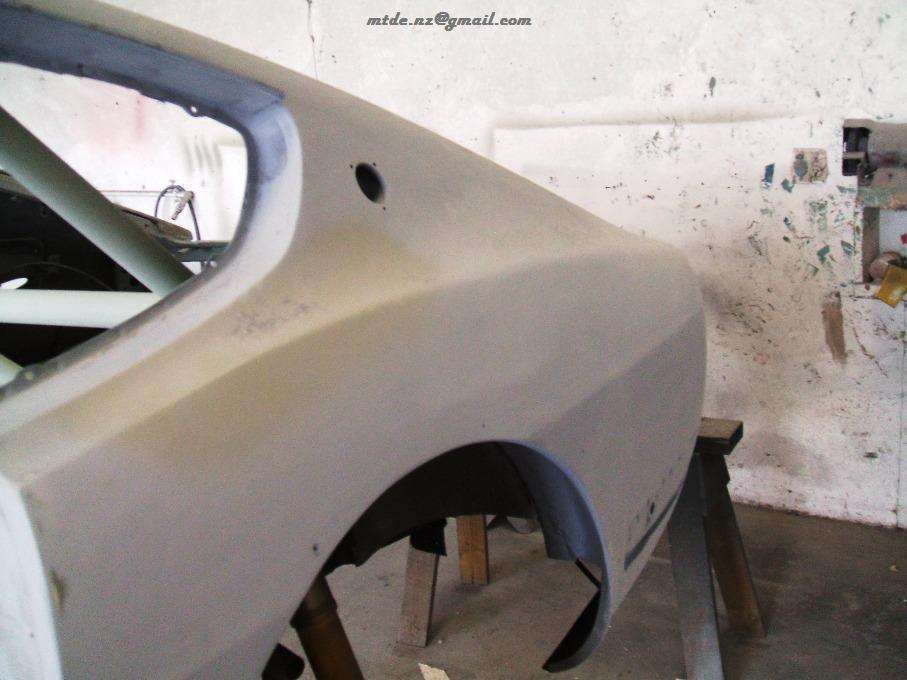
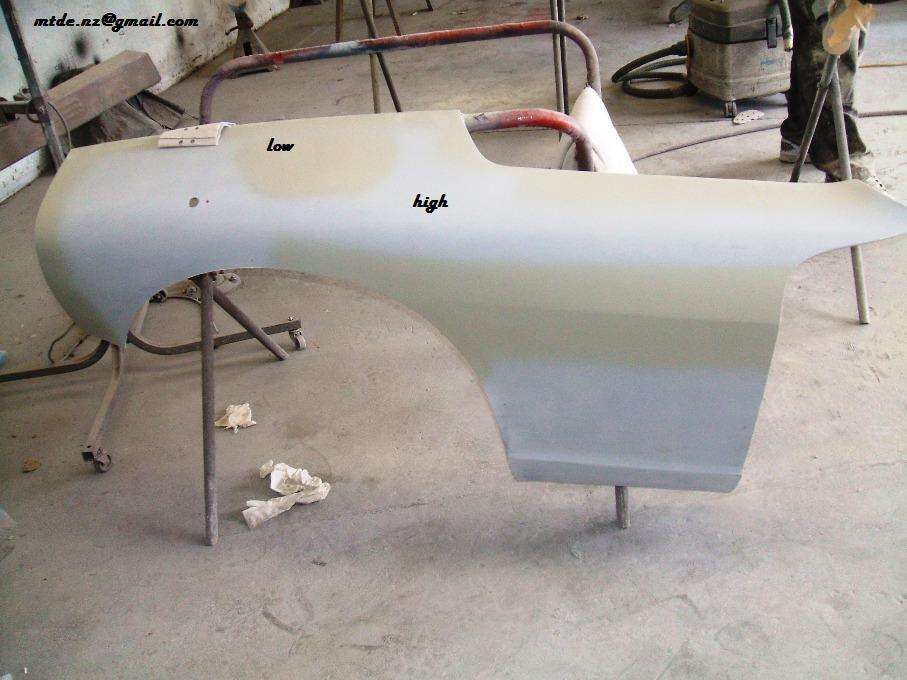
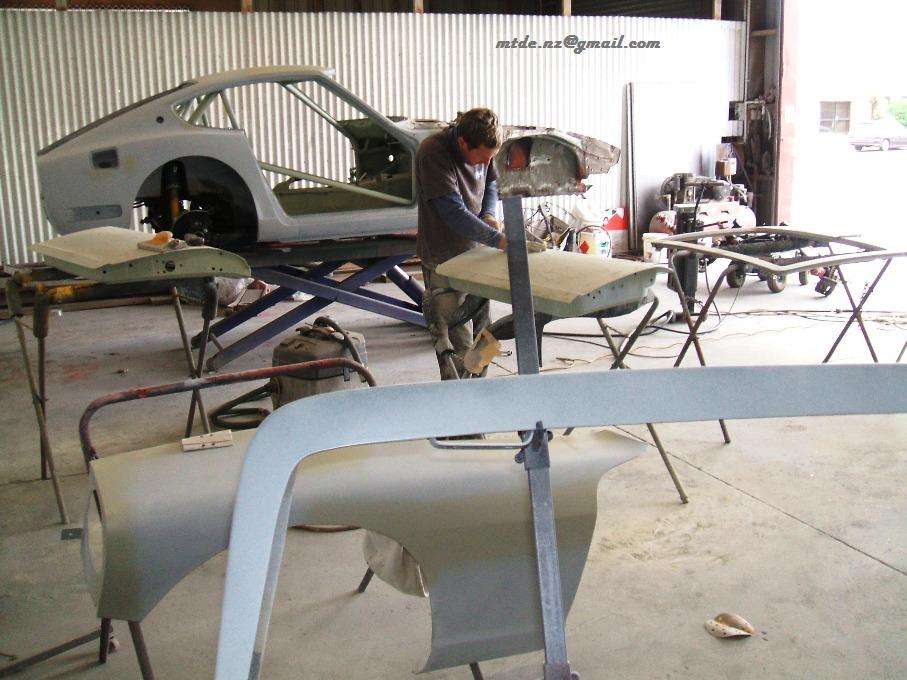
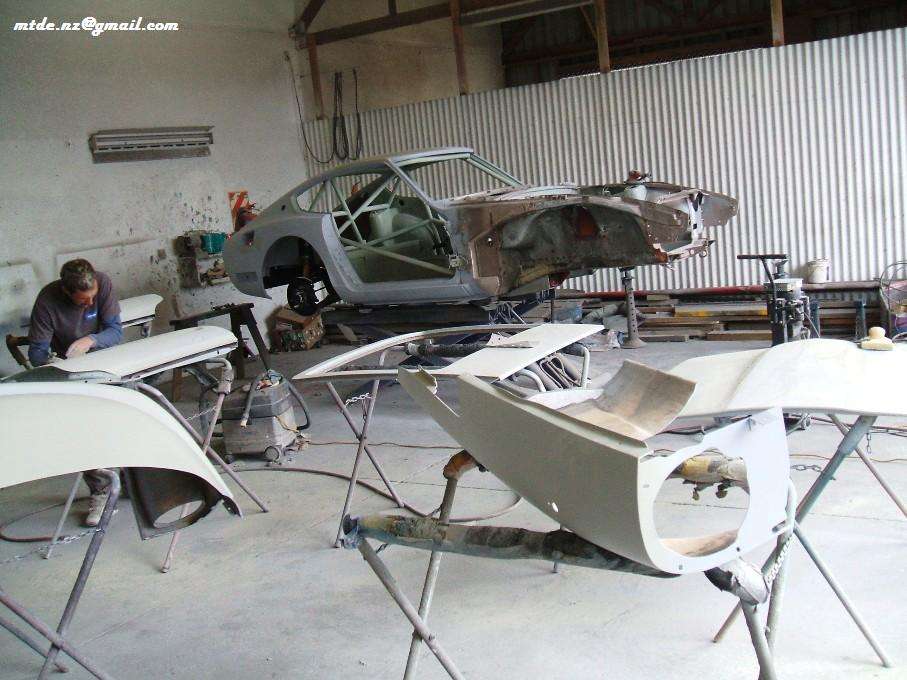
Finally rolled up to the painters.
He reckons 3 weeks to complete the job.
I dropped all the materials off, of which we have;
- bar coat - to join old paints with new in just a few areas,
- etch primer - to cover bare metal in just a few palces, front inner gaurds etc.
- high build primer - to cover all the outside, in prep for the colour after blocking some amount of times
- colour
- clear
- thinners
- hardeners
- masking tape
- etc
the sandblaster did a good job, and took him 36hrs from car entering shop to car being towed out.
he etch primed all the sanblasted areas 30 mins after completing the blast, letting it dry off overnight.
DSCF0966.jpg

DSCF0967.jpg

DSCF0968.jpg

DSCF0969.jpg

DSCF0971.jpg

DSCF0972.jpg

DSCF0973.jpg

DSCF0974.jpg

DSCF0975.jpg


DSCF0976.jpg

DSCF0977.jpg

DSCF0978.jpg

DSCF0979.jpg

DSCF0980.jpg

DSCF0981.jpg


DSCF0982.jpg

DSCF0983.jpg
 

gaijin

Well-Known Forum User
Some info about the brake master set up please.

Dave, if you head back through the posts I have a excel spreadsheet which I attached as a working calc of how I came to specify the;
- master cylinder sizes
- pedal ratio

based on first principles.
i.e. COG, COM -centre of gravity/mass
tire/brake pad mu
pedal effort - how hard youd like to squeeze on the pedal at max decelaration
all the brake data, disc centre of effort radius, pad size, piston size etc etc.

Its not going to be exact, as some figures are ball park. Its easy to change MC sizes. Obviously running no booster as there is no need.
Using a rear proportioning valve is crap. I have a fitting for one, but adjusting/limiting the rear hydralic pressure is not the way to go.

The pedal pivot point is moved higher up the pedal from the pics, so more leverage (as no booster), run an adjustable brake balance bar (adjusts front/rear effort - this is much better solution than the rear proportioning valve), twin MCs, sweet as!
 

Bantambunny

Well-Known Forum User
Superb, absolutely brilliant as always! :D

Thanks for keeping us updated - looks like you're on the home stretch now!
 

BRONZEE

Well-Known Forum User
How does the song go!! "It's the final countdown"...........

We're all looking forward to seeing it finished and on the road. And to see what colour it will be. :)
 

gaijin

Well-Known Forum User
Baz called me and asked for more paint.

A good opportunity to check out the progress.


Upon arriving, my car was the only one there, they said I was an angel with my timing.

- perhaps a large hairy smelly one.

We are up to 1litre of caprithane for the roll cage,

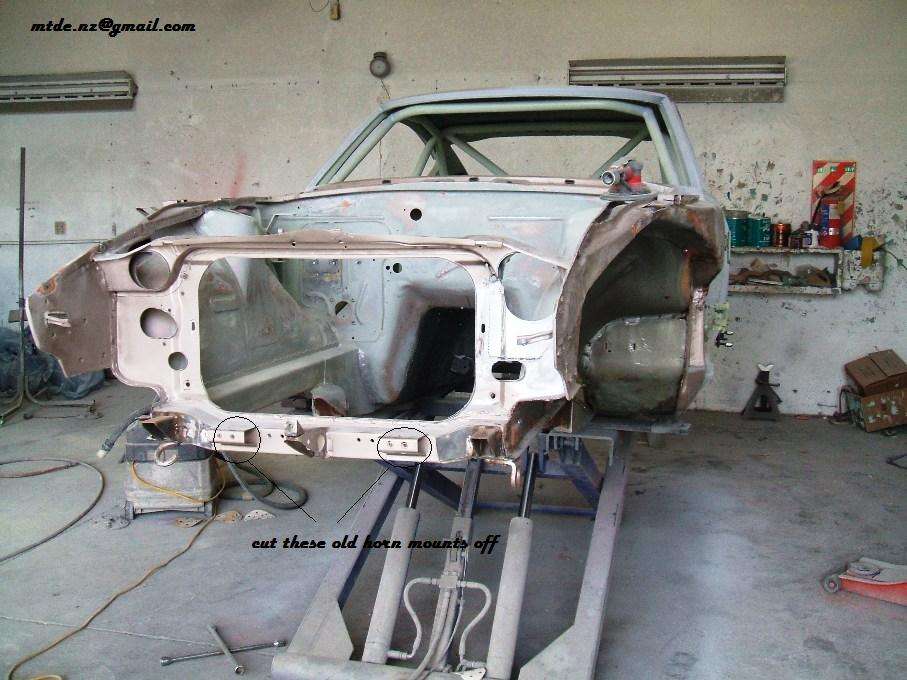
4Litres of base colour, since I will paint all the underside, rear end, cabin etc.

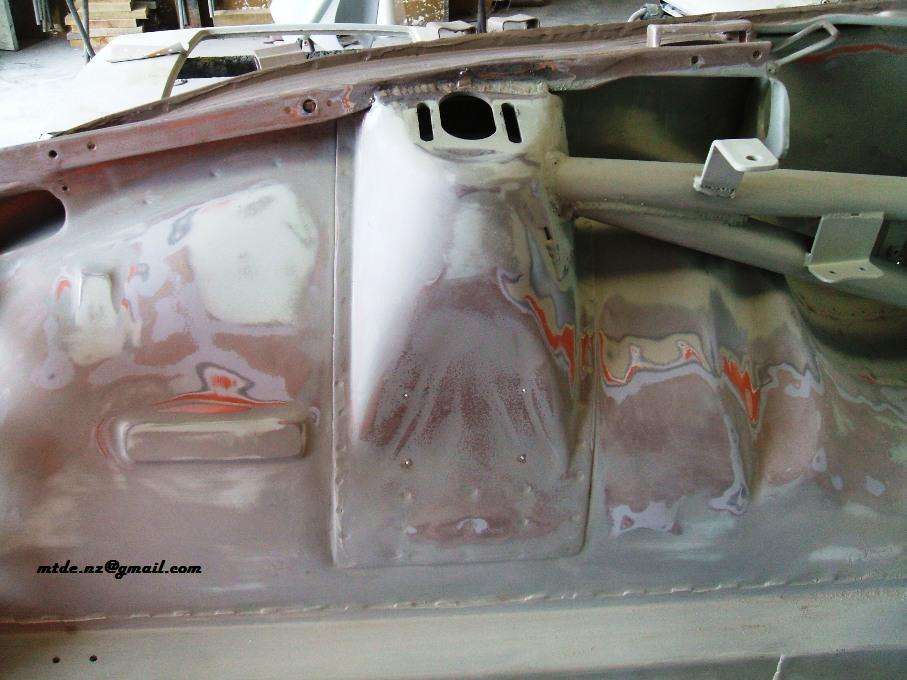
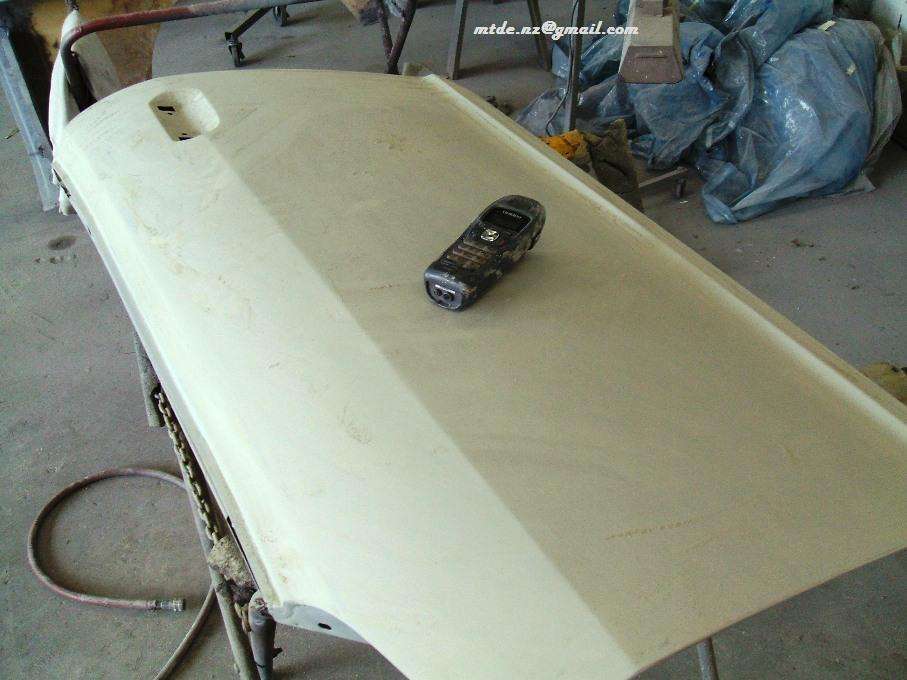
Otherwise they have blocked back some of the panels and body a few times, so its starting to get a smooth skin.

Baz and Clint reckon they are on time to get it out in another 2 weeks.

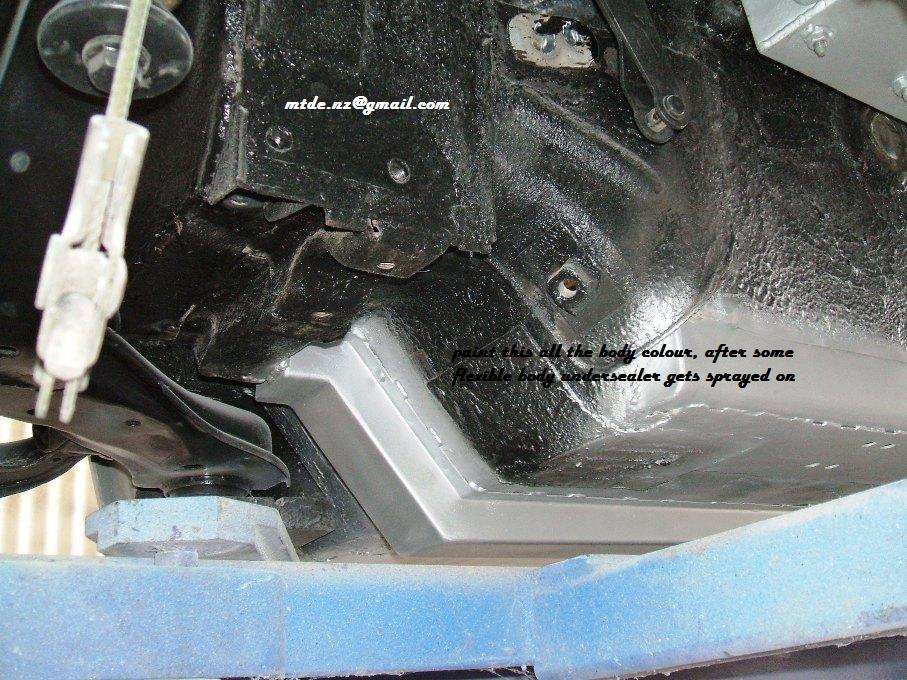
The rear subframe needs to come out to spray the rear end of the car, covering over the tar based underseal.

They will apply some more modern based underseal that is sprayed on, before the colour goes on. This will help minimise stone chip damage underneath.

The wheels, those dodgy black n red stripe jobs, are to get their rubber removed, sanded up, and painted a single colour.

Then we can vote 'the money or the bags', or perhaps the lack of either.


dscf1016.jpg


dscf1014q.jpg


dscf1013k.jpg


dscf1012t.jpg


dscf1010i.jpg


dscf1009h.jpg


dscf1008s.jpg


dscf1007.jpg


dscf1006d.jpg


dscf1005.jpg


dscf1004t.jpg


dscf1003f.jpg


dscf1002.jpg


dscf1001l.jpg


dscf1000.jpg


dscf0999t.jpg


dscf0998f.jpg
 
Top