MarkDerby
Well-Known Forum User
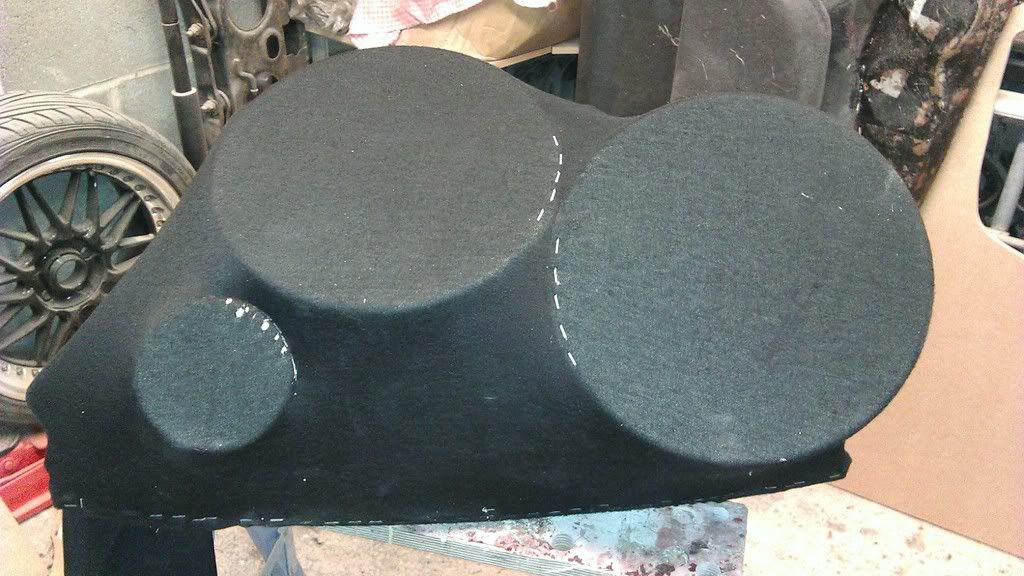
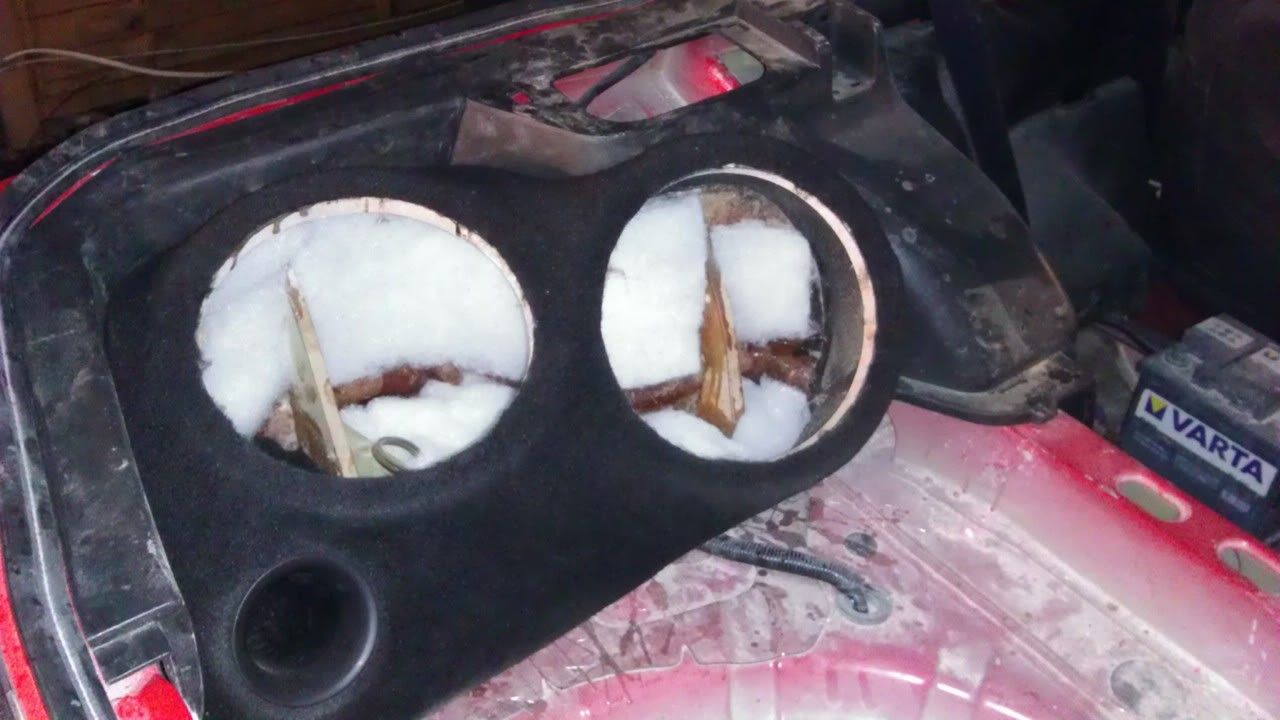
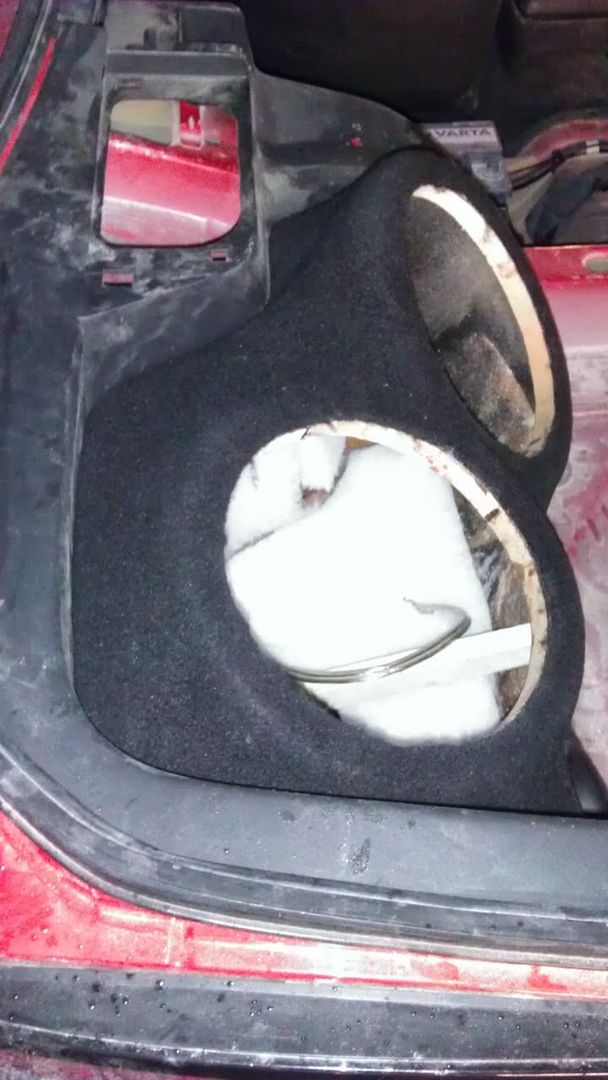
Ok Lets start by Finding a Sub box that will look nice in the car
sorry if its been posted a few times before

as you can see its quite nice .. but it does have one Problem
box isnt the right size for the speakers
so anyways this is what im about to show you ...
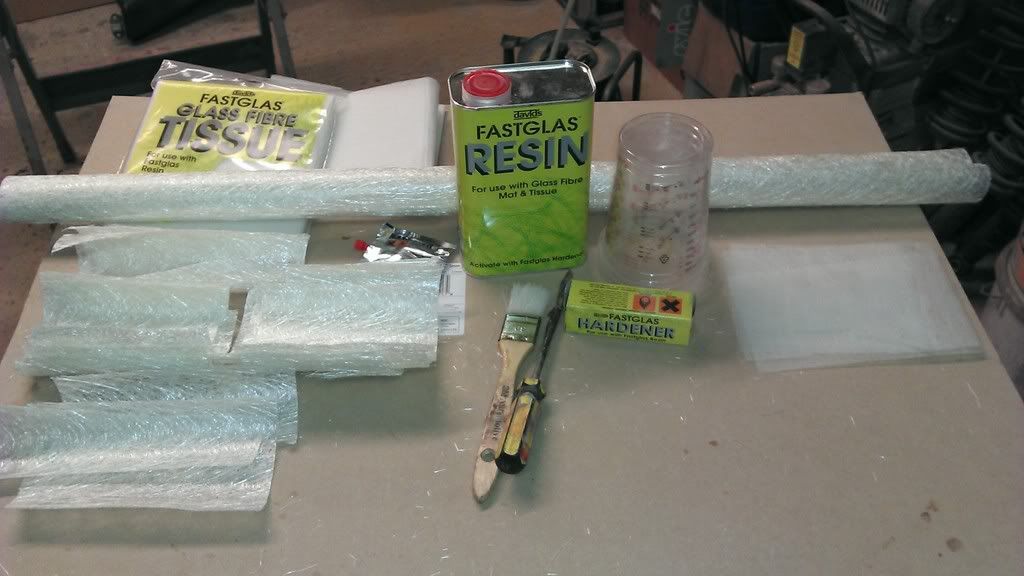
First you will need some Items from Hardware stores
18mm MDF
2x2 timber
Fiber Glass Resin 4liters
Resin Hardener 2 tubes
Fiber Glass Medium grade 3 meters
Fiber Glass Tissue 1 meter
Hard Brush 2
Pots 5
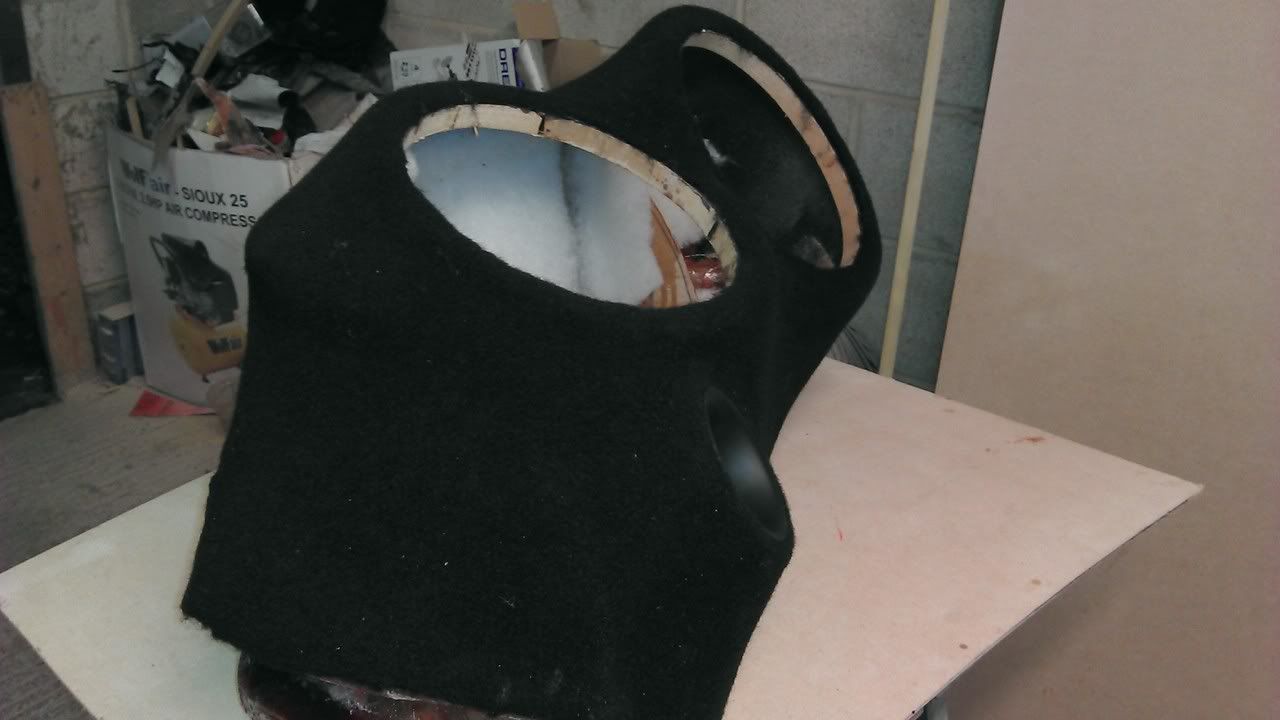
Fleece about 1mtx1mt
Port Hole ( if your fitting one )
you first have to Prep the place your going to make your mold from
so i used Duck Tape but you can use masking tape too
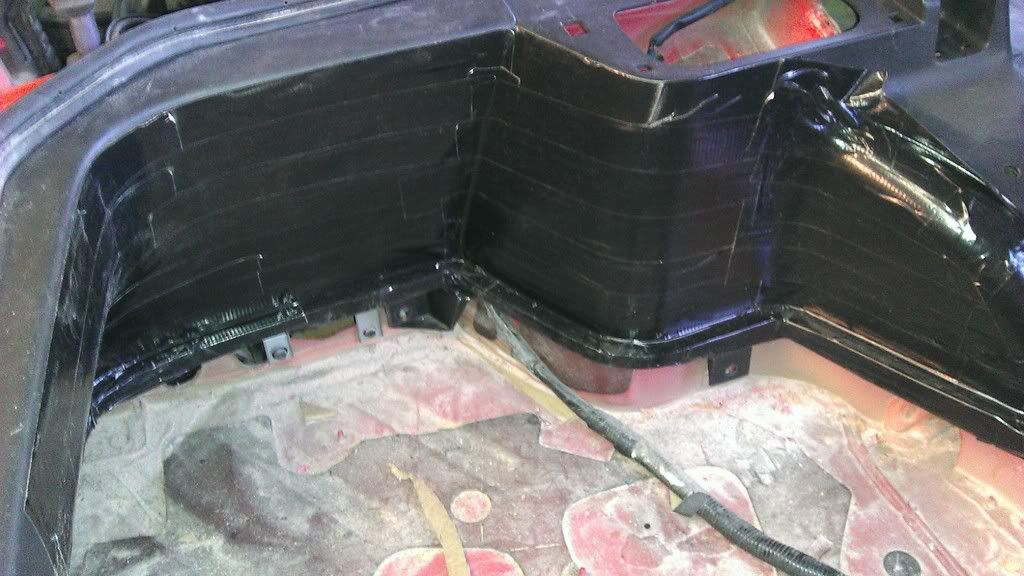
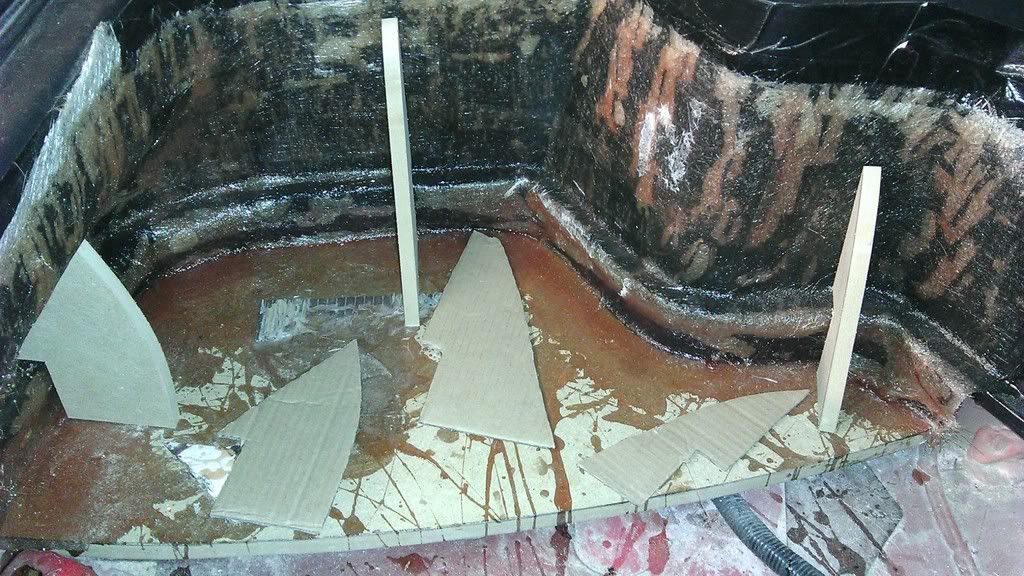
It would be handy to have some old cardboard too
this will help to make templates
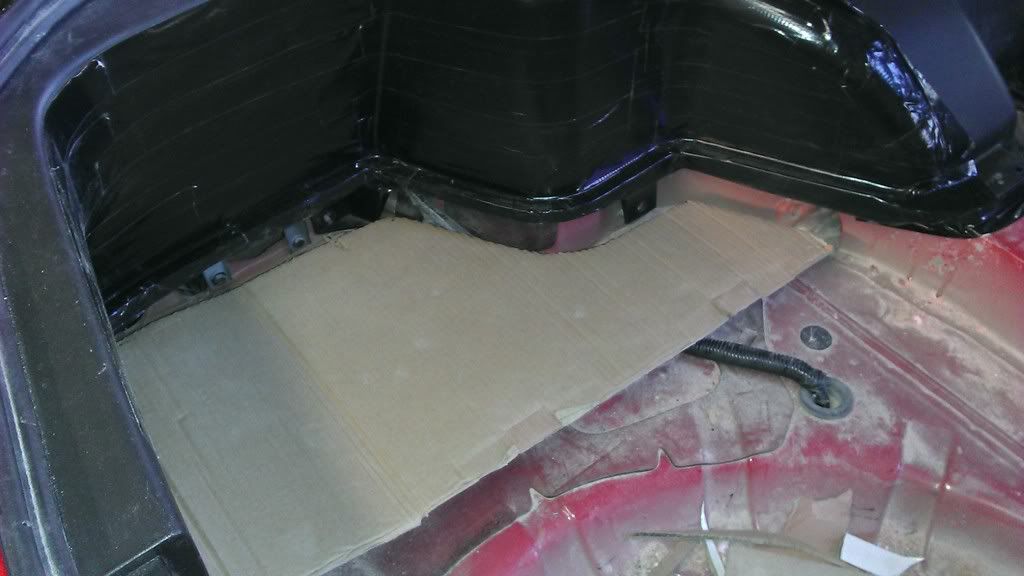
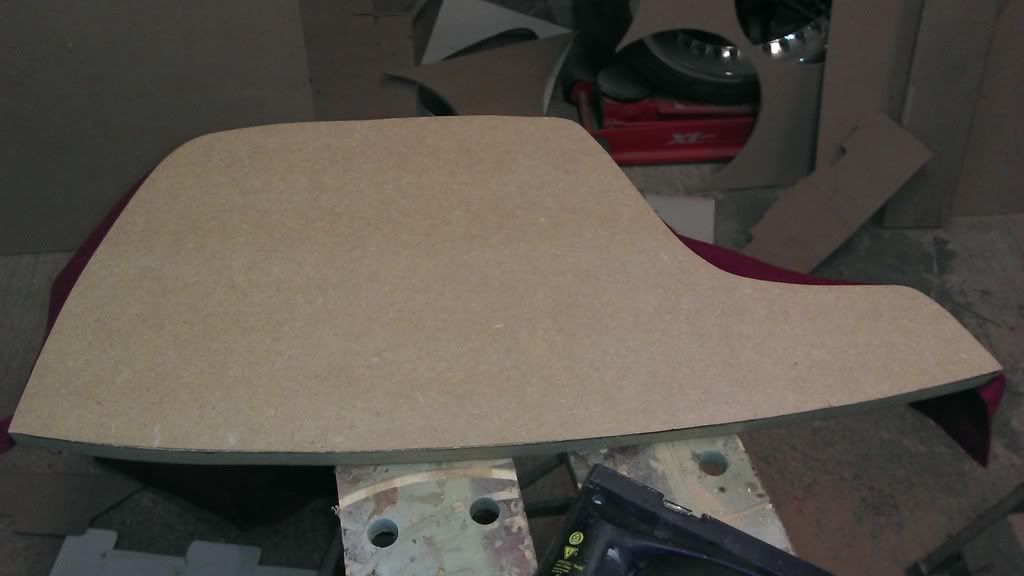
As you can see this allowed me to get the correct shape for the Base part of the box
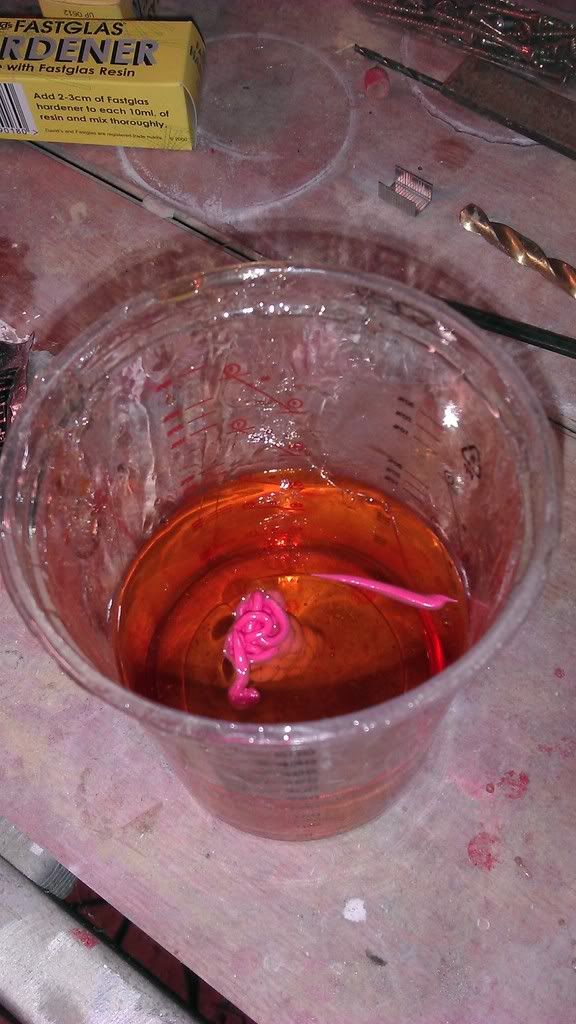
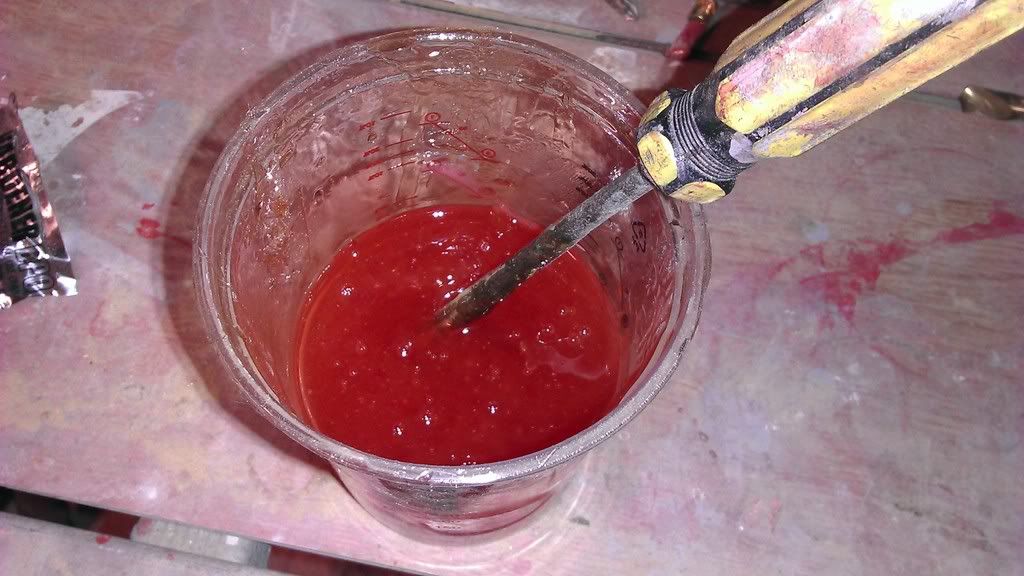
you need to mix some harder and resin together i did this at 250mm a time with about this much resin hardener all so make sure you mix it well it should turn Pink and have little bubbles this has started the reaction of the resin you will have about 5>10 mins to use it before it start to go like gelly
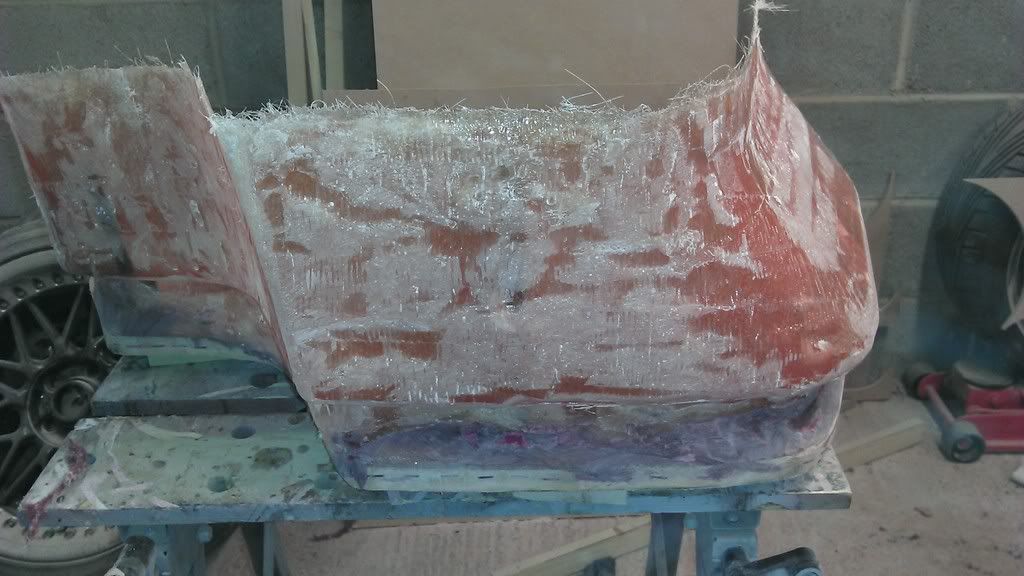
ok this is where the fun starts
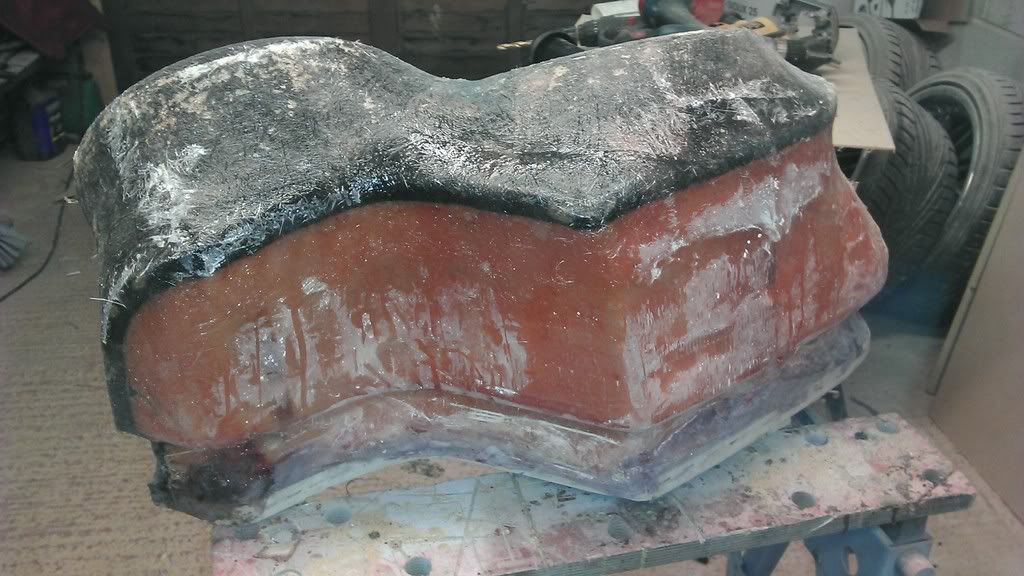
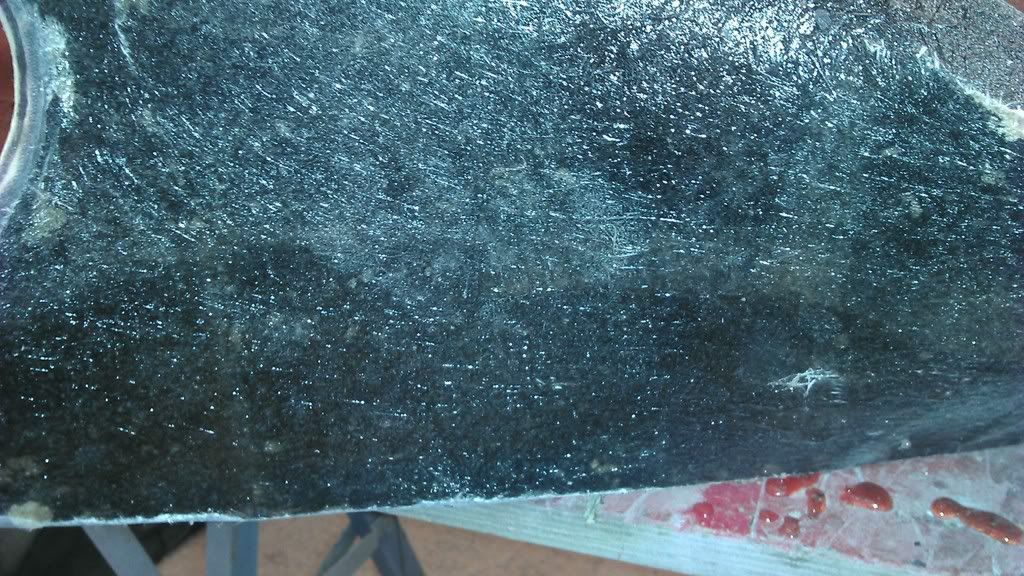
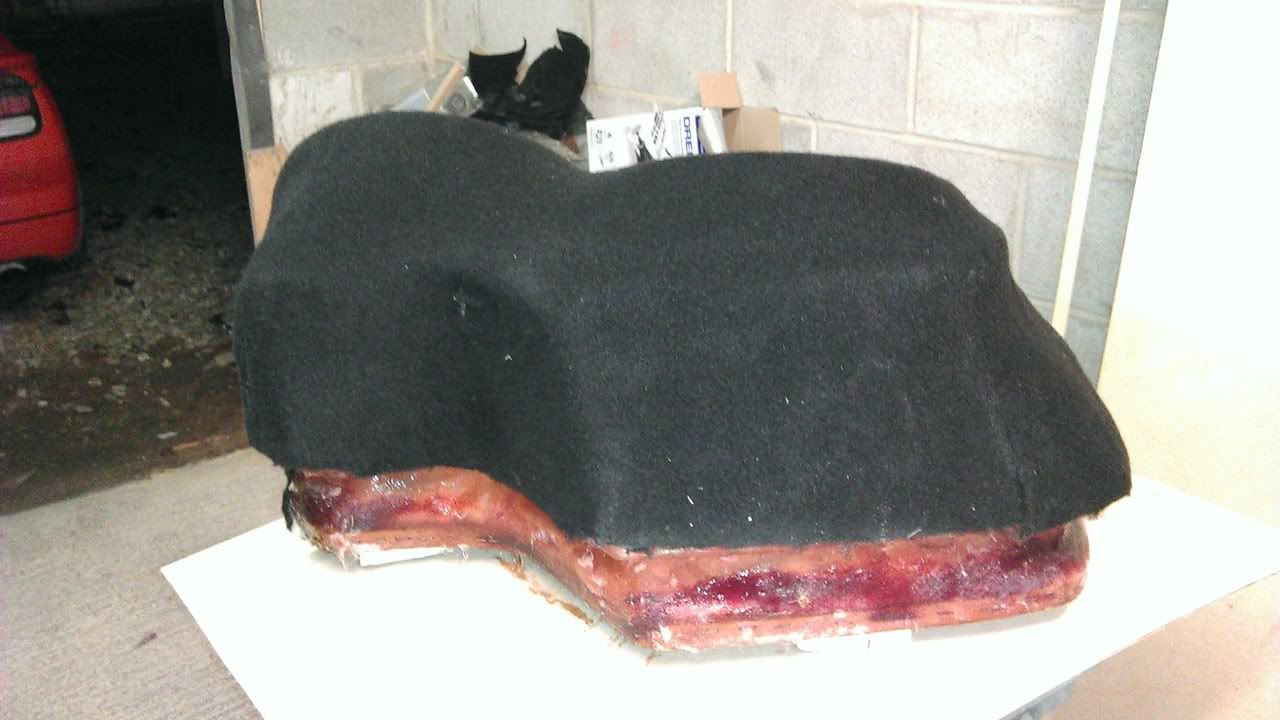
you first need to coat the Mold with Resin
then have your PreCut fiber glass to hand to start applying

once you have done your first Layer of fiber glass leave it over night to set
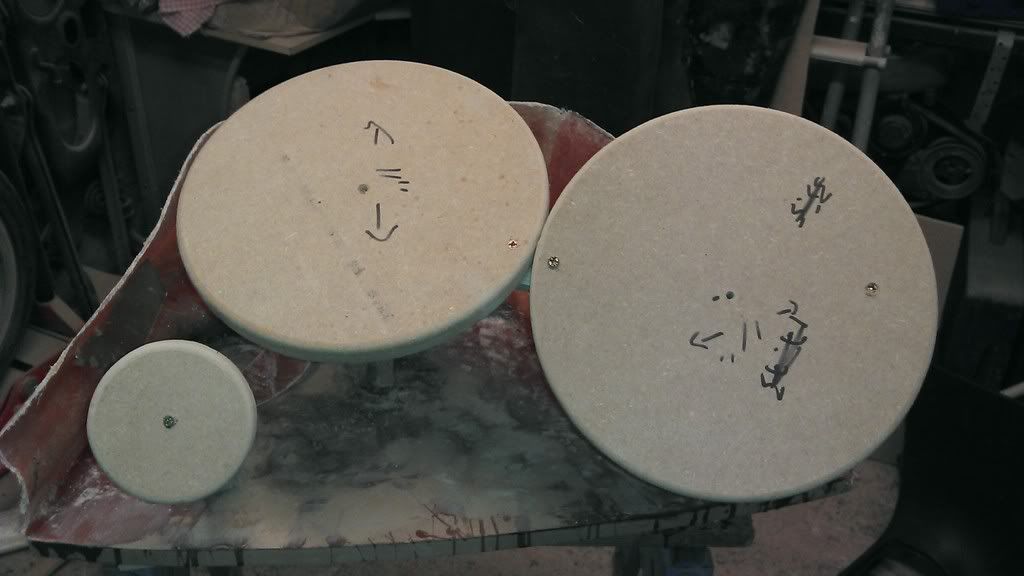
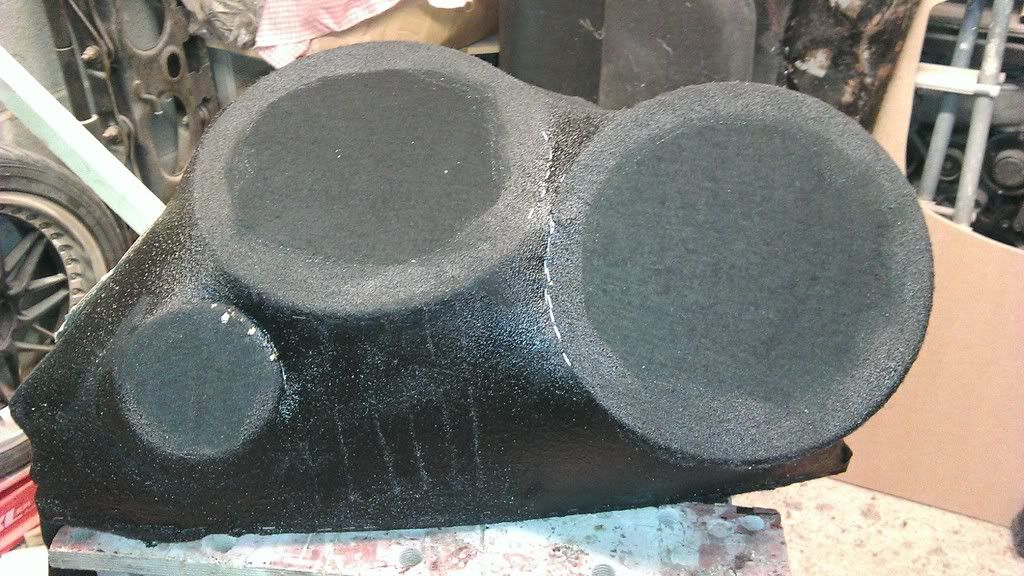
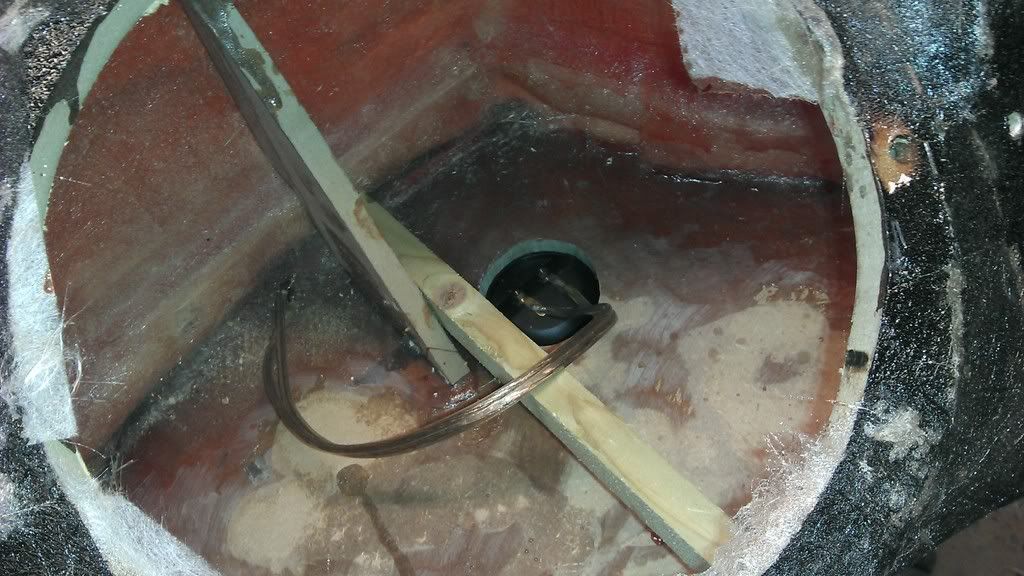
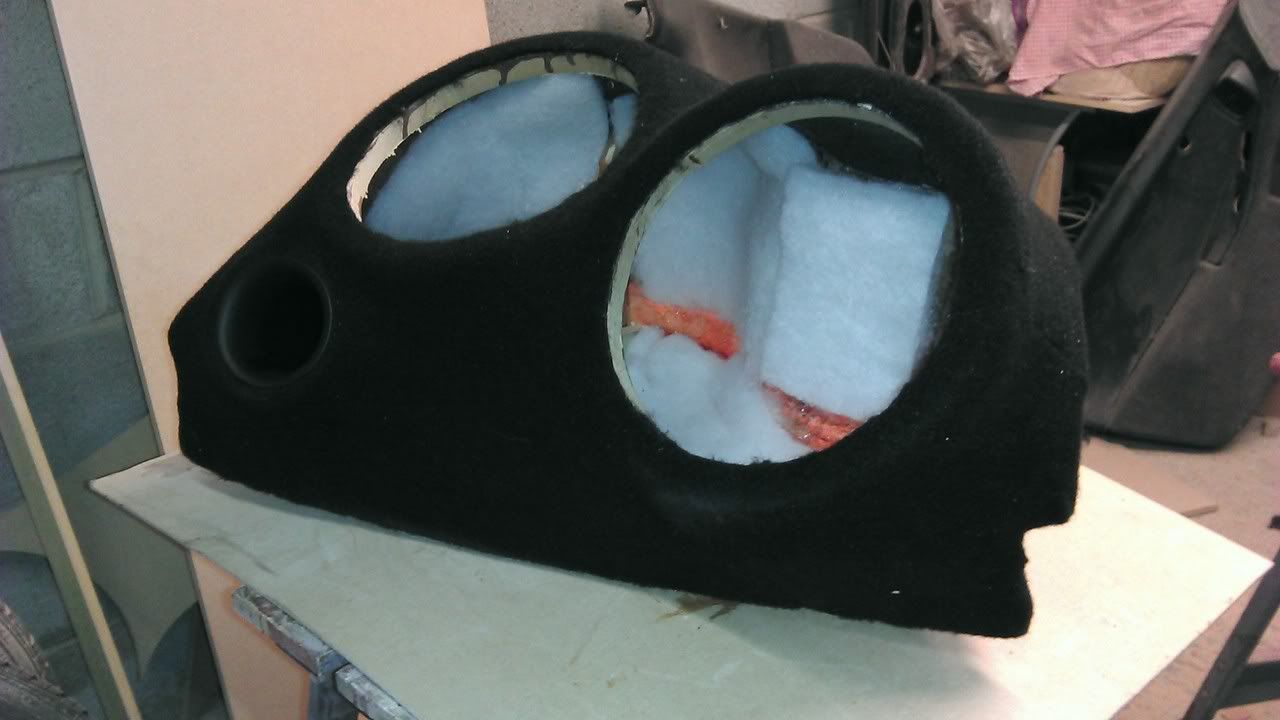
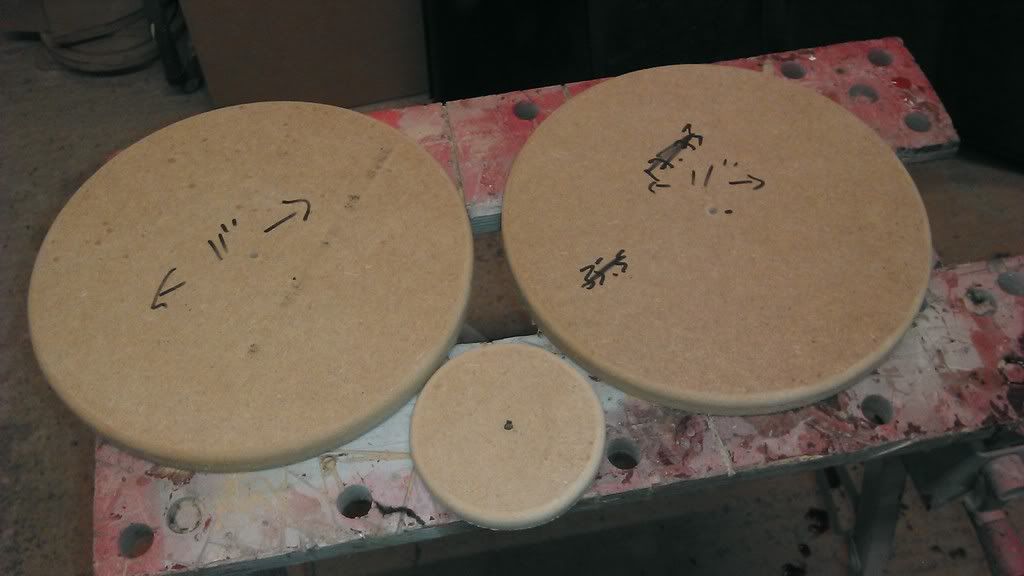
but why wast time when you can start to make other items needed like the speaker Rings
make sure you have your speaker sizes to hand
i'm making the box for twin 10" subs
total outer size of rings are 11" wide and will have a 9" inner cut out
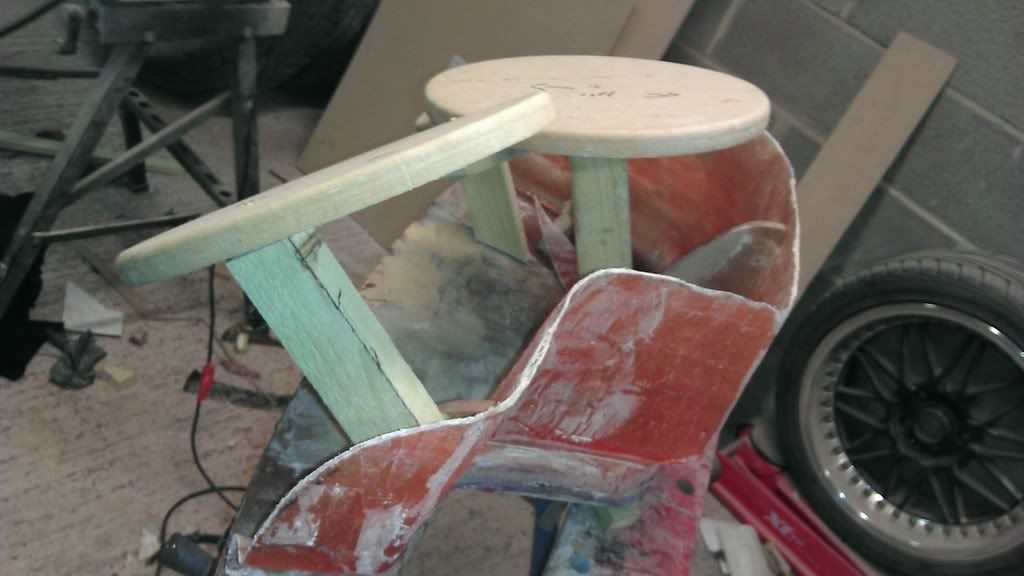
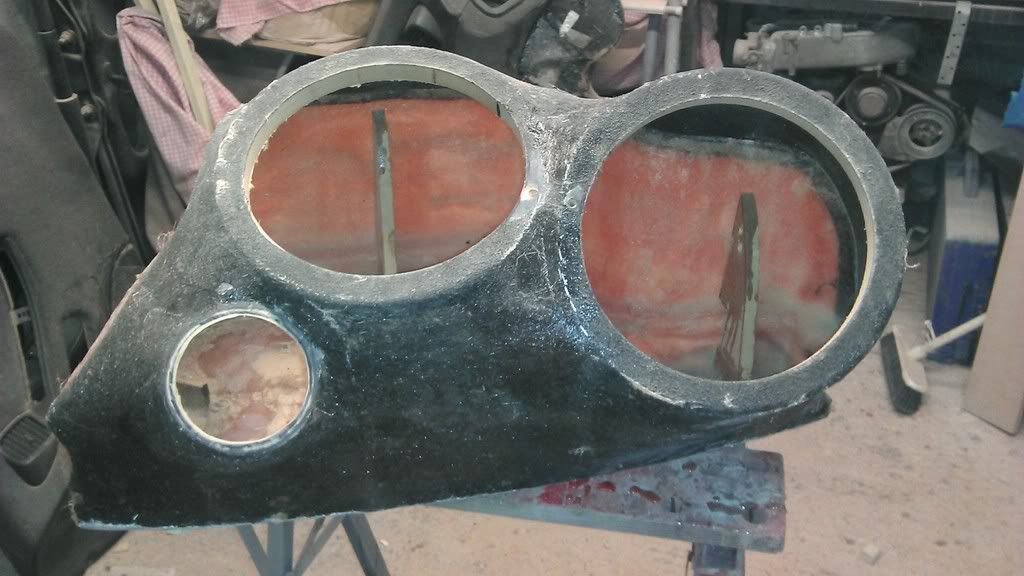
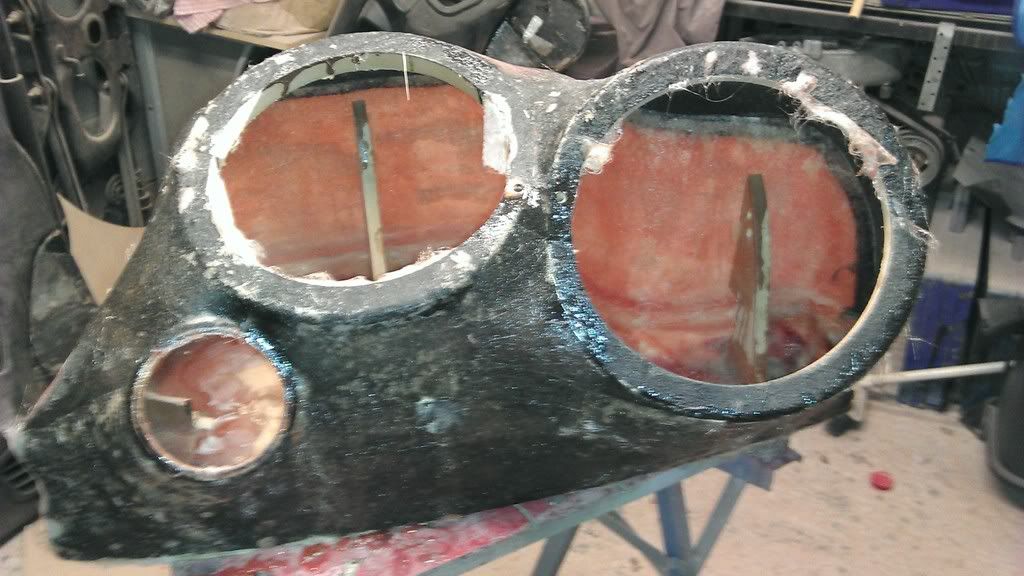
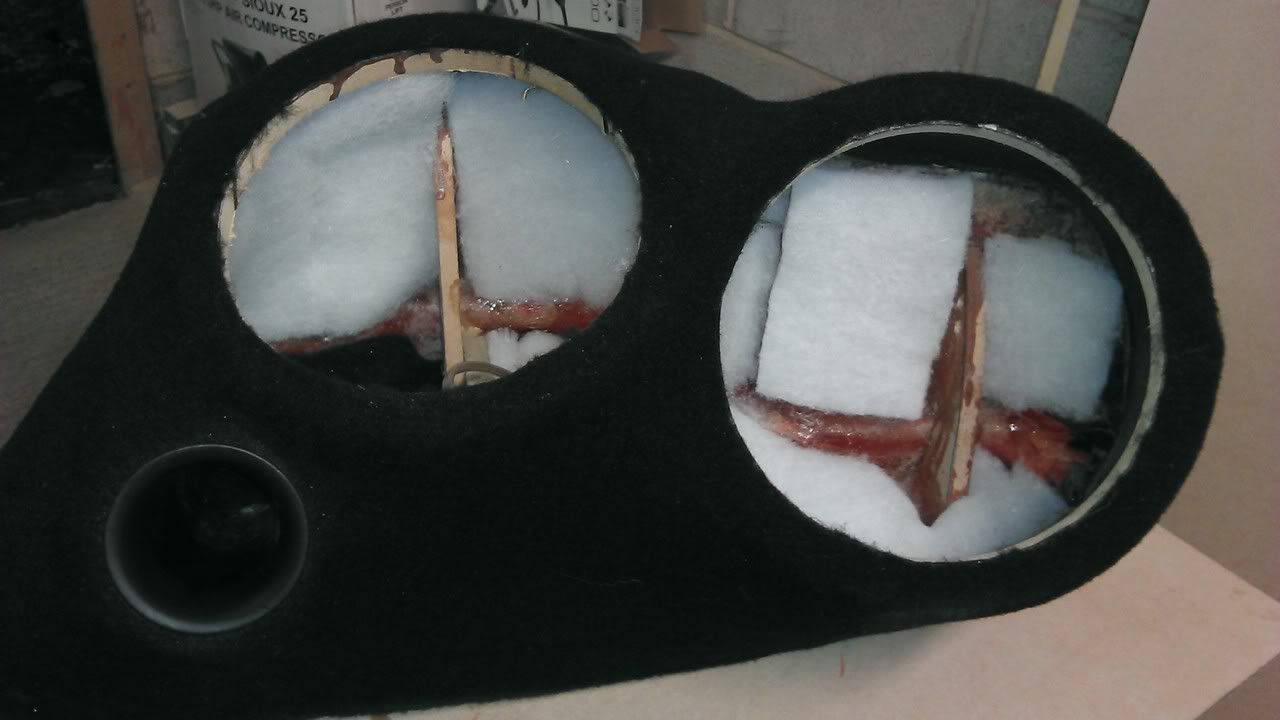
OK once you have done one layer of fiber glass its time to make some more templates for bracing
sorry if its been posted a few times before
as you can see its quite nice .. but it does have one Problem
box isnt the right size for the speakers
so anyways this is what im about to show you ...
First you will need some Items from Hardware stores
18mm MDF
2x2 timber
Fiber Glass Resin 4liters
Resin Hardener 2 tubes
Fiber Glass Medium grade 3 meters
Fiber Glass Tissue 1 meter
Hard Brush 2
Pots 5
Fleece about 1mtx1mt
Port Hole ( if your fitting one )
you first have to Prep the place your going to make your mold from
so i used Duck Tape but you can use masking tape too
It would be handy to have some old cardboard too
this will help to make templates
As you can see this allowed me to get the correct shape for the Base part of the box
you need to mix some harder and resin together i did this at 250mm a time with about this much resin hardener all so make sure you mix it well it should turn Pink and have little bubbles this has started the reaction of the resin you will have about 5>10 mins to use it before it start to go like gelly
ok this is where the fun starts
you first need to coat the Mold with Resin
then have your PreCut fiber glass to hand to start applying
once you have done your first Layer of fiber glass leave it over night to set
but why wast time when you can start to make other items needed like the speaker Rings
make sure you have your speaker sizes to hand
i'm making the box for twin 10" subs
total outer size of rings are 11" wide and will have a 9" inner cut out
OK once you have done one layer of fiber glass its time to make some more templates for bracing