-
The Z Club relies on the support of it's paid members - join the club or renew your membership here.
You are using an out of date browser. It may not display this or other websites correctly.
You should upgrade or use an alternative browser.
You should upgrade or use an alternative browser.
'74 260z project
- Thread starter morbias
- Start date


Mr.G
Club Member
Amazing progress!! Your welding is top notch.
Remarkable transformation, keep the progress and pics up.
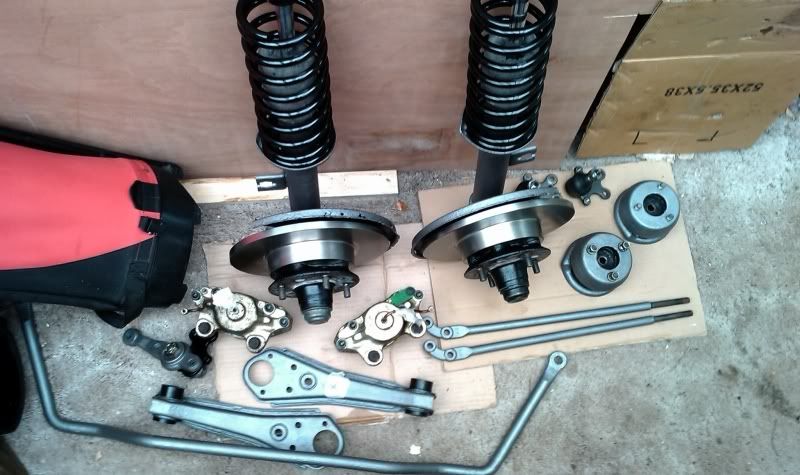
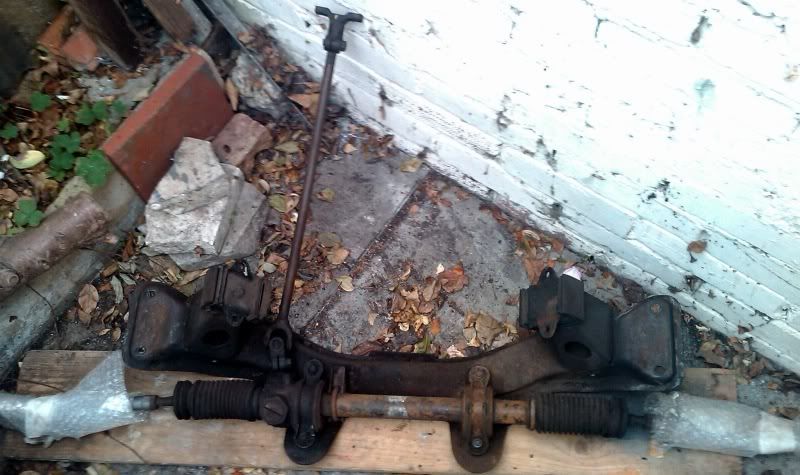
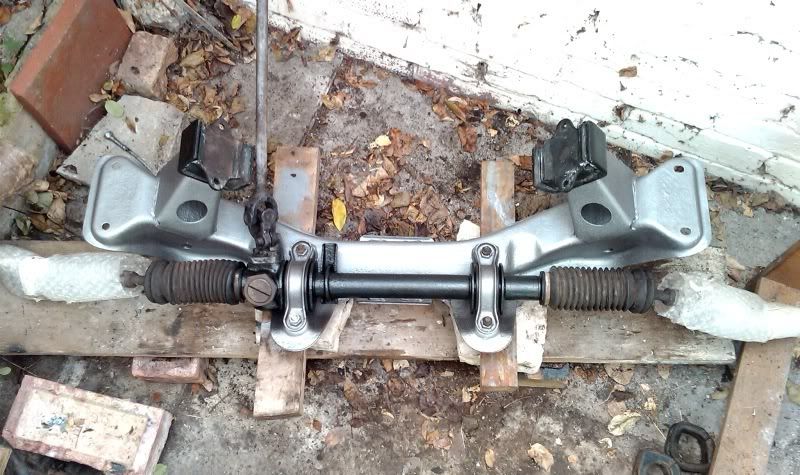
I remember finding the suspension a rewarding experience to do, not only from an aesthetic point of view of replacing/cleaning old for new but from the transformation the handling was from changing the old worn oem bushes to polyurethane.
Remarkable transformation, keep the progress and pics up.
I remember finding the suspension a rewarding experience to do, not only from an aesthetic point of view of replacing/cleaning old for new but from the transformation the handling was from changing the old worn oem bushes to polyurethane.
morbias
Well-Known Forum User
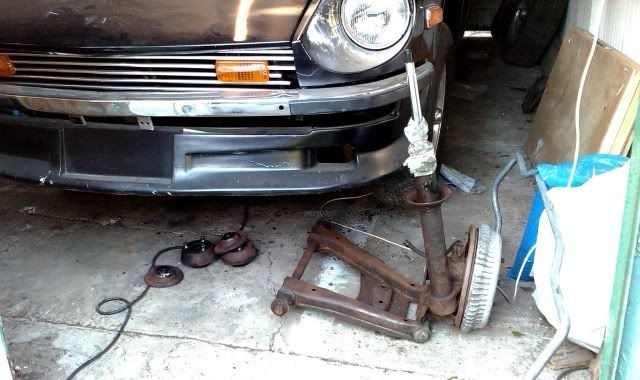
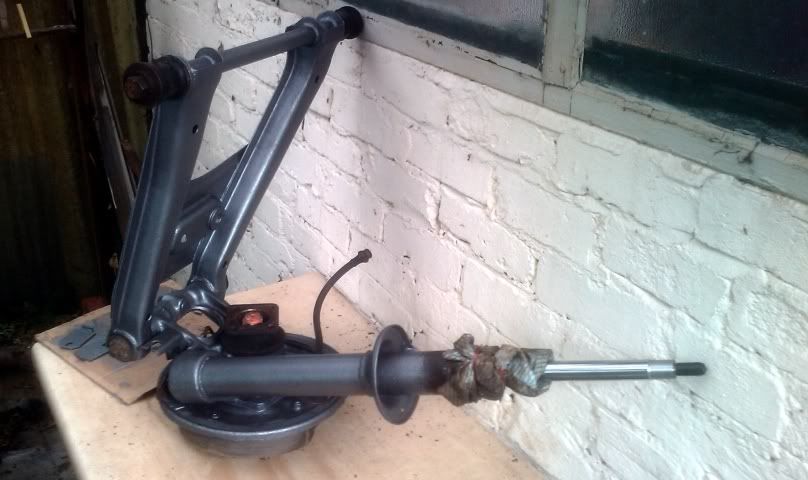
Cheers George, learning this stuff as I go along. As for suspension - spindle pins. Couldn't take the struts to a press so spent two weeks with a club hammer. The elation when those damned things finally came out is impossible to describe!!
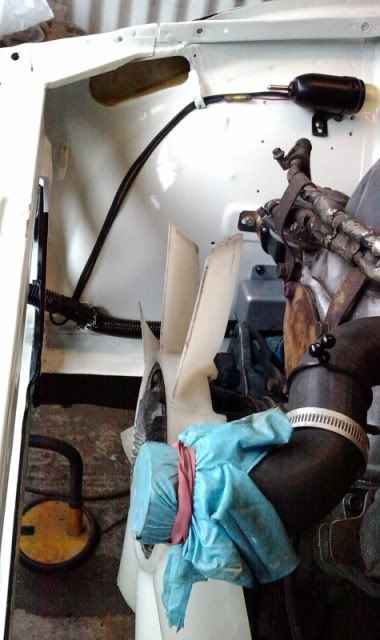
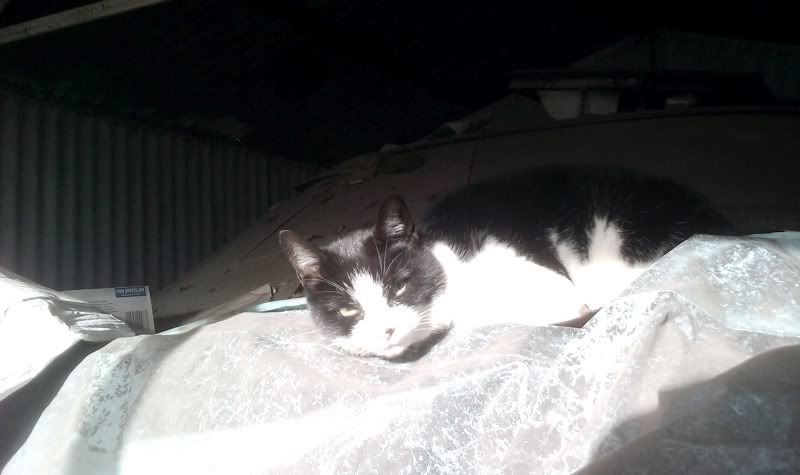
The project manager supervising proceedings:
The project manager supervising proceedings:
")
andrew muir
Club Member
I am with you on the spindle pins, took one out but chickened out of the other, ended up using a lot of heat, brute force and ignorance.
Nice work and pics
I am just starting my rebuild I hope i don't find as much rust on mine.
I lot of good work has gone into yours and looks like it will be well sorted when its finished.
Nice work and pics
I am just starting my rebuild I hope i don't find as much rust on mine.
I lot of good work has gone into yours and looks like it will be well sorted when its finished.
Ian Patmore
Well-Known Forum User
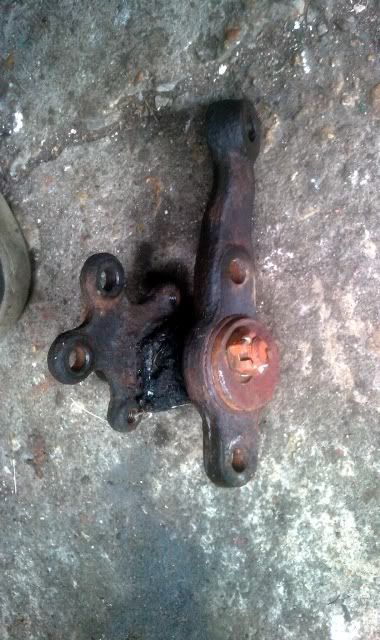
Yep, pull out the spindle pins, got a simple and easy puller made for the job.It is not rust that stops them coming out, it is they get ever so slightly bent.
Good work Morbias
Good work Morbias
morbias
Well-Known Forum User
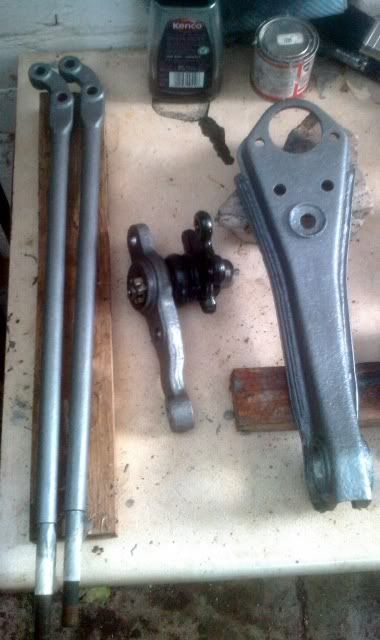
I made a puller tool, two of them in fact - and broke both of them. Those spindle pins were in there good and proper! I kept the pins, as a reminder of my pain and suffering; maybe I will make a trophy out of them, mounted in a 'V' for victory, or maybe for 'f*** you spindle pins'.
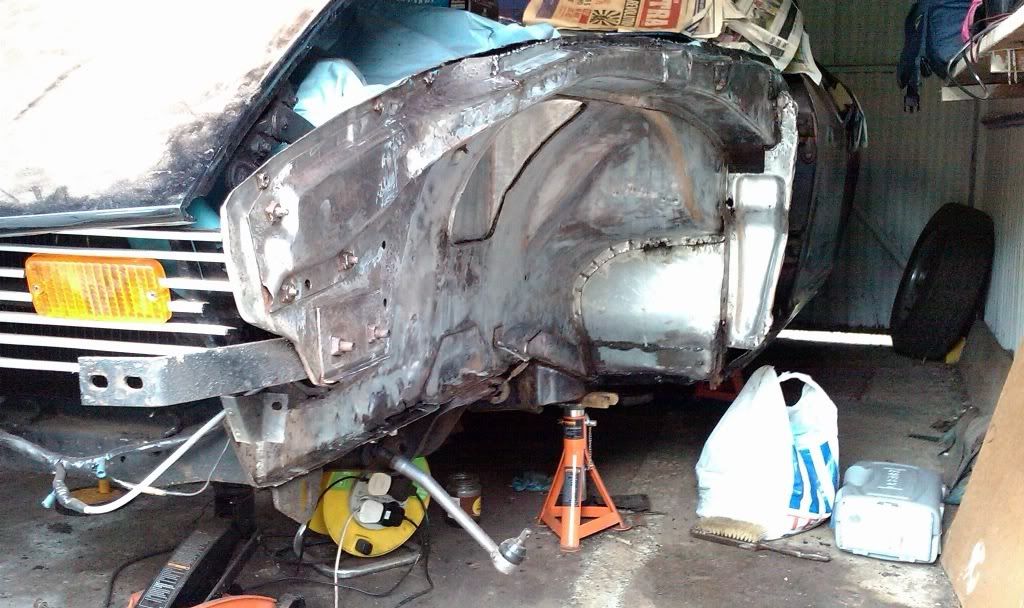
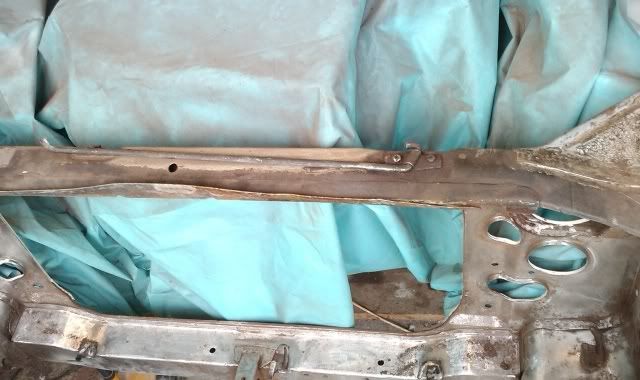
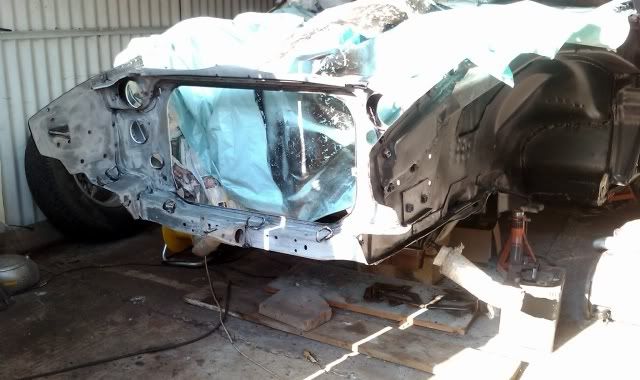
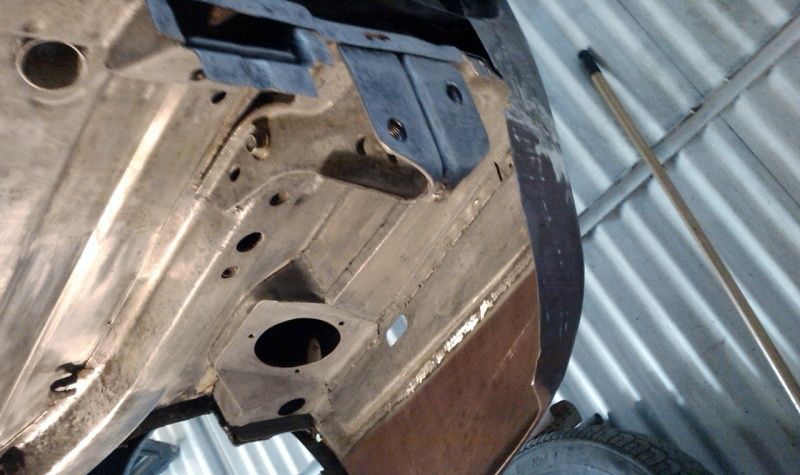
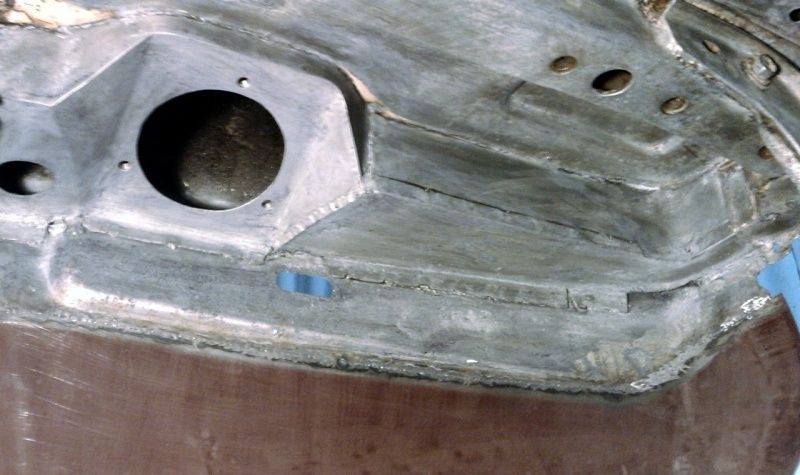
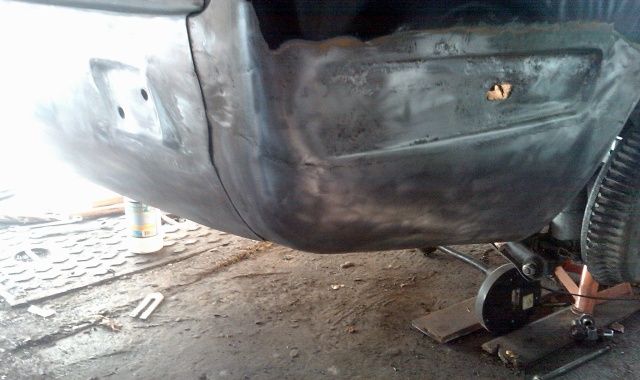
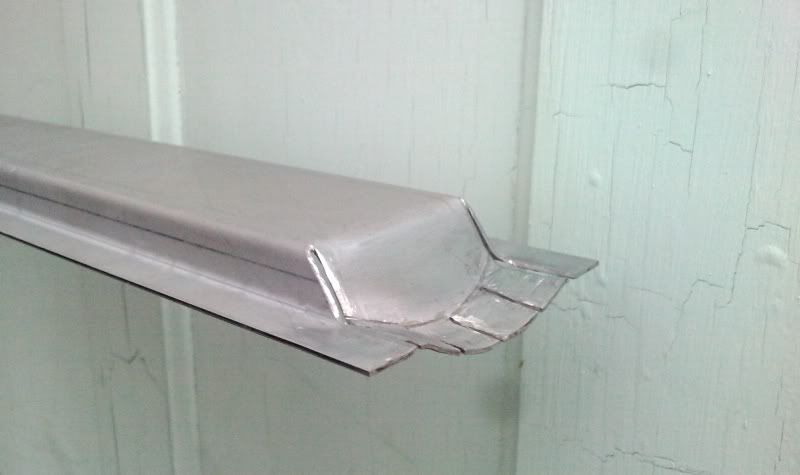
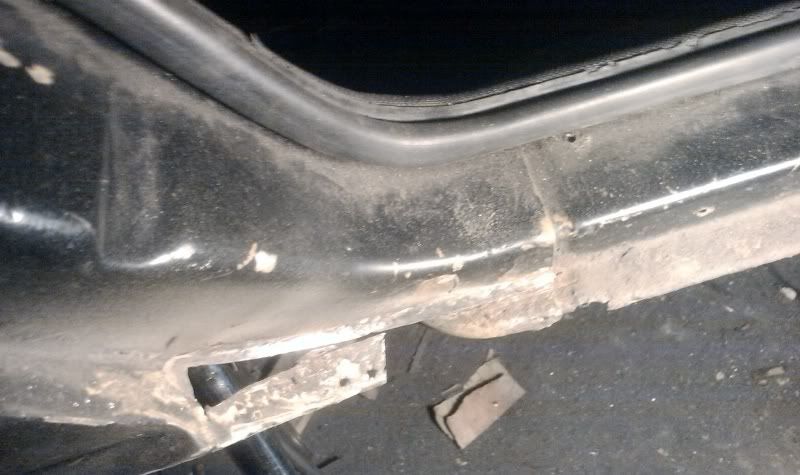
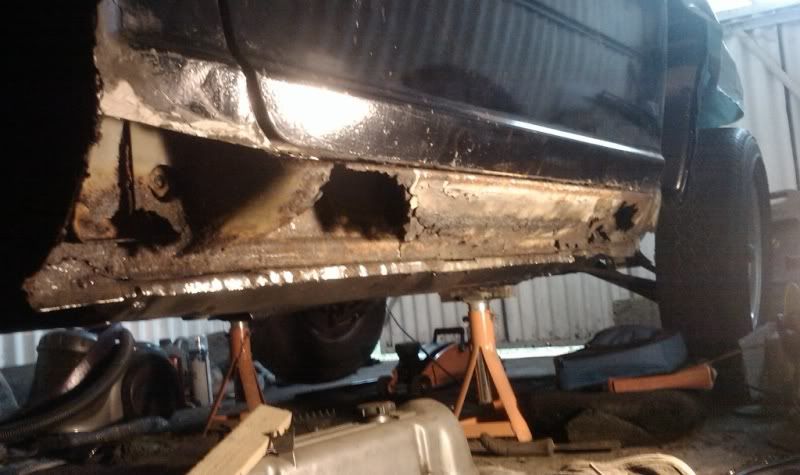
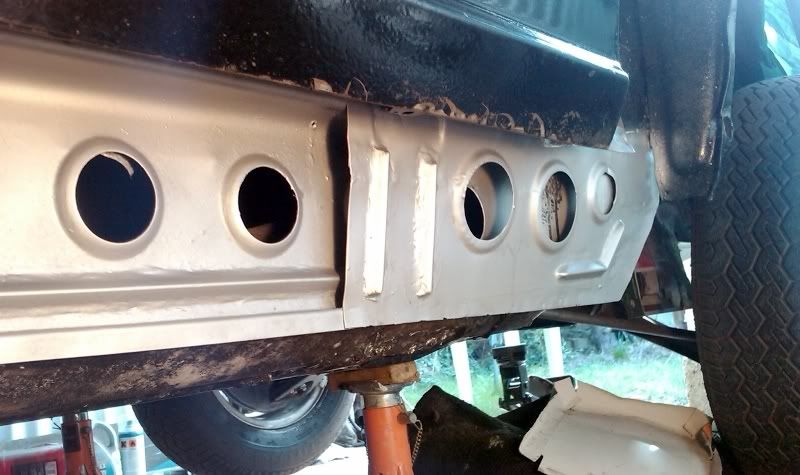
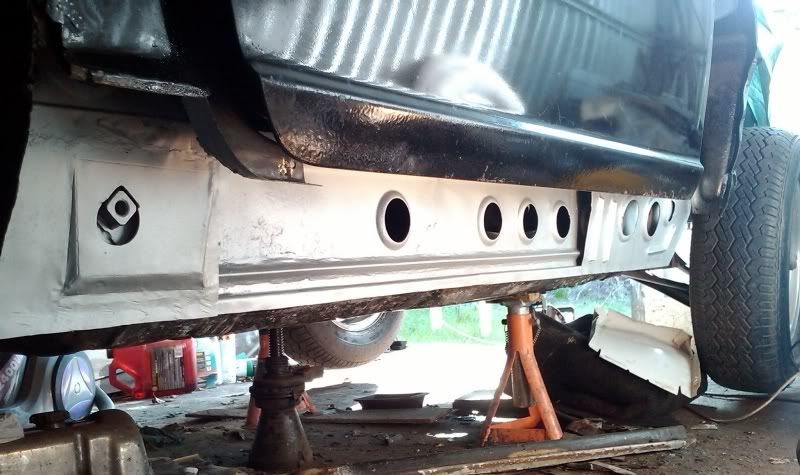
Got the outer sill welded on today, need to take the door off to do the last few welds. The dogleg is next on the agenda, will need to reconstruct some of the inner wheel arch too.
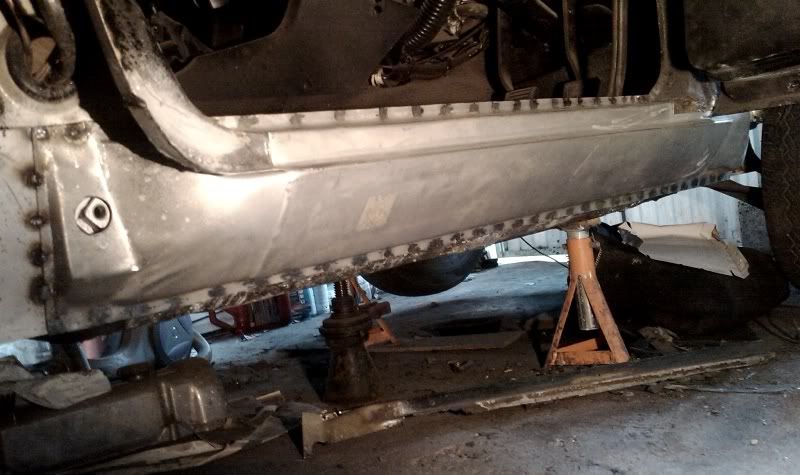
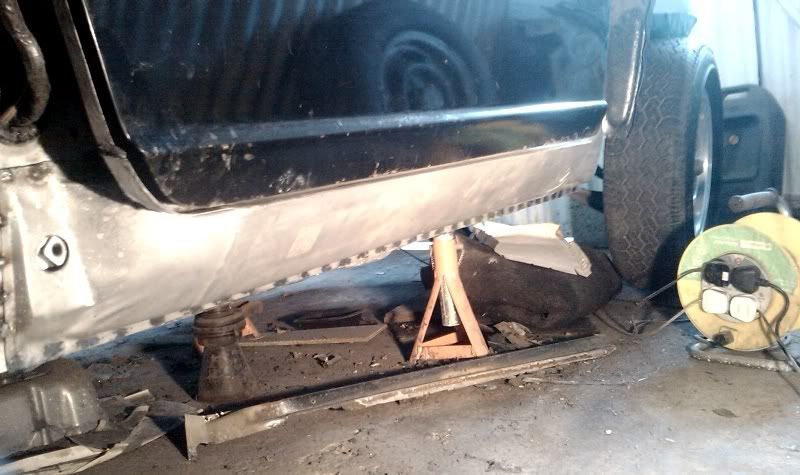
Got the outer sill welded on today, need to take the door off to do the last few welds. The dogleg is next on the agenda, will need to reconstruct some of the inner wheel arch too.
Tim Jewitt
Well-Known Forum User
Very impressive fabrication work.
morbias
Well-Known Forum User
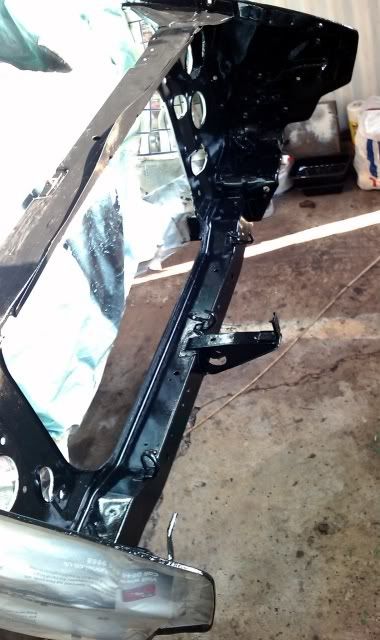
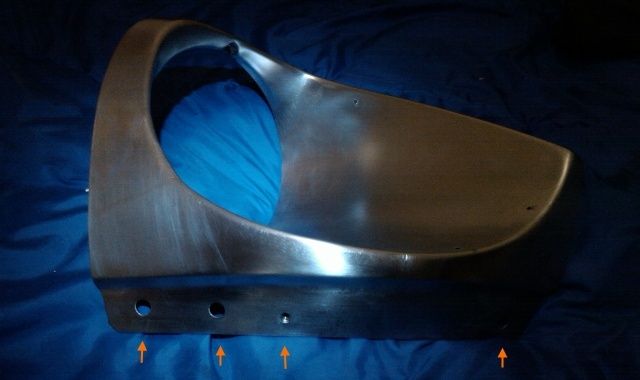
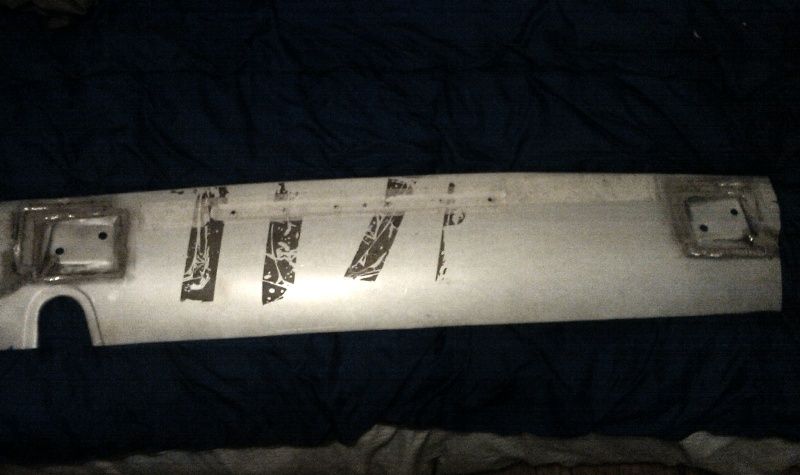
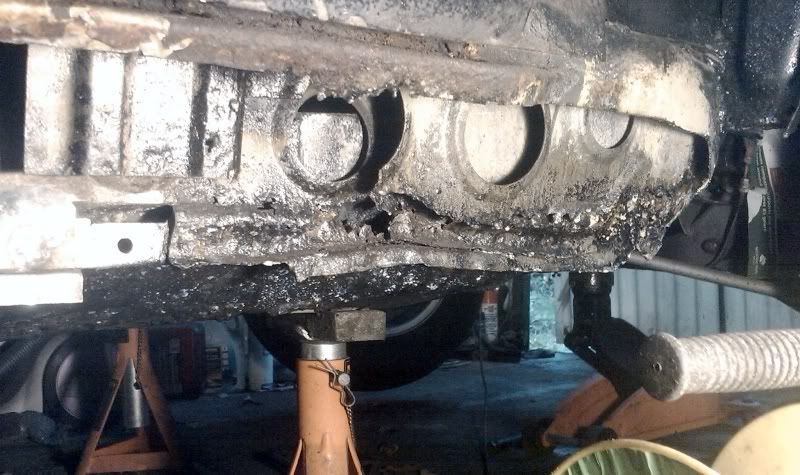
I should point out that rear valance was supplied by Mike F, I only moved the bumper mounting points, I only wish I could make something like that!
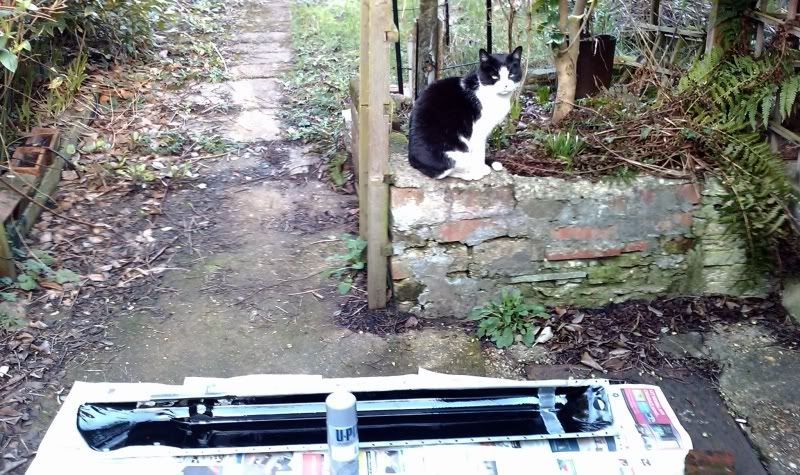
The cat is probably grumpy because feeding time was delayed somewhat. It's not even my cat, it just appeared one day and decided to take ownership of the shed! A little annoying, I was planning to use the shed for spraying the panels, not sure where I'm going to do it now.
The cat is probably grumpy because feeding time was delayed somewhat. It's not even my cat, it just appeared one day and decided to take ownership of the shed! A little annoying, I was planning to use the shed for spraying the panels, not sure where I'm going to do it now.
morbias
Well-Known Forum User
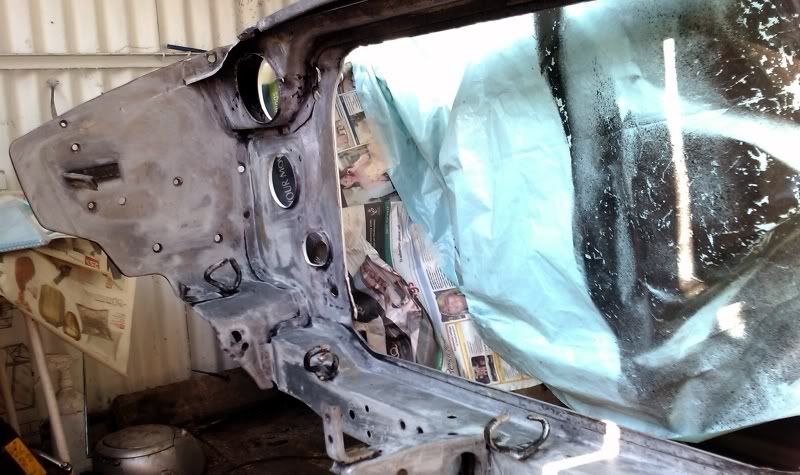
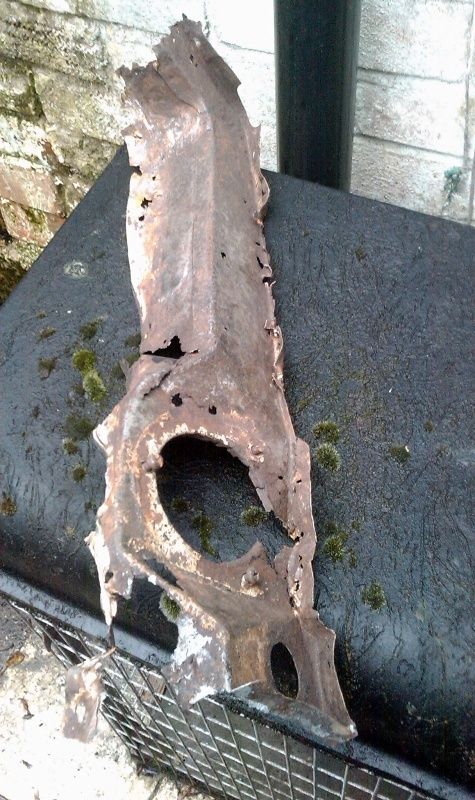
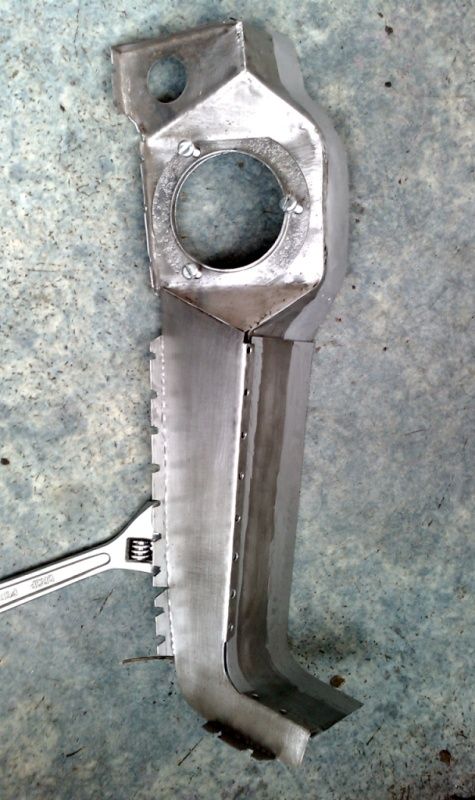
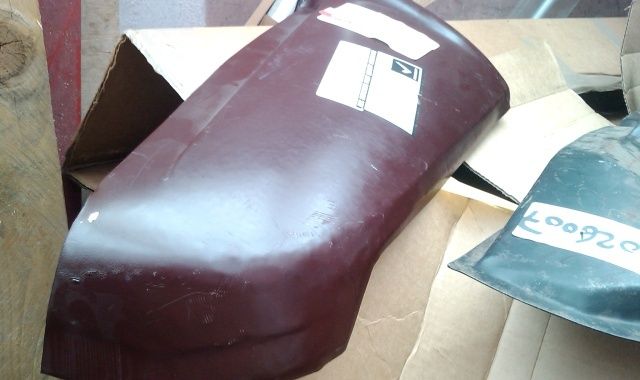
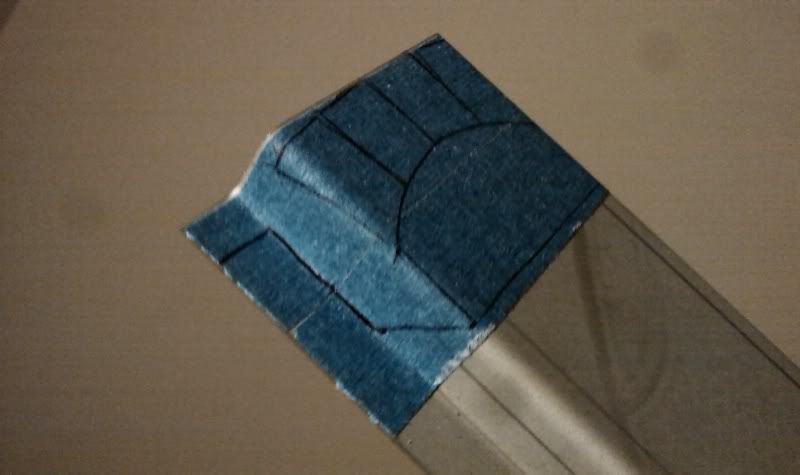
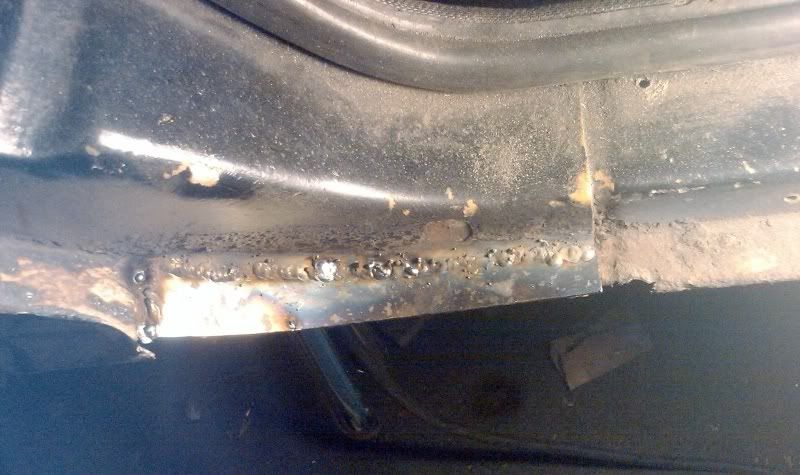
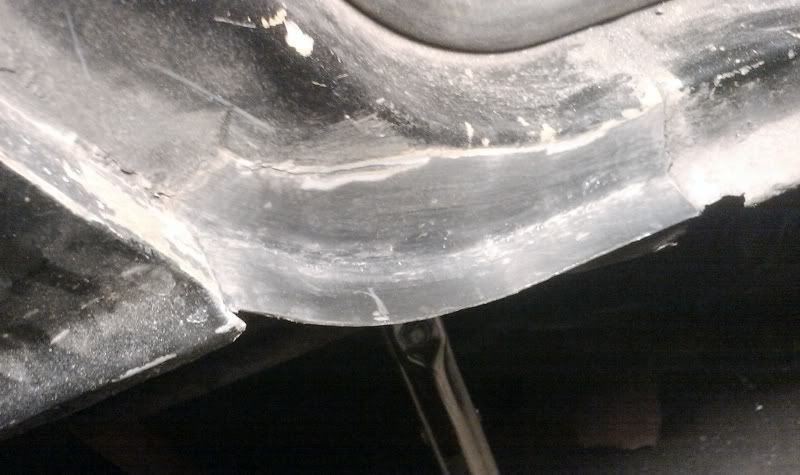
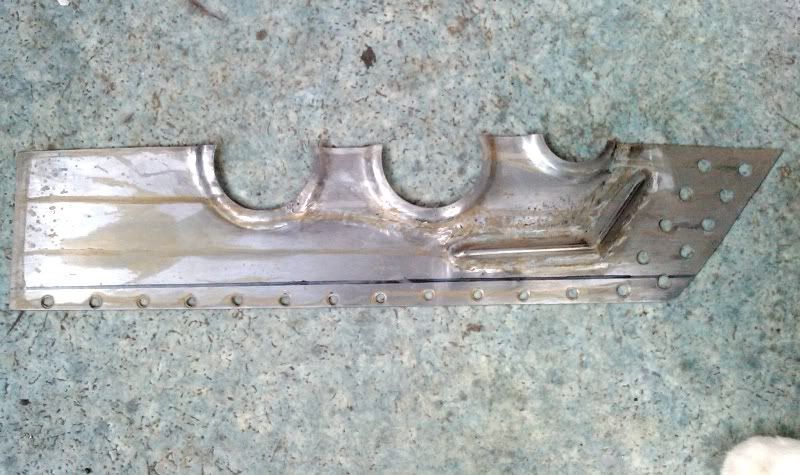
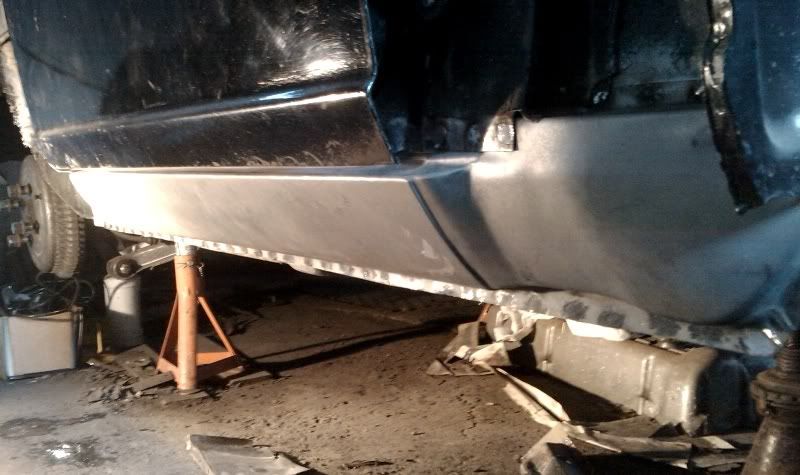
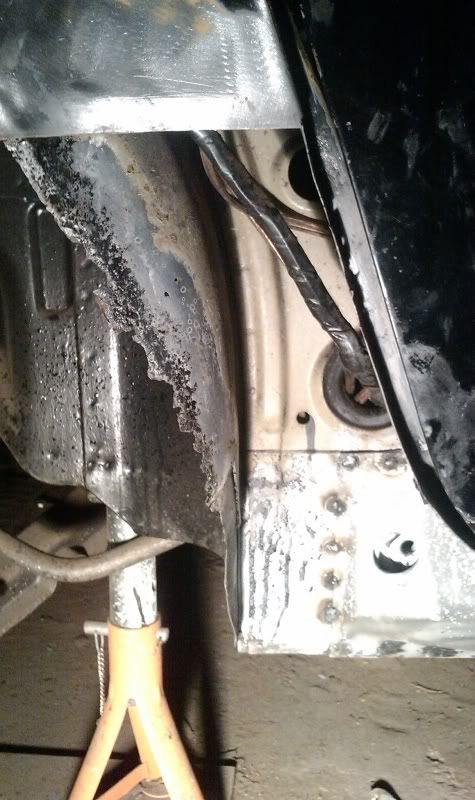
Replaced a bit of the wheel arch today, not as neat as could have been but nobody's going to see it. Everything above it doesn't matter as it's being cut out later for the flares. Also spent a couple of hours beating the living hell out of the dogleg replacement panel, none of the bends or curves matched up to the original so had to give it some serious hammer love.
 .
.