260Z Project - 260Z GT-R

Ian

Club Member
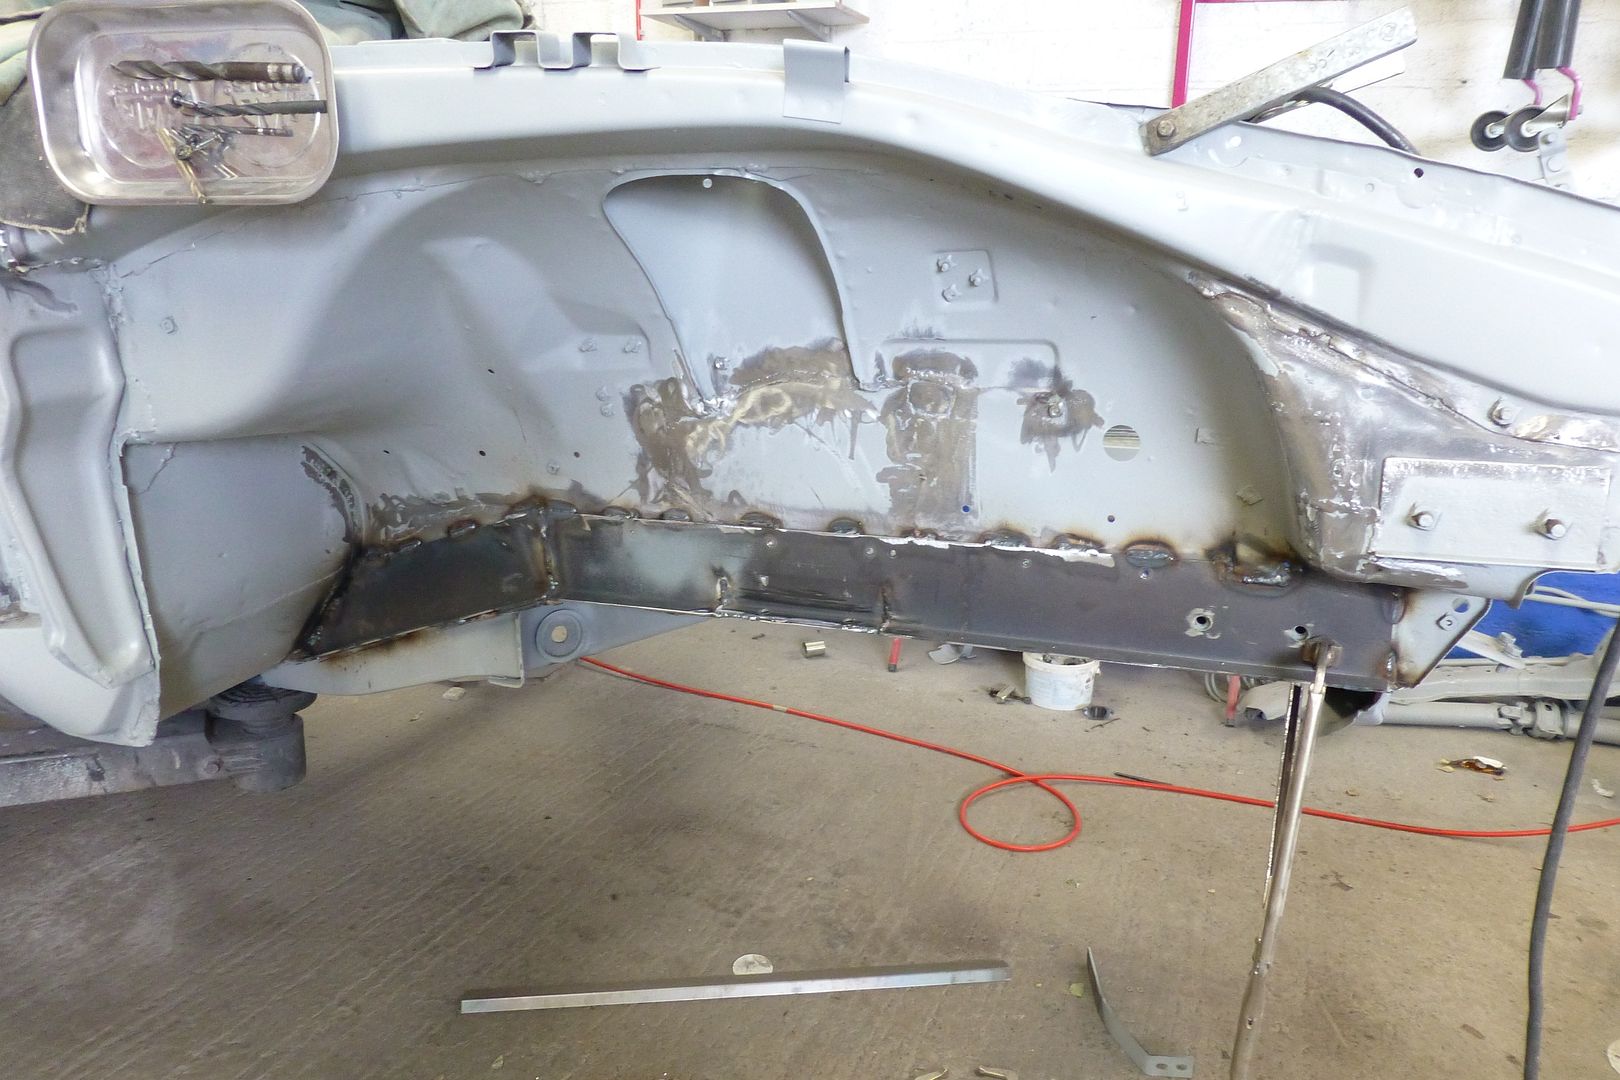
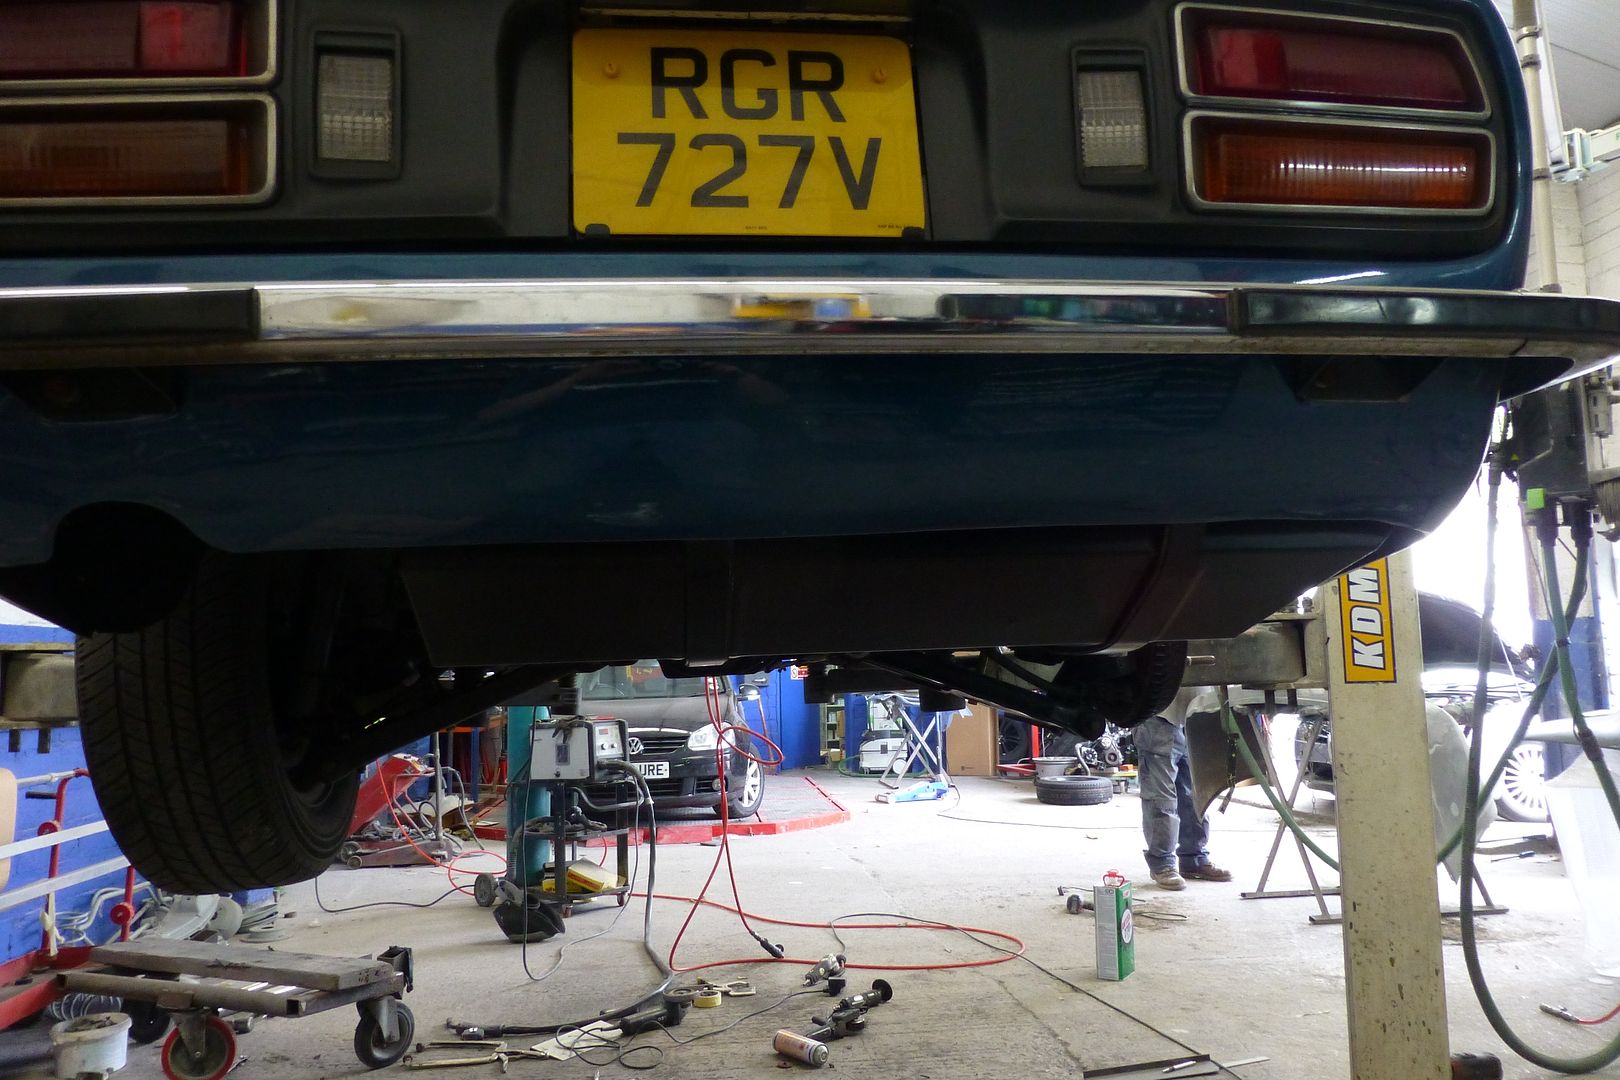
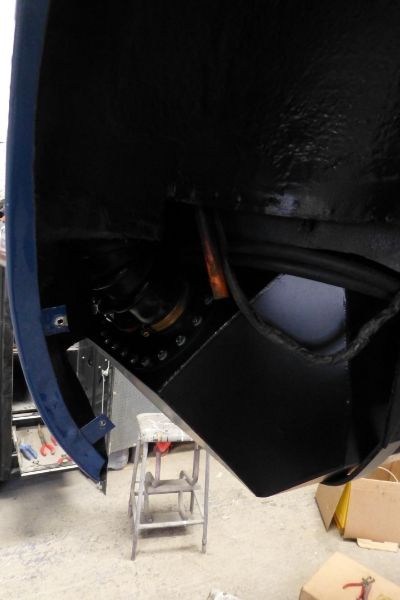
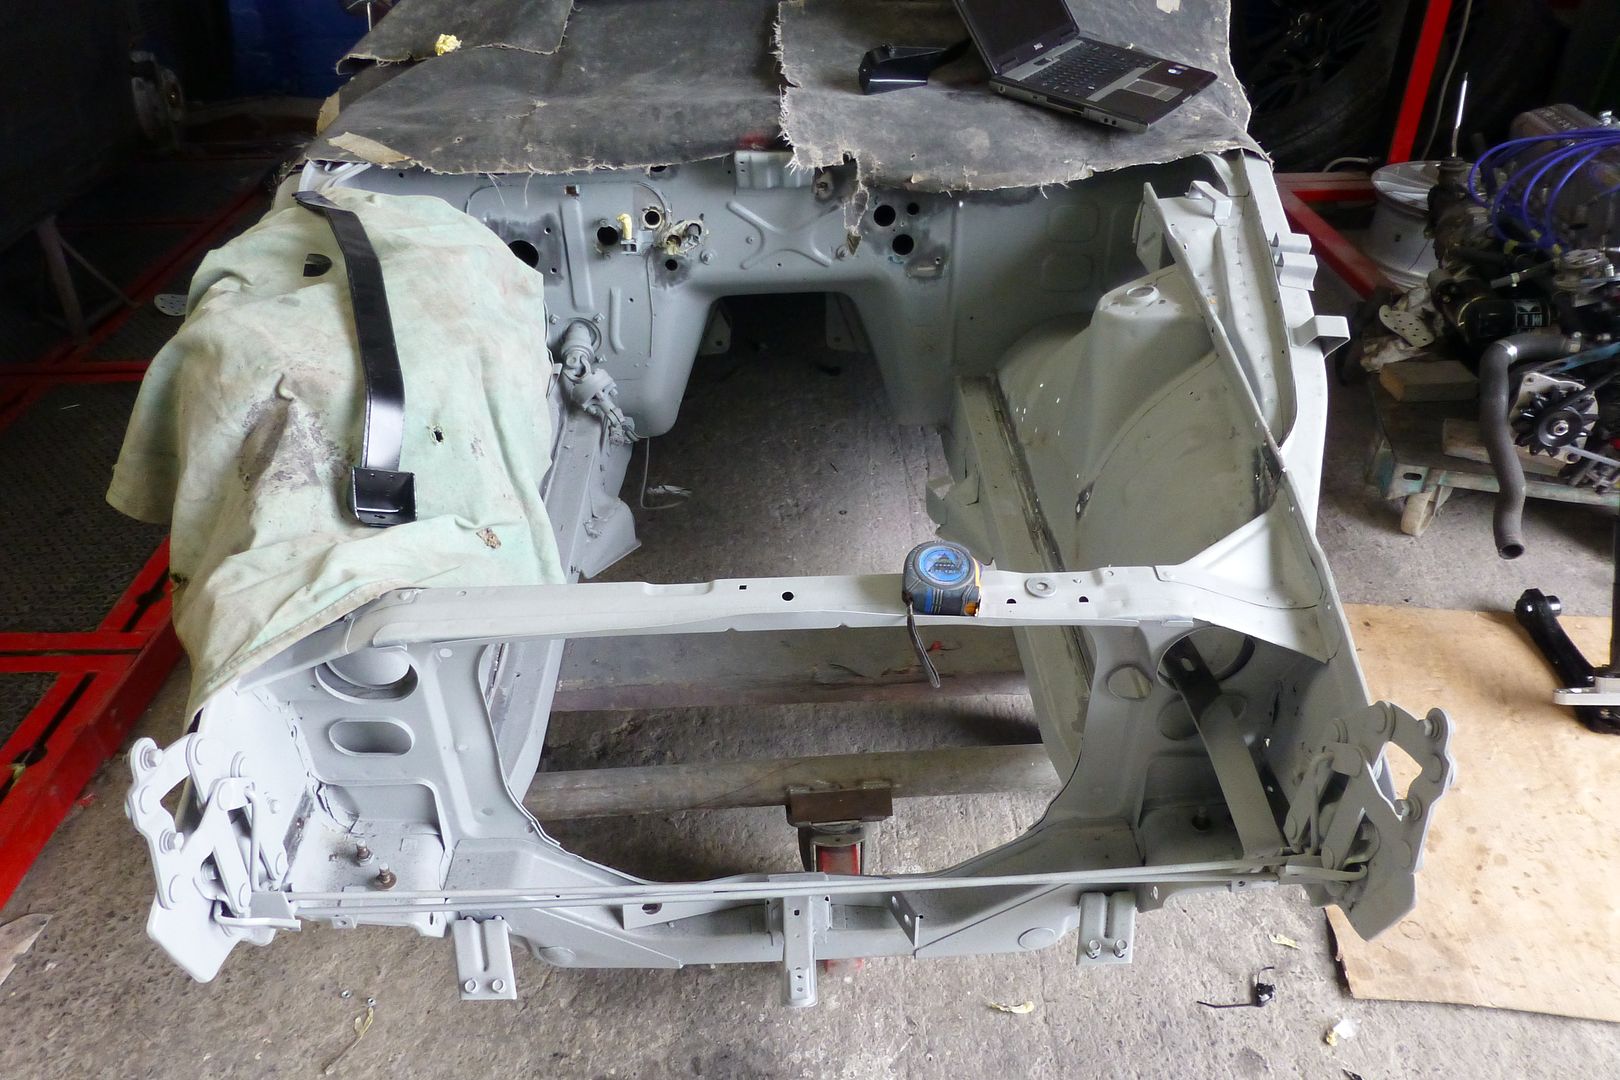
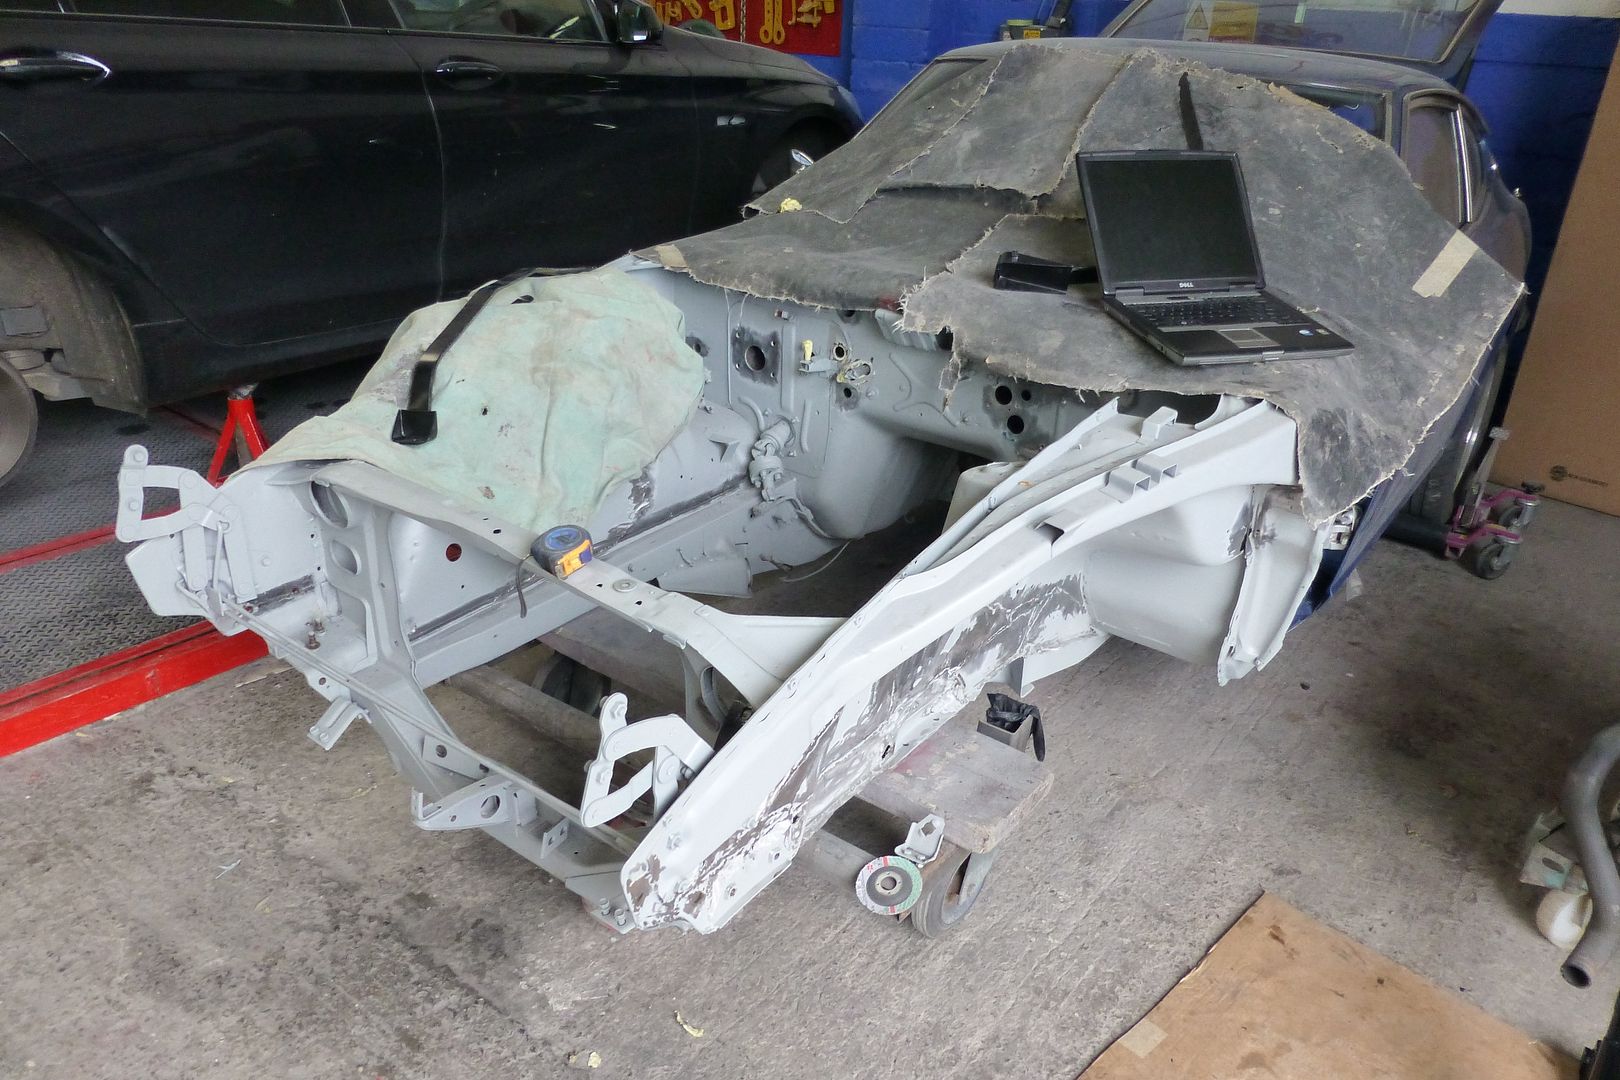
How the car is sitting, metalwork, welding and painting should begin on Monday, slower than I'd like, but what can I do:

P1010359.jpg


P1010367.jpg


P1010377.jpg


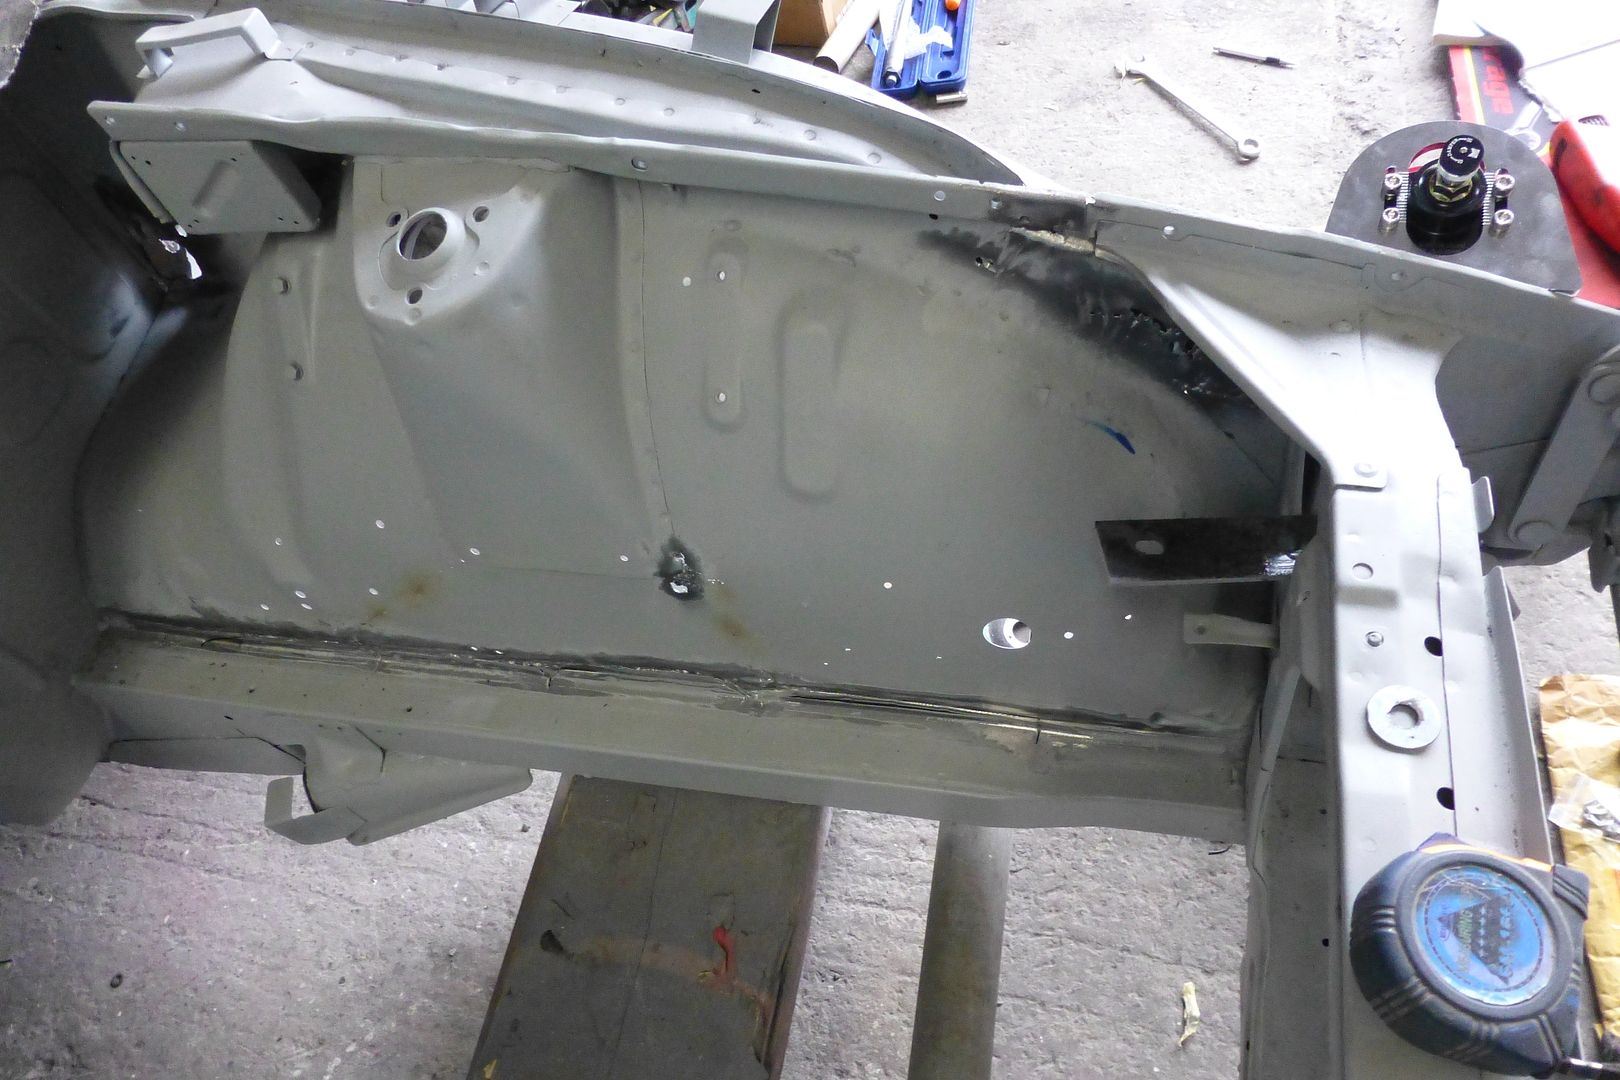
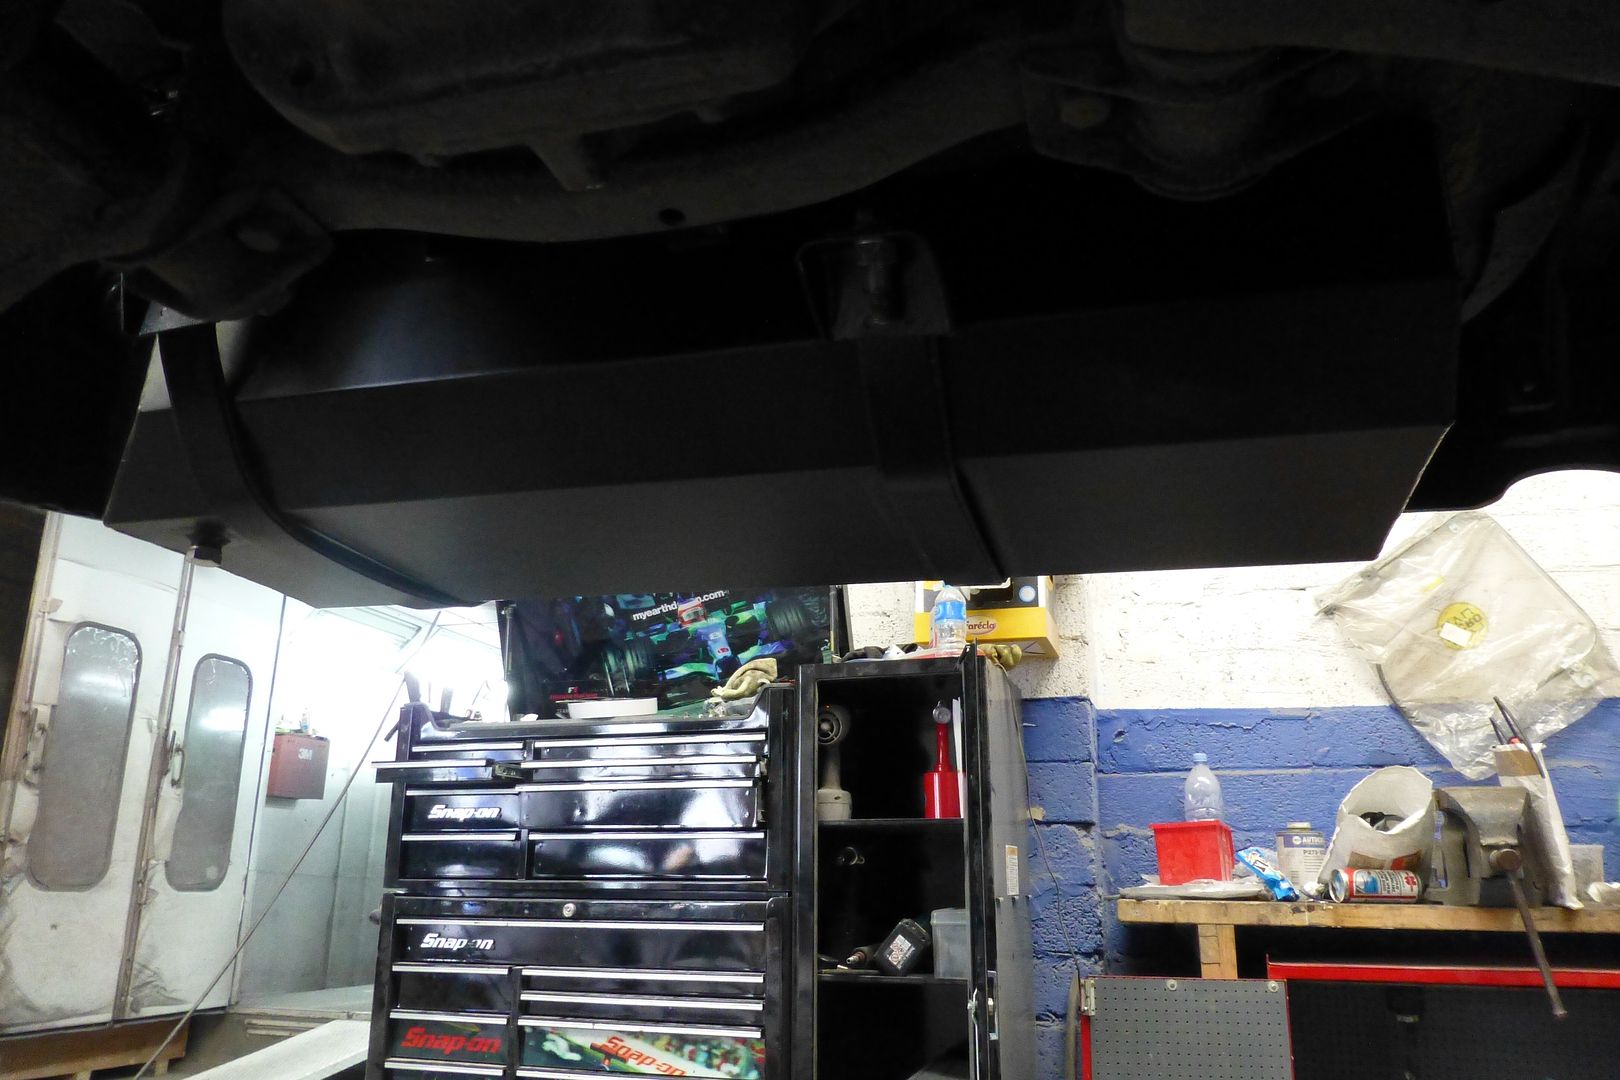
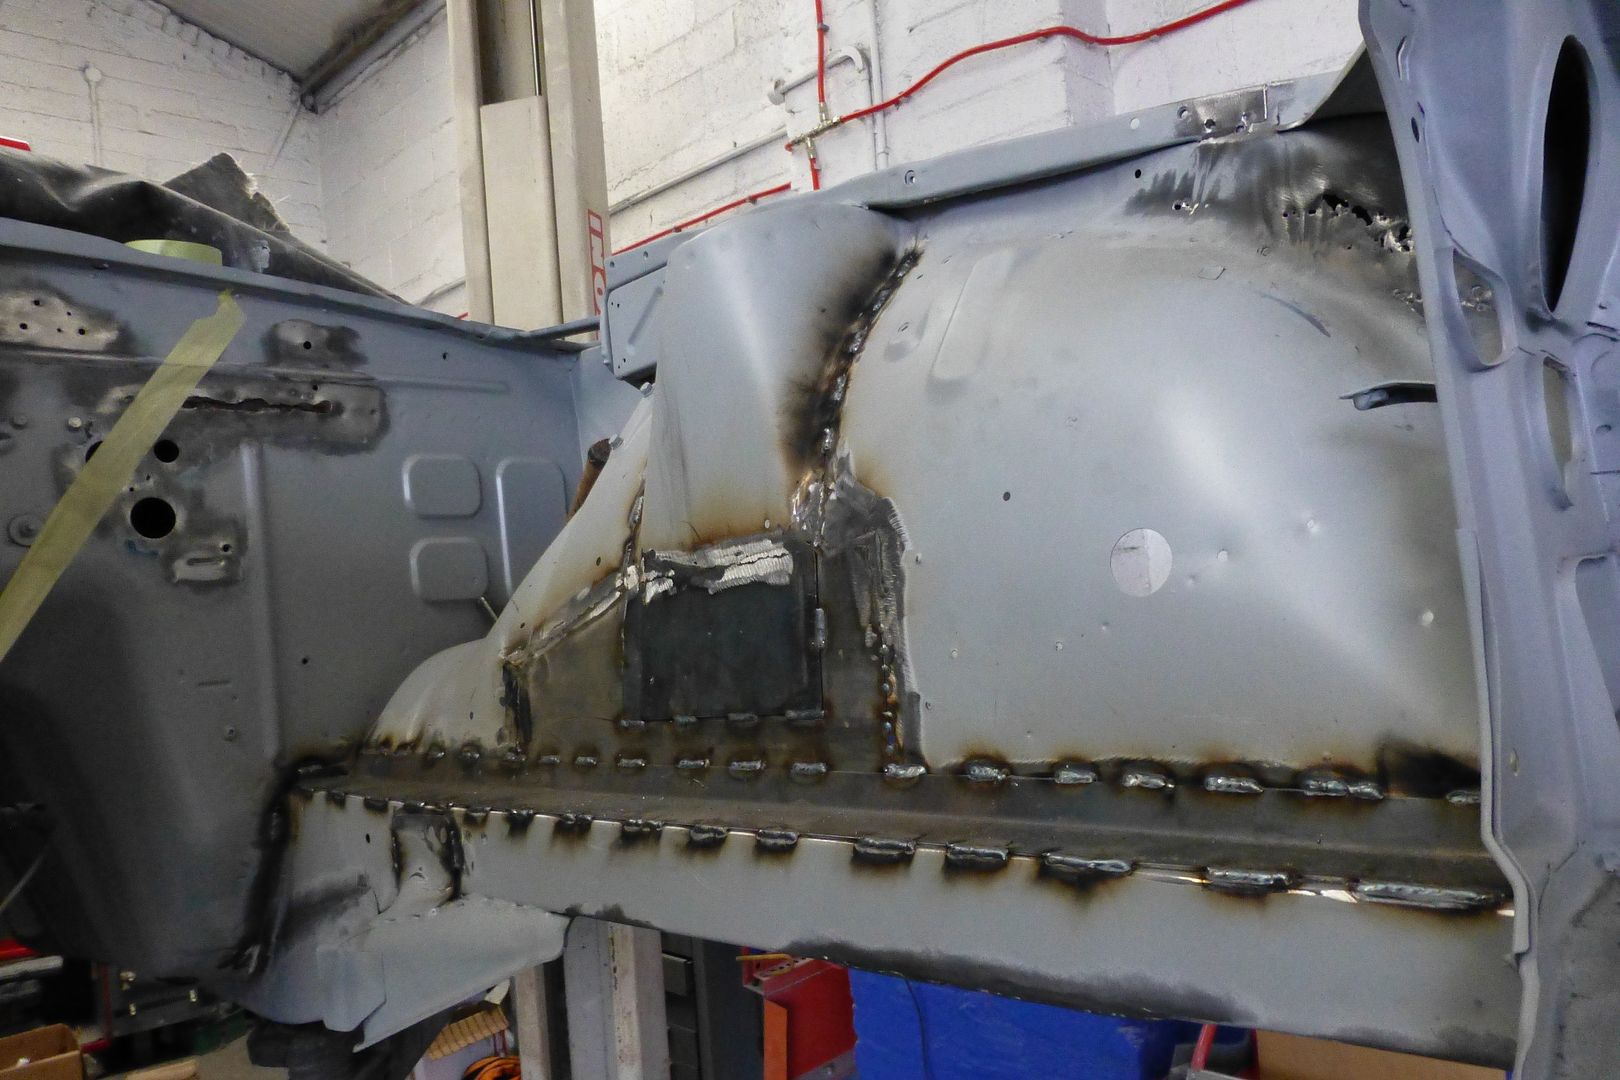
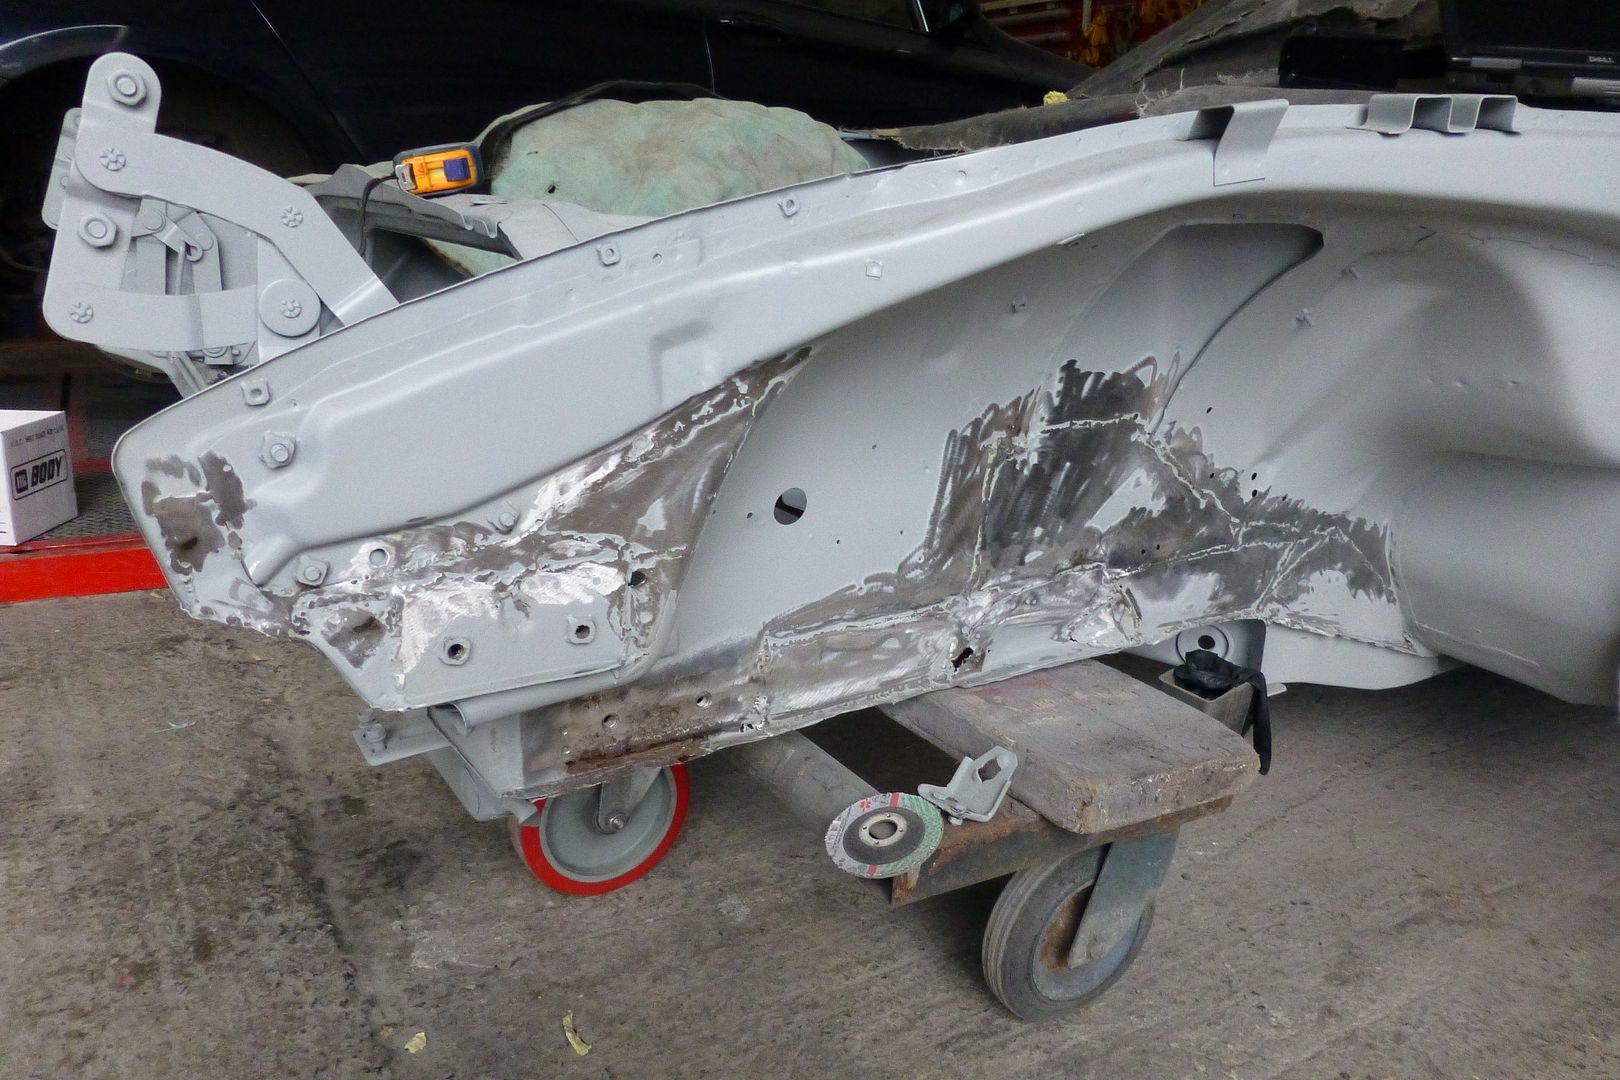
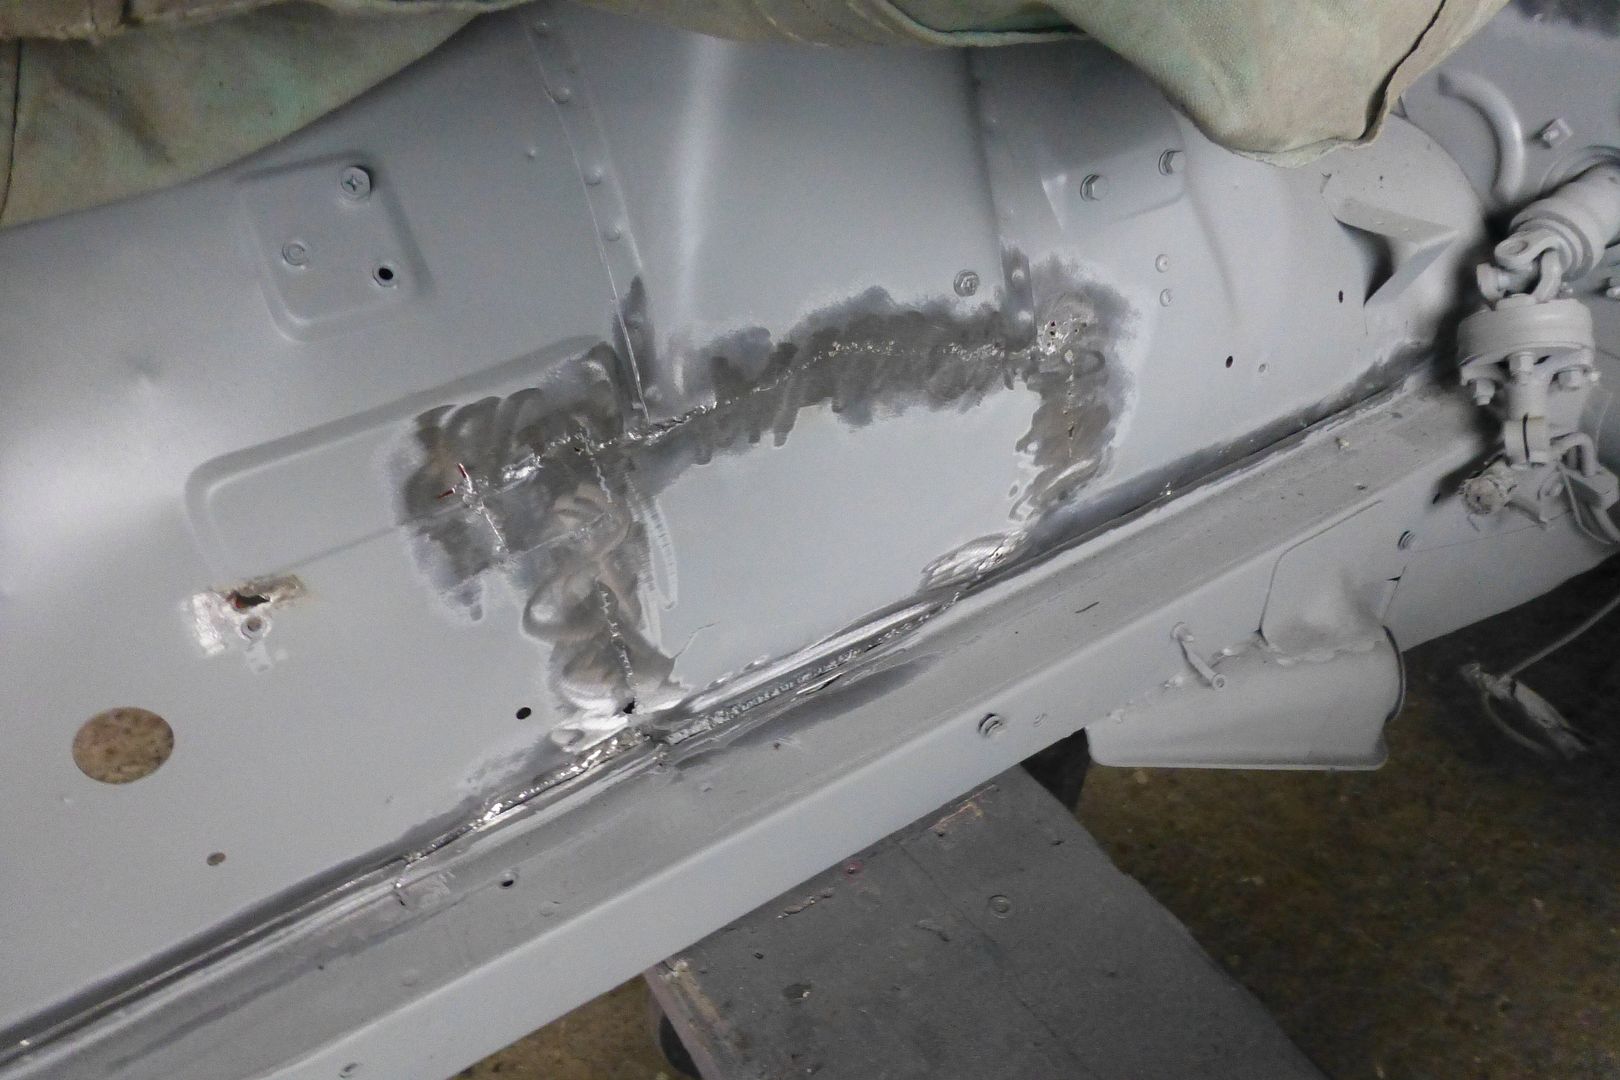
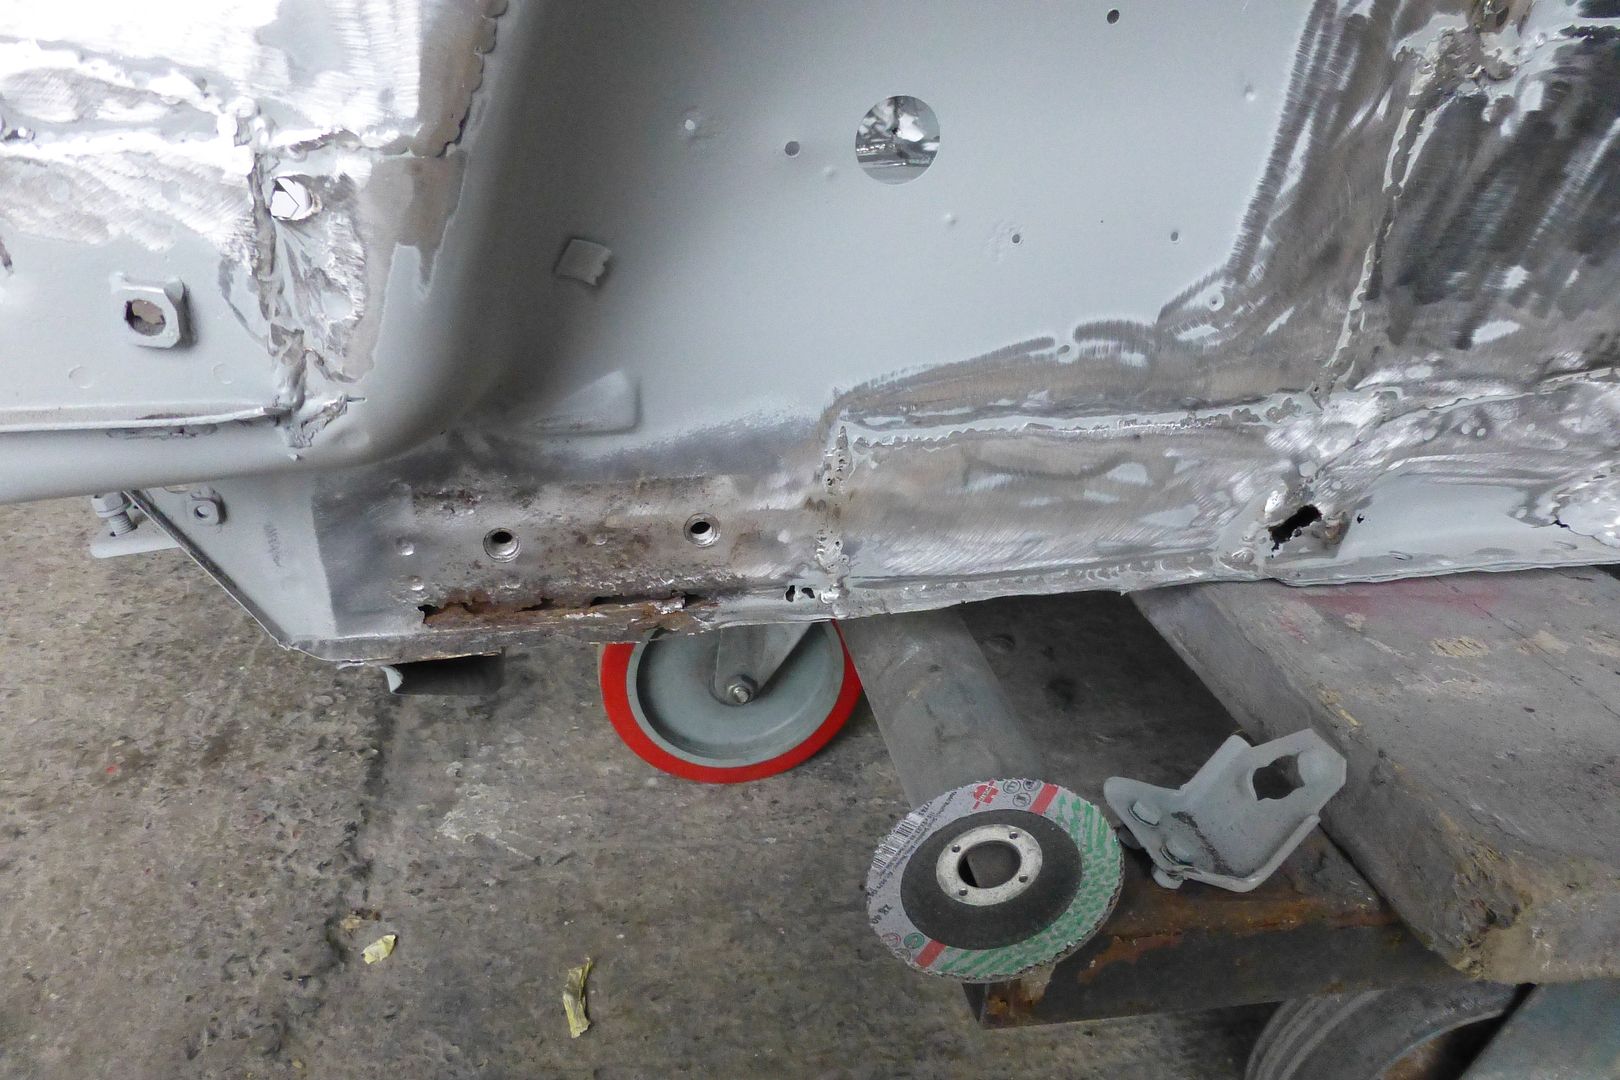
You can see how badly this has been welded/repaired previously, bad pigeon **** welds not even ground down, random patches of metal rather than a full section cut to shape, theres even a few holes in the lines, this will all be fixed properly and strengthend.


P1010368.jpg


P1010363.jpg


P1010371.jpg


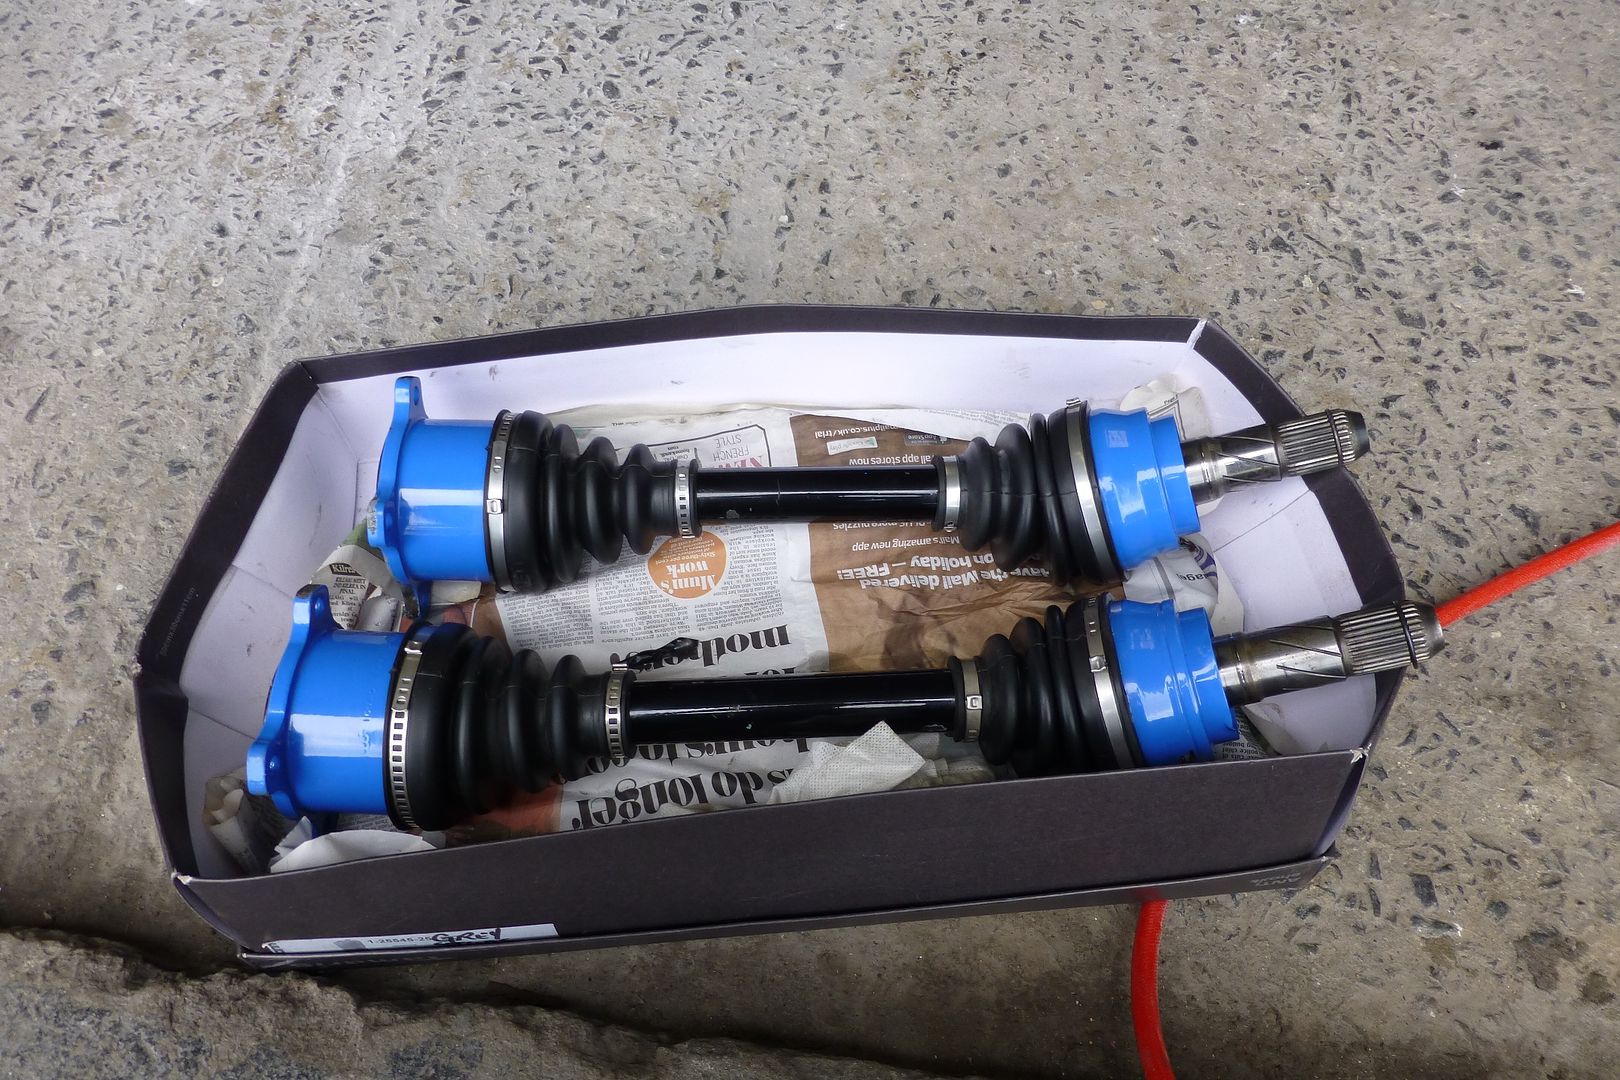
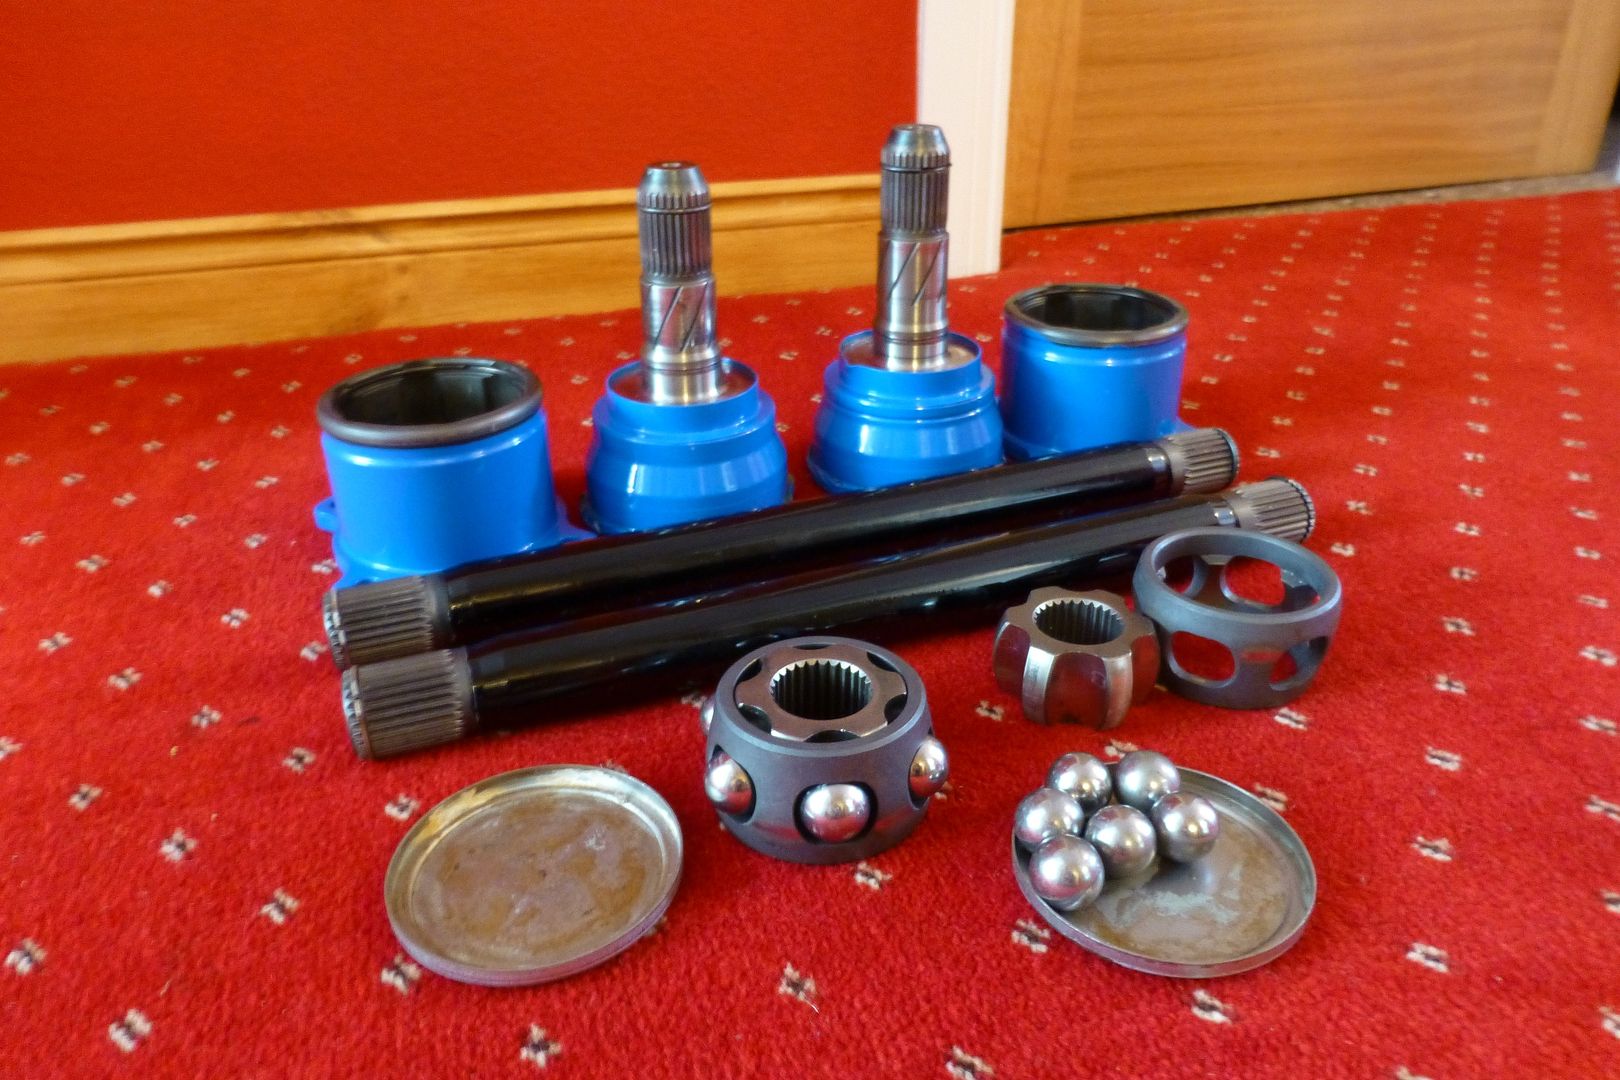
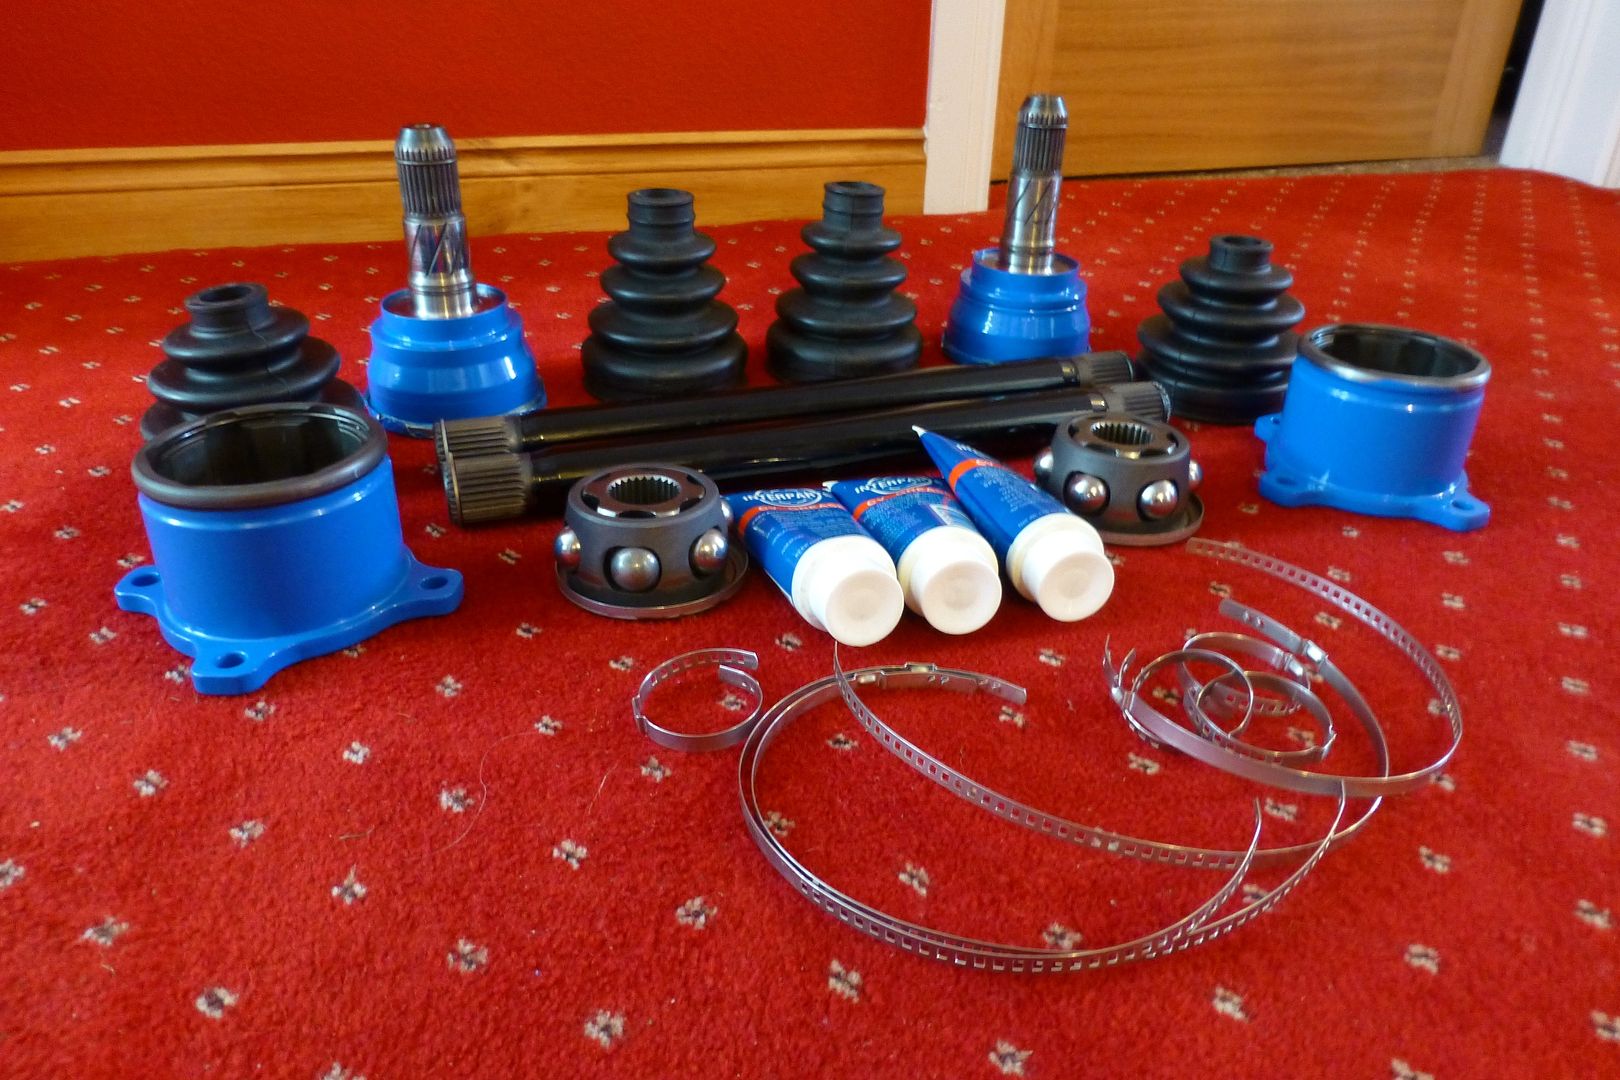
Repainted the new shafts as I wasn't happy with the paint on them, also painted the cv's in a funky blue:


P1010309.jpg


P1010315.jpg
[/URL]


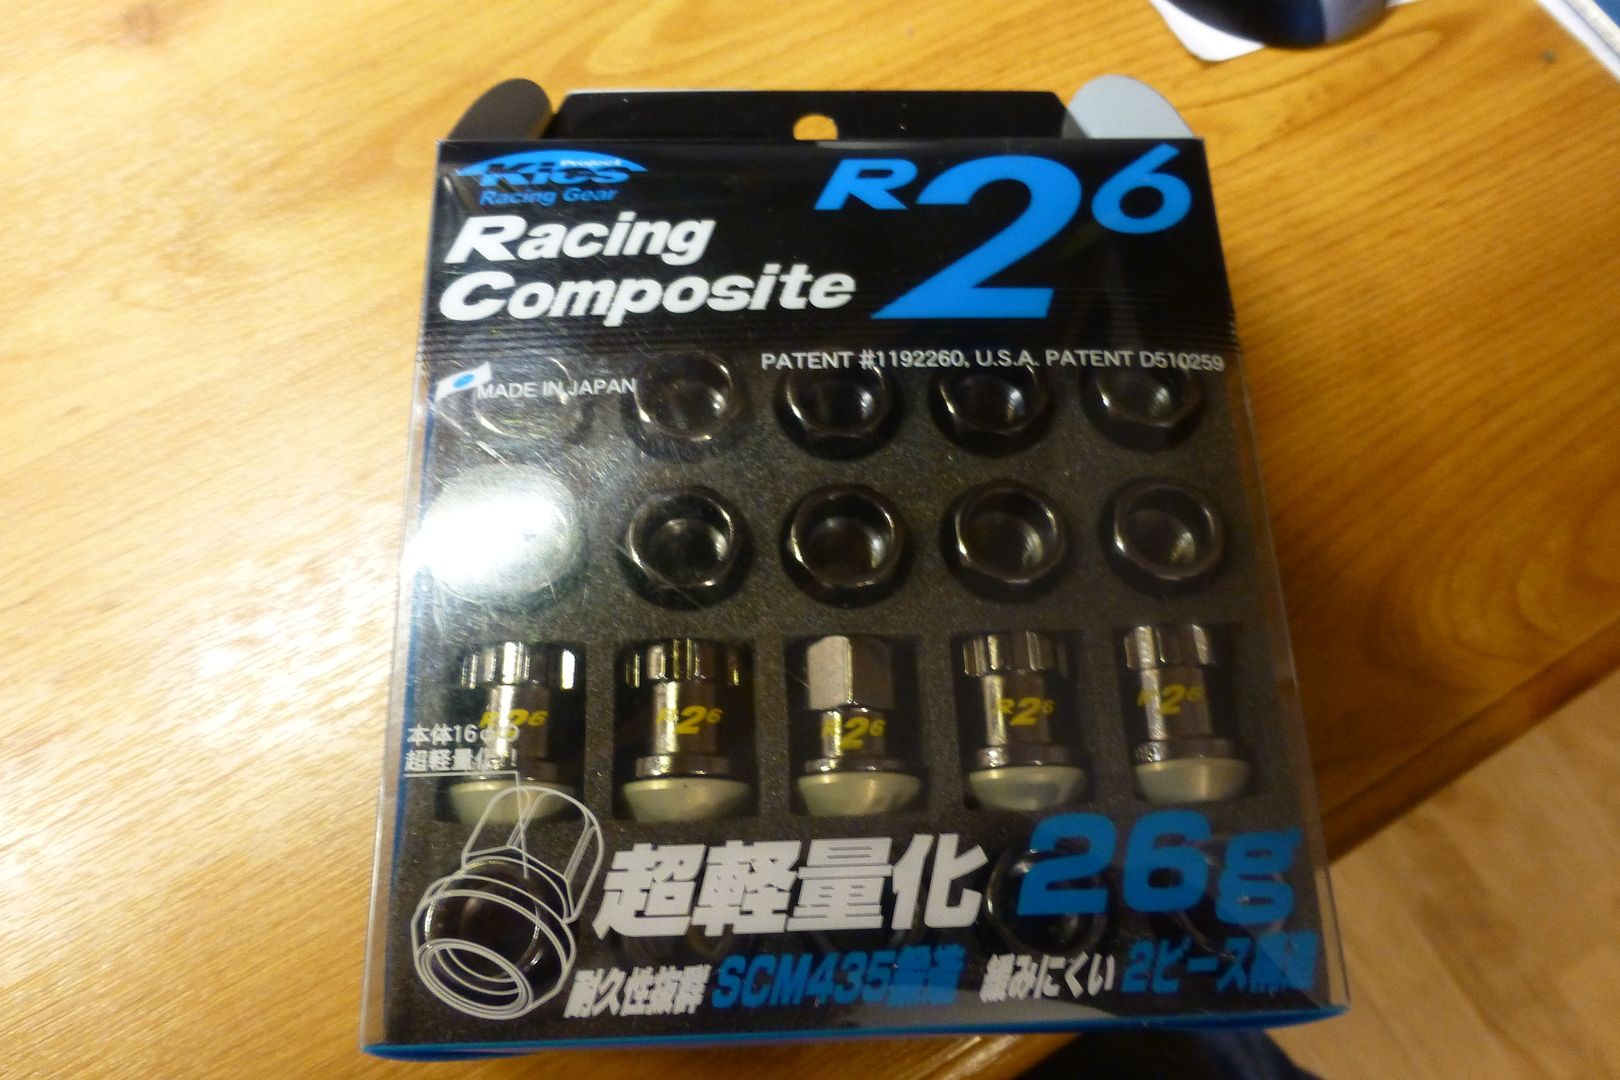
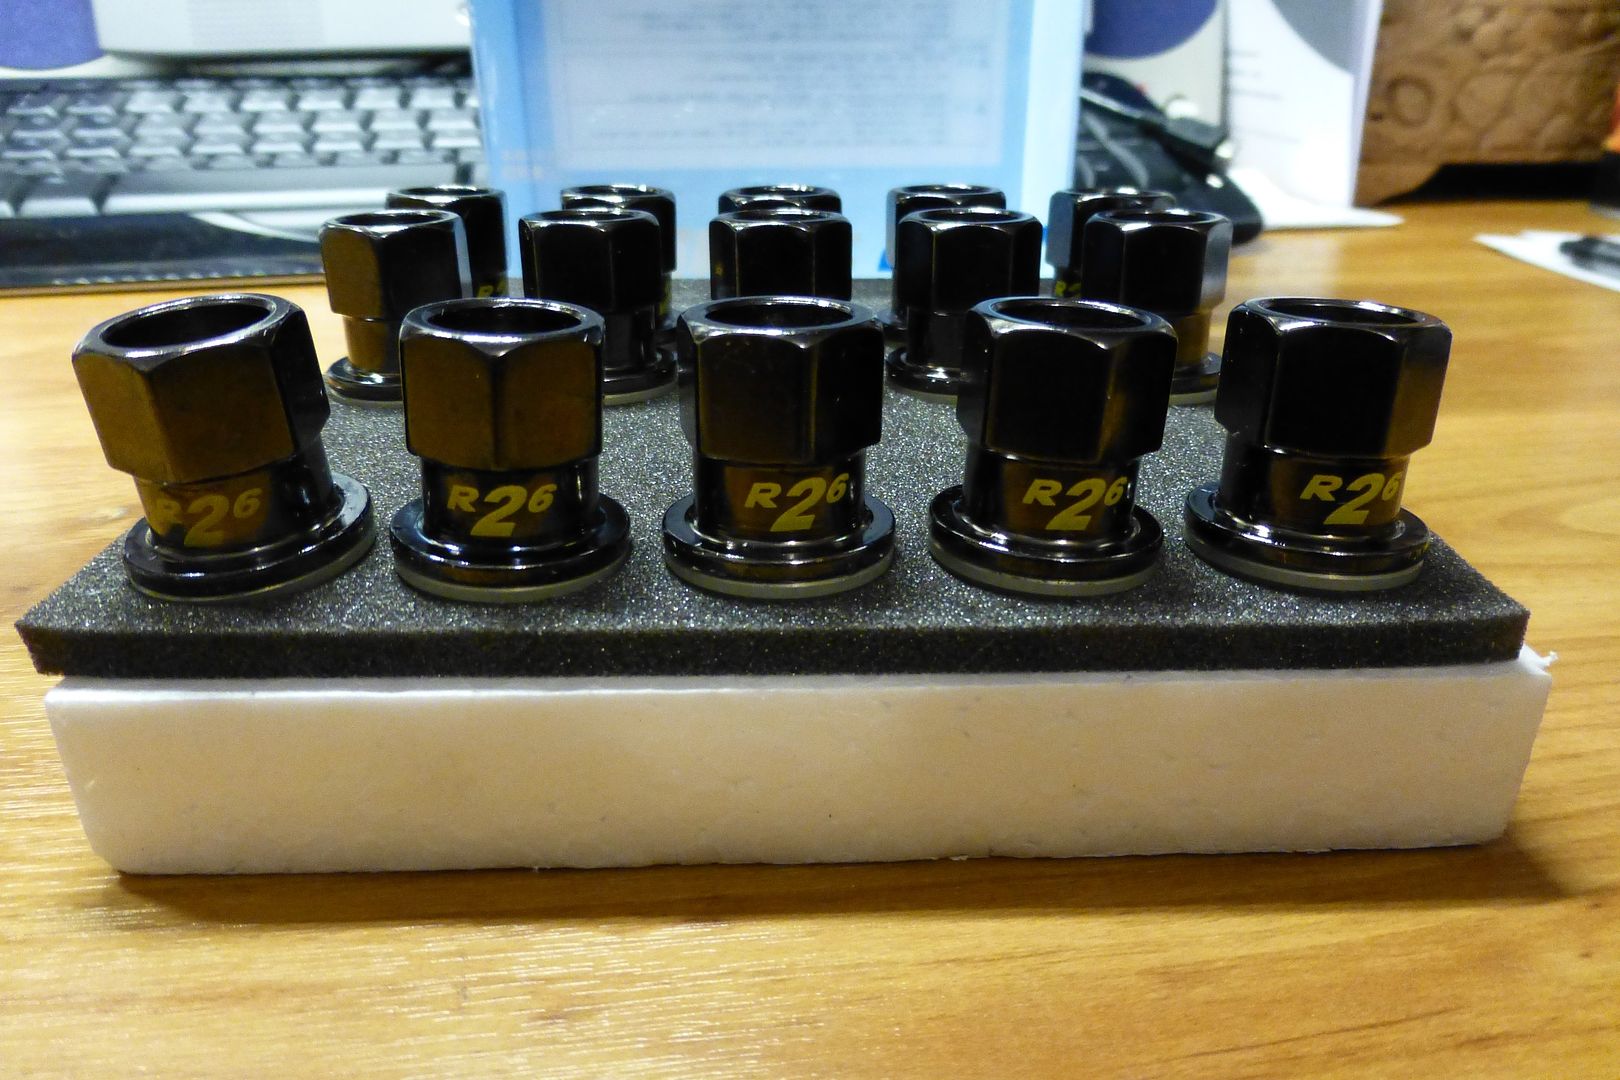
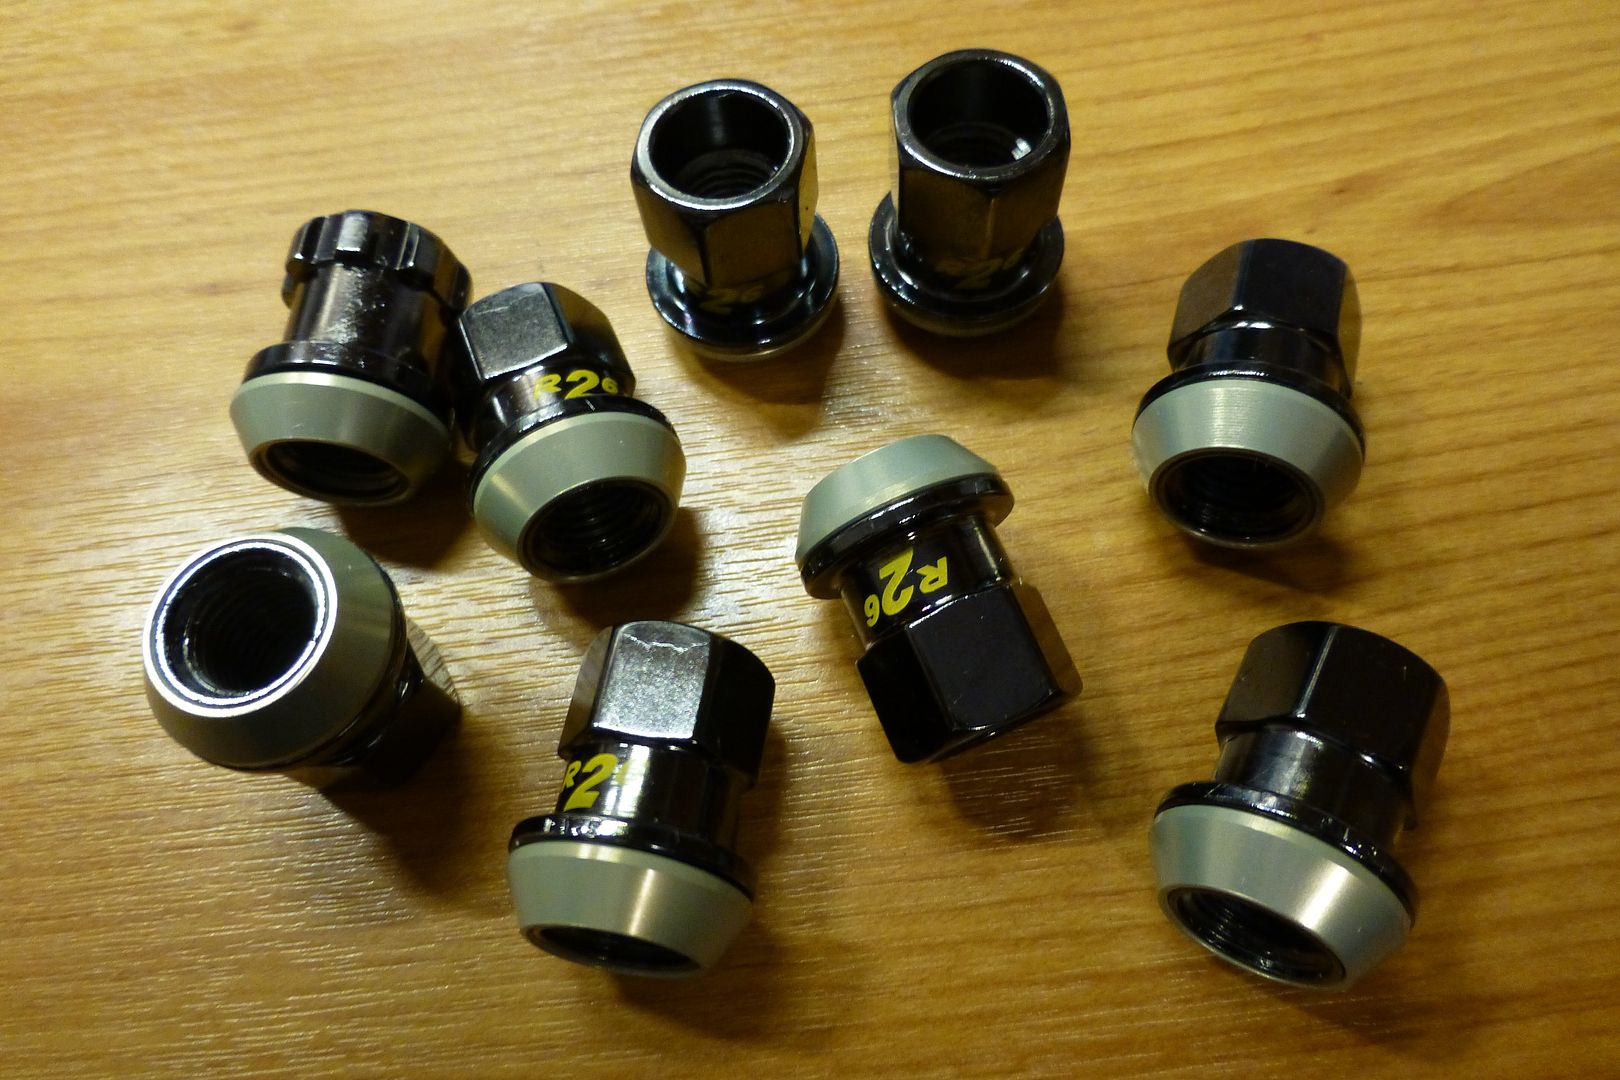
Bought some nice wheel nuts, they have to be open as I've got extended wheel studs all round. I had bought some cheap chrome ones but not all of them threaded on nicely and they galled badly on the wheels. These ones are very light (only 26 grams each) look great and the top of the seats spin freely from the main body so that they don't damage the wheel and allow equal torqueing all round:


P1010318.jpg


P1010323.jpg


P1010330.jpg


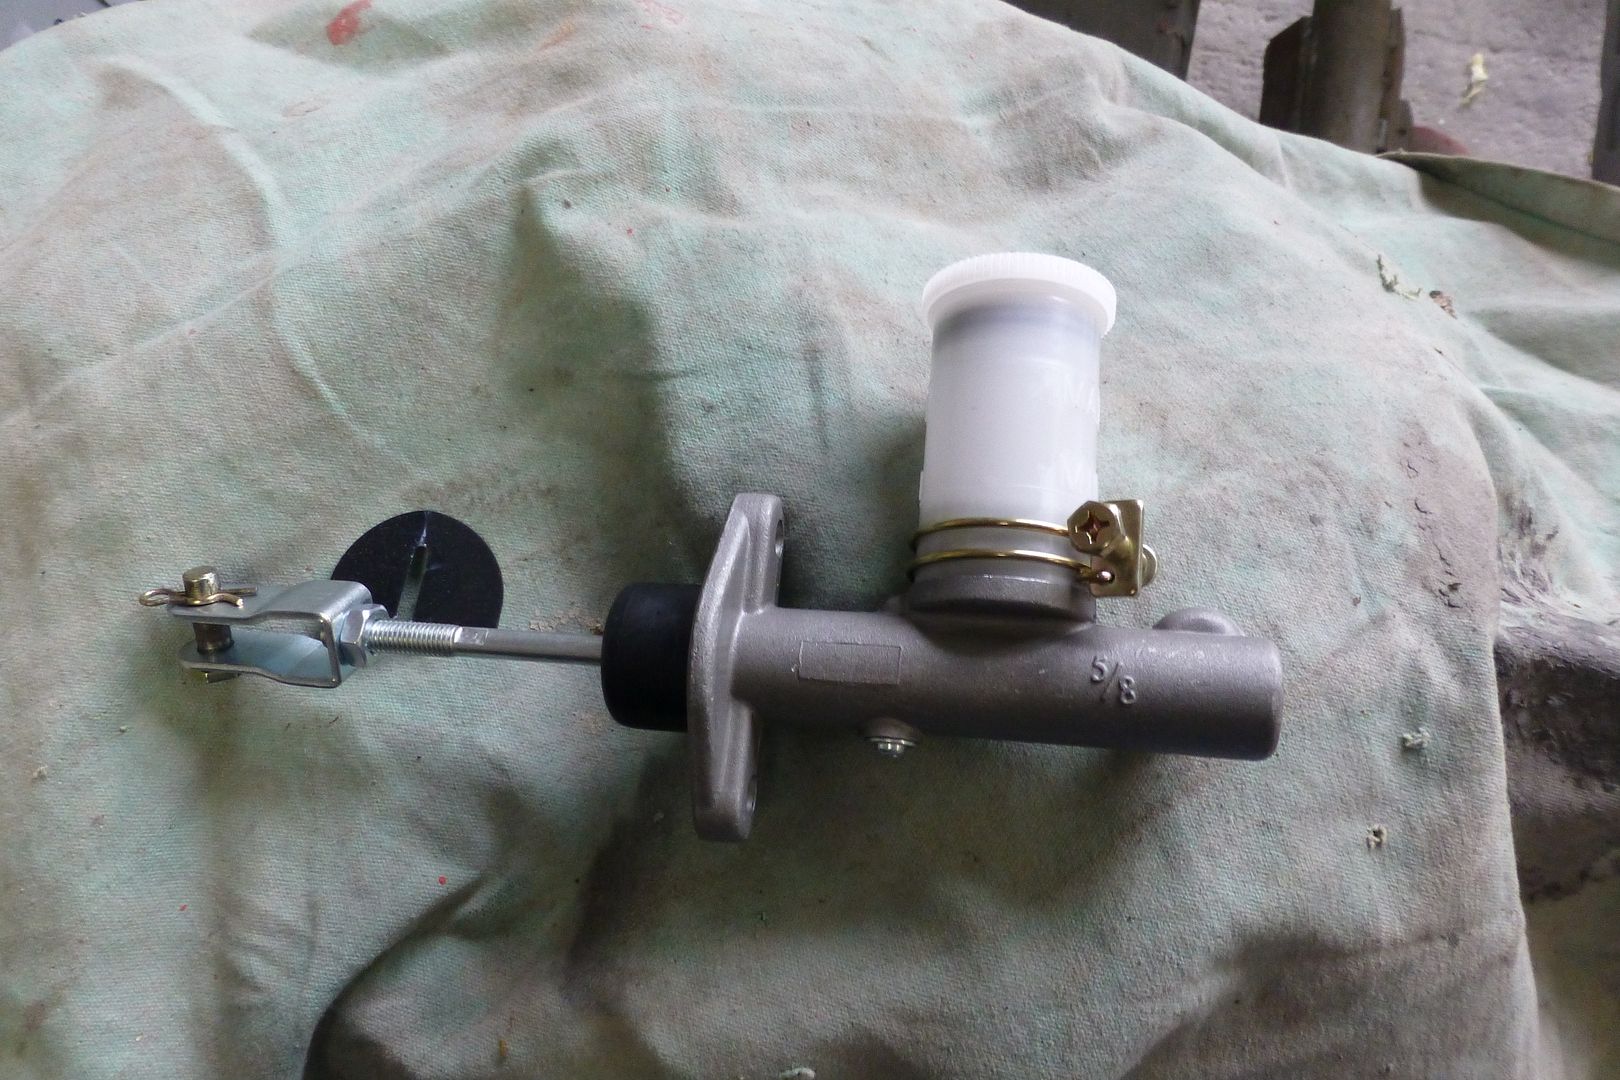
New clutch master cylinder as my original one had seen better days, works fine but was quite corroded at the back:


P1010380.jpg


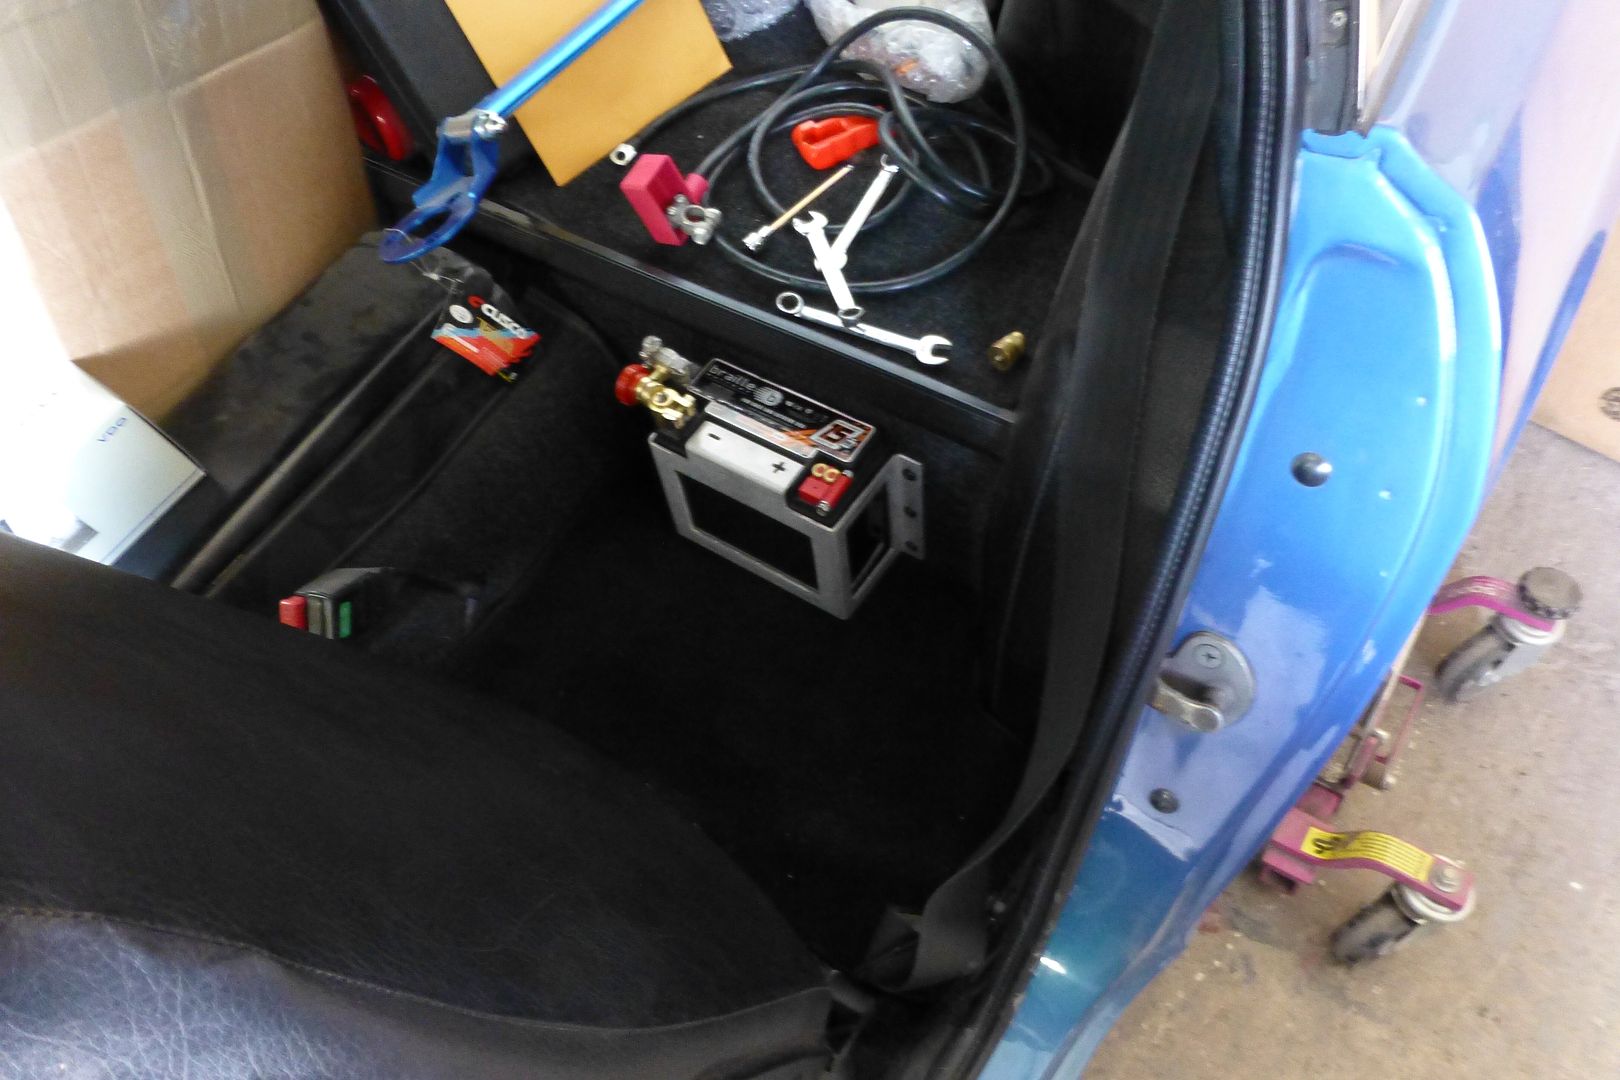
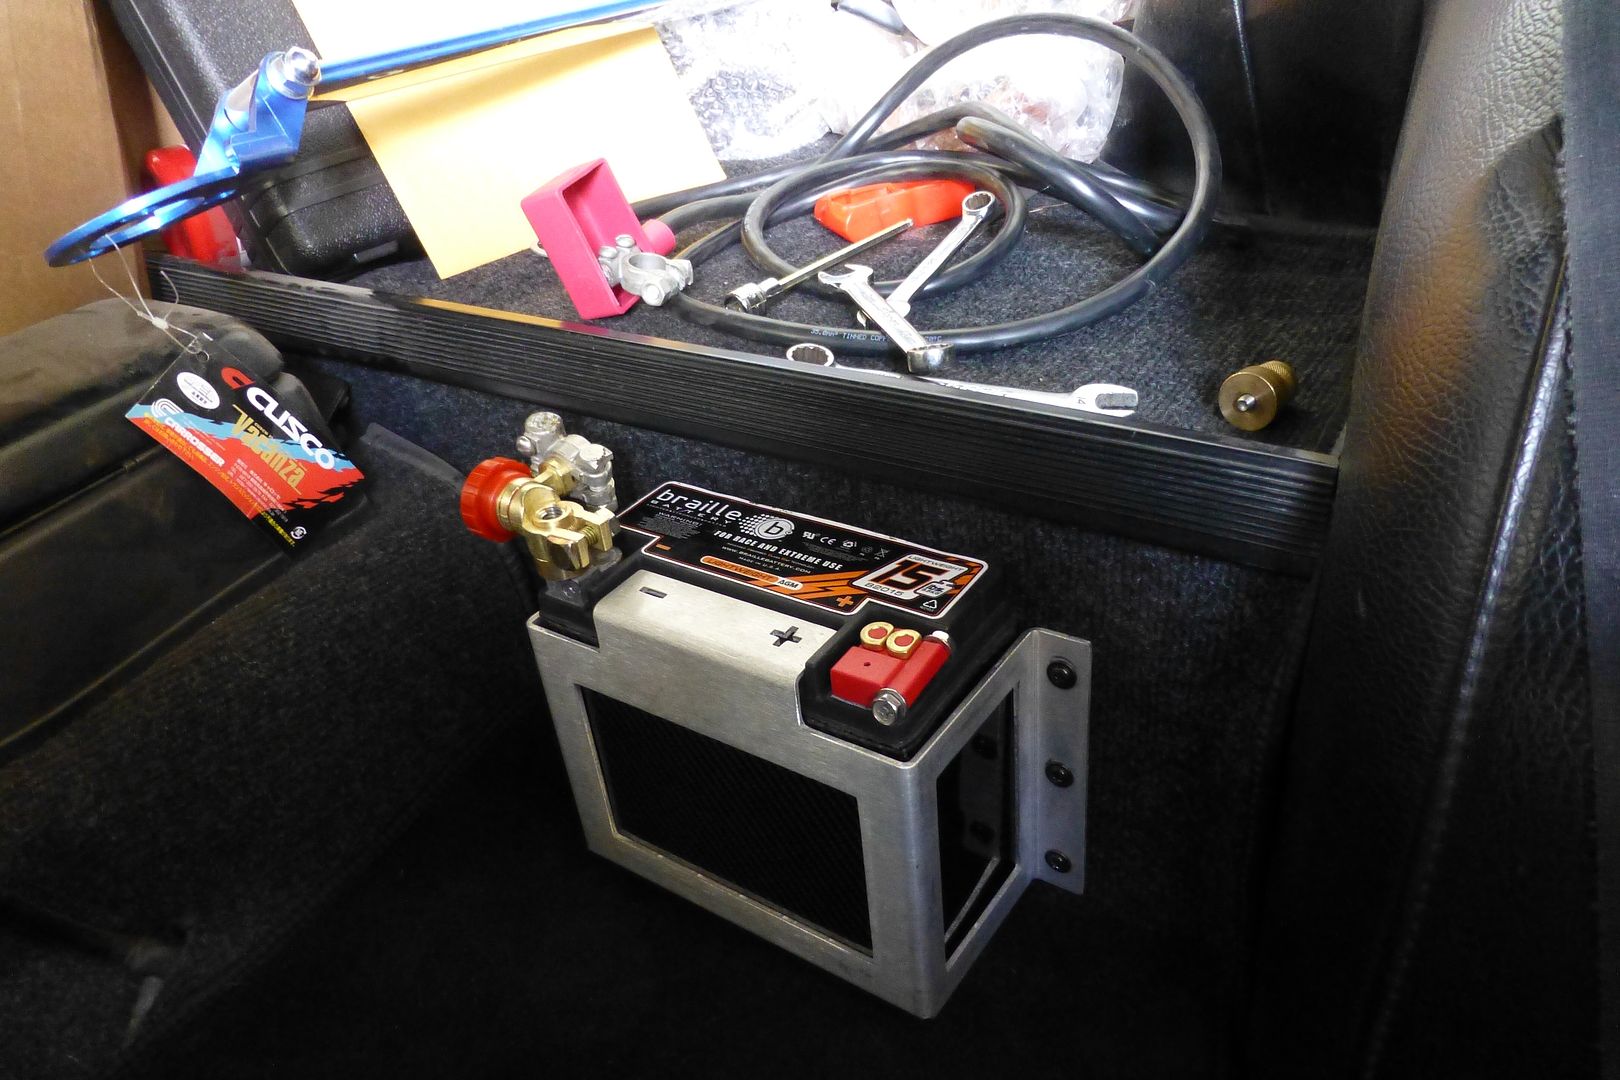
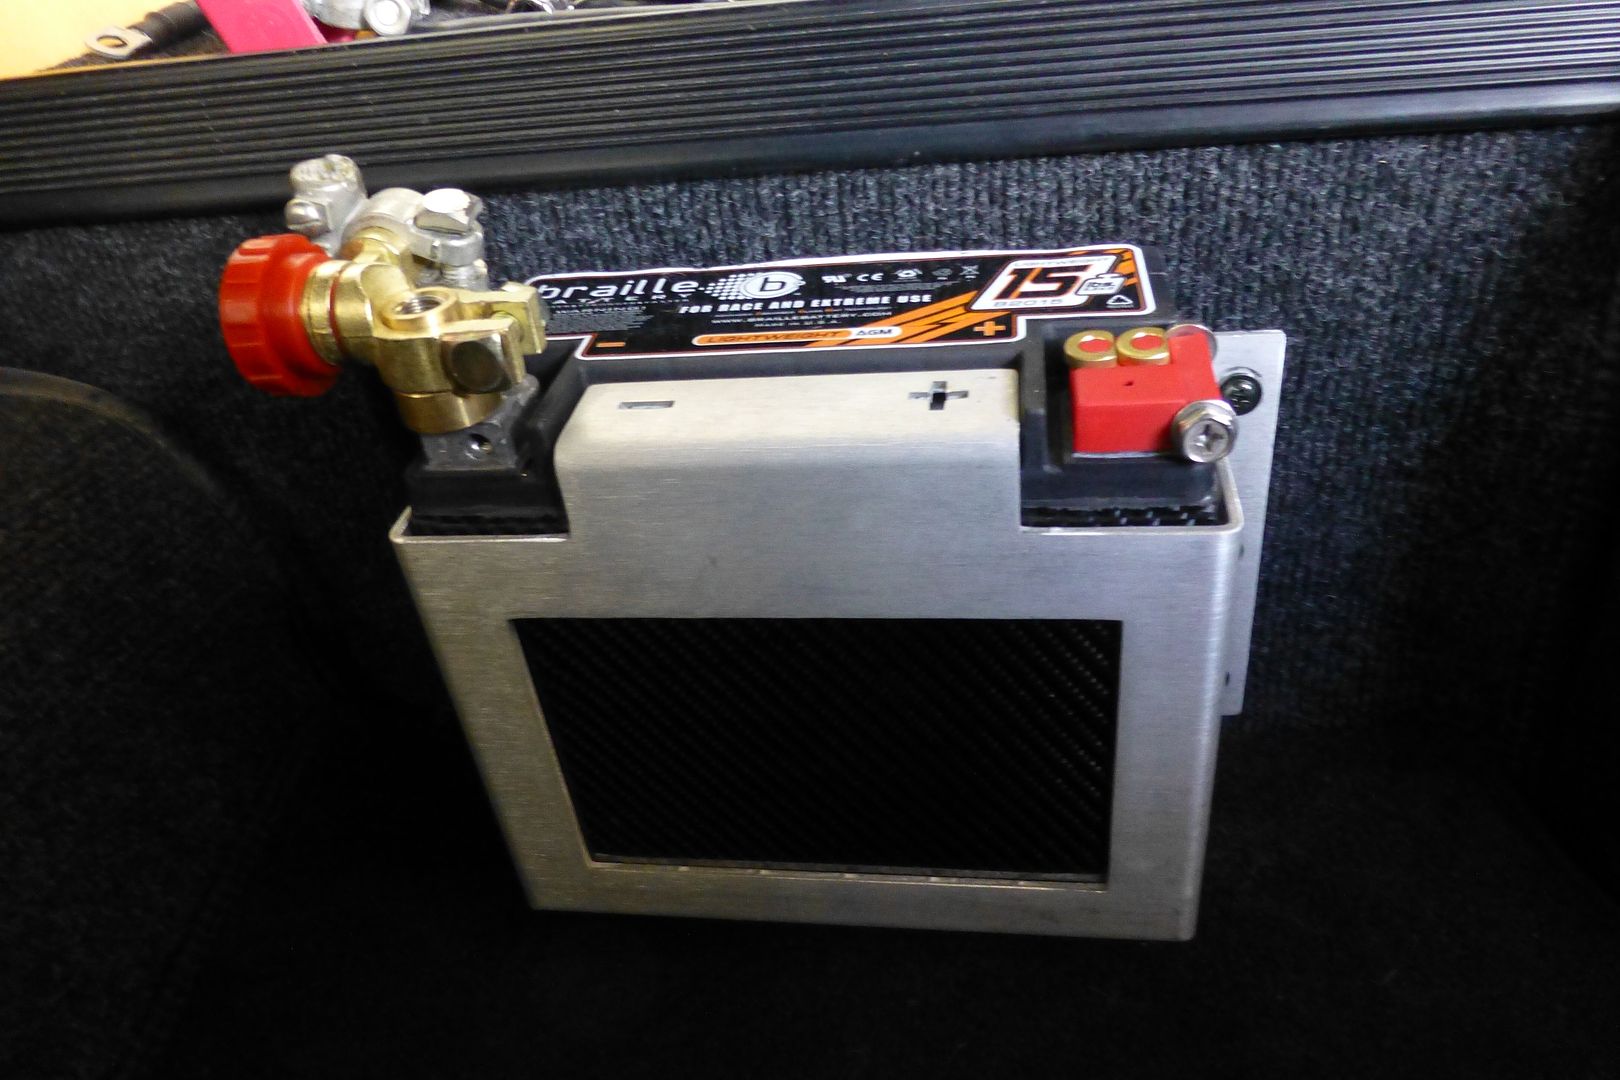
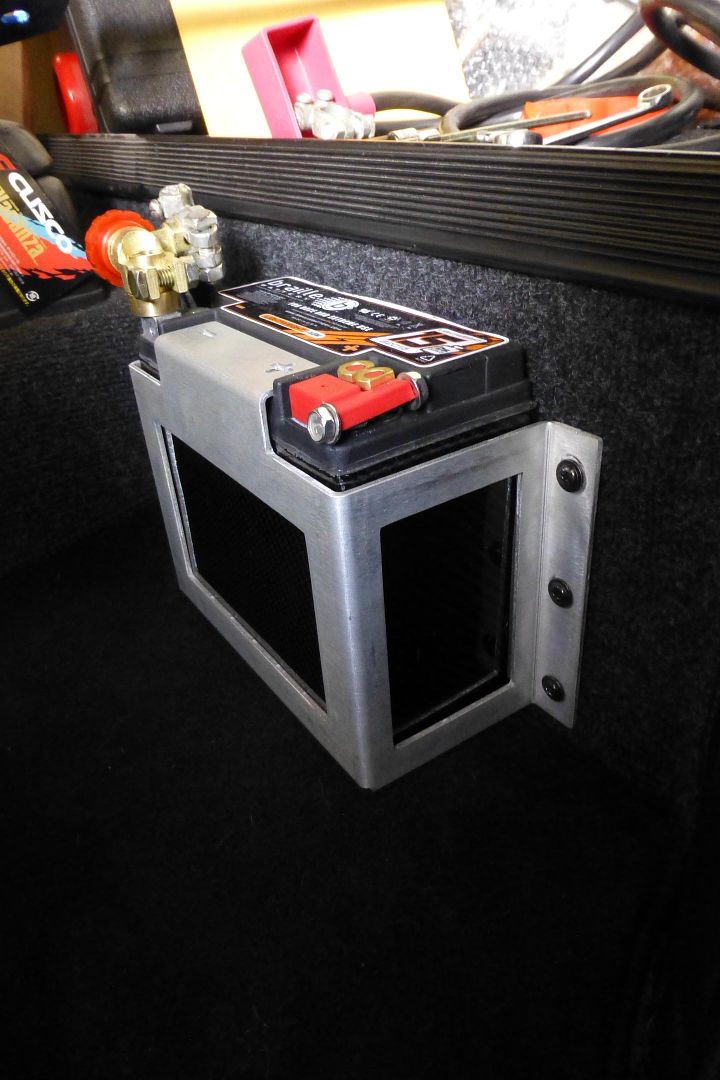
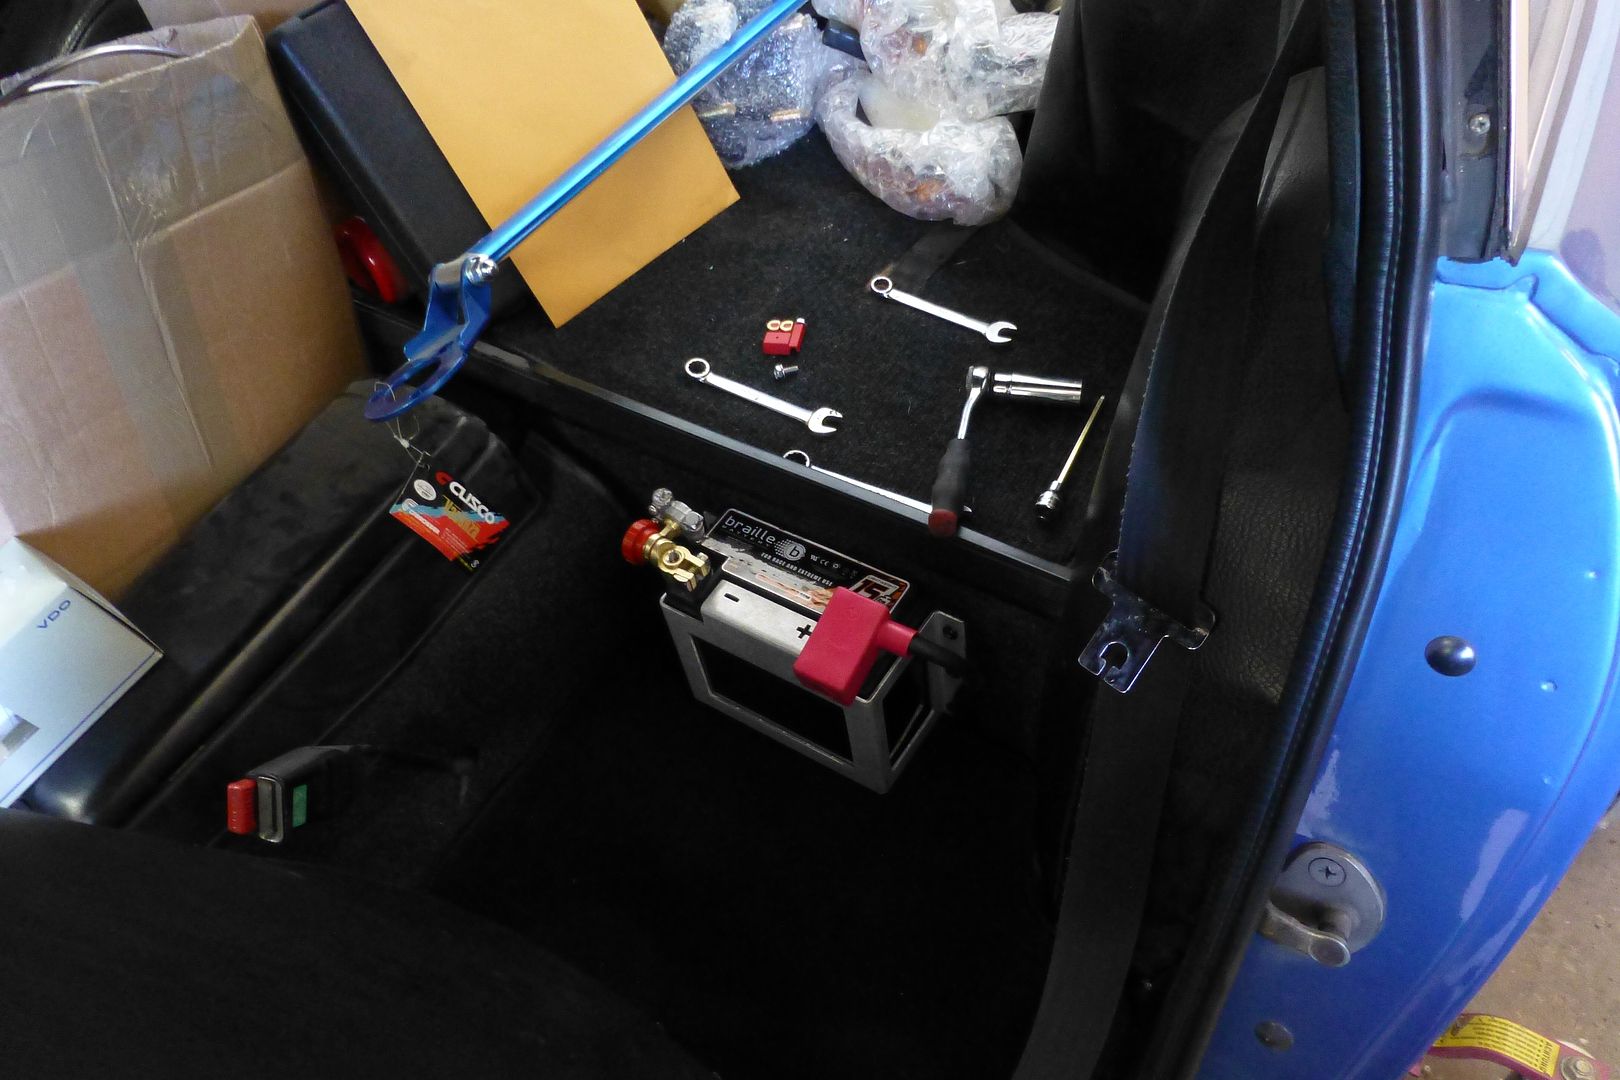
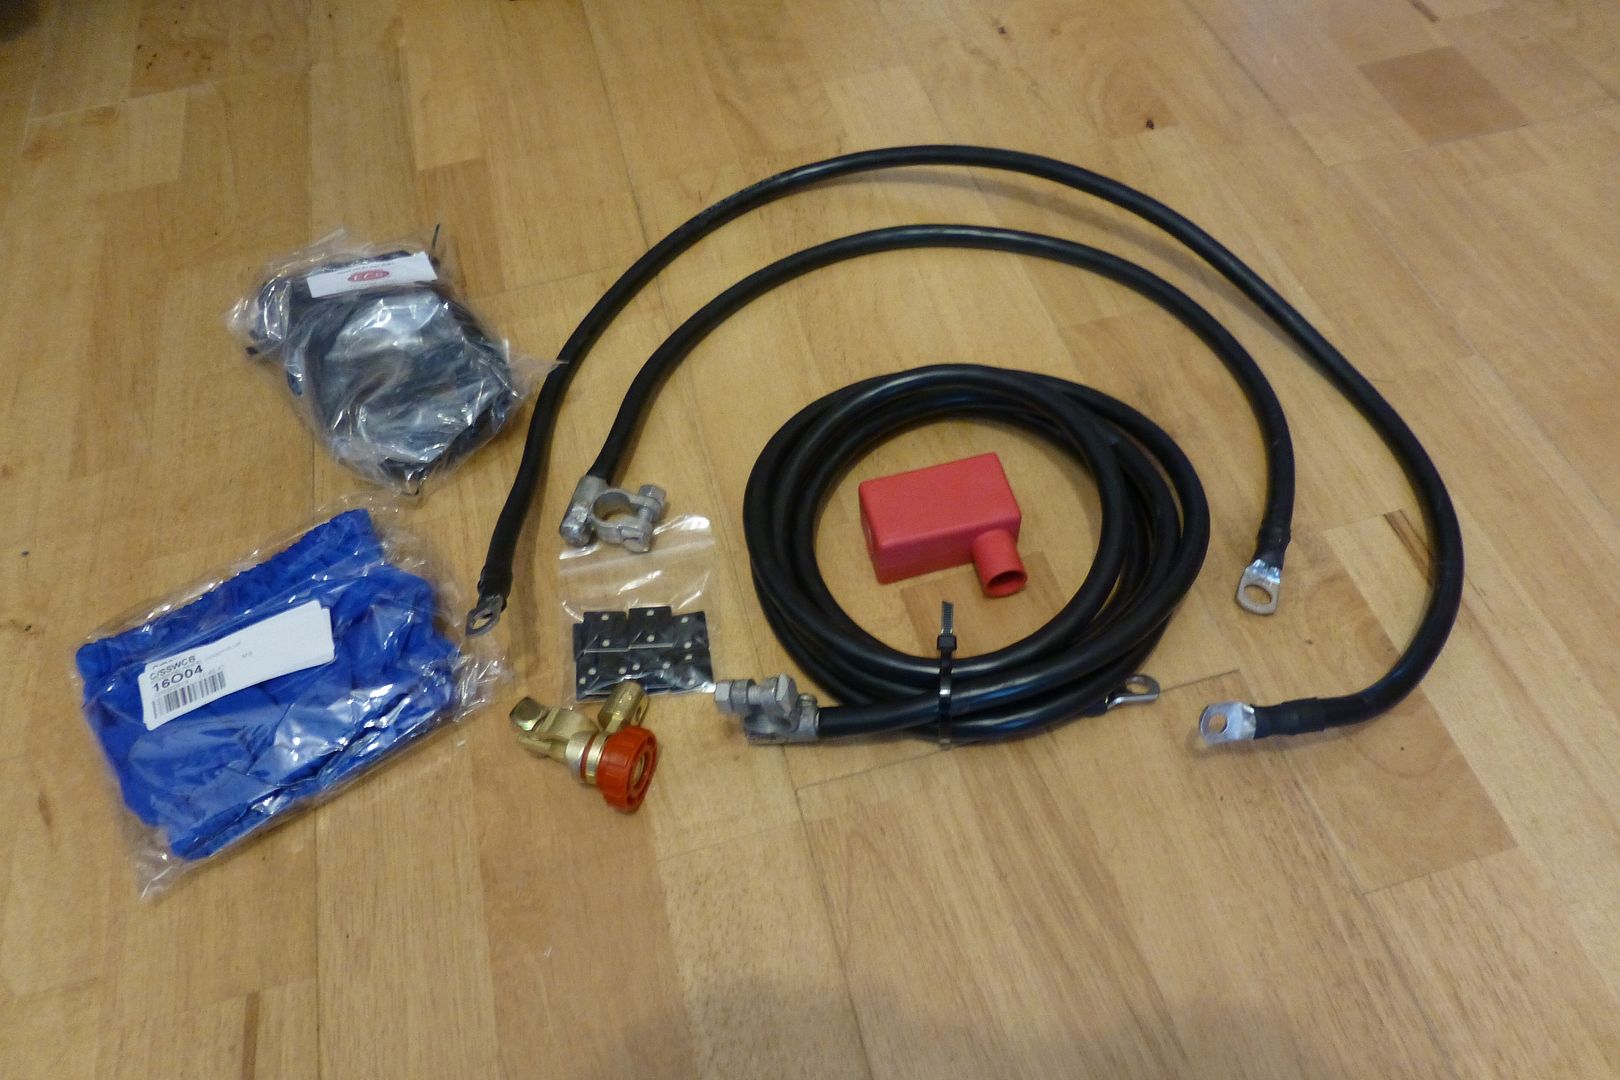
Battery cable cut to the correct lenths, battery mounted power shut off switch, some more random wiring and a steering wheel cover to keep my new wheel clean:

P1010382.jpg


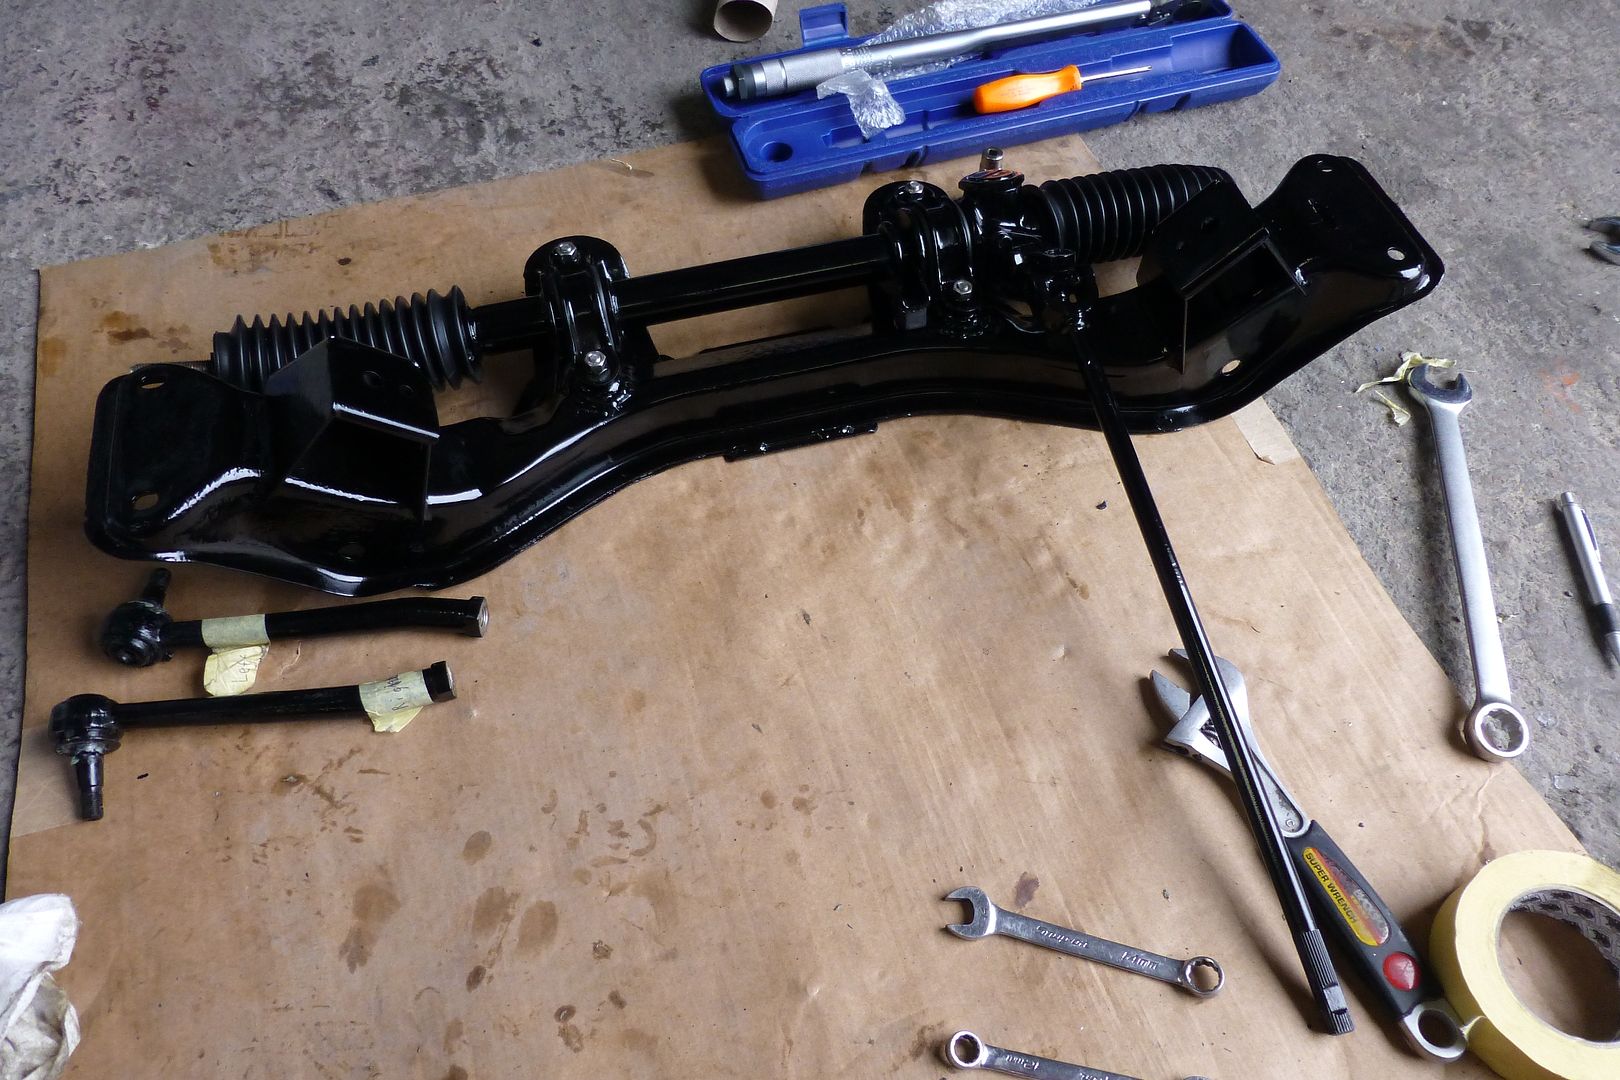
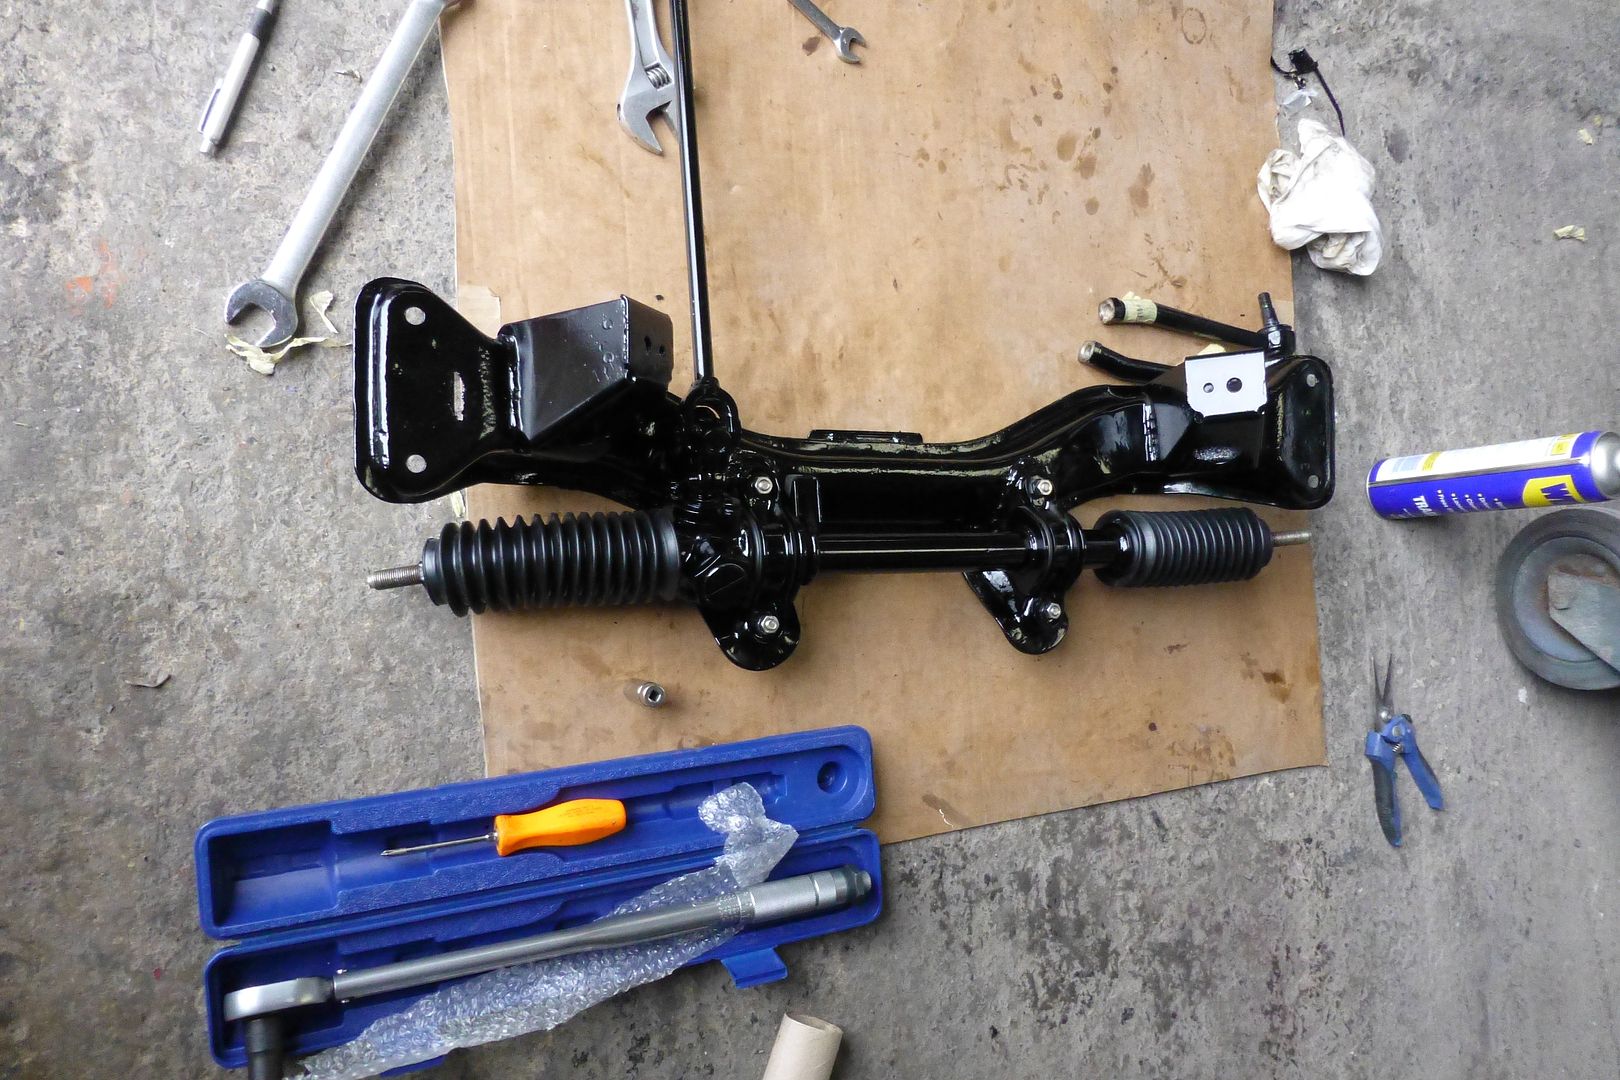
Rebuilt my steering rack today and mounted it on the crossmember:

P1010340.jpg


P1010343.jpg


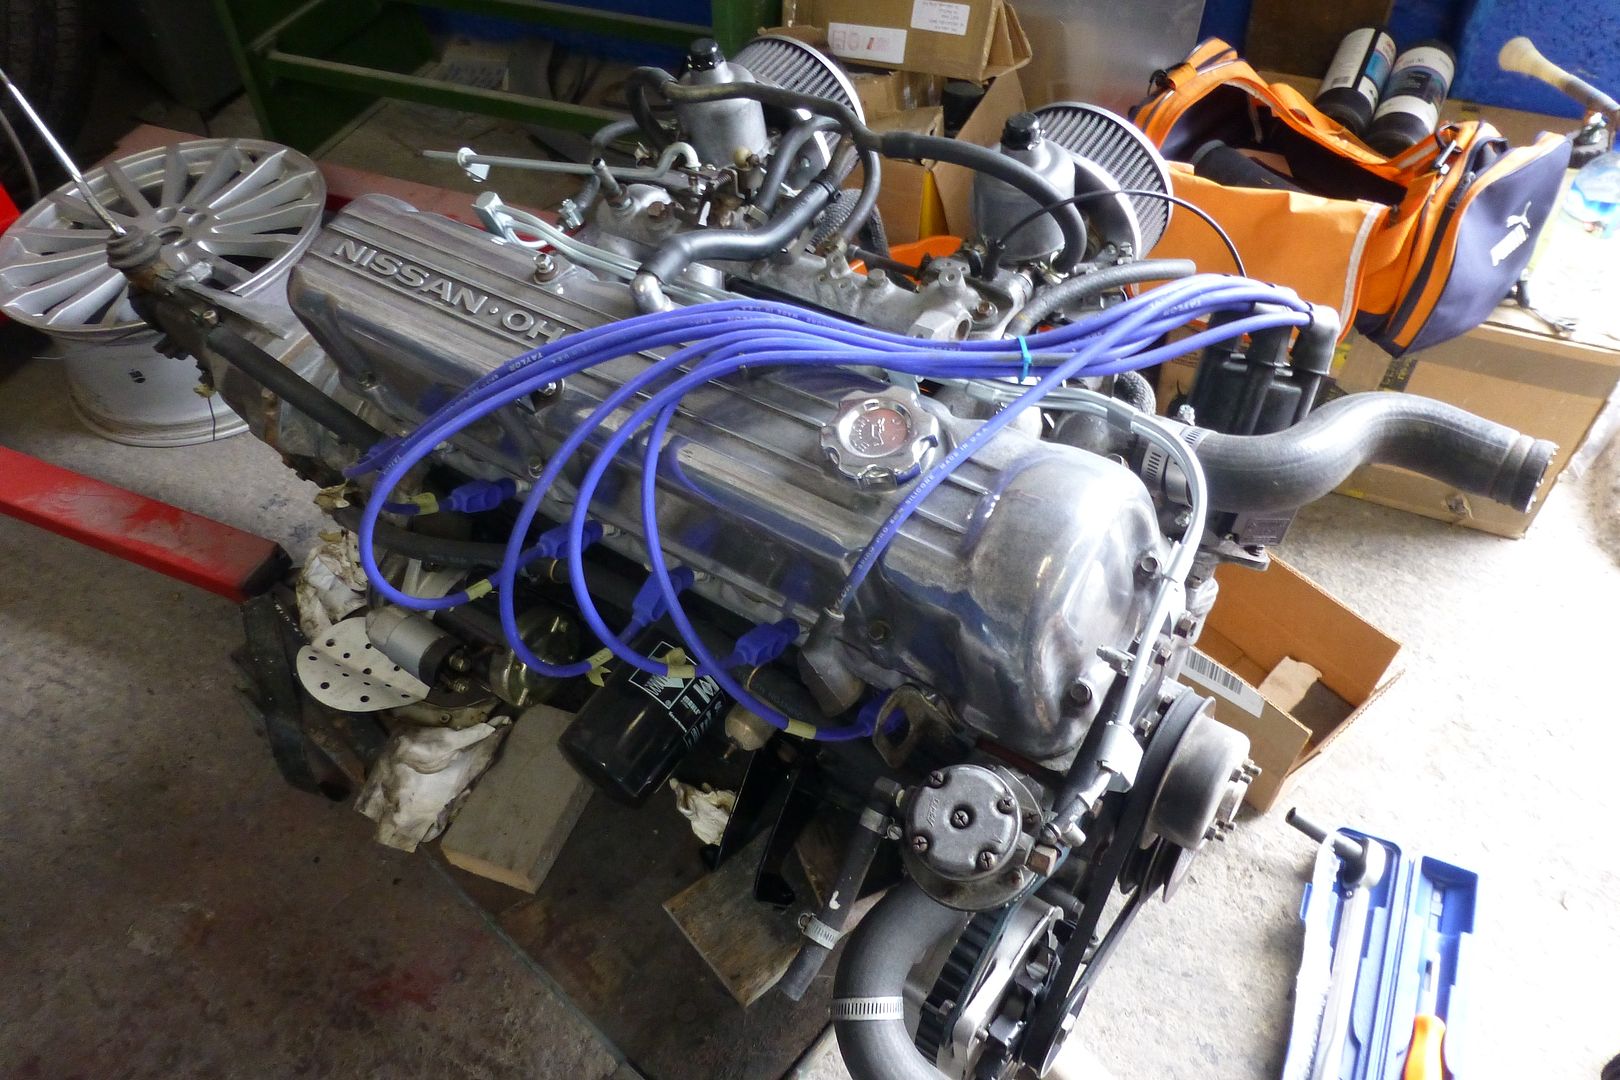
Got the engine built back up:

P1010337.jpg


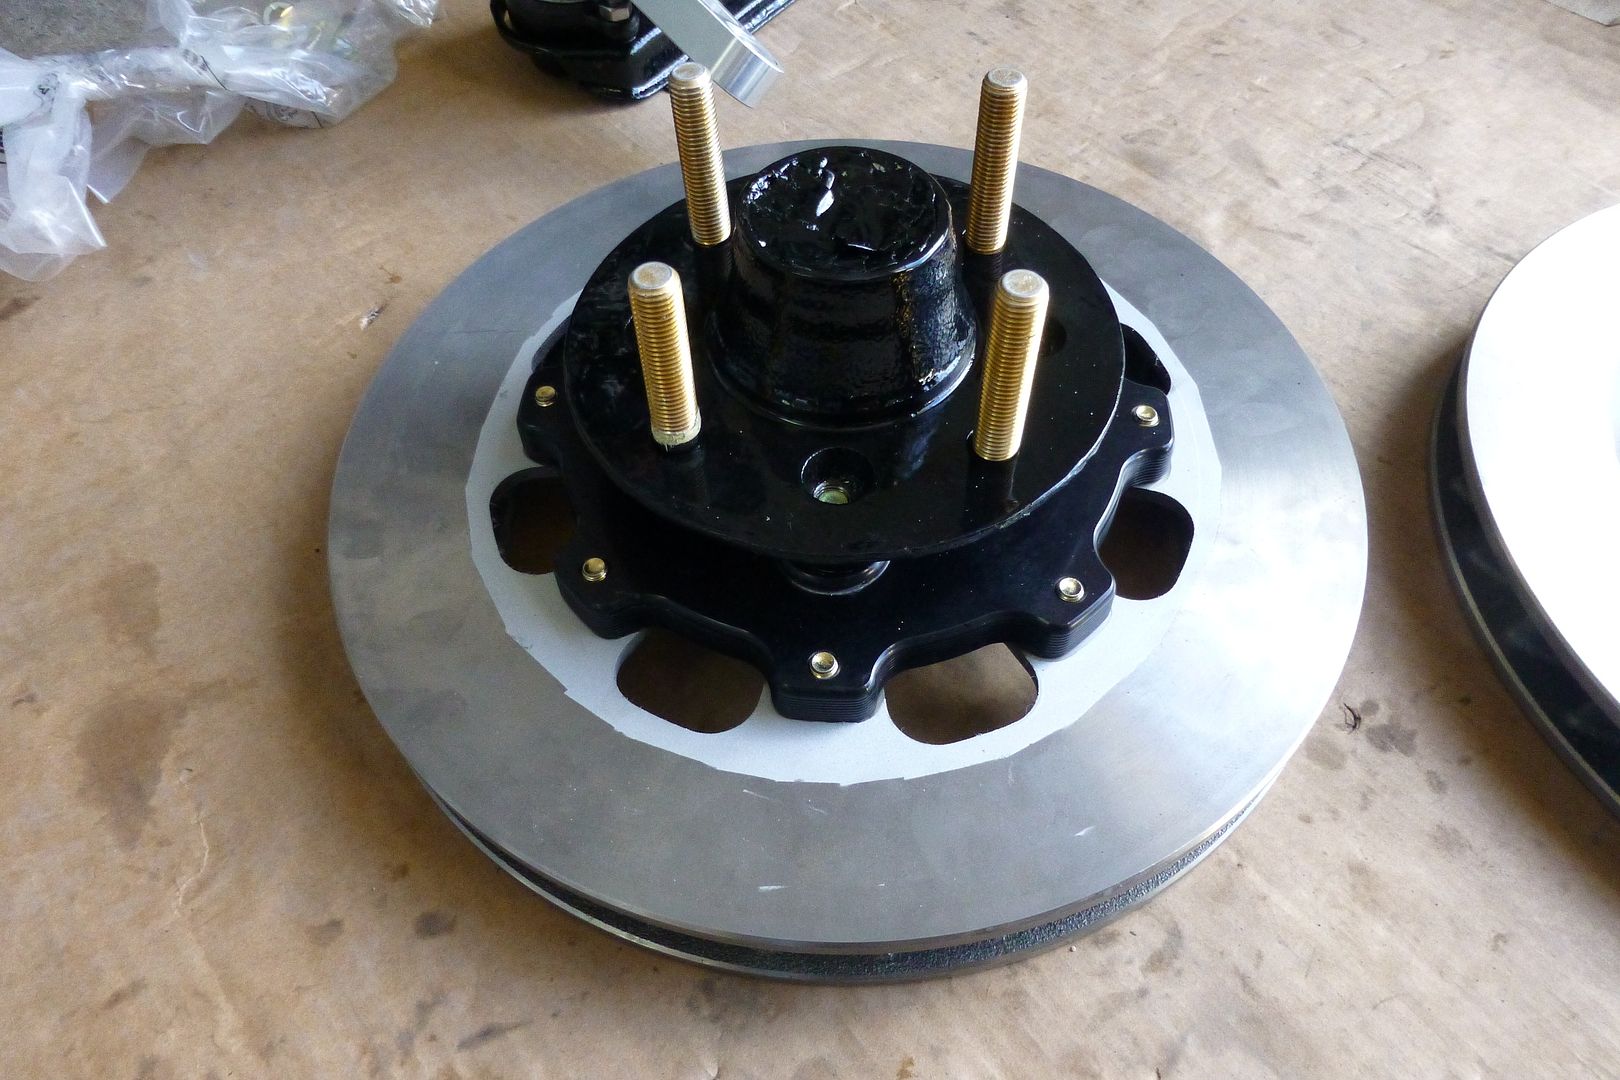
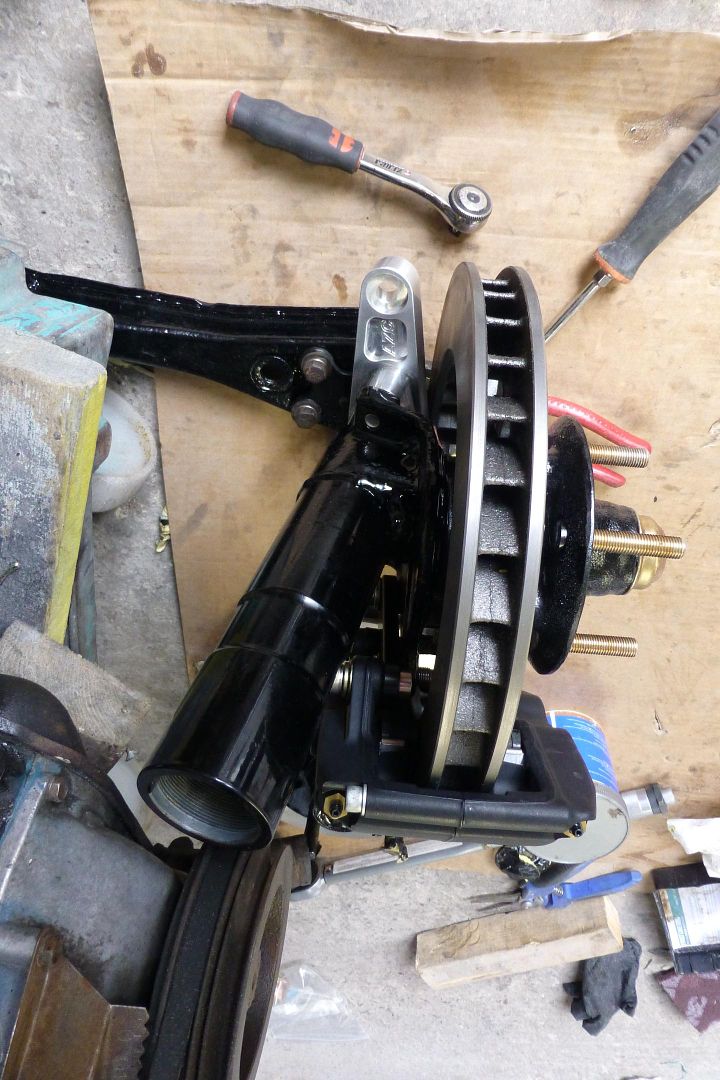
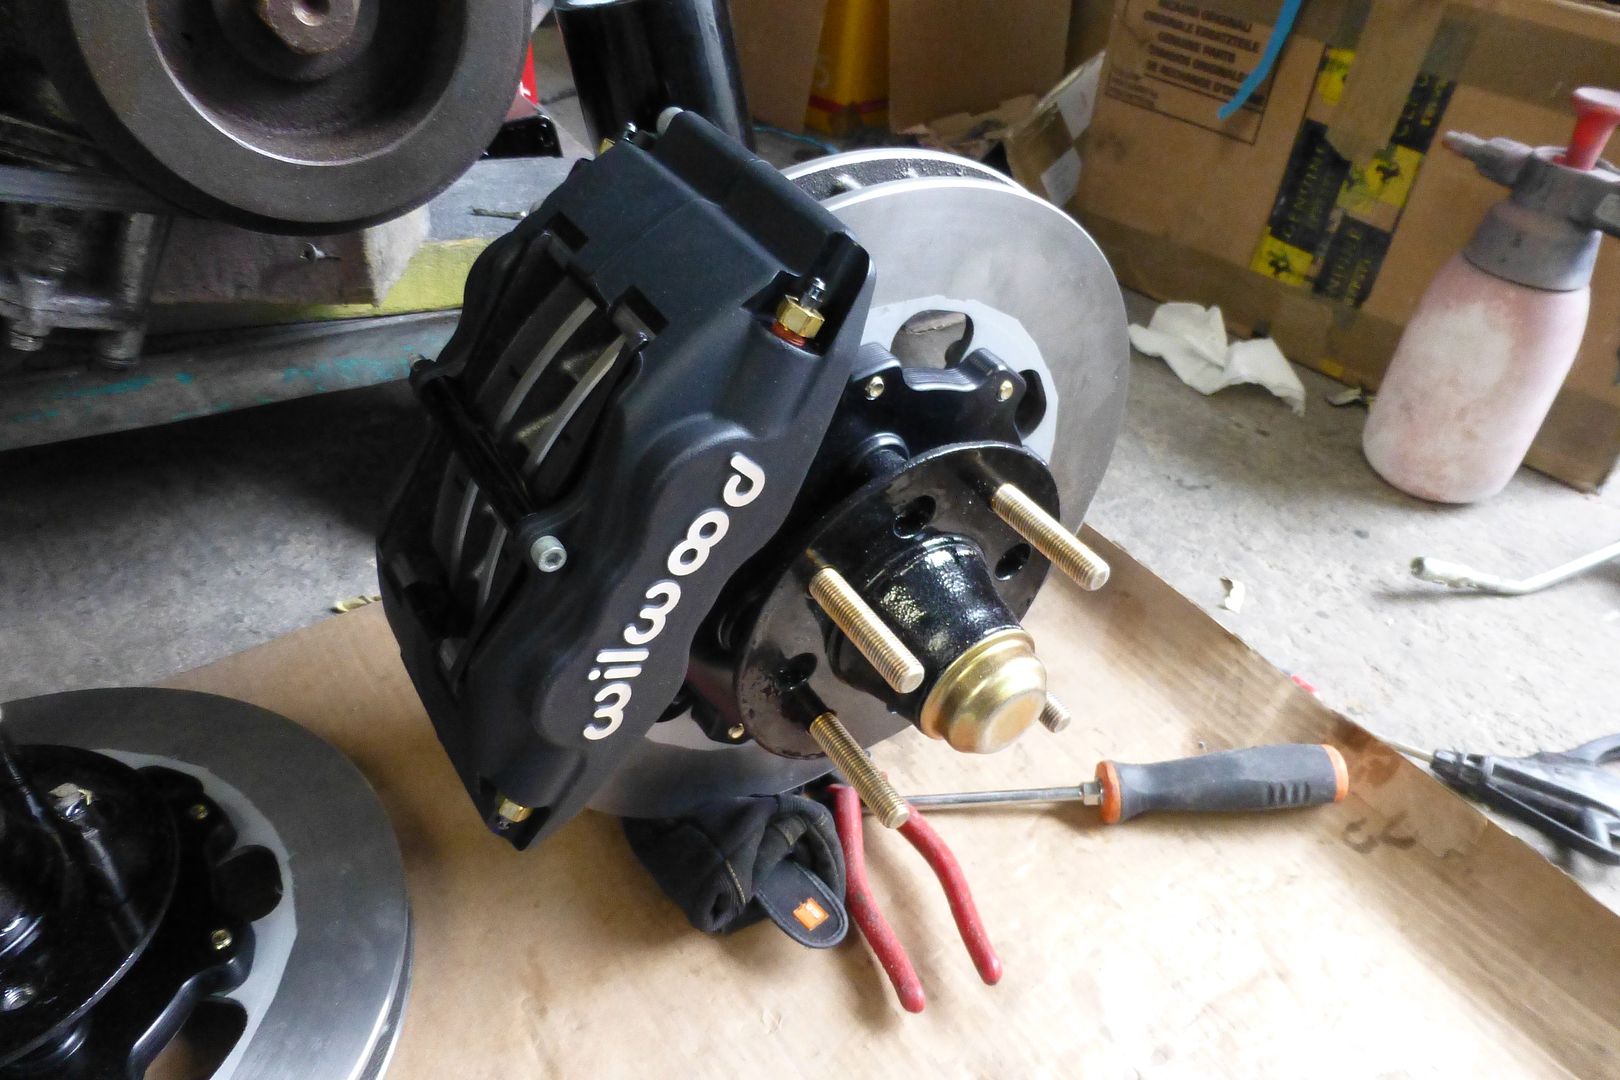
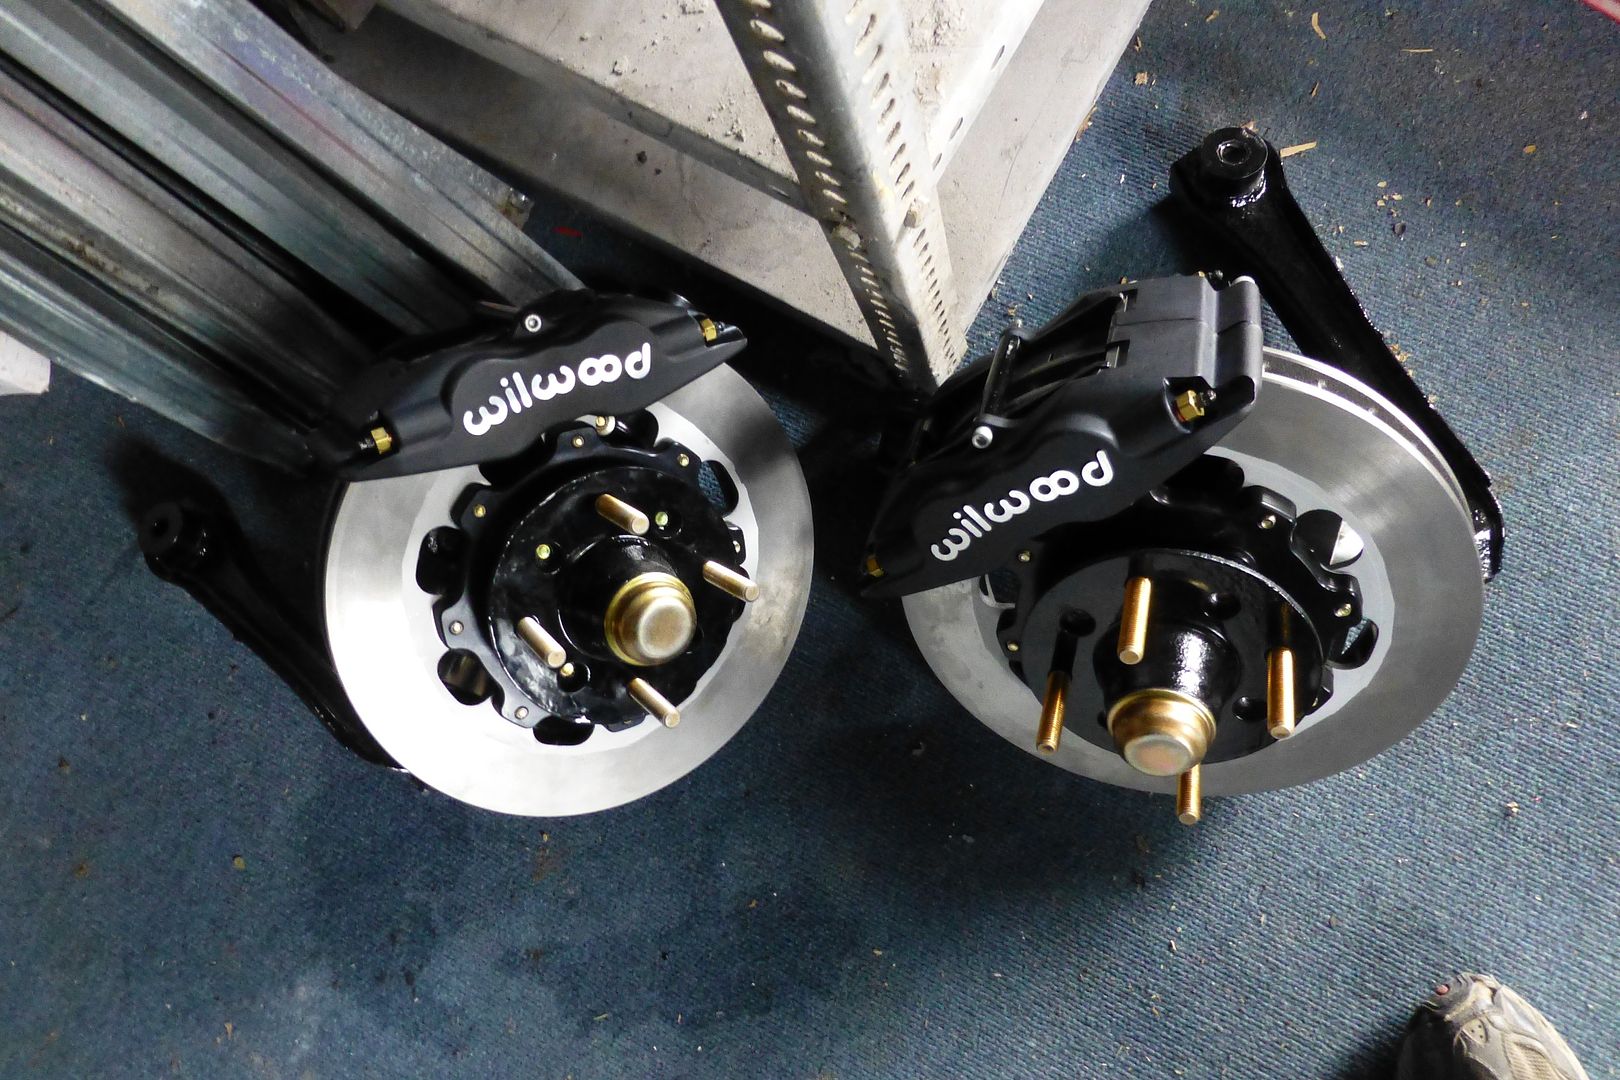
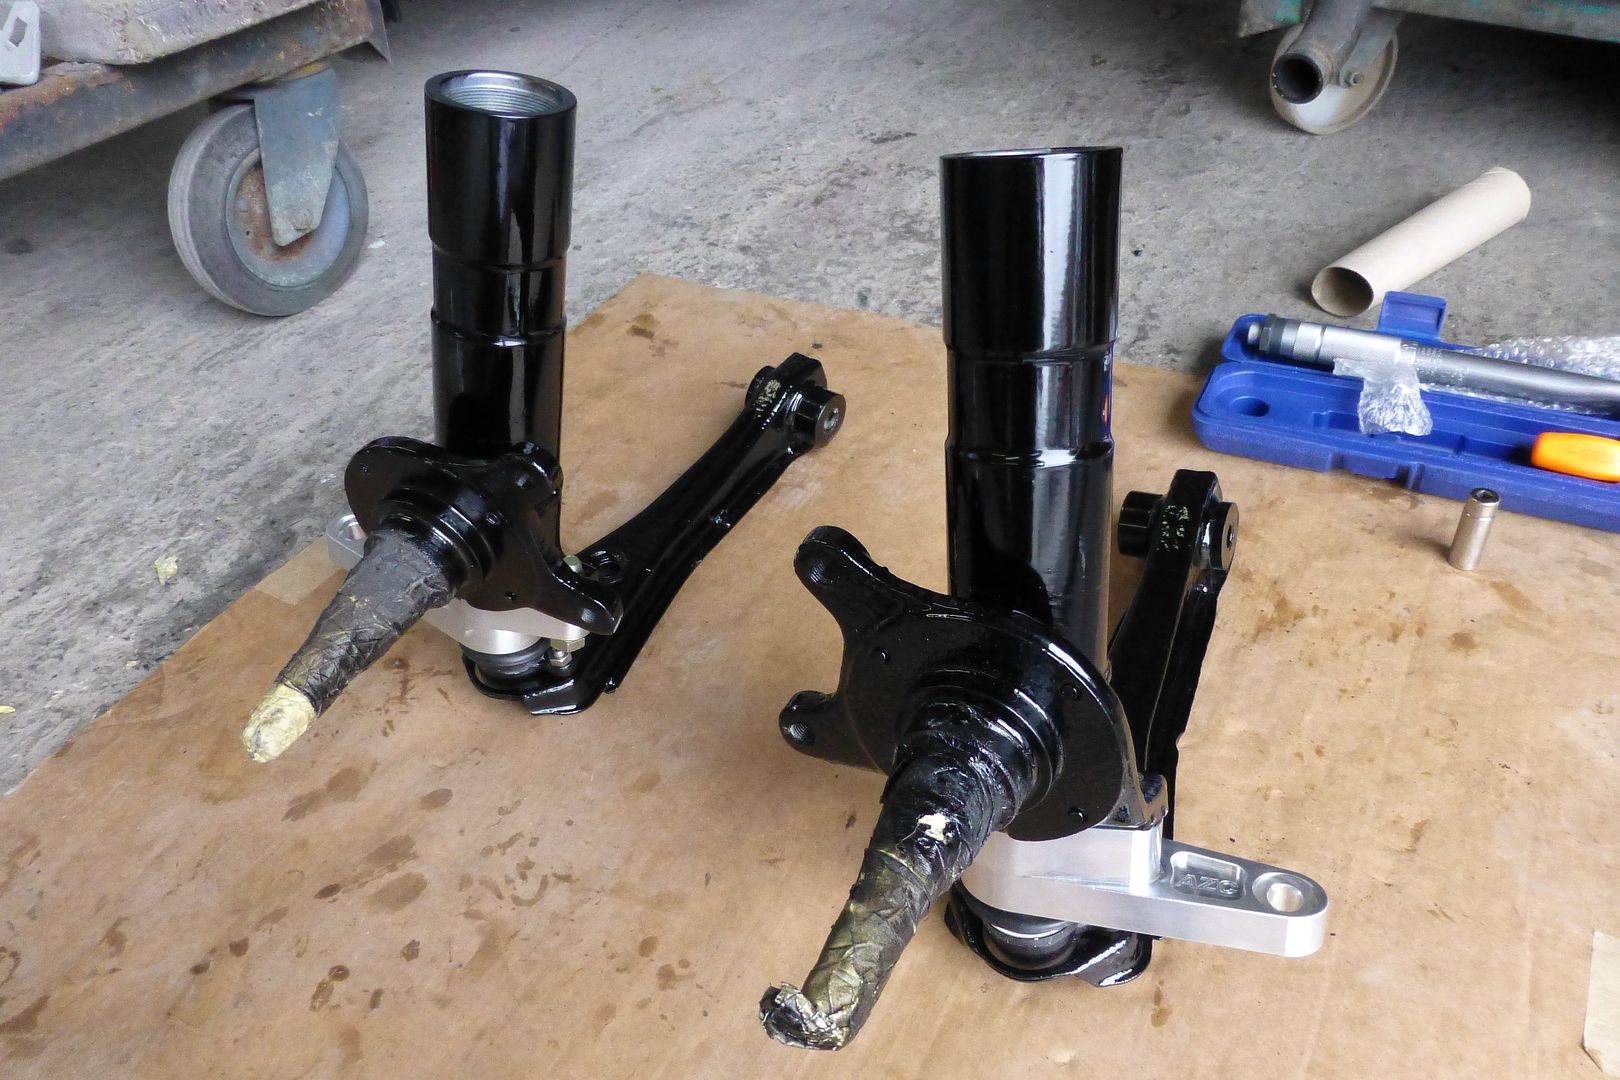
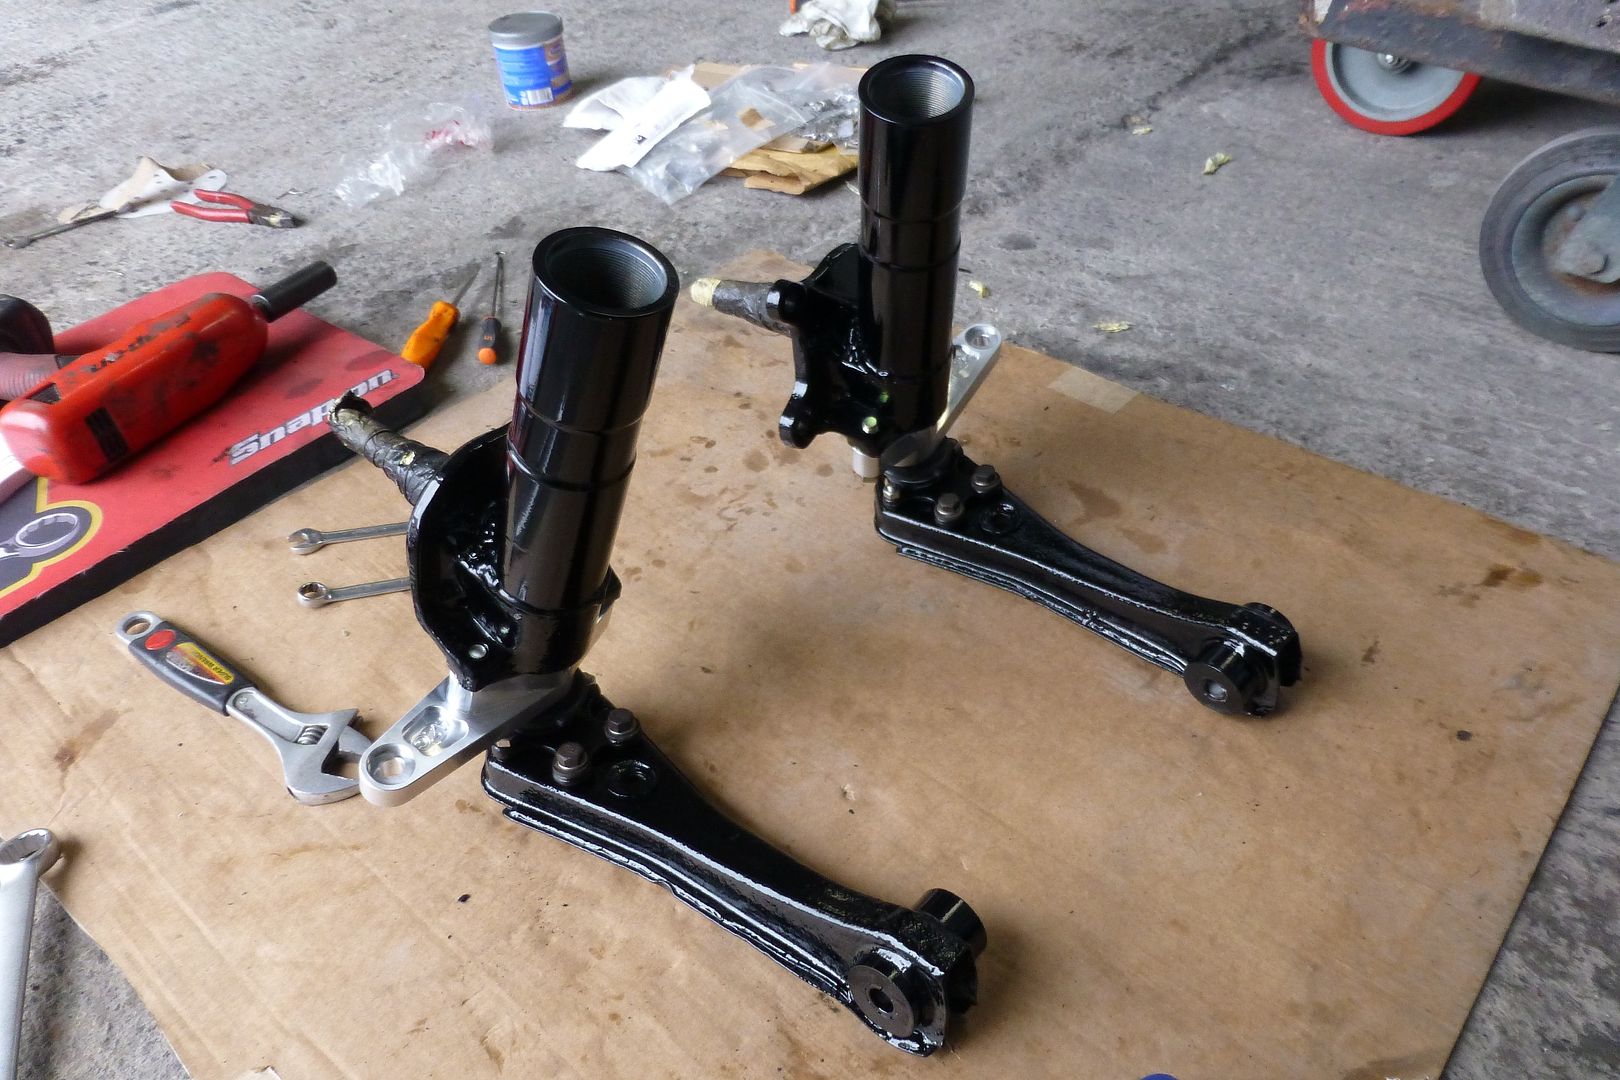
Started rebuilding my hub/suspension/control arm:

P1010347.jpg


P1010350.jpg


P1010351.jpg


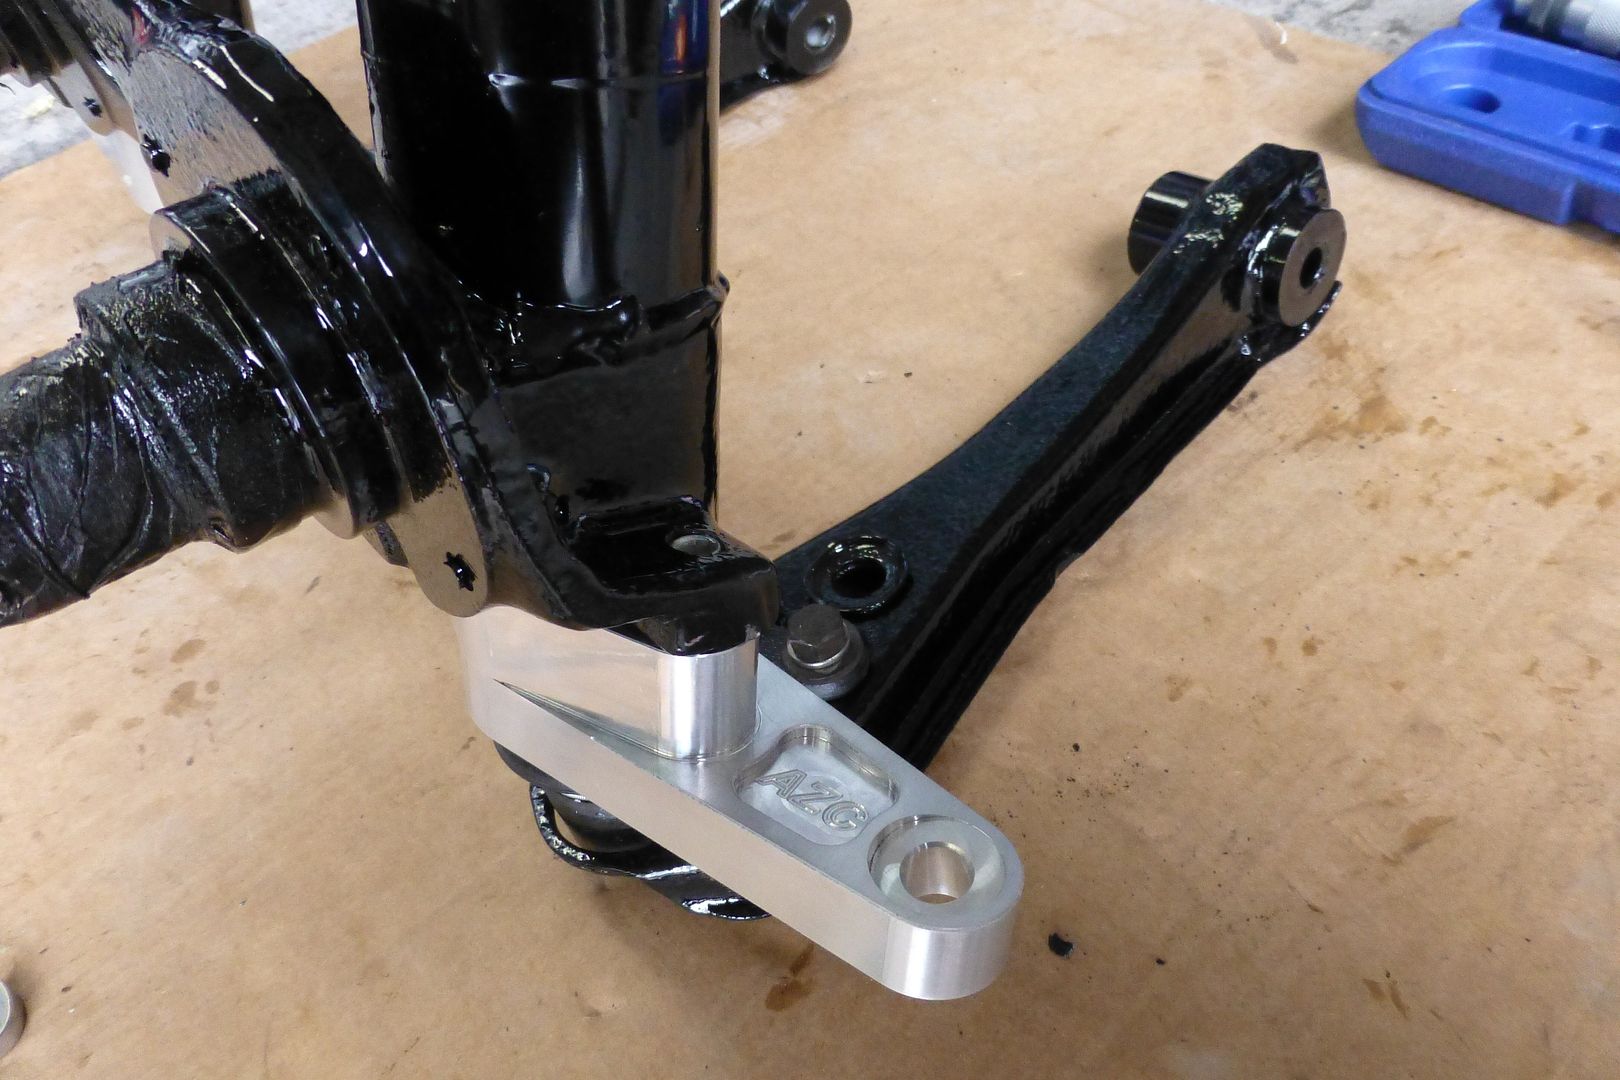
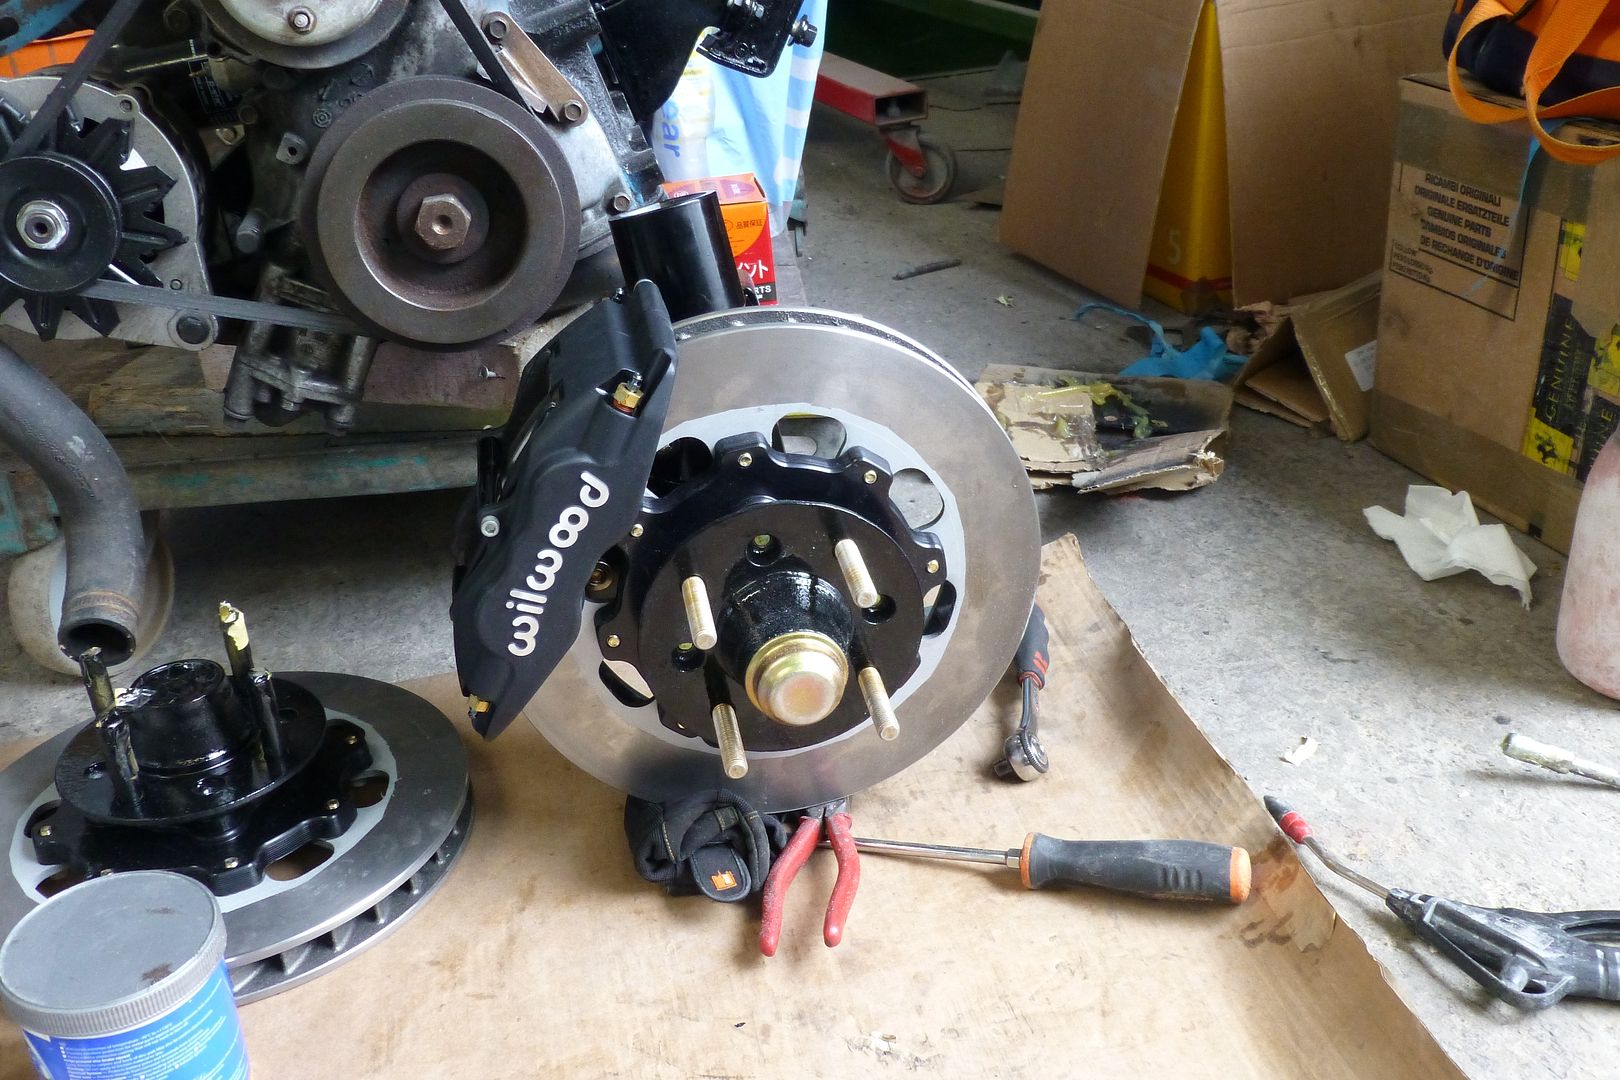
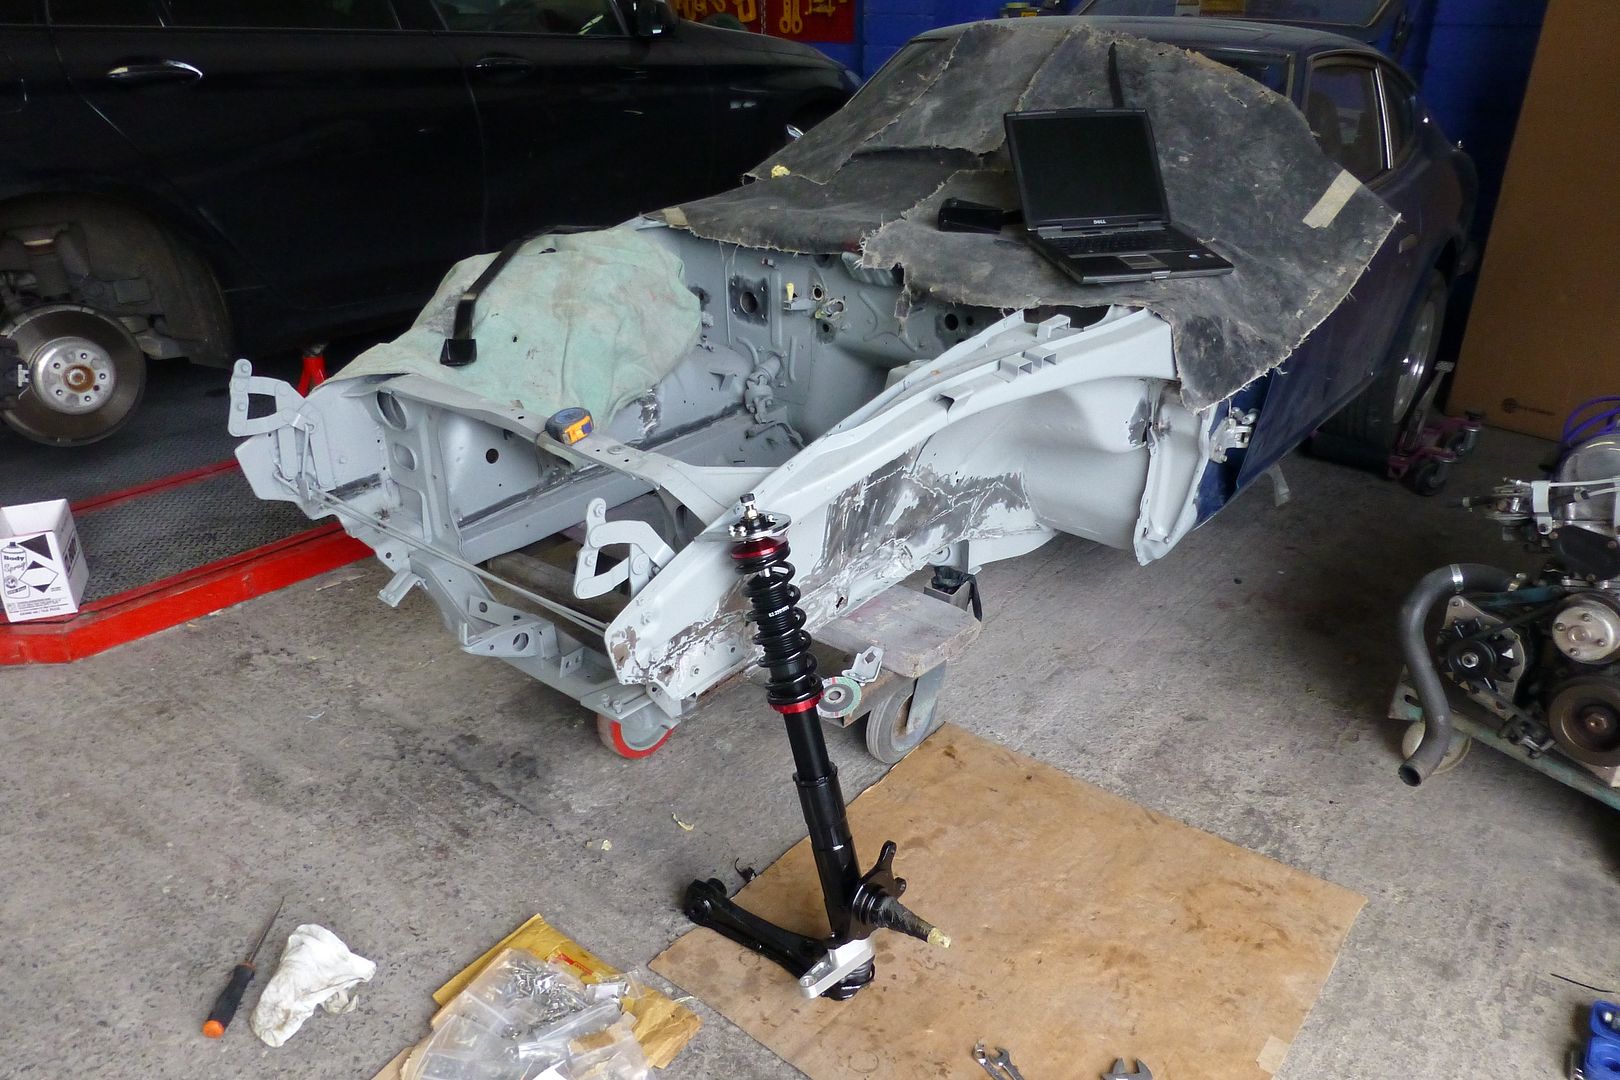
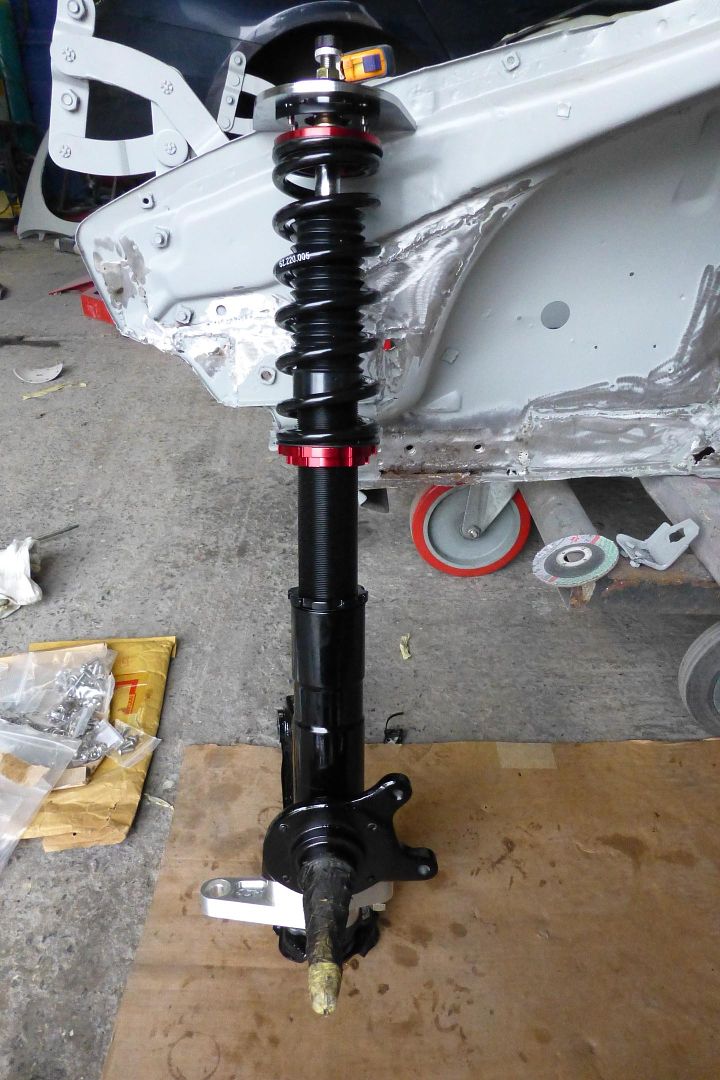
Couldn't resist trying a coilover in it:

P1010375.jpg


P1010372.jpg


P1010374.jpg
 

Ian

Club Member
I fitted my battery today, could have been neater if I'd used ring terminals at the battery, but I wanted the negative terminal kill switch and at the postive side I wanted to be able to have a cover over the exposed live parts;


P1010395.jpg


P1010387.jpg


P1010390.jpg


P1010391.jpg


I need to try and find a smaller positive terminal cover.

P1010404.jpg


Fitted my fan:

P1010397.jpg


Fitted new bearings to my hubs and pressed in the ARP studs, the painted them and mounted my brake discs:


P1010425.jpg


P1010426.jpg
 

johnymd

Club Member
Looks like he's gone over the bandwidth. The trouble with putting pics on external hosted sites is they are subject to account restrictions or get deleted. You see this all over forums where pics are no longer available.
 

Ian

Club Member
Seems I'd used up my free bandwidth, Should be sorted now, everyone should be able to see all the pics now.
 

tel240z

Club Member
excellent quality work Ian and some good inspiration for others

I'm sure (hope) its just an optical illusion but them front coil overs look very long :unsure: :eek:
 

racer

Club Member
That looks like a very nice Damper set up there Ian.
Had you thought about castor adjustment? With those inner lower arm bushes you will be very restricted. Just a thought.
 

Ian

Club Member
Thanks Terry, I enjoy follwing your build thread so I'm happy to hear you approve of my work.

The coilover are long, for a start I put the rear shock (longer) on the front hub and also it wasn't screwed in very far as I knew I'd only be taking it off again. They are the correct length when setup properly.


I realize that I'll not be able to get much more caster over stock with those bushes, but the only way I can see to get more castor is to buy aftermarket arms which use rose joint syle joints and as this is mainly a road car I'm reluctant to use metal bushes. I'll have a look at the crossmember, it might be possible to modify it to mount the control arm a few mm further forward, this would give me more caster (I think) but I could still use a hard rubber or poly bush. I won't do it this time but its definitly something to look into.


Looking forward to getting stuck into this again on Monday.
 

Ian

Club Member
^^ Thanks ^^


Finished off building my driveshafts today:

P1010457.jpg


P1010452.jpg


Fitted my hubs followed by my brakes:

P1010465.jpg


P1010468.jpg


P1010466.jpg


P1010475.jpg


Rather happy with how its all looking, can't wait to get them fitted.
 

Ian

Club Member
Started to fix/repair/strengthen the front end today.


3mm plate should add a fair amount of strength to the chassis:

P1010479.jpg


P1010481.jpg


Once both sides are done and the few small holes from rust damage have been replaced with new metal the camber plates should be getting welded in along with the strut brace brackets and finish off welding up some unused holes. Should be on a fair bit by tomorrow night, hoping to have it ready for paint on Thursday and after that It will be off to get my stainless steel brake lines fitted and the adjustable prop valve installed.
 

Ian

Club Member
Picked up my rear brake discs from the engineering company this morning after having them changed to 4x114.3 stud pattern on the CNC Machine, they did a good job, certainly better than just using a drill press on them. Forgot to take a photo.


Fitted my fuel guage, decided just to use it rather than trying to find some way to get the stock guage to work as when I change the engine I'll be fitting different guages in the pods so I'll need a fuel guage somewhere else anyway. I think where I installed it is quite neat, its not visable while driving without looking down but as its not a guage you need to keep a good eye on often it should be fine.

P1010498.jpg


P1010499.jpg


Fitted my fuel tank and put the fuel filter behind the tank so it keeps the bay neater:

P1010503.jpg


P1010510.jpg


ccd2c1a8-d238-44c8-8b5d-3948f61d0e3a.jpg


Alan did some welding to the passenger side, was a bit of a mess so should look a bit neater now once its all round back.

P1010518.jpg
 

racer

Club Member
That looks nice and strong Ian.
What colour are you going to paint the Bay? Do you have any plans to repaint the whole car at some point?
 

tel240z

Club Member
Ian was that piece of 90 degree angle steel on top of the chassis rail for extra strength or rust repairs as I would like to see some puddle welds nearer the internal corners of the angle section

Tel
 

Ian

Club Member
Racer - Yeah, should be, hopefully. The engine bay will be painted the same colour as the rest of the c ar. The rest of the car is fine at the moment but I think in a few years once the car is all setup how I want it I will get the whole car resprayed.


Tel - Thanks, I think it will be ok how it as there was no rust anywhere on the chassis legs. That plate is there to add strength and also to try and make it look nicer as there has been some previous repair work (on the body section, not the leg) that had been done badly, they had not taken care when they were using the grinder and had sliced a few places they shouldn't have and the seam where the leg joins the body looked a bit messy, it was strong enouth, just messy. That plate is bent at around 80 degrees so it hides the messy seam underneath. Given that its just there for extra strength it should be alright as it is shouldn't it?
 

morbias

Well-Known Forum User
I don't want to criticize but it seems like a lot of extra weight for not a lot of extra structural rigidity? Everything in front of the strut towers and crossmember shouldn't really need strengthening but where the chassis rails meet the firewall does. Why not just weld in some braces rather than double plating everything with heavy gauge steel?

That fuel tank looks great but the cost is mad!
 

tel240z

Club Member
Well I'm sure it will be fine Ian, I just feel that a dozen of puddle welds along the top of the chassis rail next to the fold would tie the 80 degree plate with the top flank of the rail

Morbias don't under estimate what the front of the chassis rail actually does, I have as you know fabricated a box section front panel and reinforced my front anti roll mounts as theres a lot of twisting going on there, with uprated roll bars a must
 

morbias

Well-Known Forum User
All I'm saying is aren't there more effective ways of using that added weight?


These are pics someone uploaded of an IMSA Z car, I imagine the bracing weighs about the same as covering the chassis rails with 3mm thick plate steel but it's going to be doing a lot more.

[EDIT] btw. those rear facing strut tower braces are tied into the main cage
 
Last edited by a moderator:

Ian

Club Member
Morbias - Its not actually adding that much weight, will still be less than the 10kg I saved by changing the battery and removing the tray. I am planning to add some braces to reinforce the rail to bulkhead connection.

The bars in the engine bay in your photos aren't much use unless you also have a cage behind them as the bulkhead is very thin and you don't really gain any strength if you just weld them to a plate on the bulkhead. The lower bar going to the tension rod area is however something I am considering.


Tel - I'll look into this on Monday, thanks.

Remember the extra weight you'll add running in longer cables:D
 
Top