260Z Project - 260Z GT-R

Ian

Club Member
I think they look best in Blue (I'm not biased, honest ;) )

The JDM Legends car uses silvery grey coloured flares and the flares are made by Marugen Shoukai. If I were going for the flared look (which I'm 95% sure I am not now) this is how I'd go. Although carbon flares are nice they are not as classic.
 

Robbie J

Club Member
I think they look best in Blue (I'm not biased, honest ;) )

The JDM Legends car uses silvery grey coloured flares and the flares are made by Marugen Shoukai. If I were going for the flared look (which I'm 95% sure I am not now) this is how I'd go. Although carbon flares are nice they are not as classic.
I have found a blue I like as well, looking at the Marugen Shoukai flares, need splitter and rear wing as well. Must wait till the car lands in 2 weeks
 

Ian

Club Member
So a little update. The car is with Restoshack and work is underway, currently waiting on it getting blasted and unfortunately the blaster can't do it until Mid August. Before that happens mounts will be made for the rotisserie, anything needing shaved in the engine bay will be removed, and underneath the underseal will all be scraped off.


On her way to England, I used CCRS and definitely can recommend them.


6aa52de5-8082-4f1f-a563-26587ae259c6.jpg


At the other side:


thumbnail_IMG_6543.jpg


Some part updates:


Got a wiper motor from a Honda Civic to refurb, this should be a decent upgrade to the original motor, not that I plan to need the wipers much.


DSCF2073.jpg


Converted my gauge wiring harness to a quick disconnect autosport bulkhead connector and added an oil temperature sensor as I stupidly forgot to include one originally.


DSCF2065.jpg


DSCF2068.jpg


DSCF2066.jpg


Will be refurbing and using a finned diff cover to make sure my OS Giken CLSD doesn't get too hot.


DSCF2058.jpg


The intercooler will be converted to Vibrant HD clamps


DSCF2062.jpg


Will be upgrading the drop mounts and dog bone to these billet units. It does annoy me that the caps are black so I will be changing them to gunmetal grey, at the moment I am thinking that all the suspension parts underneath will go gunmetal grey.


DSCF2004.jpg


DSCF2007.jpg


I have sound deadening ready for the rebuild:


DSCF2003.jpg
 

Ian

Club Member
Stripped and mounted to a trolley:


Most of this lot won't be going back on. It will look a whole lot nice afterwards. Finned diff, adjustable arms, billet drop mounts and dogbone and the moustache bar and driveshafts will be refreshed.


2TCMU3-U.jpeg


kyZgxEf_.jpeg


bwnaB2Cv.jpeg


FN6HXe6M.jpeg


Test fitting the super light wings, these things way nothing, I want to reinforce them a bit so they will end up slightly heavier but will still be a decent weight saving over stock, coupled with the dry carbon bonnet and that should save about 16kg from the front end.


7BX5UX1s.jpeg


And one thing I messed up on during engine bay resto, didn't remove the bonnet hinge mounts and this was underneath. You learn from your mistake, not making any mistakes like that this time, everything has come off.


uEKS-p00_1.jpeg
 

Woody928

Events Officer
Staff member
Club Member
Awesome work as always Ian, great to see this getting given so much attention!

You've got some really nice parts to go on there which should make it superb to drive once its all back on the road :)
 
  • Like
Reactions: Ian

Ian

Club Member
Awesome work as always Ian, great to see this getting given so much attention!
Thanks


You've got some really nice parts to go on there which should make it superb to drive once its all back on the road :)
TBH it already felt superb to drive, but you can always improve, right. Once done it should be stiffer, lighter and look better, plus with the rear then having the ability to adjust camber and toe I think it could only drive even better than before. Also planning to try and run 245 rear semi slicks so I should have more traction also. I can't wait.
 

Ian

Club Member
. Please do show these little improvements you're doing in the engine bay - they are the details that go unnoticed and appreciated but some require a fair amount of thought in their innovation and execution.


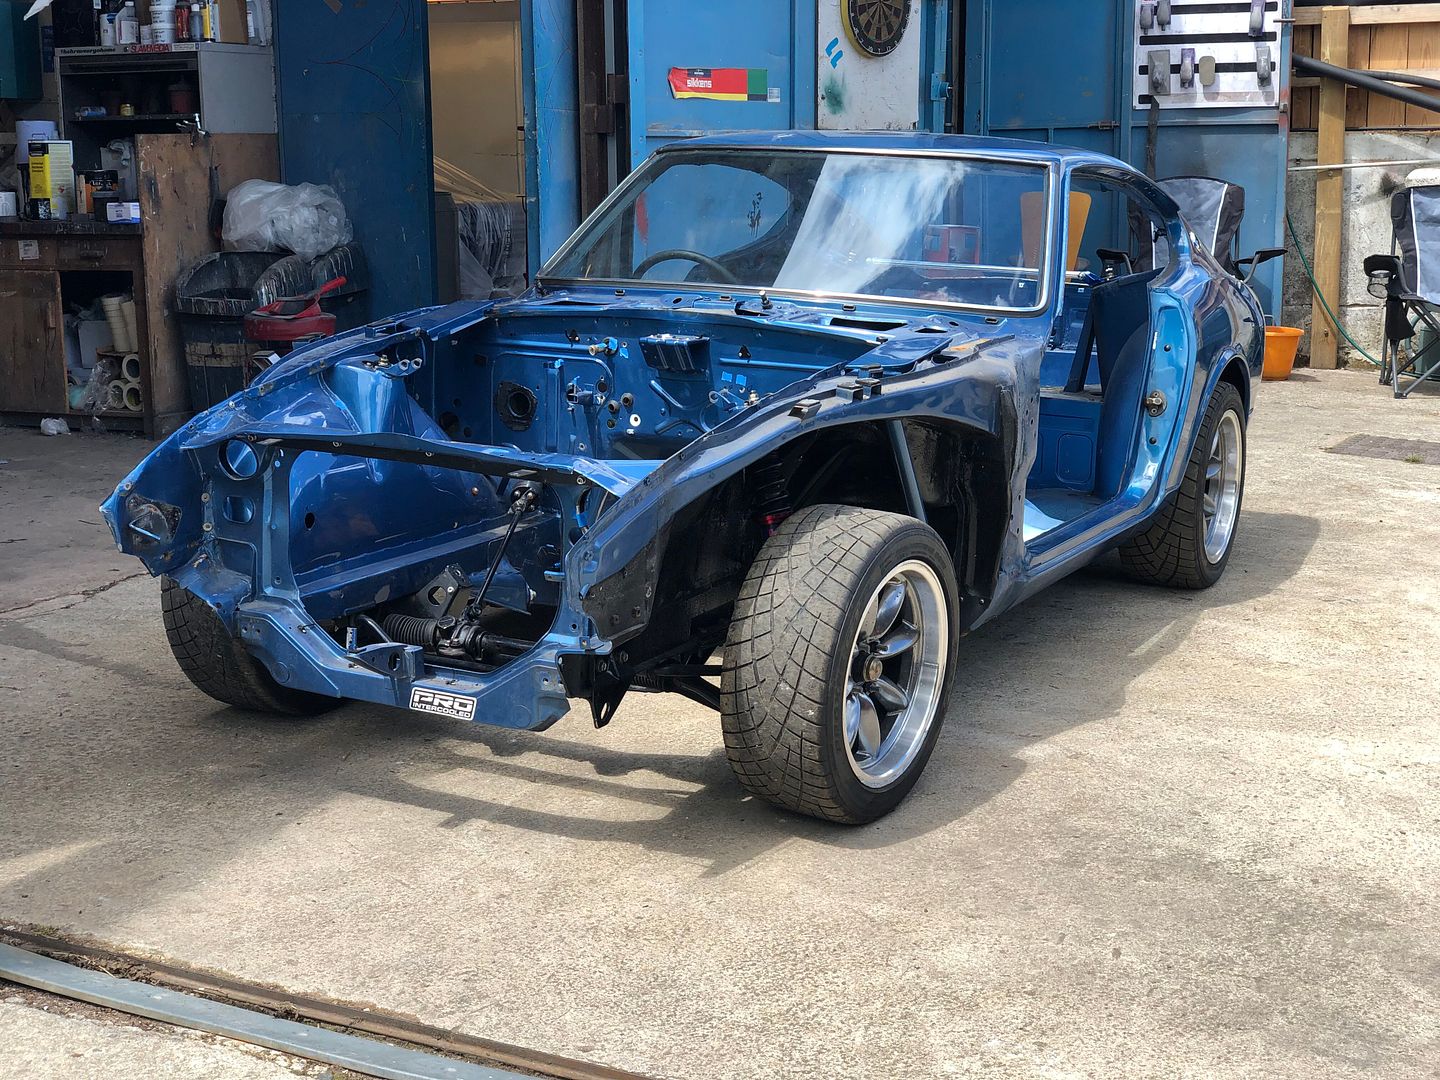
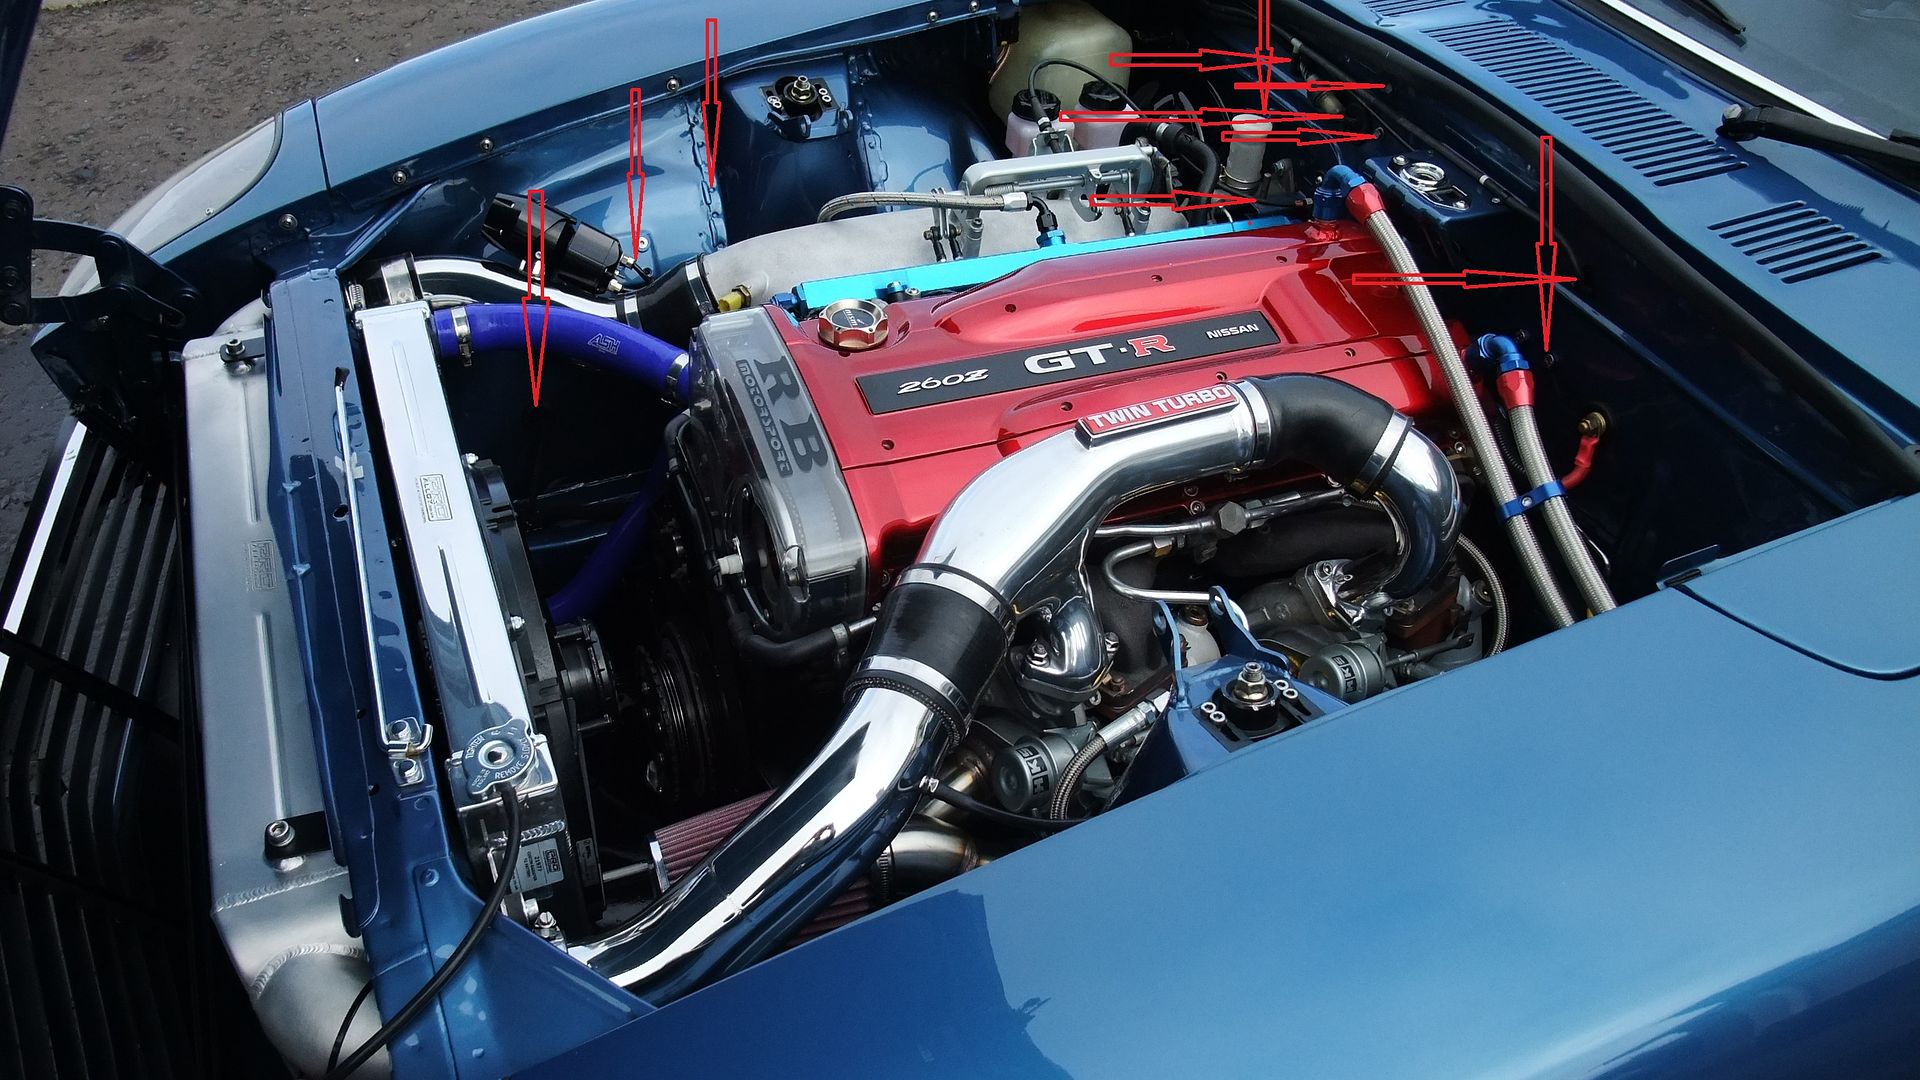
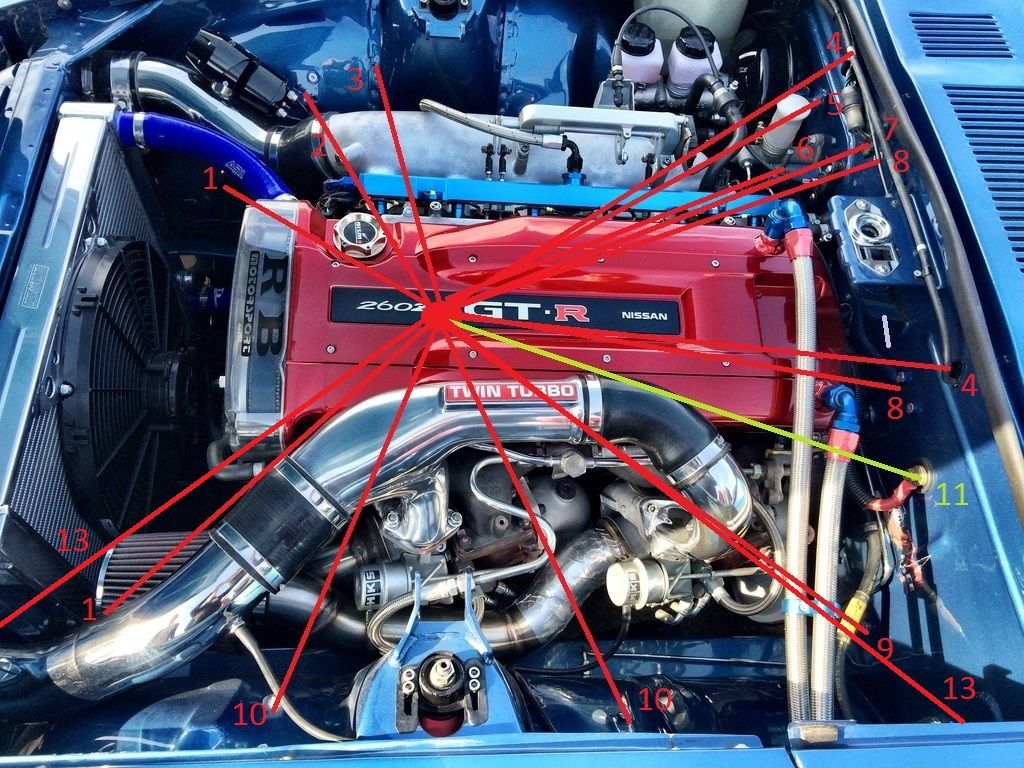
Here are some of the changes/improvements being made in the engine bay:

Bay%20mods.jpg


1: Both holes for headlight wires being removed, they will be tucked to run underneath the front.

2: Bolt holes being removed/smoothed

3: All spot weld dimples being smoothed off

4: Washer fitting being relocated inside scuttle panel for cleaner look thus removing both the fittings and the tube going to them

5 & 6: Unused brackets being removed

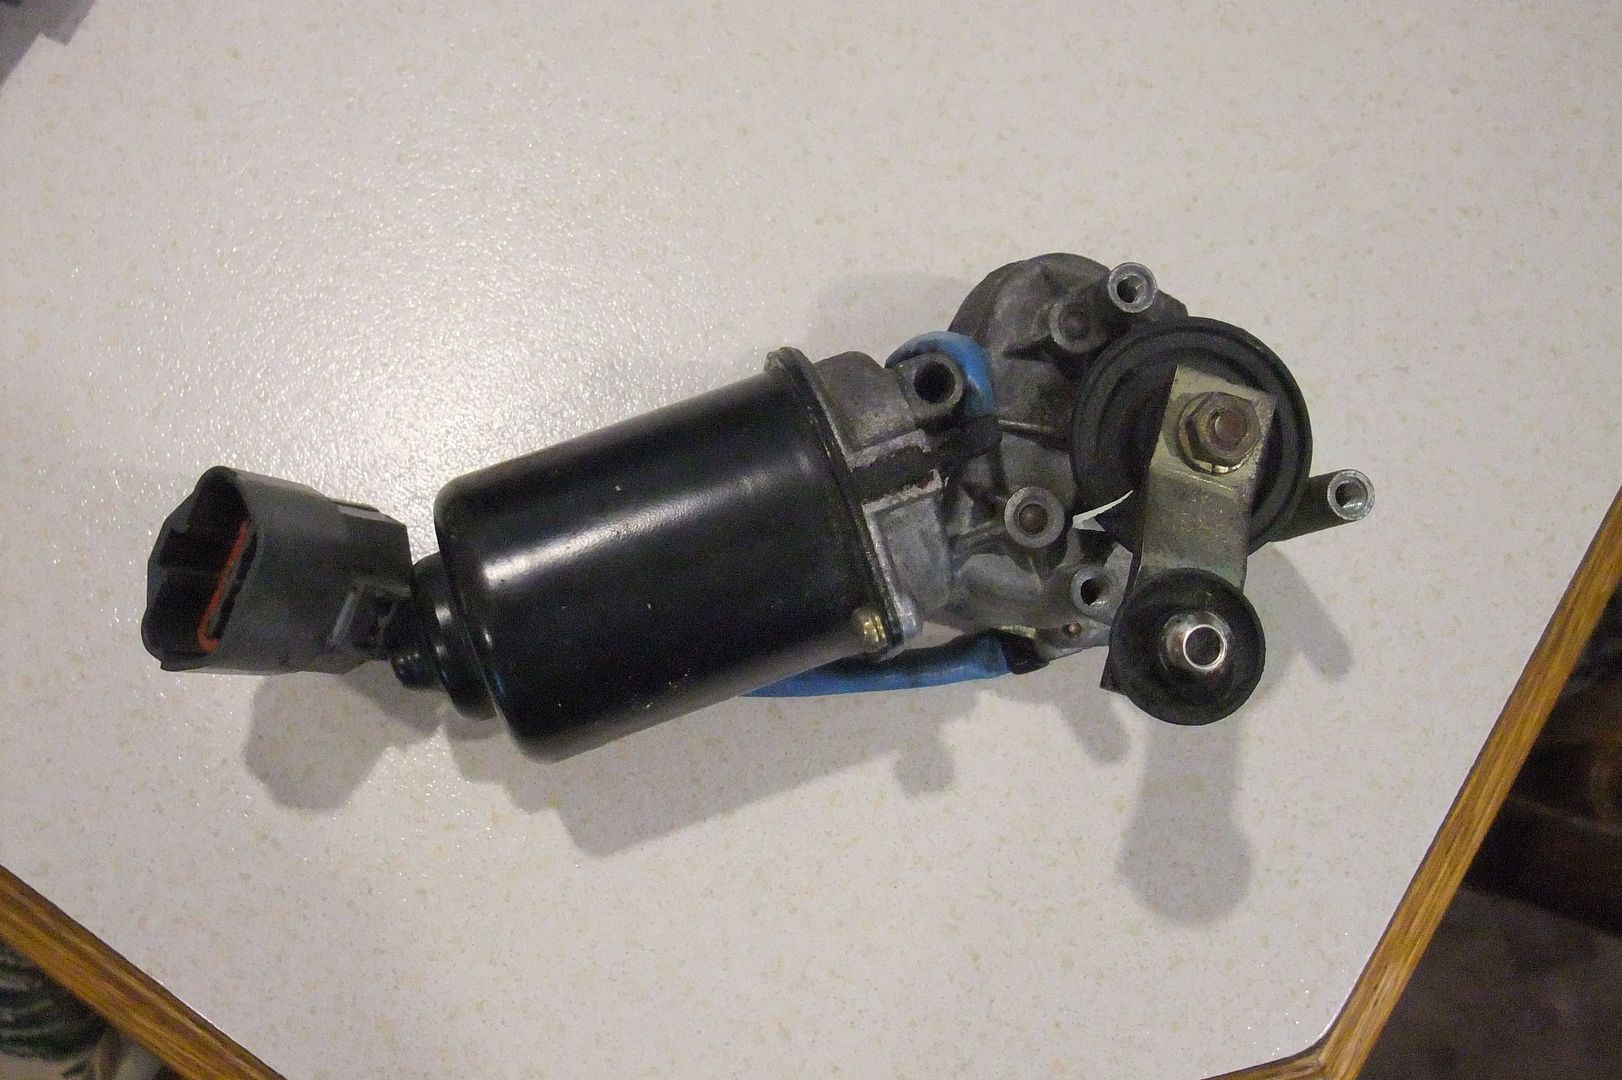
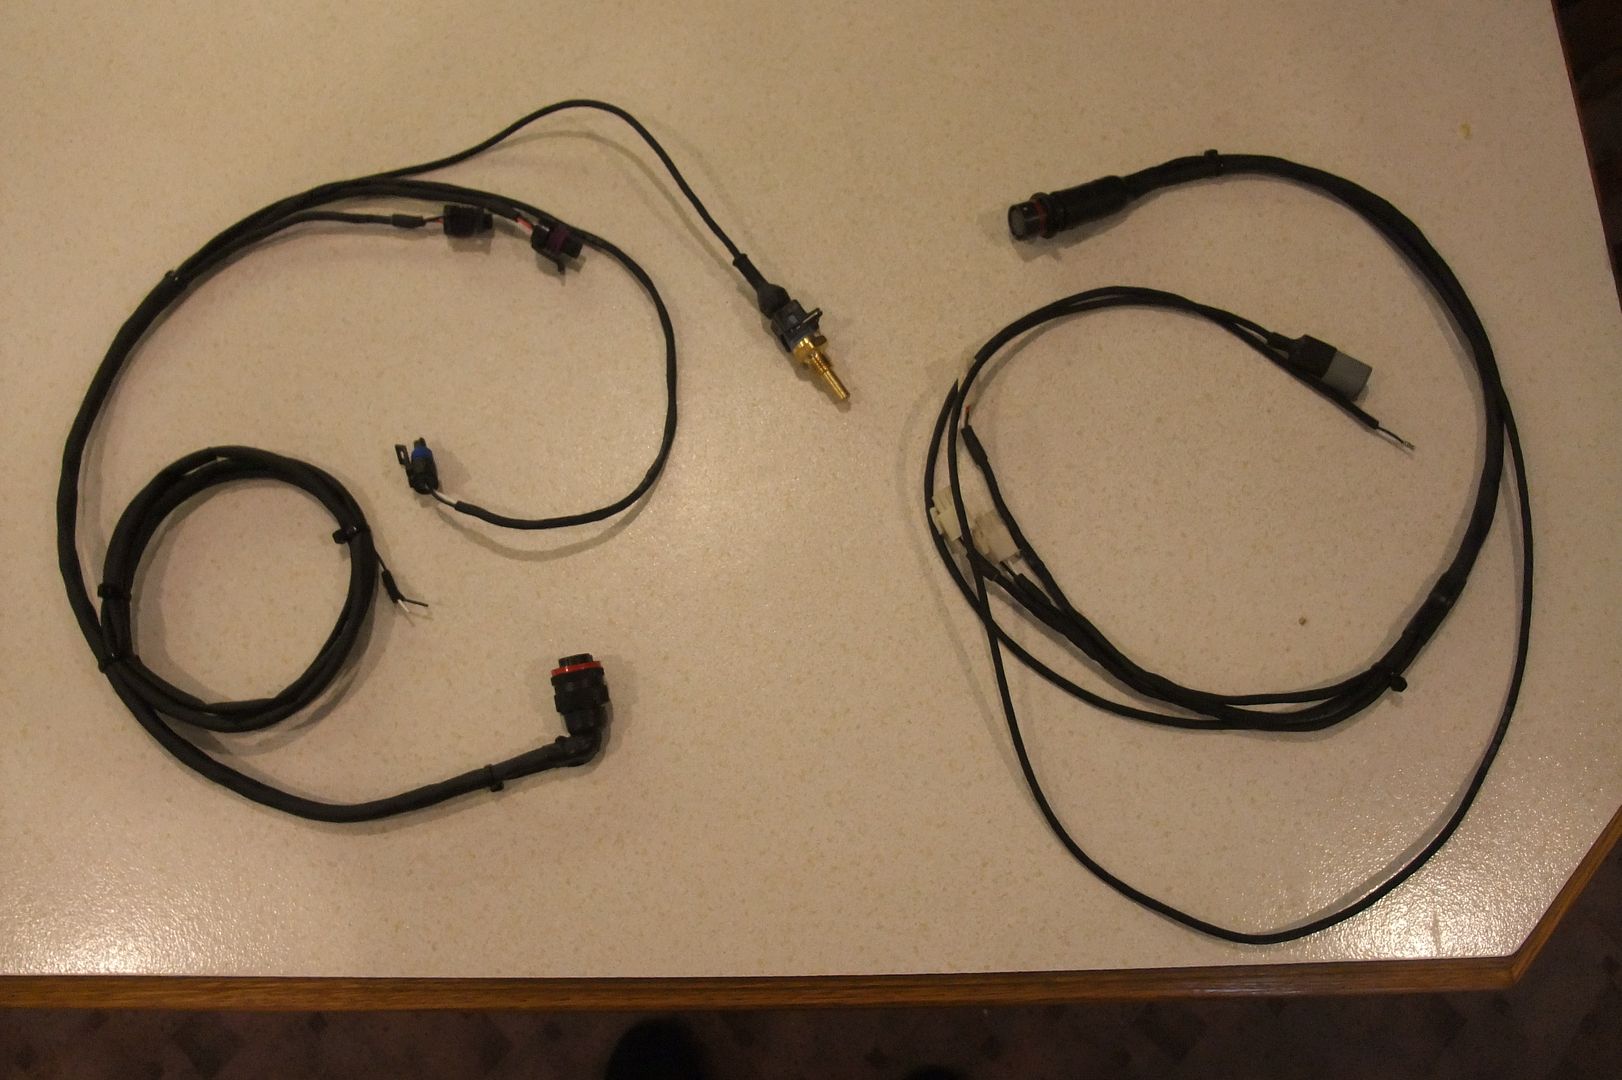
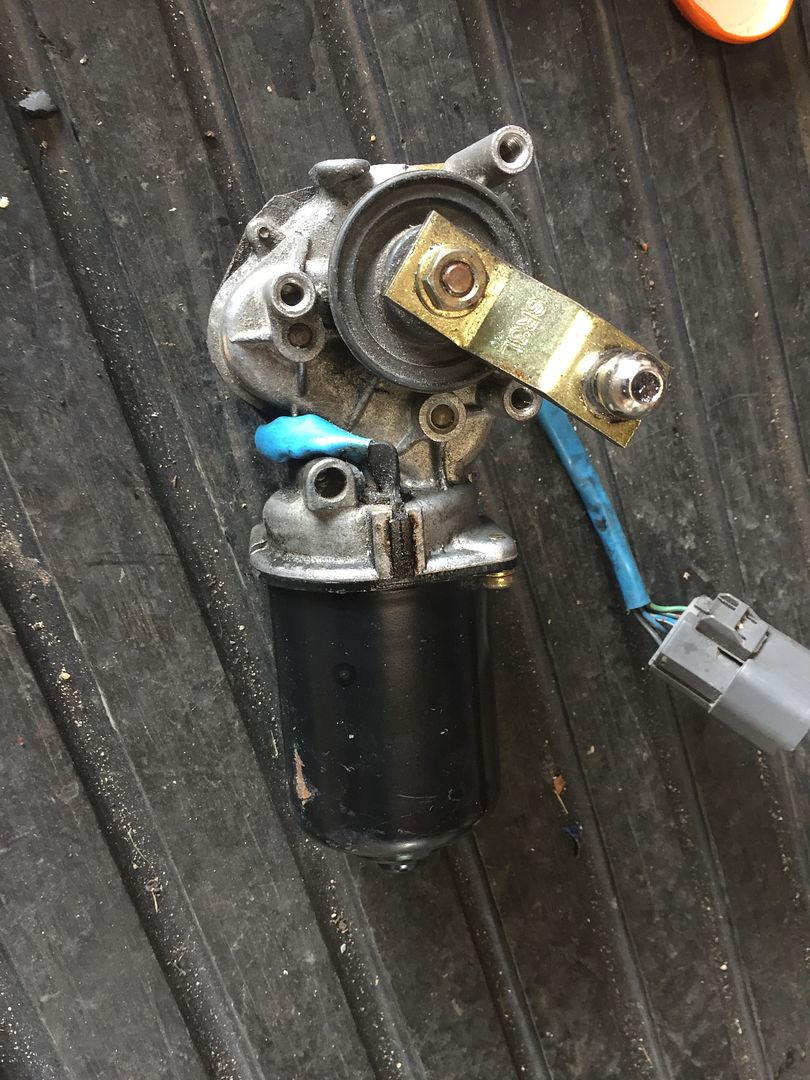
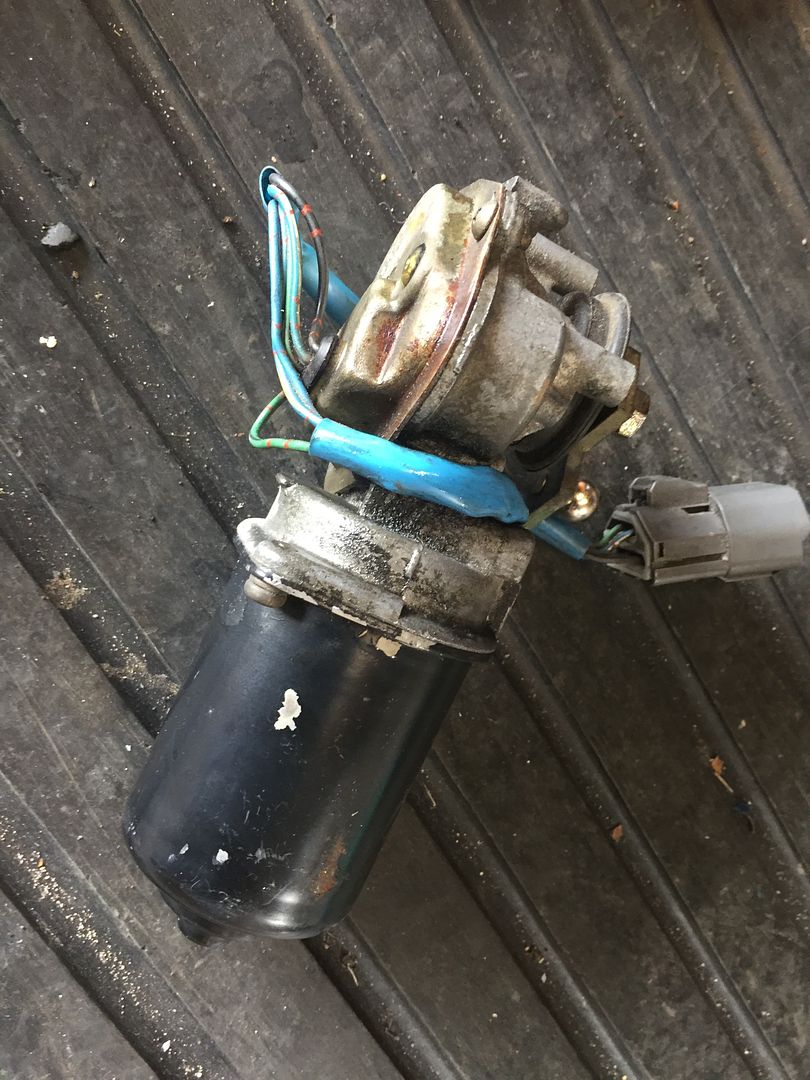
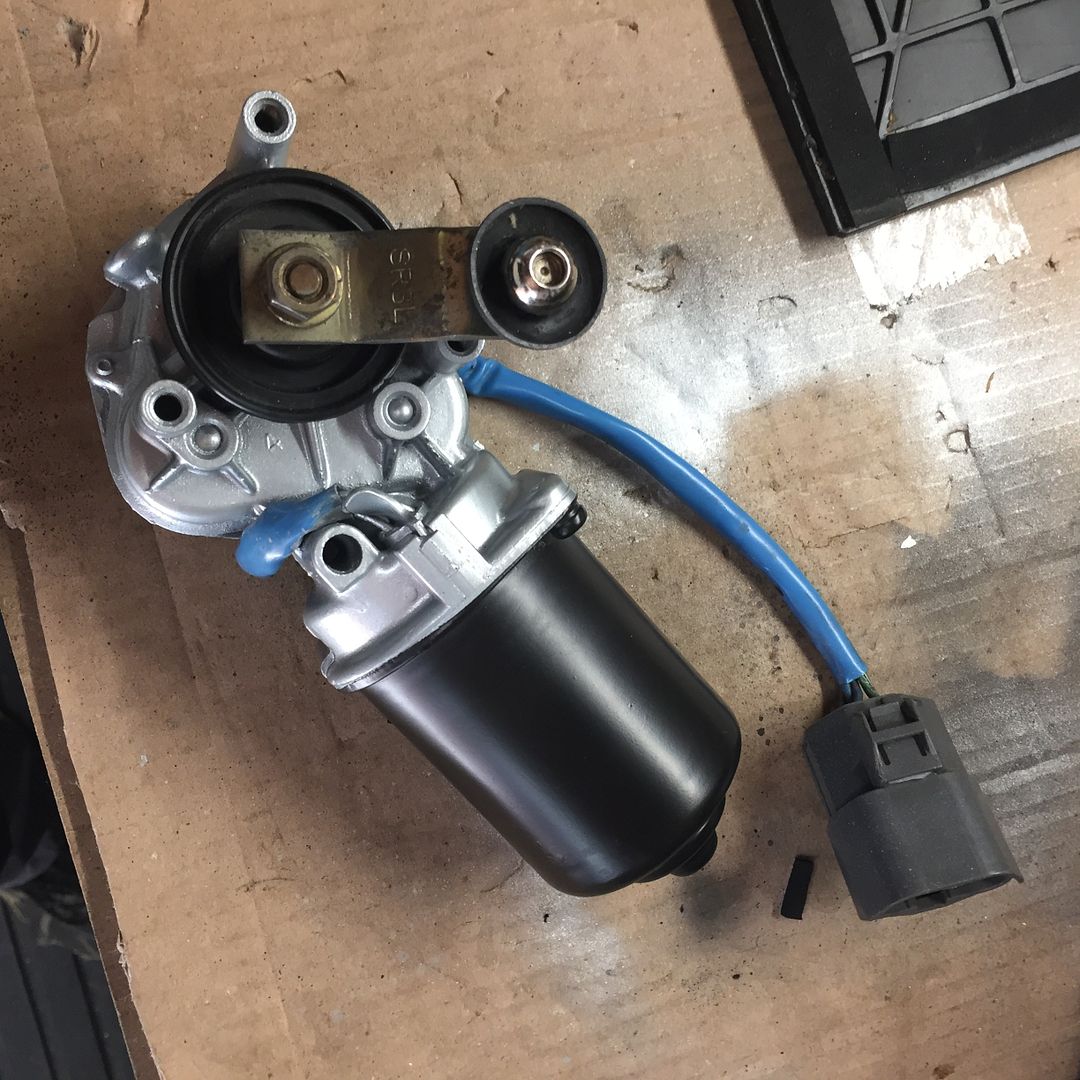
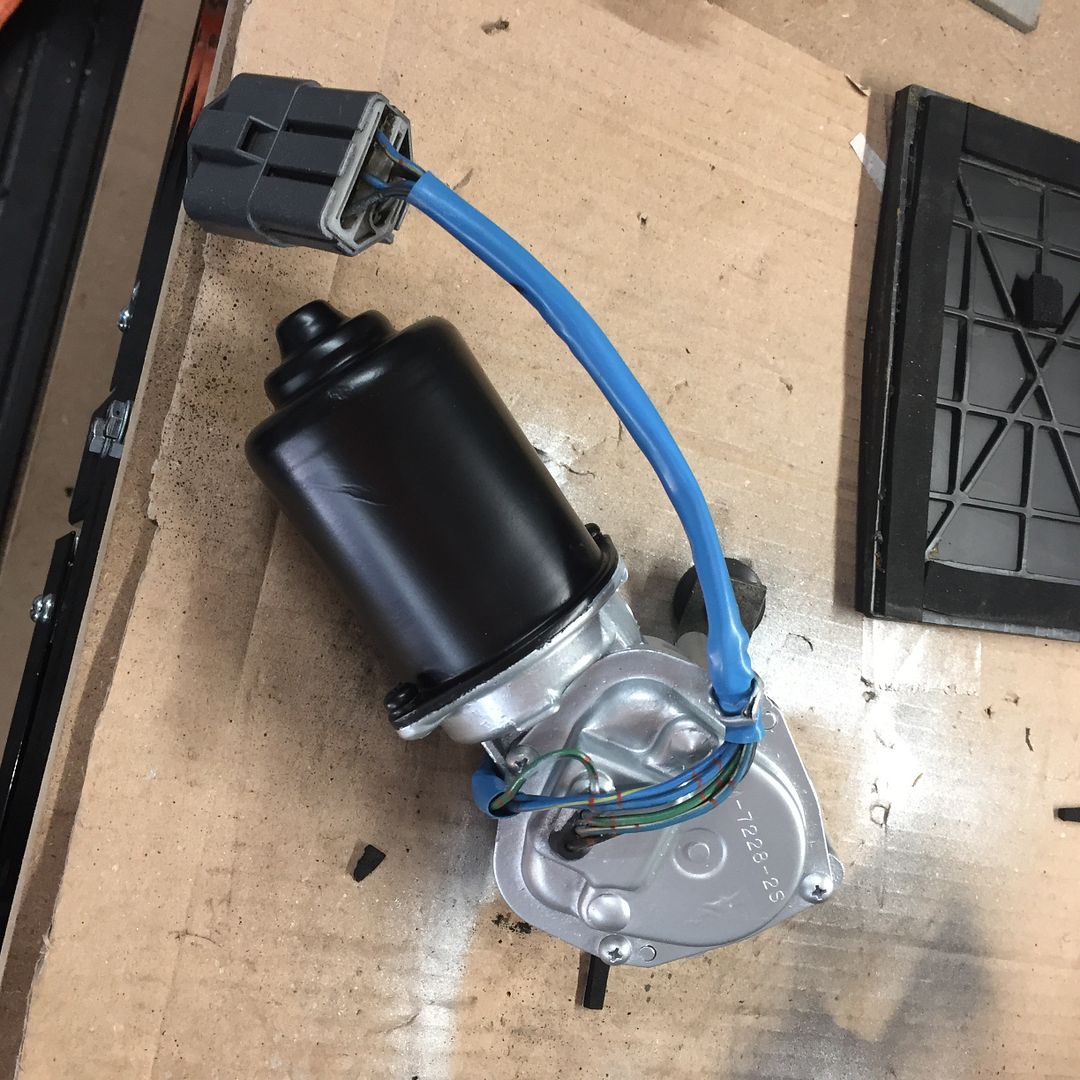
7: Wiper wiring and hole through bulkhead being removed, wiring will be run under scuttle panel from far side of bay

8: Unused bolt holes being removed

9: More unused bolt holes

10: Yet more bolt holes to be removed and smoothed

11: Wanted to relocate this but couldn't find anywhere else suitable

12: The pass side hole for the intercooler piping is being enlarged as its too tight a fit at the moment an I want change this to an HD clamp fitting.

13: There are some more areas not visible in the photos where there are holes, unused brackets and so on that will also see work.


Bay%20work%20with%20numbers.jpg
 

Robbie J

Club Member
So you think the T3 Moustache bar and drop mounts/dogbone will help? I have adjustable control arms already.

who did your mapping BTW?
 

Ian

Club Member
So you think the T3 Moustache bar and drop mounts/dogbone will help? I have adjustable control arms already.
Yes, probably a bit, the drop mounts are stiffer than the stock folded sheet metal ones. Biggest reason however for running them is so I can fit the finned diff cover which is kind of needed with a CLSD. Was tempted by their moustache bar as well, but other than looking awesome I couldn't see how it would improve the performance at all, I even figure the stock one made with spring metal will be more beneficial as it will absorb some shock under launches.


who did your mapping BTW?
Mapped by Greg @ Pro Tuner and I fully recommend him.


why smooth the spotwelds? Its a nice touch.
Just the spot weld dimples, not the stitch welding. Just because I personally don't really like how the dimples look.
 

Robbie J

Club Member
Yes, probably a bit, the drop mounts are stiffer than the stock folded sheet metal ones. The biggest reason however for running them is so I can fit the finned diff cover which is kind of needed with a CLSD. Was tempted by their moustache bar as well, but other than looking awesome I couldn't see how it would improve the performance at all, I even figure the stock one made with spring metal will be more beneficial as it will absorb some shock under launches.

I have an STI 180 rear diff will the drop mounts work? The T3 site only says R200, not R180s

making me think about diff fins now...
 

Ian

Club Member
They will totally work with an R180. Not sure what finned diff covers are available for the R180's though.
 

Ian

Club Member
So, since I can't help with the body restoration (still waiting to get blasted anyhow) I've been doing what I can with the parts I have with me.


Starting with the starter:


IMG_6866.jpg


Then the propshaft, I thought this was going to be an easy job, but there was rust under the paint so I had to take it all back to bare metal:


IMG_6520.jpg


IMG_6519.jpg


IMG_6521.jpg


IMG_6525.jpg


IMG_6530.jpg


IMG_6531.jpg


IMG_6537.jpg


Thottle Pedal. Unlike the other items I decided to have this one powedercoated.


IMG_6861.jpg


Going to be updating to this Honda wiper motor as the original one is a bit lame:


IMG_6822.jpg
IMG_6823.jpg


I'm not putting something looking like that in my restored car though.


Thats better:


IMG_6832.jpg
IMG_6830.jpg


Some parts only needed a clean:


IMG_6560.jpg


IMG_6561.jpg
 

Ian

Club Member
Apologies for the large photos, I have ajusted my settings for future uploads.


Next I turned my attention to the heater box:


IMG_6566.jpg


Radiator was looking a bit rusty and the foam around the core had disintegrated


IMG_6567.jpg


IMG_6568.jpg


IMG_6569.jpg


IMG_6574.jpg


IMG_6813.jpg


IMG_6826.jpg


IMG_6814.jpg
IMG_6815.jpg


IMG_6839.jpg


IMG_6834.jpg


IMG_6848.jpg


IMG_6850.jpg
 

Ian

Club Member
Lastly it was on to the fan box. This was looking a bit sorry for itself.


IMG_6361.jpg


Took it apart:


IMG_6363.jpg


IMG_6377.jpg


IMG_6365.jpg


IMG_6366.jpg


I cleaned all the parts up and removed all the old foam which had turned to powder


IMG_6379.jpg


IMG_6378.jpg


Sent some parts for blasting


IMG_6862.jpg


Primed them:

IMG_6864.jpg


Sprayed them, wasn't easy as the one on the right has lots of brackets, gaps, internal parts, edges and so on which all needed to be properly coated. Also for larger jobs like this I really need to get an air/water separator. A 300L compressor was planned as part of my garage extension but that hasn't happened yet so still working from a small one.

XPHW7726.jpg


Started reassembly:

IMG_6890.jpg


IMG_6891.jpg


IMG_6894.jpg


IMG_6897.jpg


All back together and with the foam all replaced and the heater core flushed it should operate better than before. They definitely don't look >40 years old now.

IMG_6903.jpg


IMG_6901.jpg
 

richiep

Club Member
I gave my heater and blower units and the core for the project car a similar going over. They really do get pretty unpleasant over time with all the foam rotting away and muck buildup inside. It's worth doing rather than just giving the units a quick once over and then slapping them in.
 
Top