candy red
Club Member
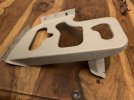
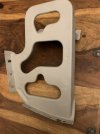
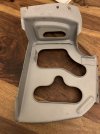
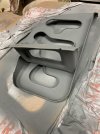
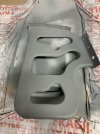
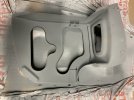
Very nice Richie well done worth all the effort and shredded fingers top jobHad a productive day yesterday in and around all the usual family weekend stuff. Tore my fingers to shreds rebuilding and covering the Celica’s back seat. I had to weld a replacement rod into the frame that the foam sits on as part had rusted away on the original. It looked like someone had spilt a drink in the back a long time ago, and it had soaked through the foam and got at the frame. Rusted one bar to dust but caused no damage to the car’s shell underneath, as thankfully that section was covered with factory sound deadening that kept it protected!
So, speared by springs and hog rings, I finally got it all together, having received a new, correct, rear cover from Aldridge Trimming:
View attachment 56084
Also built a connecting rod balancing jig during last week, but that is still a work in progress as it has some improvements to be made to get consistent readings.


")