LiamR
Club Member
**PLEASE BEAR WITH ME, I'M CURRENTLY STARTING THE THREAD FROM SCRATCH SO WILL TAKE A FEW POSTS TO GET IT TO THE CURRENT DAY**
Hey all,
Firstly thanks for clicking on my build thread and taking the time to read/look at the pictures.
I thought it was about time I started a "build thread" to document the work carried out on it.
I'll start from the top... from the VERY first time going to see the car...
So I picked up this 280z from a friend in a trade deal whereby I swapped my home built Honda S2000 turbo (some say I was crazy to get rid of it but bah, what the hell.. I knew the s2000 was going to a good home and I absolutely love the old Z cars).
Here it is when I went round to view it at my friends house... I instantly fell in love...
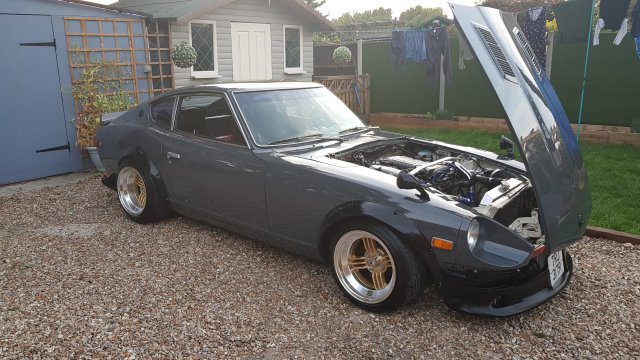


I knew I just had to have it!
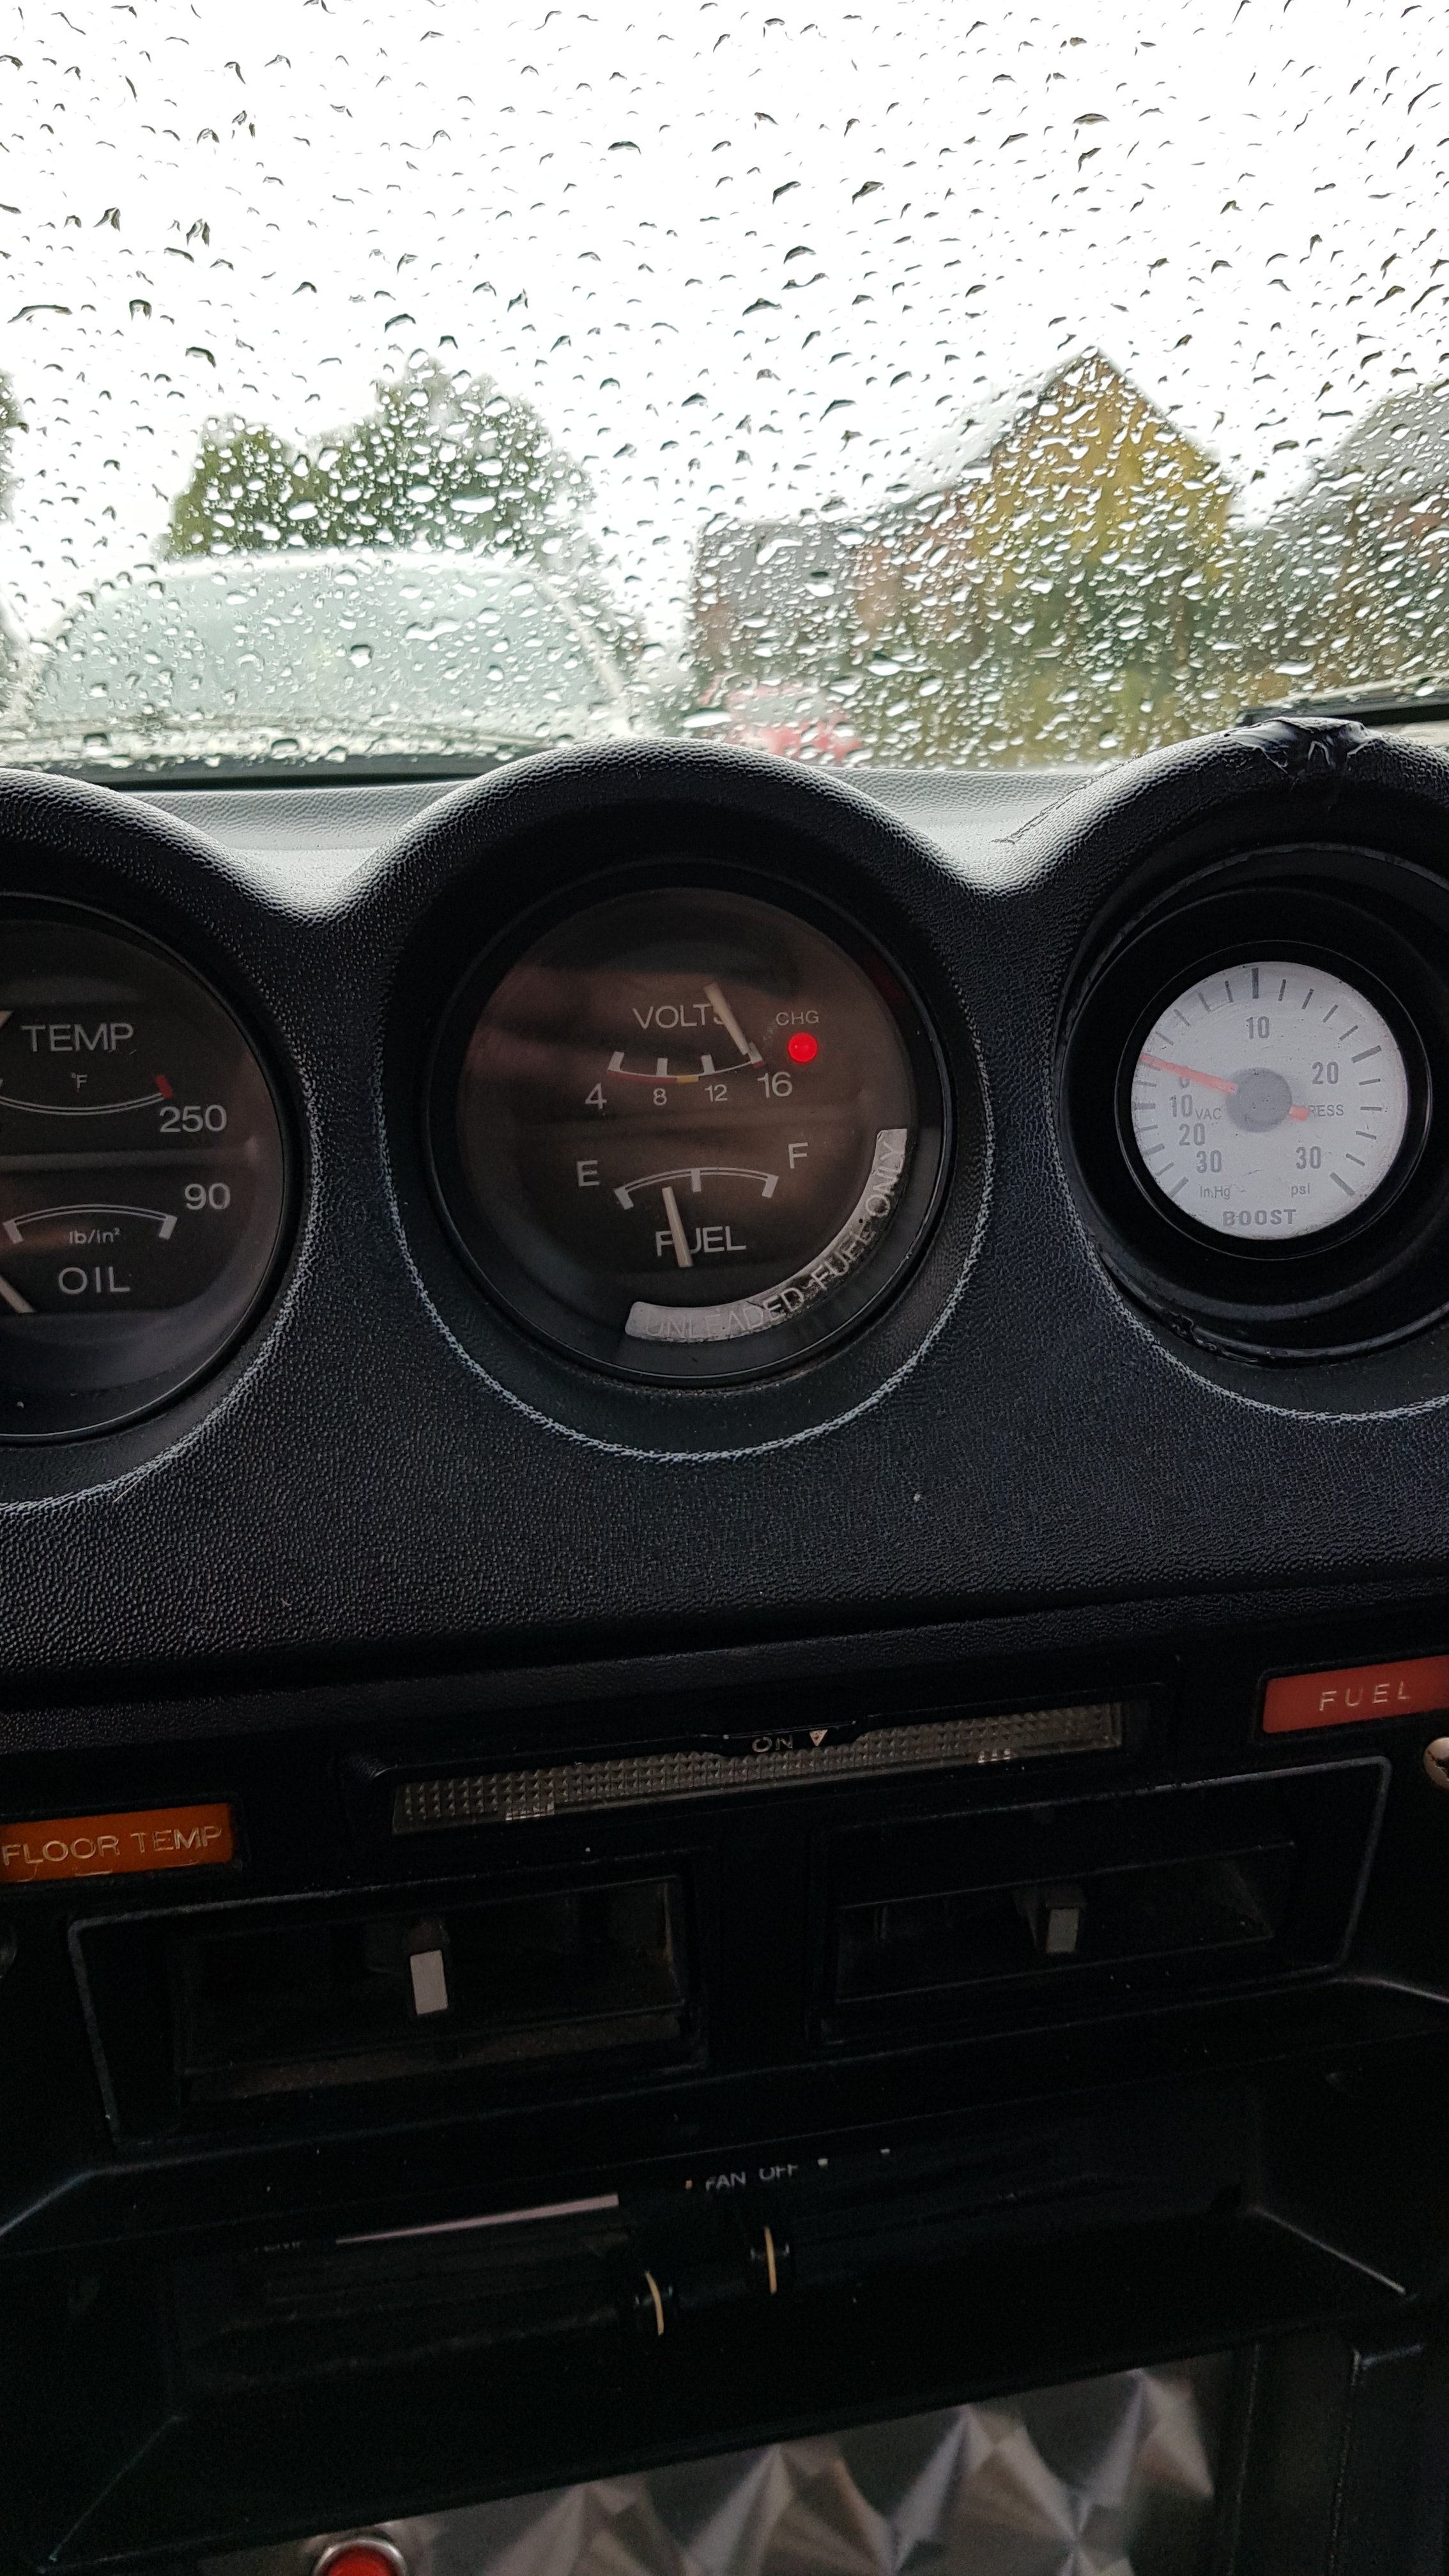
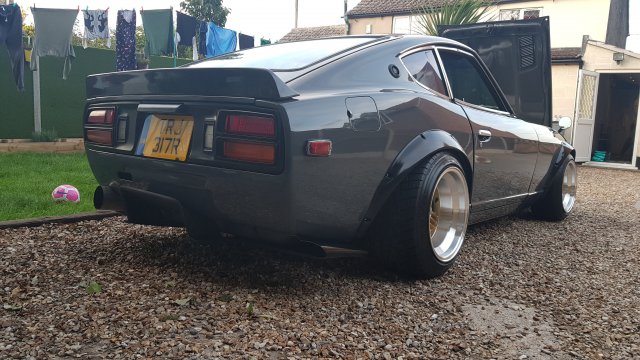
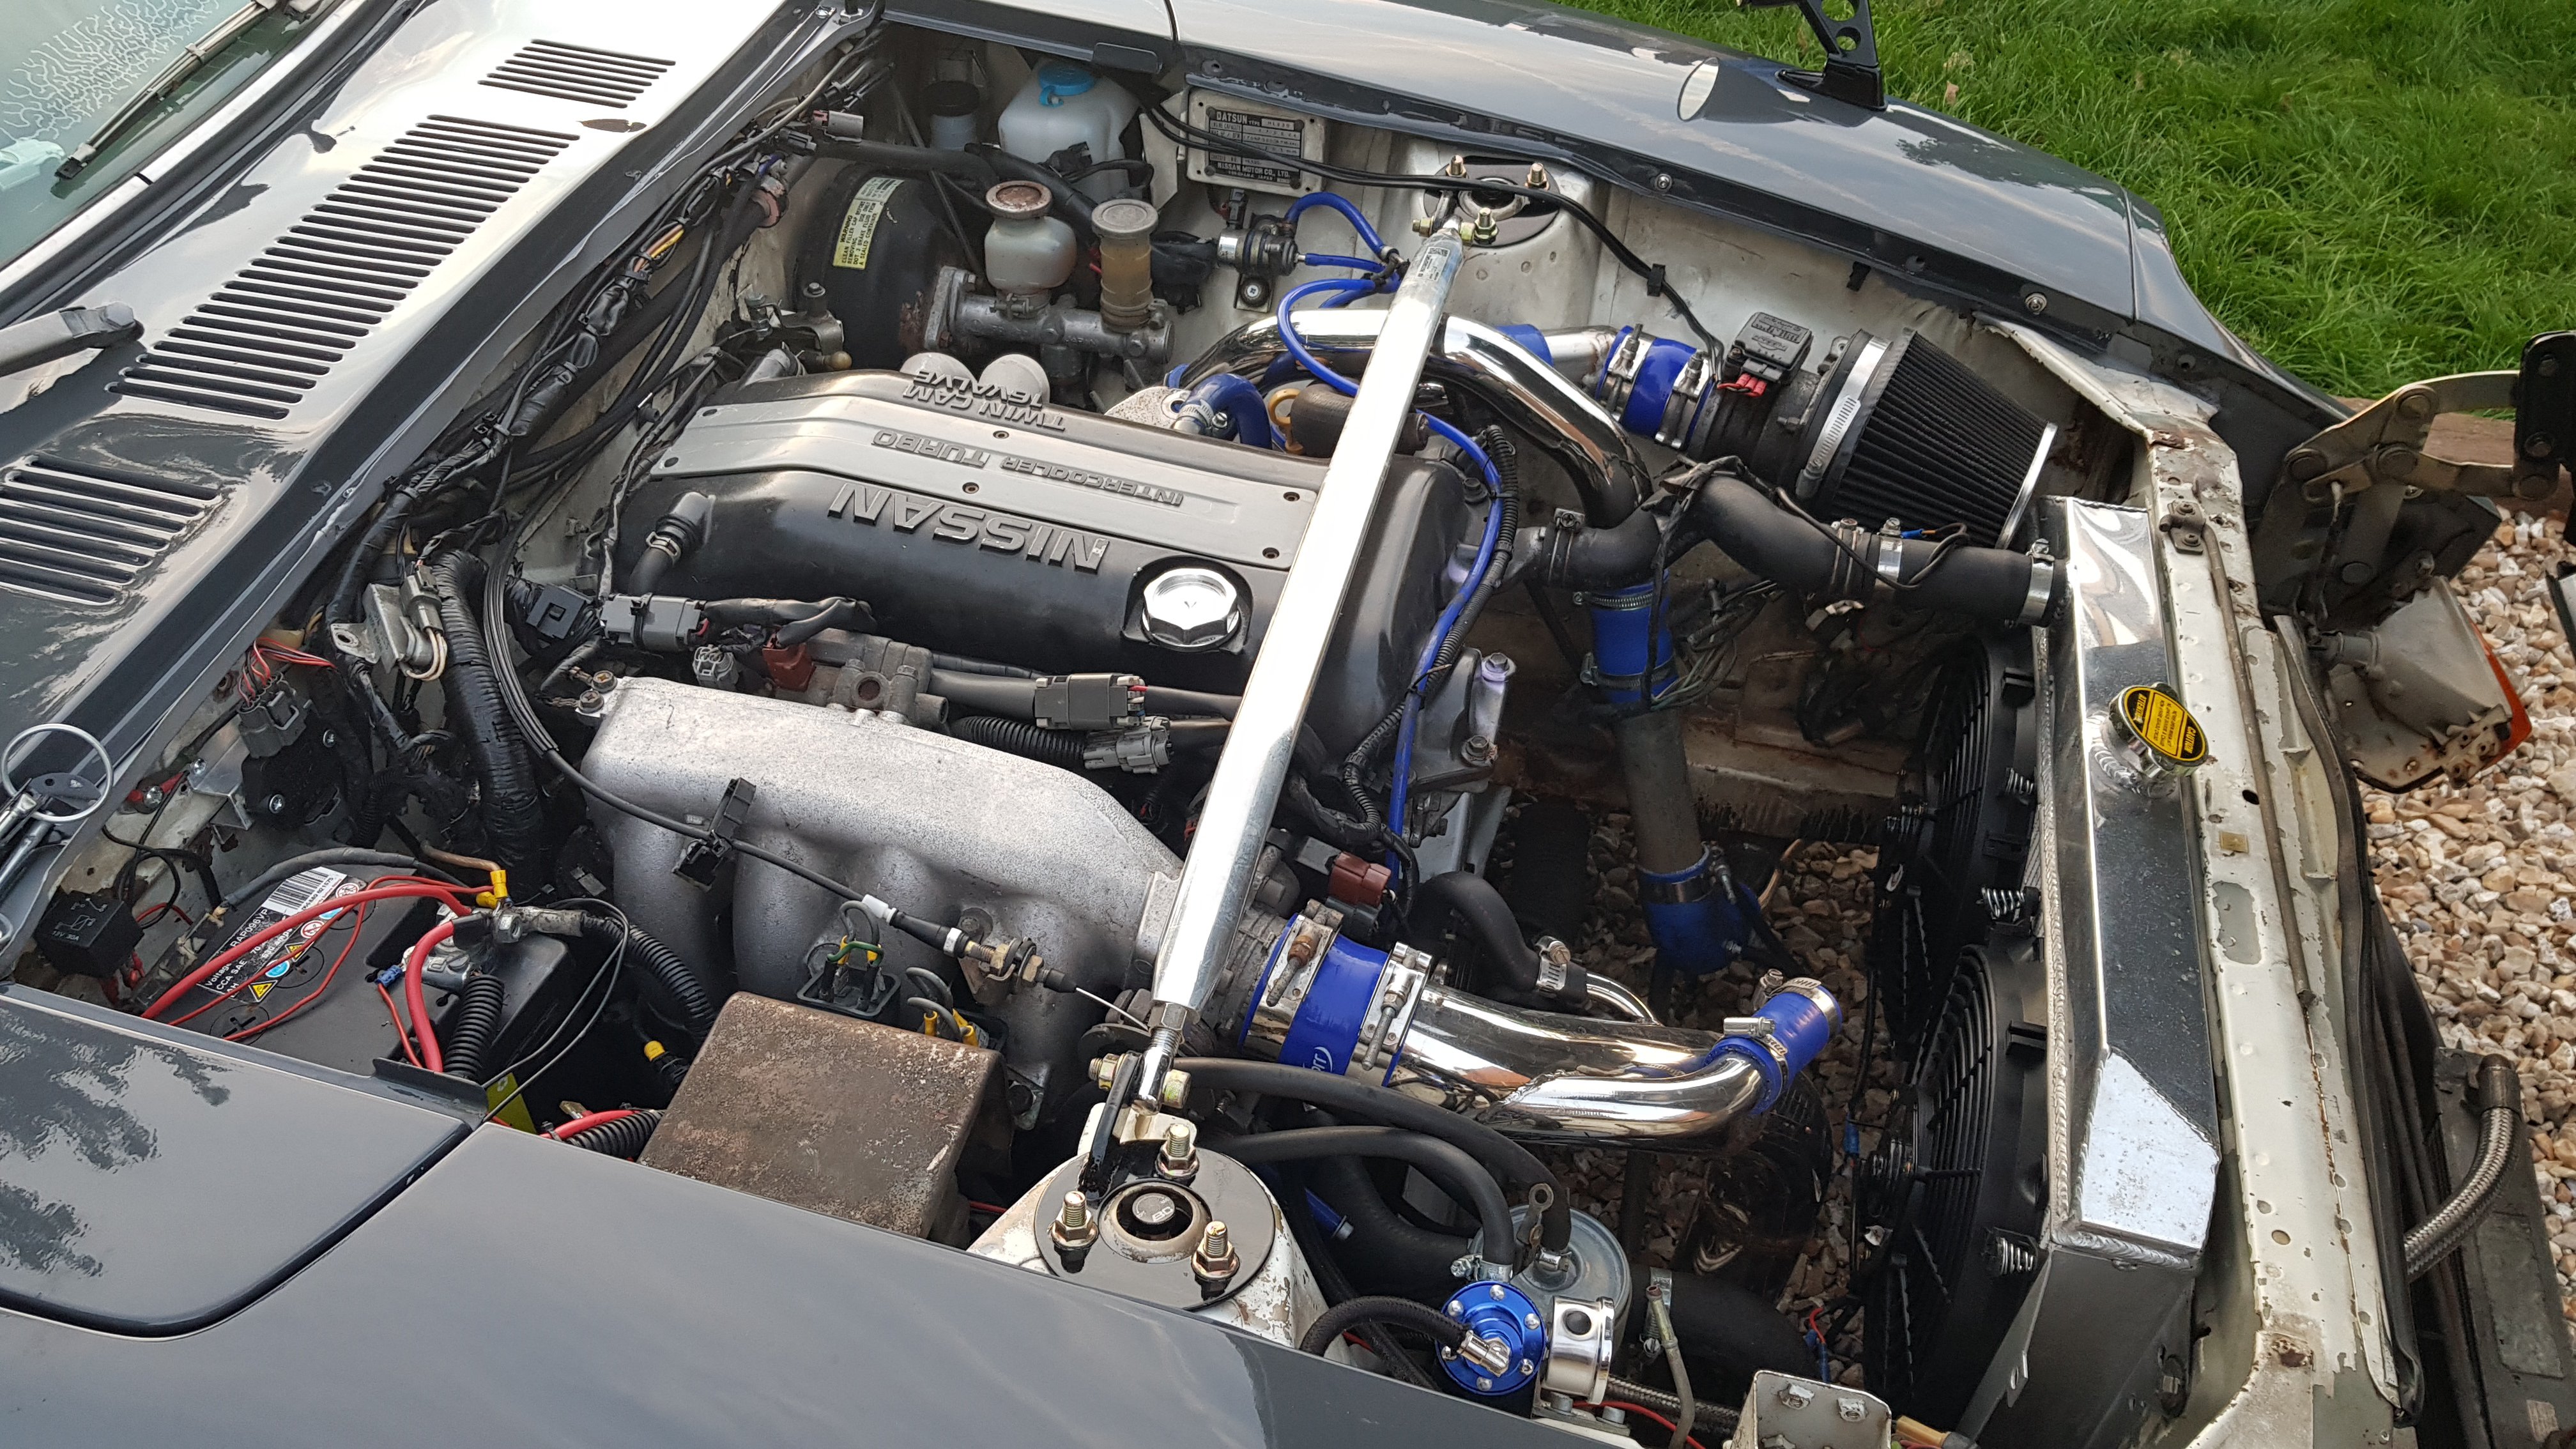
It already had the SR20DET swap which is a little rough round the edges, but in the PO defence, he had a 28 day warranty on the engine so had to get it into the car as soon as he could to make sure it checked out OK. This trade wasn't long after he had it all up and running. So props to him for getting it in and running in such a short time.
I drove home that night with a huge smile on my face knowing I would be a Z car owner!! My dream car was going to be mine.
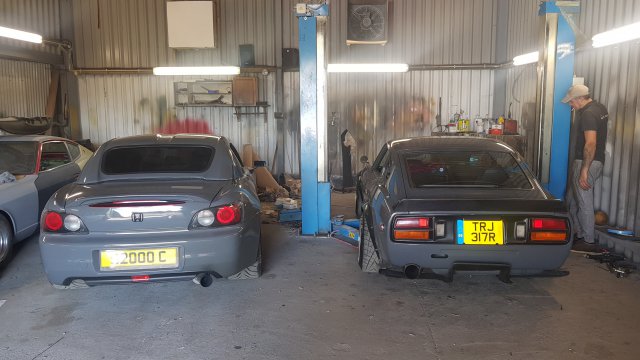
So the day came to swap the cars, here is an image of the 2 cars together..
Hey all,
Firstly thanks for clicking on my build thread and taking the time to read/look at the pictures.
I thought it was about time I started a "build thread" to document the work carried out on it.
I'll start from the top... from the VERY first time going to see the car...
So I picked up this 280z from a friend in a trade deal whereby I swapped my home built Honda S2000 turbo (some say I was crazy to get rid of it but bah, what the hell.. I knew the s2000 was going to a good home and I absolutely love the old Z cars).
Here it is when I went round to view it at my friends house... I instantly fell in love...

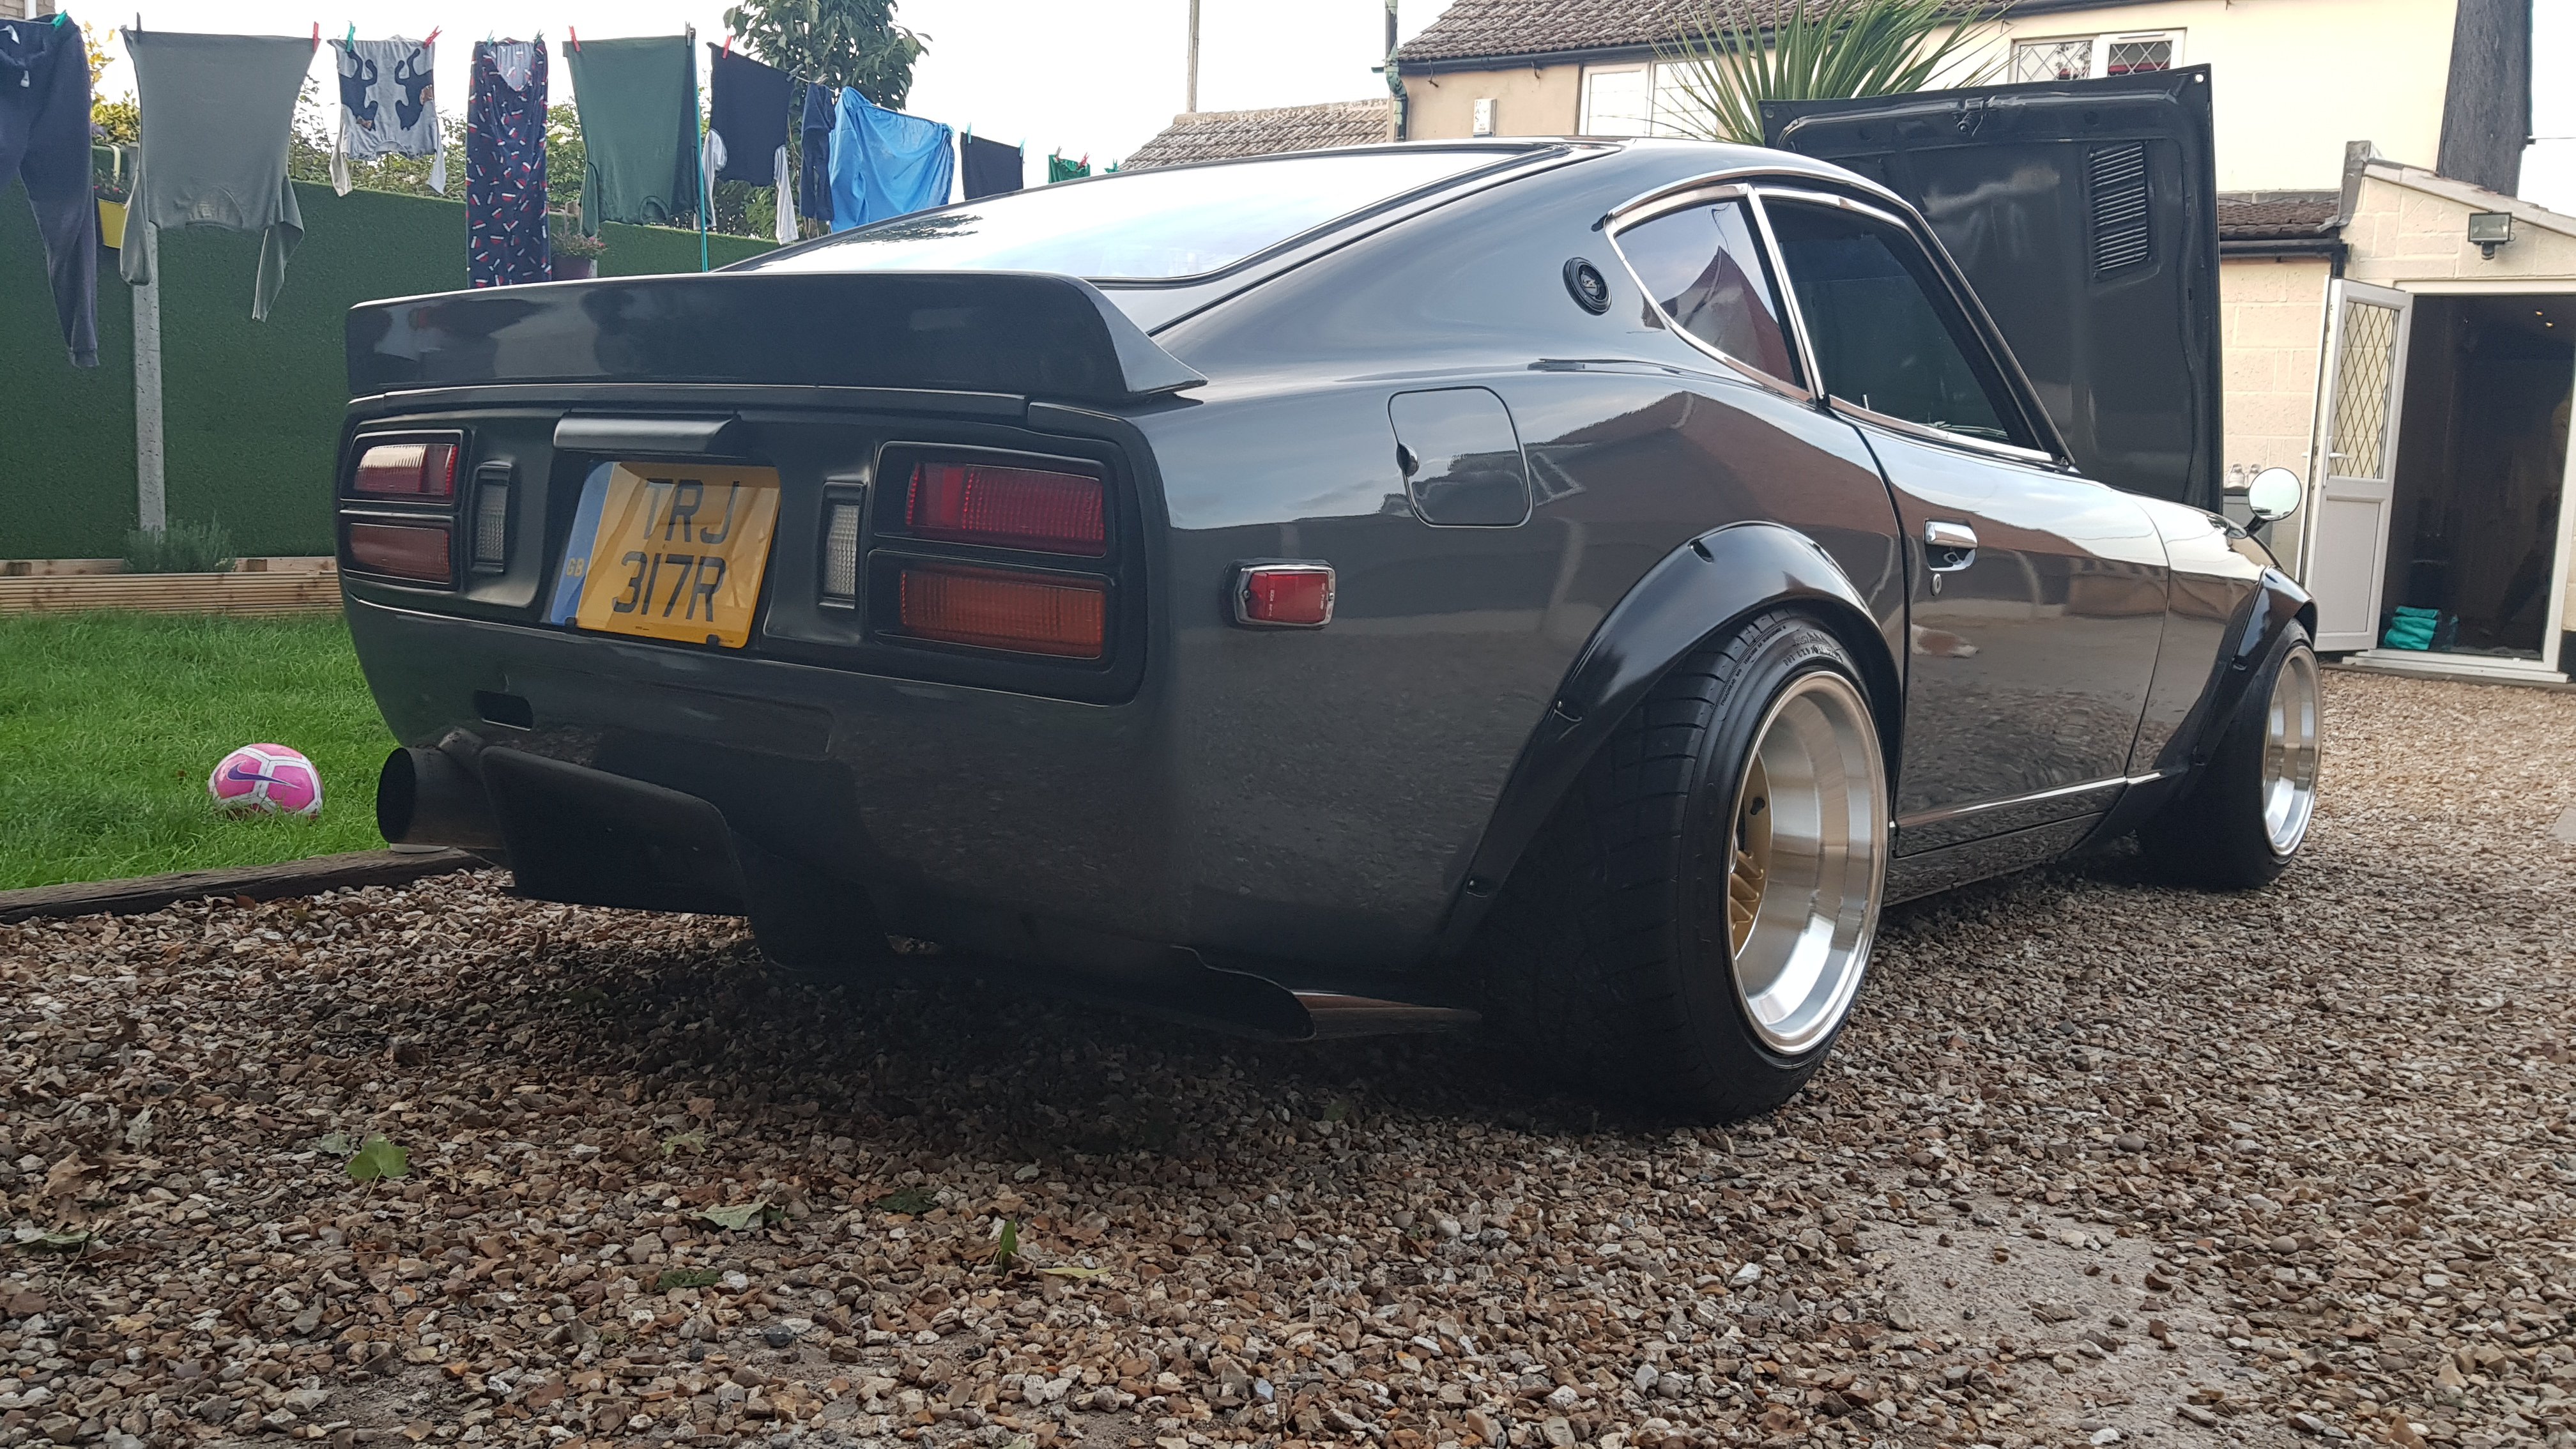
I knew I just had to have it!
It already had the SR20DET swap which is a little rough round the edges, but in the PO defence, he had a 28 day warranty on the engine so had to get it into the car as soon as he could to make sure it checked out OK. This trade wasn't long after he had it all up and running. So props to him for getting it in and running in such a short time.
I drove home that night with a huge smile on my face knowing I would be a Z car owner!! My dream car was going to be mine.
So the day came to swap the cars, here is an image of the 2 cars together..

Last edited: